Phalaenopsis (pronounced fuh-LAY-nop-sis)often misspelled as “Phalenopsis”are the “moth orchids” you see everywhere from grocery stores to fancy lobbies. They look like they require a butler, a greenhouse, and a tiny violin playing in the background. In reality, they mostly want you to stop loving them to death (a.k.a. overwatering), give them the right light, and let their roots breathe.
These orchids are epiphytes in nature, meaning they grow on trees rather than in dirt. Translation: putting one in standard potting soil is like asking a fish to enjoy a bike ride. If you nail the basicsbright indirect light, airy media, thorough watering with full drainage, and gentle feedinga moth orchid can rebloom year after year and make you feel suspiciously competent.
Quick “Don’t Panic” Checklist
- Light: bright, indirect (think “sunny shade”).
- Water: soak thoroughly, then wait until nearly dry.
- Potting mix: orchid bark or sphagnumnever regular soil.
- Humidity + airflow: comfortable, not swampy.
- Fertilizer: diluted, occasional, and rinse salts monthly.
- Repot: every 1–3 years, ideally after blooming.
- Rebloom: good light + slightly cooler nights can help.
1) Give Bright, Indirect Light (Your Orchid Is Not a Sunbather)
Light is the engine behind healthy roots, sturdy leaves, and repeat blooms. For most homes, an east- or west-facing window is the sweet spotbright but not scorching. North can work if it’s bright enough; south can work if filtered with a sheer curtain.
How to “read” the leaves
- Medium green leaves usually mean “Goldilocks light.”
- Very dark green can mean “too little light” (and fewer blooms).
- Reddish or purplish blush can mean “too much light.”
Practical examples
- If your orchid lives 10 feet from a window and “sees” sunlight only through a hallway and two existential crises, move it closer.
- In winter, you can often increase light safely (sun is weaker). In summer, protect from hot direct rays.
- Using a grow light? Aim for consistencymany people run lights 12–14 hours daily in darker spaces.
SEO note you’ll actually care about: “Phalaenopsis orchid light requirements” is a common search because most rebloom issues trace back to light that’s too low.
2) Water ThoroughlyThen Let It Approach Dryness
If moth orchids had a dating profile, it would say: “I like deep conversations and thorough watering, but I need space afterward.” The goal is to fully wet the medium and roots, then wait until things are nearly dry before watering again.
How to know it’s time to water (without guessing)
- Root color: silvery/gray often means dry; green usually means hydrated.
- Pot weight: a freshly watered pot feels heavier; a dry one feels suspiciously light.
- Medium check: bark dries faster than sphagnum. Moss can look dry on top but be wet inside.
A dependable watering method
- Put the inner pot in a sink.
- Run lukewarm water through the bark/moss for 30–60 seconds (or do a few “drenches” over several minutes).
- Let it drain completelyno soggy bottoms, no standing water.
- Water in the morning so the crown and leaves dry by evening.
Two big warnings:
- Never let water pool in the crown (the leaf “cup” at the center). That’s how crown rot happensfast, dramatic, and rude.
- Do not let the pot sit in water. Orchids want moist air around roots, not a bathtub.
What about the ice-cube watering method?
You’ll see ice-cube instructions on labels. Some sources argue it can be workable in controlled conditions, but many orchid educators and growers still prefer room-temp to lukewarm water because Phalaenopsis are warm-growing plants and roots generally perform best when not chilled. If you want the simplest “no drama” approach: skip the ice and water properly with good drainage.
3) Use an Orchid Pot and an Airy Potting Mix (Roots Need Oxygen)
Phalaenopsis roots photosynthesize a bit and love airflow. That’s why they thrive in orchid bark mixes or quality sphagnum mossmaterials that hold moisture while still allowing oxygen around roots.
Pot choice matters
- Drainage holes: non-negotiable.
- Clear plastic pots: helpful because you can see roots and moisture levels.
- Decorative cachepots: fine if the inner pot drains and never sits in trapped water.
Mix basics
- Bark: dries faster, forgiving for over-waterers (hello, most of us).
- Sphagnum: holds water longer; great for dry homes, risky if you water too often.
If your orchid arrived tightly packed in dense moss and a pot with sad drainage, consider that a starter puzzle. The solution is usually “better air + better drainage.”
4) Balance Humidity and Airflow (Comfortable, Not Tropical Swamp)
Phalaenopsis like humidity, but they also like air movement. The sweet spot for many homes is roughly 40–60% humidity, though they can do fine outside that range if you adjust watering and airflow wisely.
Easy humidity boosts
- Pebble tray: set the pot on pebbles above a shallow water line (the pot should not sit in water).
- Humidifier: especially helpful in winter heating season.
- Plant clustering: plants transpire and raise local humidity slightly.
Airflow is your anti-fungus friend
Stagnant, wet conditions invite rot and fungal issues. Gentle airflow (even just normal room circulation) helps leaves dry and roots stay healthier. If you mist, do it lightly and earlyand avoid misting into the crown like you’re filling a tiny swimming pool.
5) Fertilize Lightly, Flush Monthly (Because Fertilizer = Salts)
Phalaenopsis aren’t heavy feeders, but they do appreciate consistent, diluted nutritionespecially when actively growing new leaves and roots. Many growers follow the classic idea of “weakly, weekly” (very diluted fertilizer more often), while others feed monthly. Either can work if you avoid overdoing it.
A practical feeding routine
- Growing season: use a balanced orchid fertilizer (often something like 20-20-20) at half strength or less, every 2–4 weeks, or very dilute weekly.
- Winter / low light: reduce frequency and strength (plants grow slower, so they use less).
- Once a month: flush the pot thoroughly with plain water to rinse out fertilizer salts.
Example schedule: If you water weekly, fertilize every other watering with a diluted mix, and do a “plain water flush” once a month. If your leaves look lush but blooms are scarce, consider whether you’re feeding heavily while light is lowplants can go “all leaves, no flowers” when conditions are unbalanced.
6) Keep Temperatures Cozyand Use Gentle Cool Nights to Encourage Spikes
These orchids are famous for fitting into normal household temperatures. Many do well around 75–85°F days and 60–65°F nights, and they strongly dislike dramatic temperature swings, cold drafts, and blasting heat.
The rebloom “nudge”
To help initiate a flower spike, many growers use a period of slightly cooler nights in autumnoften around the mid-50s to low-60s °F for a few weekswhile keeping daytime temps comfortable. This is not a commandment carved into stone, but it’s a well-known cue for spike formation.
Prevent bud drop
- Keep plants away from drafty doors, heater vents, and AC blasts.
- Avoid moving a budded plant repeatedly between different temperature zones.
- Stable conditions = fewer “my buds fell off and I’m emotionally unwell” moments.
7) Repot Every 1–3 Years (Yes, Even If It’s “Fine”)
Orchid potting mixes break down over time. As bark decomposes, it holds more water and less airexactly the opposite of what Phalaenopsis roots want. Repotting refreshes airflow and helps prevent root rot.
When to repot
- Every 1–3 years (common range).
- When the mix looks degraded (mushy, sour-smelling, staying wet too long).
- When roots are overcrowded or the plant wobbles like a table with one short leg.
- Best timing: after blooming, when new root growth begins.
How to repot without panicking
- Choose a pot with excellent drainage (often just slightly larger).
- Remove old media gently; tease out bark/moss from roots.
- Trim only dead roots (brown, mushy, hollow). Firm green/silver roots are your friends.
- Set the plant so the base sits above the mixdon’t bury the crown.
- Fill with fresh orchid bark/mix, tapping lightly to settle without compacting.
- Water lightly at first if many roots were trimmed, then resume normal watering as it stabilizes.
Pro tip: Avoid repotting in full bloom unless you’re rescuing a plant from severe rot. Repotting stress can shorten the show.
8) After Bloom Care: Spike Decisions, Pruning, and Rebloom Strategy
The flowers fade. The drama begins. Here’s what actually helps your orchid rebloomwithout turning your living room into a botany lab.
Step one: accept that leaves matter more than flowers (for now)
After flowering, your orchid’s main job is to rebuild energy with healthy leaves and roots. Good light, proper watering, and reasonable feeding create the foundation for the next spike.
What to do with the flower spike
- If the spike turns yellow or brown, cut it near the base. It’s done.
- If the spike is still green, you have options:
- Option A: Cut just above a node (a little bump) to encourage a possible side branch. This may produce flowers sooner but sometimes smaller.
- Option B: Leave it alone until it clearly declines, then cut. Simple and low-risk.
Rebloom checklist (the greatest hits)
- Increase light (without scorching).
- Keep watering consistentthorough, then nearly dry.
- Maintain humidity with airflow.
- Use slightly cooler nights for a few weeks if your home allows.
- Don’t overfertilize trying to “force” blooms (it backfires).
Common Moth Orchid Problems (And What They Usually Mean)
Wrinkled leaves
Often dehydrationeither from underwatering, overly dry air, or damaged roots that can’t absorb water well. Check roots. Firm roots + dry medium = water more thoroughly. Mushy roots + wet medium = root rot (repot and adjust watering).
Yellow leaves
One older bottom leaf yellowing can be normal aging. Multiple yellowing leaves can point to overwatering, poor roots, light problems, or nutrient issues. Look at roots and the potting mix firstmost “mysteries” are solved there.
Bud blast (buds drop before opening)
Common triggers include temperature swings, drafts, low humidity, or sudden environment changes. Keep conditions stable, especially when buds are developing.
Pests (mealybugs, scale, mites)
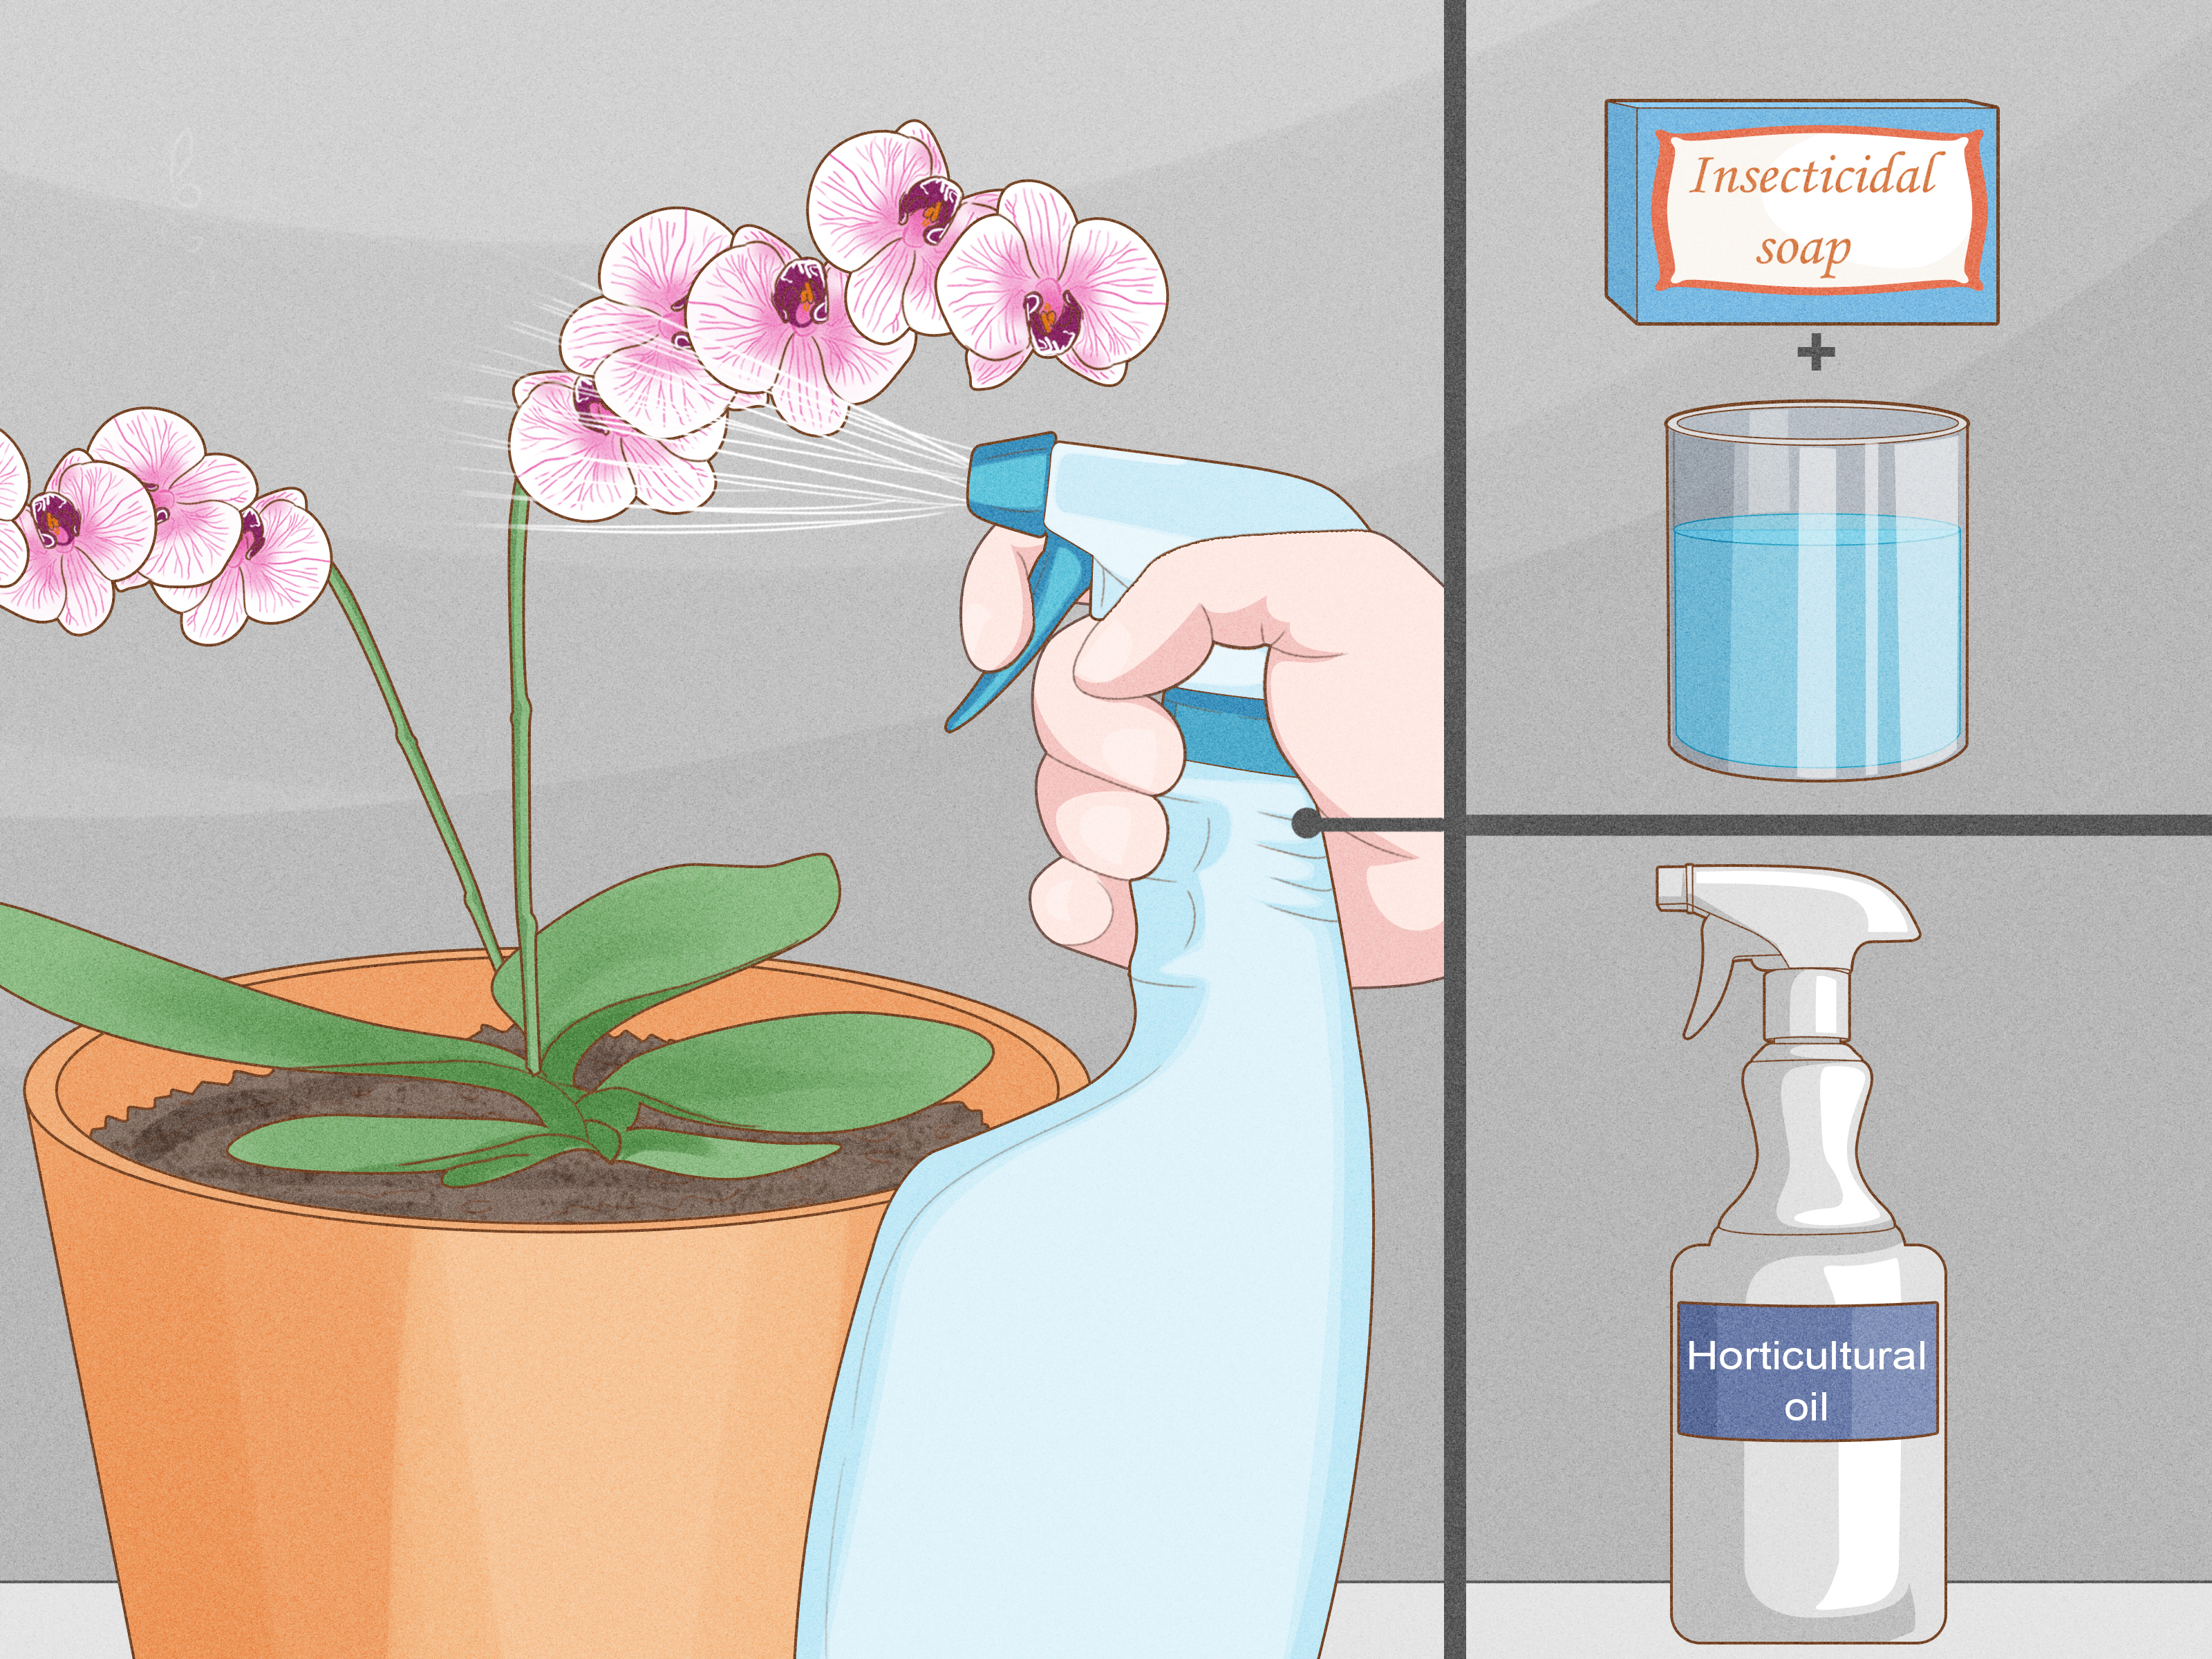
Inspect undersides of leaves and along leaf joints. Treat early with gentle methods (like wiping and appropriate plant-safe treatments) and improve airflow. Quarantine new plants briefly so they don’t bring unwanted roommates.
Conclusion: The “Calm Confidence” Method
Phalaenopsis orchid care isn’t about complicated ritualsit’s about consistency. Give bright, indirect light. Water thoroughly, then wait until nearly dry. Use airy orchid mix in a draining pot. Keep humidity comfortable with airflow. Feed lightly and flush salts. Repot when the mix breaks down. And when reblooming feels slow, remember: orchids operate on “plant time,” not “human impatience time.”
If you adopt one mindset, make it this: observe more, schedule less. Your orchid will tell you what it needsmostly through its roots, leaves, and how quickly the pot dries.
Extra: Real-World Experiences Orchid Owners Keep Having (So You Don’t Have To)
Below are some of the most common “learned it the hard way” experiences Phalaenopsis owners sharebecause moth orchids are generous teachers, and also because they will absolutely let you make the same mistake three times until you finally stop.
1) The overwatering honeymoon phase. Many people bring home a blooming moth orchid and water it like a leafy houseplantlittle sips, often, plus a saucer that quietly collects extra water. The orchid responds with… polite decline. Leaves may look okay at first, but roots start suffocating. The fix usually feels counterintuitive: water more thoroughly, but less frequently, and let it drain completely. The moment you stop treating the pot like a soup bowl, the plant often rebounds.
2) The “but it looked dry!” moss trap. Orchids sold in sphagnum moss can fool even careful plant parents. The top looks crisp, but deep inside it’s still wetespecially if the pot has limited drainage. People water again, roots rot, and the orchid starts wobbling like it’s reconsidering the whole relationship. Owners who switch to a bark-based mix (or a looser moss setup) often report the biggest improvement because the roots finally get air.
3) The crown-rot surprise attack. A common story: “I watered, then a week later the leaves fell off like a bad soap opera.” Water sitting in the crown can rot the growth point quickly. People who start watering early in the day, keep water out of the crown, and increase airflow notice fewer sudden collapses. If water splashes into the crown, a gentle blot with a paper towel can prevent a tragedy.
4) The rebloom myth. Plenty of folks assume the orchid is “done” after flowering and toss it. Then they discover that moth orchids can bloom againsometimes on the same green spike, often from a new spike later. The “aha” moment usually comes when they increase light. If your orchid is healthy but never reblooms, owners often find it was living in “pleasant shade” that’s actually too dim for spike initiation.
5) The fertilizer overcorrection. When blooms don’t return, some people go full smoothie-bar with fertilizerextra frequent, extra strong. That can burn roots or cause salt buildup, leading to limp leaves and unhappy roots. A gentler approach (diluted feed + monthly flush) tends to create steadier growth without the collateral damage.
6) The repotting confidence boost. Repotting sounds scary until you do it once. Then it becomes the moment you finally understand your orchid. You see healthy roots (firm, green/silver), dead roots (mushy, hollow), and how the mix is holding moisture. Many owners say their orchid improved most after repotting into a draining pot with fresh mediumespecially if the store setup was tight, water-retentive, or poorly ventilated.
Bottom line: Most Phalaenopsis “problems” aren’t random. They’re usually the predictable outcome of water + airflow + light being out of balance. Adjust those, and your orchid often goes from “fragile diva” to “surprisingly chill roommate who occasionally throws a flower party.”