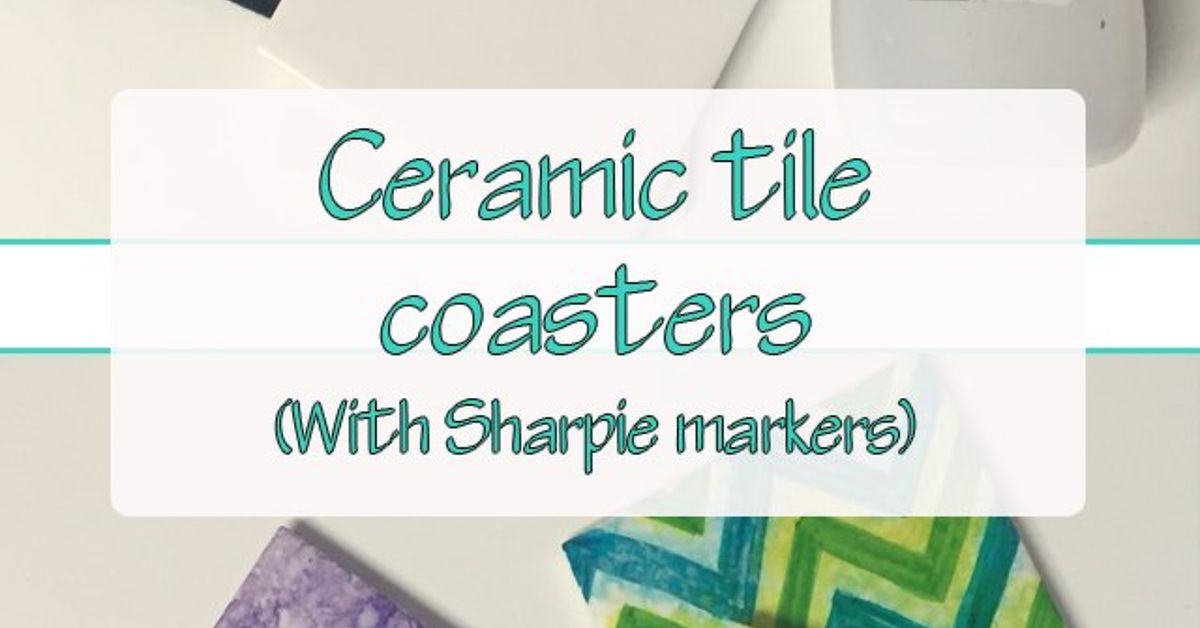
Plain ceramic tiles are inexpensive, practical, and about as exciting as an unsalted cracker. Add colorful Sharpies, a few drops of rubbing alcohol, and a protective finish, however, and those humble squares become vibrant DIY tile coasters that look like miniature watercolor paintings.
This beginner-friendly craft requires no drawing experience, expensive equipment, or mysterious artistic talent. The alcohol moves and blends permanent-marker ink for you, creating marbled patterns, soft blooms, and unpredictable rivers of color. Every coaster turns out differently, which means even a suspicious-looking ink puddle can eventually announce itself as “abstract art.”
Why Sharpie Tile Coasters Are Such a Great DIY Project
Sharpie tile coasters are affordable enough for a casual afternoon craft but attractive enough to become housewarming gifts, teacher presents, party favors, or personalized holiday sets. Most of the materials are available at craft stores or home-improvement retailers, and a basic batch can be completed in one sitting before the sealing and curing stages.
The project is also wonderfully forgiving. Traditional painting often asks you to control every brushstroke. Alcohol-ink tile art invites you to surrender some control and watch the colors wander. You choose the palette and guide the movement, but the final pattern develops organically.
Glazed ceramic tile works especially well because its smooth, nonporous surface prevents marker ink from immediately soaking in. When isopropyl alcohol touches the design, it temporarily dissolves and pushes the ink across the tile. The result resembles watercolor, agate, stained glass, or tie-dyedepending on how much ink and alcohol you use.
Supplies You Will Need
- Four-inch glazed ceramic tiles, preferably white
- Colorful permanent Sharpie markers
- 70% or 91% isopropyl rubbing alcohol
- A dropper, pipette, or small clean paintbrush
- Lint-free cloths or paper towels
- Disposable gloves
- Wax paper, cardboard, or a protective work mat
- Clear sealer compatible with ceramic and marker artwork
- Self-adhesive felt pads or thin cork sheets
- Scissors and strong craft adhesive if using cork
Choosing the Right Tile
Start with smooth, glazed ceramic tiles rather than porous stone or heavily textured tile. White provides the brightest background, although cream, pale gray, and other light colors can produce attractive muted effects. Inspect every piece for chips and sharp edges before buying or decorating it.
A standard four-inch square tile is large enough for most coffee cups, tumblers, and glasses. Hexagonal tiles and other shapes can also work, but confirm that they sit flat and provide enough room for a drink.
Regular Sharpies or Paint Markers?
Regular permanent Sharpies are ideal for the alcohol-blending method because rubbing alcohol readily reactivates their ink. Fine-point markers provide good coverage while still allowing you to draw details. Broad tips cover large areas faster, while ultra-fine markers are useful for adding names, outlines, or small patterns after the blended layer dries.
Oil-based paint markers create more opaque lines on ceramic, but they do not behave exactly like standard permanent-marker ink when alcohol is added. Use ordinary Sharpies for flowing watercolor effects and consider a paint marker only for crisp finishing details. The Sharpie product range includes both permanent markers and paint-like markers intended for surfaces such as ceramic and glass.
How to Make Tile Coasters With Sharpies
Step 1: Clean and Dry the Tiles
Wash the tiles to remove dust, price-label residue, and manufacturing grime. Dry them thoroughly, then wipe the glazed surface with a small amount of rubbing alcohol on a lint-free cloth. Avoid touching the cleaned face with your fingers because skin oils may prevent the ink or sealer from adhering evenly.
Allow the alcohol to evaporate completely. This normally takes only a few minutes, but patience at this stage prevents mysterious blank patches later.
Step 2: Protect the Work Area
Place the tiles on wax paper or cardboard and open a window or work in another well-ventilated area. Wear old clothes because permanent marker has a remarkable ability to locate the one shirt you hoped to keep clean.
Rubbing alcohol is flammable. Keep it away from candles, burners, sparks, heat guns, and smoking materials. The Centers for Disease Control and Prevention notes that alcohols are flammable and should be handled in a well-ventilated area.
Step 3: Add Blocks of Color
Color directly on the glazed face of each tile. Make broad patches, loose stripes, rings, dots, or irregular scribbles. Completely covering the surface produces a saturated design, while leaving white space creates a lighter, airier pattern.
Choose two to four related colors for an easy, coordinated palette. Blue, turquoise, and violet create an ocean-inspired look. Orange, red, and gold resemble a sunset. Pink, purple, and teal provide a cheerful jewel-tone combination.
Be careful when placing complementary colors beside one another. Red and green, blue and orange, or purple and yellow can create sophisticated neutral areas, but excessive mixing may produce a shade best described as “dishwater chic.”
Step 4: Apply Rubbing Alcohol
Use a dropper to place small amounts of alcohol on the colored surface. Begin with only a few drops. The ink will loosen almost immediately, spreading into pools and feathery edges. Tilt the tile gently to direct the colors or use a clean air blower to move the liquid without touching it.
For a speckled appearance, flick tiny droplets from a paintbrush. For large watercolor blooms, place a slightly larger drop in the middle of a colored section. The Michaels Sharpie watercolor-coaster project similarly uses colorful marker coverage and alcohol to form blended patterns.
If the colors blend too aggressively, blot a section with the corner of a paper towel. If a tile becomes muddy, wipe it clean with alcohol, let it dry, and begin again. This craft comes with an unusually generous undo button.
Step 5: Let the Artwork Dry
Place the tiles on a level surface and leave them undisturbed until all visible alcohol has evaporated. Drying often takes 30 to 60 minutes, depending on the amount of liquid, temperature, and ventilation.
Do not judge the final colors while the tile is wet. Some shades lighten or separate as they dry. Once the design is stable, you can add dots, stars, initials, botanical outlines, or geometric accents with a marker. Use a light touch so the new tip does not disturb the blended ink underneath.
Step 6: Seal the Design
Unsealed Sharpie art can smear when exposed to moisture, friction, or more alcohol, so a protective topcoat is essential for functional drink coasters. Select a clear craft sealer specifically labeled for ceramic and follow its instructions for ventilation, application temperature, drying time, and curing.
A spray sealer is often easier than a brush-on finish because brushing can drag through the marker ink. Begin with two or three extremely light mist coats rather than one heavy coat. Let each coat dry according to the label before applying the next. Once the ink is isolated beneath those light layers, a fuller finishing coat can usually be added safely.
Krylon Crystal Clear Acrylic Coating, for example, lists ceramic among its compatible surfaces and describes its finish as moisture-resistant. Dry-to-touch time is not the same as full curing time, however. Wait for the complete period stated by the manufacturer before putting a cold, wet glass on the coaster.
Brush-on decoupage finishes may also work, but test the combination on a spare tile first. Marker ink can smear when a wet product is brushed directly across it. Guidance from Mod Podge Rocks likewise recommends testing inks and markers because their behavior under decoupage medium varies.
Step 7: Add Felt or Cork Backing
Bare ceramic can scratch furniture and make an unpleasant clack every time the coaster moves. Attach four self-adhesive felt pads to the underside, placing one near each corner. Felt pads are widely used to protect hard surfaces from scratches and scuffs, as reflected in product guidance from Lowe’s and The Home Depot.
For a more polished finish, trace the tile onto thin cork, cut just inside the outline, and glue the cork to the entire underside. Let the adhesive cure fully under light, even pressure.
Easy Design Ideas for Sharpie Coasters
Watercolor Blooms
Draw several concentrated circles of color and place one alcohol drop in the center of each. As the ink spreads, it creates soft-edged blooms resembling flowers viewed through rain-streaked glass.
Ocean and Beach Colors
Combine navy, aqua, turquoise, and a small amount of green. Leave some white areas to suggest sea foam. A thin metallic gold line added after drying can resemble sunlight on the water.
Galaxy Coasters
Use black, deep blue, violet, and magenta, allowing the colors to merge without completely blending. After drying, add white paint-marker dots for stars. Include a few larger stars and many tiny ones so the result looks celestial rather than like the tile developed freckles.
Monograms and Personalized Gifts
Create the alcohol-ink background first, seal it lightly, and then add an initial or short name with an opaque paint marker. Finish with additional protective coats. Tie four coasters together with ribbon for an inexpensive handmade gift.
Modern Geometric Patterns
If unpredictable color movement is not your style, skip the alcohol and draw clean lines, triangles, arches, or grids with oil-based paint markers. Painter’s tape can help create sharp borders. Remove it carefully before the marker or paint becomes completely rigid.
Common Problems and Simple Fixes
The Ink Turned Muddy
Too many colors or too much movement can blend everything into brown. Limit the palette, apply less alcohol, and stop tilting while individual colors are still visible. A muddy tile can usually be cleaned with rubbing alcohol and redesigned before sealing.
The Sealer Made the Design Run
The first coat was probably too wet or applied too close to the surface. Start with a distant, gentle mist on the next tile. Always test the marker-and-sealer combination on a spare piece because formulas can react differently.
The Finish Looks Cloudy or Sticky
Humidity, heavy coats, poor ventilation, or insufficient curing time may be responsible. Product manufacturers such as Krylon emphasize following the recommended recoat and drying intervals. Move the project to suitable conditions and allow additional curing time rather than immediately applying more finish.
The Felt Pads Keep Falling Off
Dust or oils on the unglazed underside can weaken adhesive. Wipe the area clean, let it dry, and press each pad firmly into place. If self-adhesive pads repeatedly fail, use a full cork backing and a compatible craft adhesive.
How to Care for Finished Tile Coasters
Wipe the finished coasters with a soft, slightly damp cloth. Avoid soaking them, scrubbing with abrasive cleaners, or placing them in a dishwasher unless every componentincluding the finish and backingis specifically rated for that treatment.
Do not place food directly on the decorated surface unless the complete finishing system is certified for food contact. A coaster normally touches the outside base of a glass, not the beverage or food itself, but ordinary craft finishes should still be treated as decorative coatings.
Very hot cookware is another matter. These are drink coasters, not trivets. Use them for mugs and beverage glasses only when the chosen sealer is suitable for that purpose. Product formulations differ, so the label takes priority over generic online curing tricks.
Workshop Experience: What a Test Batch Teaches You
The most useful lesson from making a batch of Sharpie tile coasters is that the first tile should be treated as a cheerful experiment, not a priceless masterpiece. A typical beginner colors every square inch, adds a heroic splash of alcohol, and then watches three carefully selected colors sprint together and become one mysterious puddle. That first attempt is not wasted. It reveals how quickly the particular markers react and how far a single drop travels.
On the next tile, using smaller patches and fewer alcohol drops usually produces more definition. Cool colors tend to be especially beginner-friendly because blue, green, and purple can overlap without immediately appearing muddy. Leaving narrow areas of white between some colored sections also gives the ink room to spread. The empty space does not look unfinished once the pattern blooms; it makes the final composition feel brighter and more deliberate.
Another practical discovery is that alcohol has better manners when introduced gradually. A pipette provides much more control than pouring from the bottle. One or two drops can form a translucent ring, while a larger pool pushes color toward the edges. Tilting the tile slowly creates long, marbled veins. Tilting it too enthusiastically may send ink over the side and decorate the table mat, gloves, and possibly one innocent elbow.
Drying also rewards restraint. A pattern that appears disappointing while wet can develop attractive feathery edges as the alcohol evaporates. Touching it too soon often leaves a fingerprint or creates an abrupt bare spot. Waiting at least until the surface looks completely dry makes it easier to decide whether the coaster needs another small bloom, a few dots, or absolutely nothing.
The sealing stage is where test tiles earn their keep. A heavy first coat can reactivate the artwork, even after the design appears dry. The more dependable approach is to place the tile flat and apply a barely visible mist. After that layer dries, another light coat builds protection without disturbing the ink. Testing also shows whether a gloss finish intensifies the colors as desired or creates more shine than expected. A satin finish often looks softer, while gloss can make jewel tones appear deeper.
Backing changes the project more than beginners expect. Four felt dots are quick and inexpensive, but a carefully cut cork square makes the coaster feel quieter, steadier, and more gift-ready. The cork should be slightly smaller than the tile so no ragged edges peek out.
Finally, a coordinated set does not require four identical designs. Repeating the same three colors is enough to unify wildly different patterns. One coaster may contain broad waves, another tiny blooms, and another a dramatic central pool. Together they still look intentionallike siblings who share a wardrobe but have very different personalities.
Conclusion
Making tile coasters with Sharpies turns inexpensive ceramic squares into colorful, useful art. Clean the tiles carefully, work with a limited palette, introduce rubbing alcohol a few drops at a time, and let the pattern develop before making changes. A compatible sealer and soft backing transform the artwork from a fun experiment into a practical set of DIY coasters.
The process is simple enough for beginners yet unpredictable enough to remain entertaining after several batches. Make a coordinated set for your coffee table, personalize a gift, or organize a craft night where nobody has to know how to paint. If the first tile behaves strangely, clean it and try again. Even permanent markers occasionally deserve a second chance.