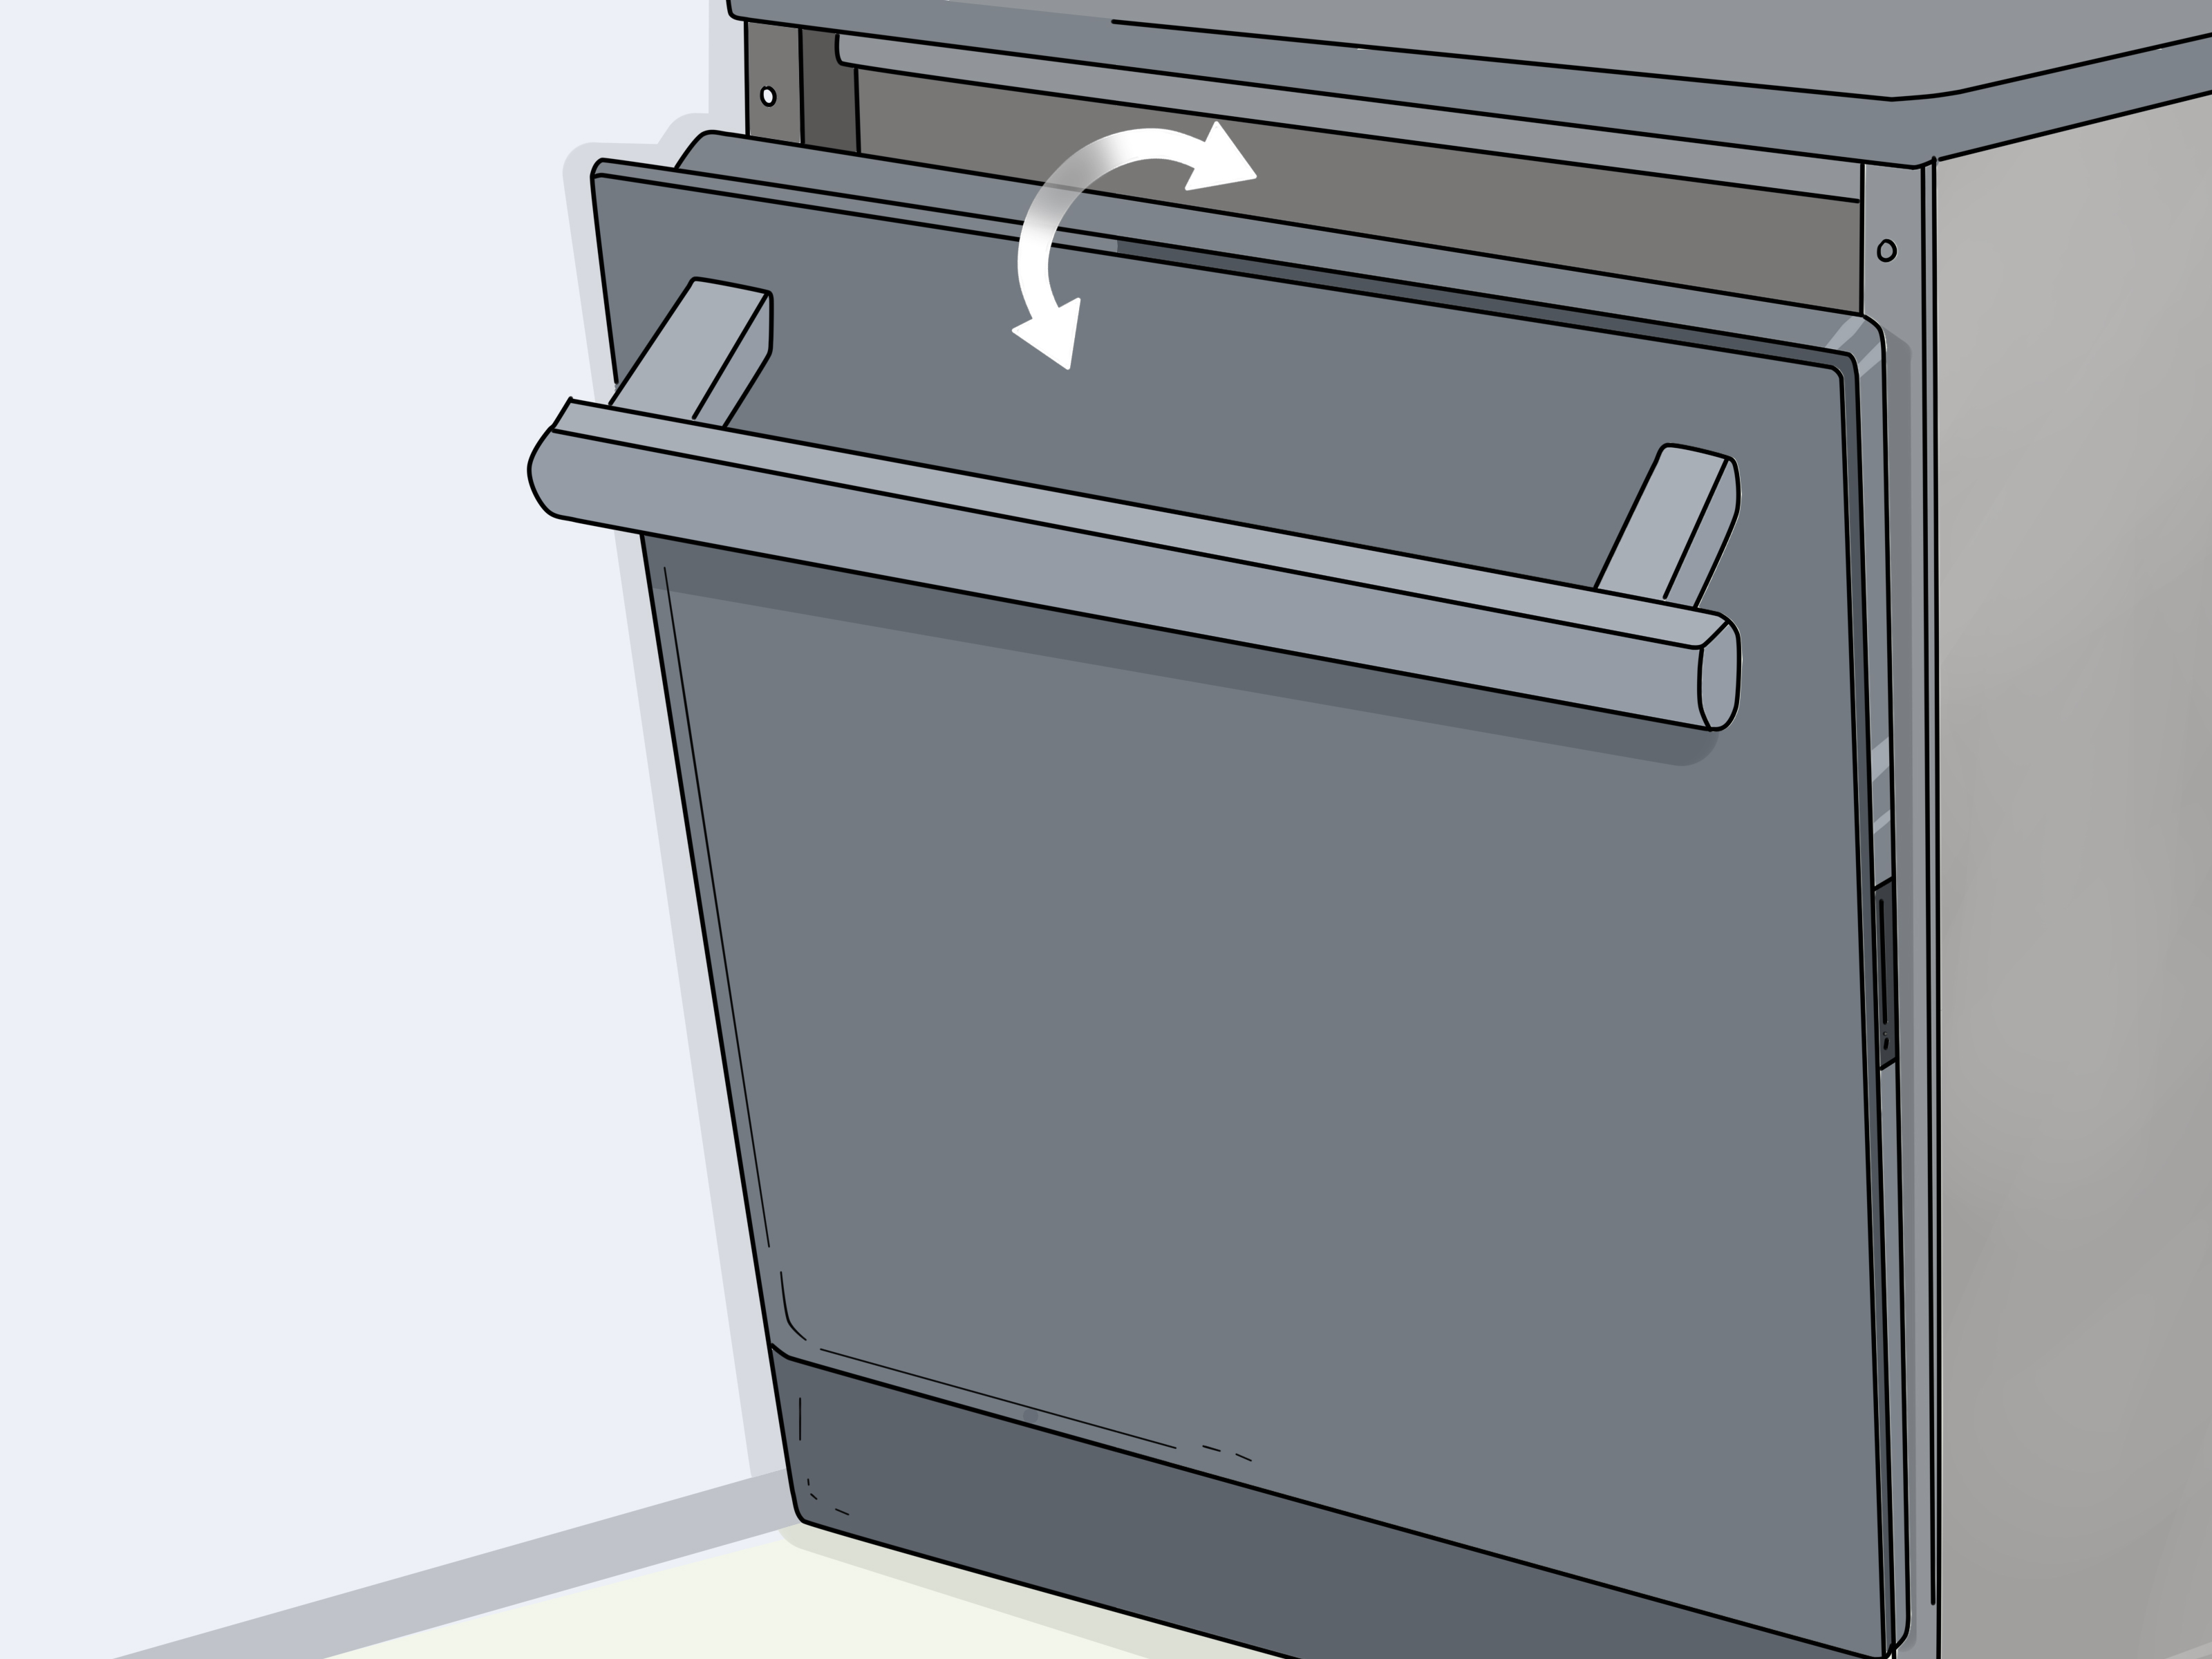
A dishwasher door should open smoothly, remain controlled, and rest in a nearly horizontal position without crashing onto your shins. When it suddenly drops like a drawbridge under attackor becomes unusually difficult to openthe door spring system is probably damaged, disconnected, or incorrectly adjusted.
Fortunately, replacing a dishwasher door spring is often a manageable DIY repair. Depending on the appliance, the balancing system may use direct-extension springs, springs connected to cables, or adjustable spring tensioners. This guide explains three easy ways to repair those common designs, along with safety precautions, troubleshooting tips, and practical lessons that can save you from doing the job twice.
What Does a Dishwasher Door Spring Do?
A dishwasher door is heavier than it looks, especially when it has a stainless-steel front or custom cabinet panel. Springs mounted near the hinges counterbalance that weight. They keep the door from falling open, make it easier to lift, and help the latch align correctly.
Many dishwashers have one spring assembly on each side. Some use a metal spring connected directly between the frame and hinge. Others connect the spring to the hinge through a cord, cable, plastic link, or pulley. Certain models also have brackets or tensioners that can be repositioned to change the door balance.
Signs the Dishwasher Door Spring Needs Attention
A door that behaves badly does not automatically mean the spring itself is broken. Inspect the complete balancing system if you notice any of these symptoms:
- The door falls open as soon as the latch is released.
- One side of the door drops faster than the other.
- The door is unusually heavy or difficult to close.
- You hear a snapping, scraping, or metallic ping near the bottom of the machine.
- A loose spring, cable, or plastic connector appears under the dishwasher.
- The door will not remain horizontal when fully open.
- The door rubs against the cabinet or sits slightly crooked.
If both sides appear intact, the dishwasher may simply be out of level or the spring tension may need adjustment. A damaged hinge, bent frame, obstructed rack, misaligned latch, or excessively heavy decorative panel can create similar symptoms.
Before Starting: Parts, Tools, and Safety
Find the correct replacement part
Do not buy a spring based only on its length or appearance. Two nearly identical springs can have different tension ratings. Using the wrong one may cause the door to slam, fly upward, or refuse to stay open.
Find the dishwasher’s model number, usually printed on a label along the tub opening, door edge, or frame. Enter that complete number into the manufacturer’s parts lookup and compare the replacement kit with the appliance’s exploded-parts diagram. Model suffixes matter; one extra letter can lead to a surprisingly expensive piece of metal that fits absolutely nothing in your kitchen.
If the manufacturer supplies springs, cables, or links as a two-sided kit, replace the complete kit. Even when parts are sold individually, replacing both sides is usually wise because they have endured the same number of opening cycles.
Gather the basic tools
- Work gloves and safety glasses
- Phillips and flathead screwdrivers
- A 1/4-inch or 5/16-inch nut driver, depending on the model
- Needle-nose or channel-lock pliers
- An adjustable wrench
- A flashlight
- A towel or piece of cardboard to protect the floor
- Your phone for photographing the original spring routing
Disconnect the appliance safely
- Switch off the dishwasher’s circuit breaker. Do not rely only on the control panel’s power button.
- Confirm that the display and controls will not activate.
- Close the dishwasher water-supply valve, commonly located under the kitchen sink.
- Remove the lower access panel and toe kick as directed by the manufacturer.
- Wear gloves because unfinished frame edges can be sharp.
If the dishwasher must be pulled out, remove the screws securing it to the countertop or cabinets. Check the electrical connection, drain hose, and water line before moving the machine. Disconnect them if they do not have enough slack. Never drag a dishwasher forward while a hose or wire is stretched tight.
Way 1: Replace a Direct-Extension Door Spring
This is the simplest arrangement. A coil spring usually runs between the door hinge or hinge arm and a mounting hole or bracket on the dishwasher frame.
Step 1: Expose the springs
Remove the toe kick and, if necessary, slide the dishwasher several inches out of the cabinet. Depending on the design, partial access may be enough. Support the door in a nearly closed position so the spring carries less tension.
Step 2: Record the mounting positions
Before removing anything, photograph both sides. Note which frame hole, notch, or bracket each spring uses. Matching the original positions helps preserve the factory door balance.
If one spring is still correctly installed, use it as the routing reference for the damaged side. Do not assume the front-most or rear-most hole is correct merely because it looks convenient.
Step 3: Remove the old springs
Hold the door closed or ask a helper to support it. Grip the spring with pliers and carefully release it from the frame, then detach it from the hinge. Keep your face and free hand away from the spring’s path. Even a small dishwasher spring can deliver an impressive and deeply unnecessary surprise.
Step 4: Install the replacements
Attach the new spring to the hinge first unless the model instructions specify otherwise. Stretch it carefully and connect the opposite end to the same mounting hole used by the original. Repeat on the other side, ensuring that both springs occupy matching positions.
Step 5: Test the balance
Open the door slowly while supporting its weight. It should move smoothly, remain controlled, and rest open without dropping. If it falls, the spring may require a higher-tension mounting position. If it rises on its own or is difficult to lower, use a lower-tension position. Follow the manufacturer’s diagram because the direction of adjustment varies among designs.
Way 2: Replace a Spring-and-Cable or Link Kit
Many newer dishwashers use a spring connected to a cord, cable, rope, or molded plastic link. The connector may travel around a pulley before attaching to the hinge. In this system, the spring may be perfectly healthy while the cable has frayed or the plastic end has broken.
Step 1: Inspect the entire assembly
Pull the dishwasher far enough forward to view both side mechanisms. Look for frayed fibers, cracked plastic ends, damaged pulleys, stretched springs, or grooves caused by improper routing. If one cable snapped, replace both cable assemblies when the approved kit includes a pair.
Step 2: Photograph the cable path
The cable may loop around one or more guides in a specific direction. Take close-up photographs before removing the intact side. Incorrect routing can make the cable rub against the frame, water line, or insulation and fail prematurely.
Step 3: Release the damaged assembly
Support or close the door to reduce tension. Unhook the spring from its mounting point, then release the cable or plastic link from the hinge. Remove it from the pulley system without forcing or bending the guides.
If a pulley is cracked, seized, or deeply worn, replace it as part of the repair. Installing a new cable over a damaged guide is like putting new shoelaces through a cheese grater: technically possible, but the celebration will be brief.
Step 4: Route the new cable
Connect the new cable or link to the hinge and route it around the guides exactly as shown in the parts diagram. Attach the opposite end to the spring, and then secure the spring to its frame bracket or retainer. Repeat the process on the other side.
Step 5: Check for interference
Move the door through its full range several times. Watch the cable and spring while a helper operates the door. Nothing should rub against the supply line, drain hose, wiring, insulation, motor, or cabinet. Correct any routing problem before reinstalling the machine.
Way 3: Replace or Reset an Adjustable Spring-Tension System
Some dishwashers use a spring attached to a movable tensioner, sliding bracket, or multi-hole mounting plate. A heavy custom door panel may require a stronger spring kit rather than a standard adjustment.
Step 1: Determine whether adjustment is enough
If both springs and cables are intact but the door falls or rises by itself, the tension settings may simply be mismatched. This often happens after installation, flooring work, or the addition of a decorative front panel.
Replace the components if a spring is rusty, distorted, broken, or noticeably longer than its mate. Replace a tensioner that is cracked or unable to hold its setting.
Step 2: Remove tension before repositioning the bracket
With the power and water off, support the dishwasher so it cannot tip. Keep the door closed, unhook the spring as directed, and remove the screw holding the tensioner. Many systems offer several numbered holes or notches.
Step 3: Install the new part or select the proper setting
Mount the replacement tensioner in the same position as the original. If balancing is required, move both sides one setting at a time. On many designs, moving the spring attachment toward the rear increases tension, but other mechanisms work differently. Treat the model-specific diagram as the final authority.
Both sides must use equivalent settings. Uneven spring tension can twist the door, strain the hinges, and interfere with the gasket or latch.
Step 4: Account for custom panels
A decorative wood panel can add several pounds to the door. Standard springs may be unable to counterbalance that weight even at their strongest setting. When the manufacturer specifies a heavy-duty spring kit, use that kit instead of improvising with unrelated hardware.
Step 5: Fine-tune the door balance
Open the door gradually and observe its movement at several angles. A properly balanced door should not slam downward or snap shut. Some manufacturer instructions describe the ideal balance as a fully open door that remains horizontal but begins closing with a slight lift.
Reinstalling and Testing the Dishwasher
- Slide the dishwasher carefully into the cabinet while watching the hoses and electrical cable.
- Confirm that no spring, cord, or moving hinge component contacts a utility line.
- Level and square the appliance using its adjustable legs.
- Secure the mounting brackets to the countertop or cabinet.
- Reinstall the toe kick and access panel.
- Open the water valve and inspect the connections for leaks.
- Restore power at the circuit breaker.
- Run a short rinse cycle and check around the machine again.
Test the latch, but never force it. If the door remains crooked or refuses to seal after the spring repair, inspect the hinges, mounting alignment, gasket, racks, and latch before operating a full cycle.
Common Dishwasher Spring Replacement Mistakes
Replacing only the visibly broken side
A new spring can be stronger than the old spring on the opposite side, creating uneven tension. Replacing both sides generally produces better balance when matching parts are available.
Ordering a “close enough” spring
Spring tension is engineered for a specific door weight and hinge geometry. A generic spring may fit physically while operating poorly. Match parts to the full model number.
Forgetting to photograph the routing
A ten-second photograph can prevent an hour of experimenting with a cable that appears to have seventeen plausible paths and only one correct one.
Working with the door fully open
An open door places substantial tension on the springs and increases the chance of sudden movement. Support the door and use the position recommended in the service instructions.
Pinching a hose or wire during reinstallation
Spring repair may be successful while careless reinstallation creates a leak or electrical problem. Watch every connection as the dishwasher moves back into place.
When to Call an Appliance Technician
Professional service is the better choice when the dishwasher is hardwired and you are uncomfortable disconnecting it, the water valve will not close, the machine cannot be moved without altering plumbing, or the hinge and frame are visibly bent. Stop immediately if you find burned wiring, active leakage, severe corrosion, or damaged structural components.
A technician may also be worthwhile when the appliance has a complicated integrated door, specialized pulley arrangement, or custom panel. Paying for one correct repair is usually cheaper than purchasing three incorrect kits and developing a personal feud with the dishwasher.
Conclusion
Replacing a dishwasher door spring becomes much simpler once you identify the balancing system. A direct spring can usually be exchanged by matching its mounting points. A cable-style system requires careful routing and inspection of the pulleys. An adjustable tensioner must be installed or repositioned evenly on both sides.
Whatever the design, disconnect the power and water, use model-specific parts, control the spring tension, and test the door before reinstalling the machine. Done correctly, the repair restores smooth movement and prevents the door from making another dramatic entrance onto the kitchen floor.
Practical Experiences That Make the Repair Easier
One of the most useful lessons from dishwasher door repairs is to diagnose the whole mechanism before ordering a spring. A door may fall because the spring broke, but a snapped cable or plastic connector produces nearly identical behavior. Looking at both sides of the machine makes the difference clear. If one side has a complete assembly and the other has a loose cord lying on the floor, the spring itself may not be the culprit.
Another common experience is discovering that access takes longer than replacement. On some machines, the spring can be reached after removing the toe kick. On others, the dishwasher must come several inches out of the cabinet. Preparing for that possibilityclearing the sink cabinet, protecting the floor, and checking utility-line slackturns a frustrating repair into a controlled one.
Photographs are especially valuable. Take a wide photo showing where the spring sits, then close-ups of the cable path, pulley orientation, and mounting hole. It is easy to believe the arrangement will be unforgettable. Ten minutes later, two pulleys and an oddly shaped hook can make that confidence disappear.
Replacing components in pairs also tends to produce a better result. Imagine a seven-year-old dishwasher with one original spring and one new spring. The older component may be stretched and weaker even if it is not visibly damaged. The door can then rise unevenly, rub against the frame, or feel heavier on one side. A matched pair gives the hinges more consistent support.
It also helps to test the door before pushing the appliance fully back under the counter. After installing the springs, open the door a few inches, halfway, and then completely. If it drops, rises, scrapes, or pulls sideways, correct the problem while the mechanism remains visible. Reinstalling everything first only creates another round of screws, grumbling, and floor-level yoga.
Consider a typical cable failure. The homeowner hears a pop, and the door immediately becomes heavy. Inspection reveals an intact spring but a frayed cable near a worn pulley. Replacing only the cable temporarily restores operation, yet the damaged pulley soon cuts the new part. Replacing the cable kit and worn guide together addresses the actual cause instead of treating the latest symptom.
A second example involves a custom wood panel. The springs are not broken, but the door falls whenever released. Moving both tensioners to the manufacturer-approved higher setting improves the balance. If the standard system still cannot support the panel, the correct solution is the specified heavy-duty spring kitnot a random hardware-store spring with heroic ambitions.
Finally, reinstall the dishwasher slowly. A helper can watch from the adjacent sink cabinet while the machine slides into place, ensuring that the drain hose, water line, and electrical cable remain free. That extra minute protects the repair and reduces the chance that solving a door problem will accidentally create a leak behind the cabinets.