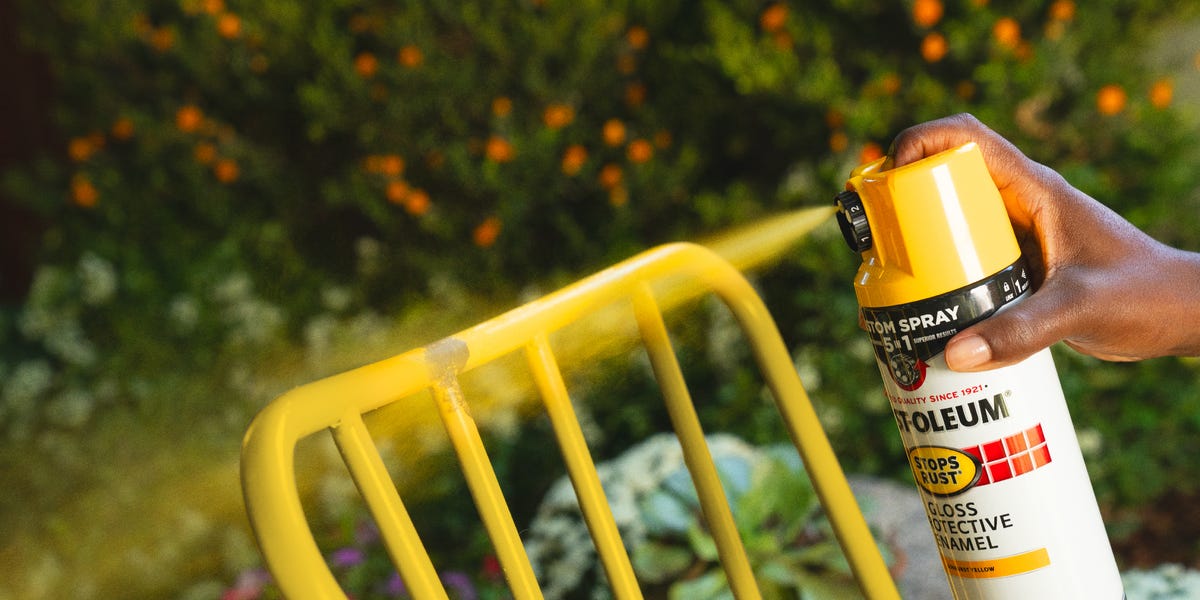
Spray paint can turn a tired patio chair, thrift-store lamp, picture frame, planter, oduce drips, gritty patches, fingerprints, overspray, and a finish that resembles orange peel after a difficult week.
The difference rarely comes down to artistic talent. Successful DIY spray painting is mostly about choosing the correct product, preparing the surface, controlling the spray pattern, and allowing enough drying and curing time. In other words, the glamorous part lasts a few minutes; the preparation does the heavy lifting.
The following spray-painting tips combine practical guidance for wood, metal, plastic, glass, wicker, and household décor. Whether this is your first aerosol-paint project or your garage already contains a suspiciously large collection of half-used cans, these techniques will help you achieve a smoother, more durable finish.
Why Good Spray-Painting Technique Matters
Spray paint breaks a coating into tiny droplets and carries them toward a surface. That delivery method makes it excellent for curved furniture, narrow spindles, decorative details, and objects that would show brush marks. However, the same fine mist can drift onto nearby objects, dry before reaching the project, or build up too heavily in one spot.
A professional-looking result depends on controlling four things: adhesion, atomization, coverage, and drying. Adhesion begins with cleaning and surface preparation. Atomization depends on the can, nozzle, temperature, and shaking. Coverage depends on your distance and movement. Drying depends on coat thickness, humidity, temperature, and the product’s specific recoat schedule.
1. Choose Spray Paint Made for the Surface
The phrase “all-purpose” is comforting, but it does not mean every can is ideal for every object. Before falling in love with a color called something dramatic like Midnight Thunder or Antique Champagne, check whether the formula is compatible with your surface.
Match the coating to the material
General-purpose enamel is suitable for many properly prepared wood and metal projects. Plastic often performs better with a formula designed to bond to plastic or with an appropriate bonding primer. Glass and glazed ceramic require coatings specifically labeled for those slick surfaces. Outdoor furniture needs an exterior-rated product, while radiators, grills, fire pits, and engine parts require heat-resistant paint formulated for the temperatures involved.
Also consider how the object will be used. A decorative vase has different durability requirements from a chair, tool cabinet, or frequently handled drawer pull. Standard craft paint should not be used on food-contact surfaces, cookware, stove interiors, or areas exposed directly to flames.
Read the can from beginning to end. The label identifies compatible surfaces, recommended temperature, recoat window, drying time, safety precautions, and whether primer or a protective clear coat is recommended. Those instructions outrank every clever shortcut found online.
2. Create a Safe, Controlled Work Area
Spray outside whenever the product label allows and weather conditions are suitable. An open garage door is helpful, but a calm outdoor location with good airflow is generally better than an enclosed basement, bathroom, or workshop.
Protect yourself and everything nearby
Wear chemical-resistant gloves, eye protection, old clothing, and suitable respiratory protection based on the product label or safety data sheet. A simple nuisance-dust mask is not designed to protect against solvent vapors. When respiratory protection is required, use an appropriate NIOSH-approved respirator and follow its fitting and cartridge instructions.
Keep aerosol coatings away from cigarettes, pilot lights, heaters, sparks, running motors, and other ignition sources. Move pets and children out of the work area. Cover the floor and nearby belongings with drop cloths, contractor paper, cardboard, or plastic sheeting. Overspray is adventurous; it will happily travel toward your car, windows, plants, and your neighbor’s previously white lawn chair.
Ventilation is the primary defense against airborne paint mist and vapors. U.S. environmental and occupational-safety guidance emphasizes controlling paint emissions through effective ventilation and limiting inhalation and skin exposure.
3. Wait for Spray-Paint-Friendly Weather
Weather can turn a good technique into a bad finish. Cold conditions can slow drying, while excessive heat may cause droplets to dry before they level on the surface. High humidity can extend drying time and contribute to cloudiness, bubbling, or adhesion problems. Wind increases overspray and may decorate your wet paint with dust, pollen, or one extremely unlucky mosquito.
Many consumer products perform well in moderate temperatures and relatively low humidity, but ranges vary. For example, some manufacturers recommend approximately 55°F to 75°F with humidity below 60%, while other products permit a wider temperature range. Always follow the specific can rather than treating one range as a universal rule. dry, calm day and work in open shade when possible. Direct midday sun can heat metal or plastic far above the surrounding air temperature. If the object feels hot, move it into the shade and let it cool before painting.
4. Clean the Surface More Thoroughly Than Seems Necessary
Paint will stick to grease, dust, wax, furniture polish, and soap residuefor approximately long enough to disappoint you. A surface may look clean while still carrying invisible contaminants that interfere with adhesion.
Use a material-appropriate cleaner
Remove loose dirt first. Wash most durable surfaces with mild detergent and water, rinse thoroughly, and allow them to dry. Use an appropriate degreaser for greasy metal, workshop equipment, or kitchen-related items. Remove wax and polish from furniture with a cleaner approved for the material.
Pay special attention to corners, joints, carved details, handles, and areas touched frequently. Skin oils around knobs and edges can cause small adhesion failures. After cleaning, avoid handling the prepared surface with bare hands.
Do not paint damp wood or metal with condensation on it. Moisture trapped beneath a coating can contribute to bubbling, staining, rust, or peeling later.
5. Sand, Repair, and Remove Loose Material
Cleaning removes contamination; sanding improves the physical surface. Light sanding dulls glossy finishes, smooths defects, and creates a slightly textured profile that gives primer or paint more area to grip.
Remove peeling paint with a scraper or wire brush. Sand rough wood, patched areas, scratches, and sharp transitions where old paint meets bare material. For metal, remove loose rust and flaky coatings. Heavy corrosion may require a rust-removal product or more aggressive mechanical preparation.
Finish by removing sanding dust
Vacuum the project and surrounding work area. Wipe wood with a clean, lint-free cloth or tack cloth when appropriate. Use a residue-free method recommended for metal, plastic, glass, or other nonporous materials.
The goal is not to sand every object into oblivion. You want a stable, clean, uniformly dull surface without loose particles. Some specialized direct-to-surface paints require little or no sanding, but that exception should come from the product instructionsnot from optimism.
6. Use Primer Strategically
Primer is not mandatory for every spray-paint project, especially when using a paint-and-primer product on a compatible, previously finished surface. However, it is extremely useful when adhesion, color uniformity, corrosion protection, or stain blocking is important.
Consider primer when painting bare wood, porous material, repaired areas, rusty metal, glossy surfaces, difficult plastics, or an object undergoing a dramatic color change. A light-colored primer can help bright colors cover a dark base. A darker primer may support deep colors. Rust-inhibiting primer offers additional protection for properly prepared metal.
Apply primer in thin, even coats and allow it to dry according to its label. If the dried primer feels rough, lightly sand it with fine-grit sandpaper and remove all dust before applying color.
Confirm that the primer and topcoat are compatible. Mixing unrelated coating systems without checking can lead to wrinkling, lifting, slow curing, or poor adhesion. Paint chemistry is less forgiving than a craft-show montage makes it appear.
7. Prepare the Can and Test the Spray Pattern
Bring the can to the recommended working temperature and shake it for the full period stated on the label. Hearing the mixing ball rattle is the beginning of the process, not evidence that three shakes are enough. Pigments and other solids must be thoroughly redistributed for consistent color and sheen.
Continue shaking periodically during longer projects. This is especially important with primers, metallic colors, textured finishes, and heavily pigmented coatings.
Always perform a test spray
Spray onto scrap cardboard or a sample made from the same material. The test reveals the fan shape, color, pressure, surface compatibility, and ideal working distance. It also clears material from the nozzle before you aim at the actual project.
Testing is particularly valuable for plastic and unconventional surfaces. A hidden test area can show whether the coating reacts badly, remains tacky, changes the material, or produces an unexpected color.
8. Maintain the Correct Distance and Angle
Most aerosol spray paints are applied from roughly 8 to 12 inches away, but the label should provide the correct distance for your product and nozzle. Holding the can too close delivers excess paint, causing runs, sags, solvent trapping, and uneven gloss. Holding it too far away allows droplets to dry in the air, creating a dusty or rough texture.
Keep the nozzle as close to perpendicular to the surface as the project allows. Move your entire arm rather than swinging only your wrist. A wrist-only arc brings the can closer in the middle of each pass and farther away at the ends, producing thick centers and thin edges.
Keep moving at a consistent speed. Begin the stroke just before pressing the nozzle, spray across the object, and release the nozzle just after passing the opposite edge. Starting and stopping directly over the project can create dark spots and puddles.
9. Apply Several Thin, Overlapping Coats
The first coat does not need to hide the original color. In fact, it usually should not. Treat it as a light foundation that gives later coats something to build upon.
Move in smooth, parallel passes, overlapping the previous pass enough to avoid stripes. For a small aerosol project, modest overlap generally works well; larger spray equipment may specify approximately 50% overlap. The spray pattern should remain wet enough to blend without becoming so heavy that paint begins to run.
Several light coats produce a more even finish than one thick coat. Thin layers allow solvents or water to escape more predictably, reduce sagging, and make it easier to cover edges, curves, and recessed details without flooding them.
Change direction between coats when practical. For example, use horizontal passes for one coat and vertical passes for the next. Rotate small objects so you can reach hidden edges without twisting your arm into a position last seen in competitive yoga.
If a run appears, resist the urge to wipe it immediately. Let the paint dry fully, sand the defect smooth, remove the dust, and apply another light coat. Trying to repair wet aerosol paint often expands one drip into a much more ambitious problem.
10. Respect Recoat, Drying, and Curing Times
“Dry to the touch” does not mean ready for assembly, heavy handling, or outdoor punishment. Paint can feel dry on the surface while remaining soft underneath. Dry time describes early surface drying; cure time is the longer period during which the coating reaches its intended hardness and durability.
Follow the exact recoat window printed on the can. Some aerosol products allow additional coats within a short period and then require a much longer wait before recoating. Applying paint during the wrong stage can soften the previous layer and cause lifting, cracking, or wrinkles.
After the final coat, place the object in a protected, ventilated area where dust and curious fingers cannot reach it. Wait for full curing before reassembling parts, tightening hardware, stacking objects, placing heavy items on furniture, or returning the project to regular use.
Finish by clearing the nozzle
Follow the manufacturer’s procedure for cleaning the spray tip. Some cans instruct users to invert the can and spray briefly until clear; others have different nozzle systems. Wipe away wet paint with a compatible method, replace the cap, and store the can upright in an approved temperature range away from heat and ignition sources.
Do not automatically add a clear coat. Use one only when it provides a needed sheen or protection and is compatible with the color coat. An incompatible or prematurely applied clear finish can wrinkle an otherwise successful project.
Common DIY Spray-Painting Problems and Fixes
Runs and sags
Likely causes: Spraying too close, moving too slowly, or applying a coat that is too heavy.
Fix: Allow the coating to dry, sand the defect level, remove the dust, and recoat lightly.
Rough or powdery texture
Likely causes: Holding the can too far away, painting in excessive heat, or allowing wind to dry and scatter the droplets.
Fix: After drying, lightly sand the surface and spray again under better conditions from the recommended distance.
Wrinkles or lifting
Likely causes: Applying incompatible coatings, using a heavy coat, or missing the manufacturer’s recoat window.
Fix: Let the finish harden thoroughly, remove unstable material, smooth the surface, and restart with compatible products.
Paint peels easily
Likely causes: Grease, polish, rust, inadequate sanding, an incompatible surface, or insufficient curing.
Fix: Strip or sand away the failed coating, clean carefully, apply the correct primer if needed, and repaint.
Uneven color or sheen
Likely causes: Inadequate shaking, inconsistent distance, incomplete overlap, or uneven coat thickness.
Fix: Shake thoroughly and apply a final uniform coat using steady, overlapping passes.
Real-World Experiences That Make Spray Painting Easier
One of the most useful lessons from repeated DIY projects is that setting up a simple painting station saves more time than it consumes. A large cardboard box placed on its side can act as a small overspray shield for picture frames, planters, lamps, and hardware. It is not a substitute for outdoor ventilation, but it helps contain paint mist and keeps loose debris away from the wet surface.
For small objects, raising the project above the work surface is another major improvement. Blocks of scrap wood, painter’s pyramids, or disposable cups can support an item so its lower edges remain accessible. A lazy Susan or homemade rotating platform also helps you coat curved objects without touching them. Cover the platform first, or it may become an accidental permanent art installation.
Painting removable hardware separately usually creates cleaner results. Take off knobs, handles, hinges, shelves, doors, and decorative pieces when possible. Place screws in labeled bags and photograph the object before disassembly. That photograph becomes extremely valuable when six similar brackets suddenly appear to have no known purpose.
A flashlight held at a low angle can reveal missed spots, dry spray, sanding scratches, and uneven sheen before the project is declared finished. Inspect between coats only after the surface has dried enough to approach safely. Bright overhead lighting alone may hide imperfections on glossy or metallic finishes.
Metallic spray paint requires extra discipline. Metallic particles can settle quickly, so shake the can frequently and maintain consistent passes. Trying to “touch up” one small area from a different angle may create a visible patch because the particles reflect light differently. A final light orientation coat across the entire visible face can help produce a more uniform appearance when permitted by the product instructions.
Edges deserve attention, but they should not receive every coat twice. When a pass wraps around an edge and another pass begins on the adjacent face, the edge collects paint from both directions. This makes corners common locations for runs. Use lighter passes and examine the edges before adding more material.
Patience after painting may be the hardest skill to learn. A freshly painted handle can feel dry after a short time, tempting you to reinstall it immediately. Then a screwdriver, washer, or fingertip presses into the soft finish and leaves a permanent souvenir. Waiting for the recommended cure period is less exciting, but it is much faster than sanding and repainting the part.
It also helps to keep a project record. Photograph the can, color name, product number, primer, clear coat, application date, and approximate weather conditions. If a finish performs well, you can repeat the system. If it fails, you have enough information to identify the likely cause instead of blaming an innocent piece of furniture.
Finally, know when spray paint is not the best tool. Large flat walls, valuable antiques, food-contact items, severely corroded structures, and objects with unknown old coatings may require another method or professional evaluation. Spray paint is excellent at transforming appropriate projects quickly, but it cannot negotiate with every material ever manufactured.
Conclusion
The best DIY spray-painting tips are not secret tricks. They are repeatable habits: choose a compatible coating, work safely, wait for suitable weather, clean and sand carefully, prime when necessary, test the nozzle, maintain a consistent distance, apply thin overlapping coats, and respect the recoat and curing schedule.
Preparation may take longer than spraying, but it is what produces a finish that looks smooth instead of hurried. Give each stage enough attention, and an inexpensive can of paint can create a durable transformation without drips, peeling edges, or an unintended color upgrade for everything else in the garage.