A roof leak has a special talent for appearing at the worst possible time: during dinner, during a storm, or right after you proudly said, “This house is in pretty good shape.” The good news is that not every leak means your roof is doomed. Many small roof leaks come from damaged shingles, cracked flashing, worn vent boots, clogged gutters, loose fasteners, or tired sealant around roof penetrations. The less-good news? Water is sneaky. It can enter at one spot, travel along rafters, insulation, or decking, and show up ten feet away like it has a plumbing license.
This guide explains how to repair a roof leak safely, how to find the real source, when a DIY roof leak repair makes sense, and when it is time to call a licensed roofing contractor. Think of it as a calm conversation with your roof before it starts sending water through the ceiling like an indoor weather feature.
Important safety note: Roof work can be dangerous, especially on steep, wet, icy, high, or damaged roofs. If you are not an experienced adult with proper safety equipment, do not climb onto the roof. Inspect from the ground, attic, or a stable ladder only when conditions are safe, and call a professional for anything risky, structural, or unclear.
Common Signs of a Roof Leak
The first clue is usually not a dramatic waterfall. It is often a small brown ceiling stain, peeling paint, a musty smell, damp insulation, or a drip that only appears during heavy rain. In an attic, you may notice dark streaks on rafters, shiny wet spots on roof sheathing, compressed or discolored insulation, rusty nails, or mold-like growth. On the exterior, look for missing shingles, cracked shingles, lifted flashing, damaged vent boots, clogged gutters, loose chimney flashing, or debris collected in roof valleys.
One of the biggest mistakes homeowners make is assuming the ceiling stain is directly below the roof opening. Water does not always travel politely in a straight line. It may run down a rafter, follow a nail, sneak behind insulation, and finally drip onto drywall several feet from the actual entry point.
Step 1: Control Interior Water First
Before repairing the roof, limit the damage inside the house. Place a bucket under active drips, move furniture, protect flooring, and use towels to absorb standing water. If the ceiling is bulging, that means water may be trapped behind drywall. Do not stand directly beneath it like a detective in a raincoat. Carefully relieve pressure only if you can do so safely, and keep electricity in mind. If water is near lights, outlets, wiring, or the electrical panel, stop and call a professional immediately.
Dry wet materials quickly. Damp drywall, insulation, and wood can lead to mold and rot if ignored. Run fans, use a dehumidifier, and remove soaked insulation if it can be done safely. A roof leak repair is not finished until the moisture problem is actually dry, not just hidden behind fresh paint.
Step 2: Find the Source of the Roof Leak
Start in the Attic
The attic is often the best place to begin because it lets you inspect the underside of the roof without stepping onto shingles. Bring a flashlight and look above the ceiling stain. Search for water trails, darkened wood, damp insulation, rusty nails, or wet roof decking. Follow stains uphill toward the roof peak. Because water flows downward, the highest wet point is often close to the source.
If the leak only appears during rain, inspect during or immediately after a storm from inside the attic, provided it is safe. Never step between ceiling joists; attic drywall is not a floor, despite its confident appearance.
Inspect from the Ground
Use binoculars to scan the roof from the yard. Look for missing shingles, curled edges, cracked tabs, exposed nails, sagging areas, lifted flashing, damaged chimney caps, and cracked rubber boots around plumbing vents. Check gutters and downspouts too. Clogged gutters can push water under roof edges or overflow into fascia and soffits.
Use a Controlled Water Test Only When Safe
If the leak is hard to locate and the roof is safe to access by a qualified adult or professional, a controlled water test may help. One person watches inside the attic while another gently runs water over small roof sections, starting low and moving upward. The goal is to isolate the leak area, not blast the roof like you are pressure-washing a driveway. Pressure washers can force water under shingles and create new problems. Roofs do not enjoy being interrogated with high-pressure water.
Step 3: Identify the Type of Roof Leak
Different leaks need different repairs. A missing shingle is not repaired the same way as bad chimney flashing. Matching the repair to the cause is what separates a lasting fix from a temporary blob of roof cement that looks like a raccoon stepped in tar.
Damaged or Missing Shingles
Asphalt shingles can crack, curl, lose granules, or blow off in high wind. If only a few shingles are damaged and the roof deck is sound, replacing them may solve the leak. The correct repair usually involves lifting the surrounding shingles carefully, removing damaged nails, sliding in a matching replacement shingle, fastening it properly, and sealing lifted tabs according to manufacturer guidance.
Failed Flashing
Flashing is thin metal installed where the roof meets walls, chimneys, skylights, valleys, dormers, and vents. It protects gaps that shingles alone cannot seal. When flashing corrodes, lifts, bends, cracks, or was installed incorrectly, water can slip underneath. Flashing repairs often require removing nearby shingles, cleaning the area, replacing damaged metal, and resealing the joint properly.
Cracked Vent Boots
Plumbing vent pipes usually pass through the roof and are sealed with a rubber boot or metal-and-rubber flashing. Over time, rubber can crack from sun exposure, temperature swings, and age. A failed vent boot is one of the most common causes of small roof leaks. If the boot is cracked, the best fix is usually replacement, not a quick smear of sealant that fails after the next round of weather drama.
Leaking Chimneys and Skylights
Leaks around chimneys and skylights can come from bad flashing, cracked masonry, failed sealant, missing counterflashing, or poor installation. These repairs are more complex because they involve several layers of waterproofing. If water stains appear near a fireplace, skylight shaft, or dormer wall, a professional inspection is usually worth the money.
Clogged Gutters and Roof Valleys
Sometimes the roof covering is not the villain. Leaves, pine needles, branches, and roof debris can trap water in gutters or valleys. When water cannot drain, it may back up under shingles or spill into fascia boards. Cleaning gutters and valleys can stop some leaks, but be careful: if water has already damaged wood, you may need repairs beyond cleaning.
Step 4: Gather Tools and Materials
For minor asphalt shingle roof leak repair, common tools and materials may include replacement shingles, roofing nails, a flat pry bar, hammer, utility knife, roofing cement, exterior-grade roof sealant, flashing material, work gloves, eye protection, a flashlight, and a stable ladder. For interior drying, you may need buckets, towels, fans, a dehumidifier, and moisture-resistant cleanup supplies.
Use materials designed for roofing. Ordinary household caulk is not a long-term roof repair product. Roof surfaces expand, contract, heat up, freeze, and get blasted by UV rays. A product that works beautifully around a bathroom sink may give up on a roof faster than a paper umbrella.
Step 5: Repair Damaged Asphalt Shingles
If the leak is clearly caused by a small area of damaged shingles and the roof is safe for qualified repair, the process is usually straightforward. First, lift the tabs of the shingles above the damaged one with a flat pry bar. Break the seal gently so you do not tear good shingles. Remove the nails holding the damaged shingle and slide it out. If the underlayment or roof deck beneath is rotten, soft, or wet, stop and call a roofer because the problem is bigger than one shingle.
Slide the new shingle into place, align it with the surrounding courses, and fasten it according to the shingle manufacturer’s nailing pattern. Nails should be covered by the shingle above, not left exposed to weather. Reseal lifted tabs with a small amount of roofing cement where appropriate. The finished repair should blend smoothly with the roof surface and shed water downward, not create a bump, pocket, or water trap.
Step 6: Patch Small Nail Holes or Minor Punctures
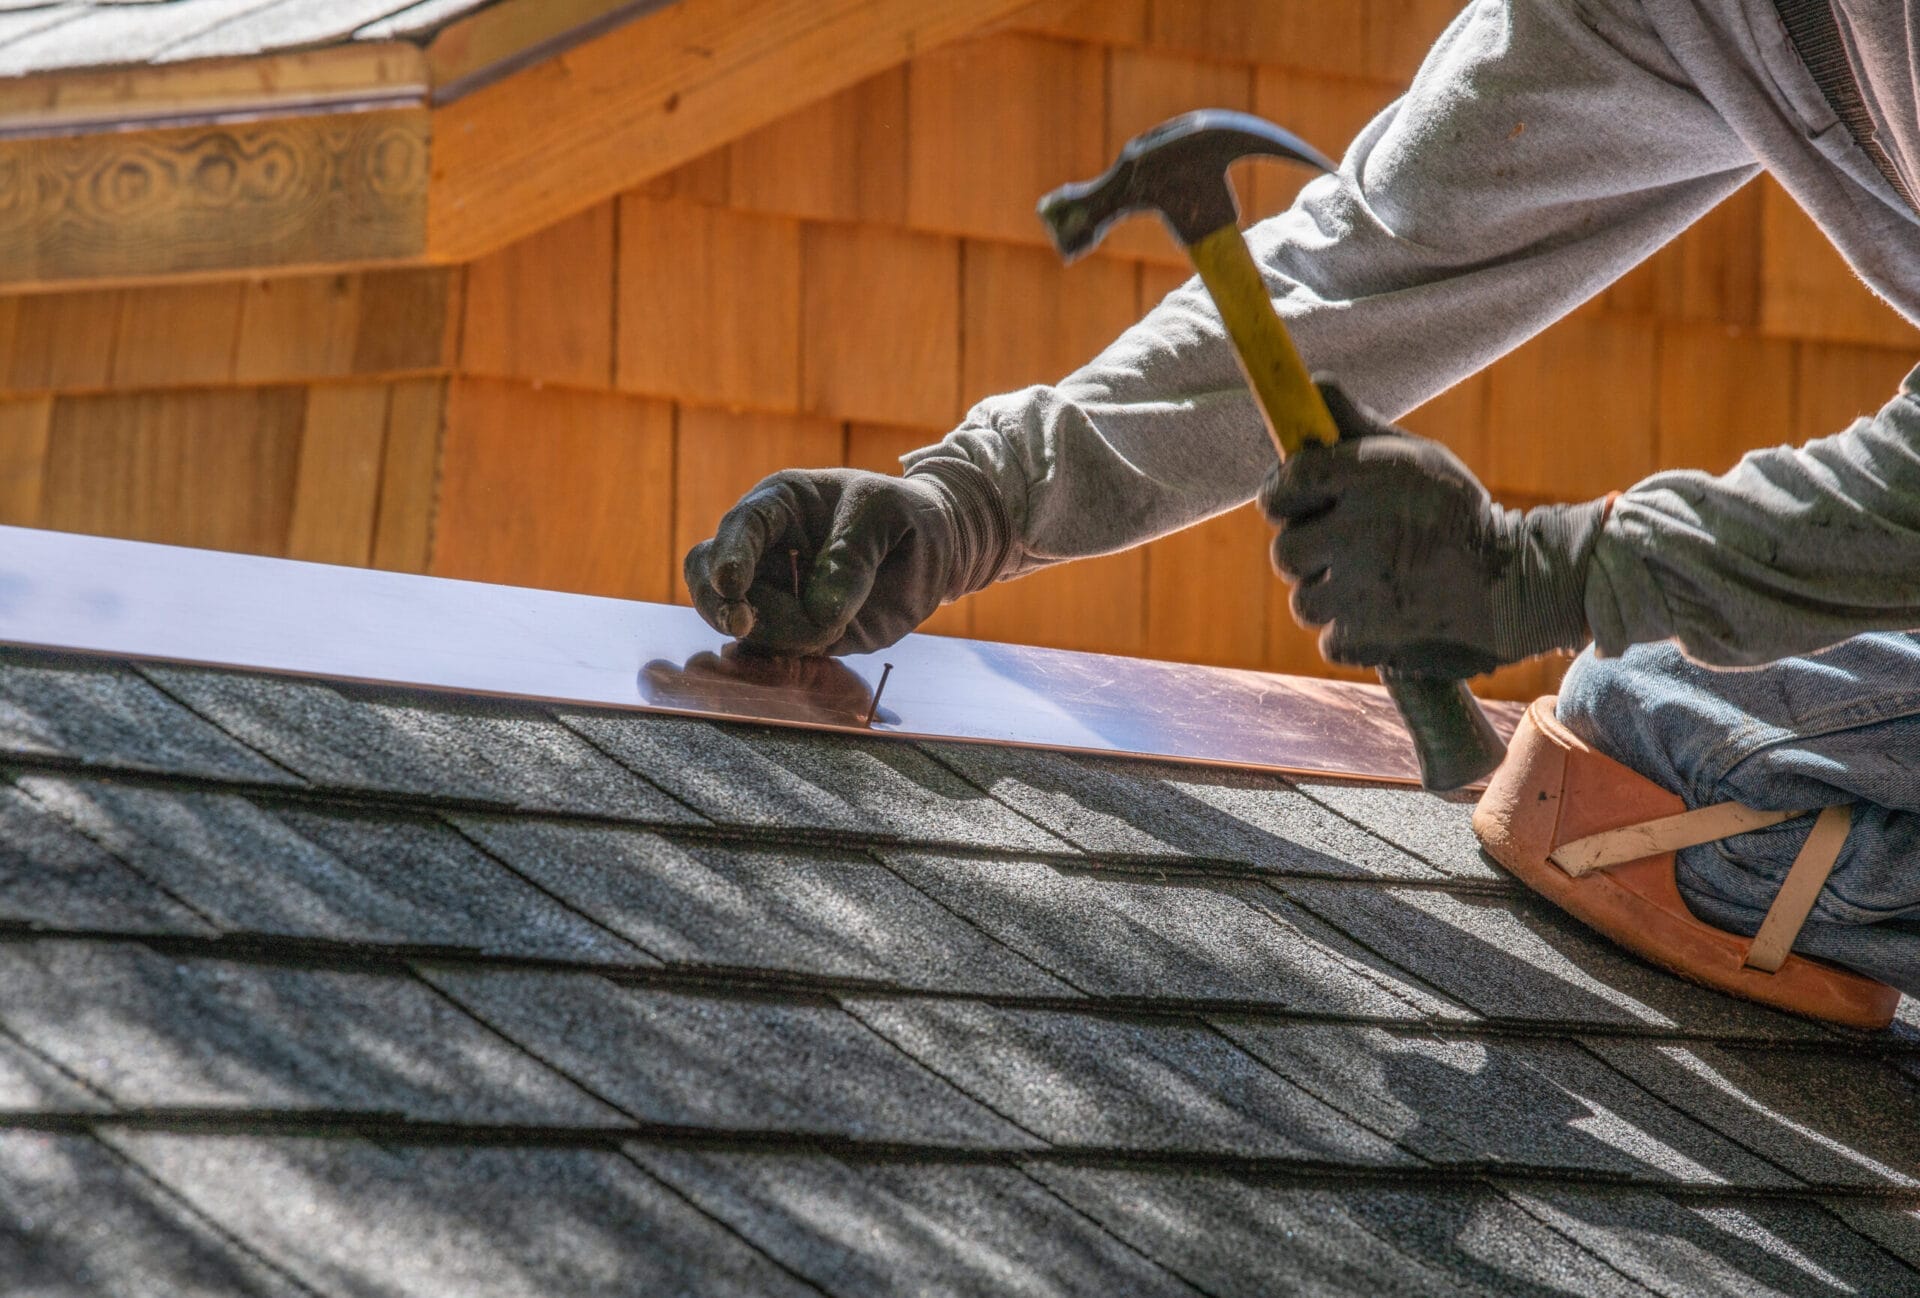
Small holes from old satellite mounts, misplaced nails, or removed hardware can leak surprisingly well. A reliable repair is more than squeezing sealant into the hole. A better method is to slide a small piece of metal flashing under the shingle above the hole so water is directed over the damaged area. Roofing cement or compatible roof sealant can help hold the flashing in place. The idea is to create a hidden water-shedding patch, not a shiny exposed target for sunlight and weather.
Exposed fasteners should be handled carefully. If nails or screws are backing out, rusting, or sitting in the open, they may be part of a larger installation problem. Sealant over an exposed nail can be a temporary measure, but a proper mechanical repair is usually more dependable.
Step 7: Repair or Replace Flashing
Flashing repairs require patience. Around chimneys, walls, and dormers, flashing should work like a layered drainage system. Water should flow from the upper roof surface over the flashing and onto the shingles below. If flashing is simply caulked at the edge, water may eventually find a path behind it.
For minor flashing gaps, a compatible roofing sealant or roofing cement may help if the metal is still solid and properly positioned. For cracked, corroded, missing, or badly installed flashing, replacement is the better choice. That may involve removing shingles around the area, taking out damaged flashing, checking the roof deck, installing new flashing, and restoring the shingle layers so water naturally sheds downward.
Chimney flashing, step flashing, and skylight flashing are easy to get wrong. If siding, masonry, or multiple flashing pieces are involved, hire a professional. Water loves complicated intersections. It probably has a tiny clipboard and a map.
Step 8: Fix a Leaking Vent Boot
If the leak comes from a cracked plumbing vent boot, replacement is usually the most reliable repair. The surrounding shingles may need to be loosened, the old boot removed, and a new properly sized boot installed over the pipe. The flashing should sit flat against the roof and integrate with the shingles so water flows over the top and around the sides. Any fasteners must be placed and sealed correctly.
Temporary boot repair products exist, but they should not be treated as a permanent cure if the boot is badly split or brittle. Rubber that has already failed will not become young again because you gave it sealant. Roofing materials, sadly, do not moisturize.
Step 9: Clean Gutters, Downspouts, and Valleys
Water must leave the roof efficiently. Clean gutters, check downspouts, and remove debris from valleys. Make sure downspouts discharge water away from the foundation. If gutters overflow during rain, water can back up under shingles, soak fascia boards, and create leaks near exterior walls.
Also check for gutter damage. Loose gutters may tilt the wrong way, creating standing water. Rusted seams, separated joints, or missing end caps can dump water into places it should not go. Sometimes the best roof leak repair starts with a ladder, a pair of gloves, and the discovery that your gutter has been hosting a small compost festival.
Step 10: Know When to Call a Professional Roofer
Call a professional if the roof is steep, wet, icy, high, sagging, structurally damaged, or difficult to access. Also call if the leak is near a chimney, skylight, valley, flat roof membrane, solar panel, electrical equipment, or multiple roof penetrations. If you see rotted decking, widespread granule loss, repeated leaks, storm damage, or several missing shingles, a patch may not be enough.
Professional roof leak repair also makes sense when insurance may be involved. Sudden storm damage, hail, wind, or falling debris may be handled differently from age-related wear. Take photos, document the date, keep receipts, and avoid making permanent changes before your insurer has the information it needs.
Roof Leak Repair Cost: What to Expect
Costs vary widely depending on roof material, slope, leak location, labor rates, and damage severity. Minor repairs such as replacing a few shingles, sealing a small flashing gap, or replacing a vent boot may cost far less than repairing rotted decking, chimney flashing, skylight leaks, or water-damaged interiors. If a leak has been active for weeks or months, the visible stain may be only the polite introduction to a larger repair bill.
The cheapest repair is usually the one done early and correctly. A small leak ignored through several storms can damage insulation, drywall, framing, paint, flooring, and personal belongings. It can also create mold concerns. That is why “I’ll deal with it later” is one of the most expensive sentences in home maintenance.
Preventing Future Roof Leaks
Prevention is less glamorous than emergency repair, but it is much cheaper and less soggy. Inspect your roof from the ground after major storms. Keep gutters clean. Trim branches that scrape shingles. Watch for moss, algae, missing granules, cracked caulk, lifted flashing, and loose ridge caps. Schedule professional roof inspections periodically, especially before severe weather seasons or after hail and wind events.
Attic ventilation matters too. Poor ventilation can trap moisture, damage roof decking, increase condensation, and contribute to ice dams in cold climates. If your attic smells musty, has wet insulation, or shows condensation on nails or sheathing, the issue may not be only an exterior leak. Moisture control, air sealing, and ventilation should work together.
Common Roof Leak Repair Mistakes
Using Too Much Sealant
Roof cement and sealant are useful, but they are not magic frosting. Huge blobs can crack, trap water, hide damage, and make future repairs harder. A proper repair should restore the roof’s water-shedding layers.
Fixing the Stain Instead of the Leak
Painting over a ceiling stain before fixing the roof is like putting a hat on a headache. The room may look better for a moment, but the problem is still upstairs plotting its comeback.
Ignoring Flashing
Many homeowners focus on shingles, but flashing is often the real leak source. Roof intersections, chimneys, sidewalls, vents, and skylights deserve close attention.
Walking on a Fragile Roof
Walking on old, brittle, wet, or steep roofing can damage materials and create a serious fall hazard. If inspection cannot be done safely, hire a roofer.
Real-World Experiences: Lessons From Roof Leak Repairs
One of the most useful lessons from roof leak repair is that the smallest stain can have the biggest attitude. A homeowner may notice a faint yellow mark near the bedroom ceiling and assume it is harmless. Then the next storm arrives, the stain grows, and suddenly the house is auditioning for a submarine movie. In many cases, that “tiny” leak began with a cracked vent boot or a lifted shingle tab. The actual repair might be simple, but only if it is found early.
Another common experience is the mystery leak that appears only during wind-driven rain. On calm rainy days, nothing happens. During a storm with sideways rain, water enters around flashing, under a loose shingle edge, or through a gap near a dormer. These leaks can be frustrating because they do not always show up during a casual inspection. A careful attic check after the right kind of storm often reveals the path.
Homeowners also learn quickly that matching shingles is not always easy. Even if you saved leftover shingles in the garage, the roof shingles outside may have faded from sun exposure. A replacement shingle may look slightly different at first. That is normal, though a good repair should still sit flat, align correctly, and protect the roof. Function comes first; curb appeal comes second. A dry ceiling is more charming than a perfect color match and a dripping light fixture.
Many roof leak stories involve gutters. Someone spends hours worrying about shingles, only to discover that leaves have blocked a valley or gutter and pushed water backward. Regular gutter cleaning is not exciting, but neither is replacing soggy fascia board. If your home sits under trees, roof drainage deserves extra attention. Leaves do not care about your weekend plans.
The most important experience is knowing when to stop. A handy homeowner may be comfortable replacing a small number of shingles on a low-slope, single-story roof in dry weather. But chimney flashing, skylights, steep roofs, rotten decking, and storm-damaged sections are different animals. Calling a professional is not defeat; it is wisdom wearing work boots. A correct roof leak repair protects the structure, the interior, and everyone who lives under it.
Conclusion
Learning how to repair a roof leak starts with patience, safety, and good detective work. Control the water inside, trace the leak from the attic when possible, inspect common exterior trouble spots, and choose a repair that matches the cause. Damaged shingles, failed flashing, cracked vent boots, clogged gutters, and roof penetrations are common suspects, but the real source may be several feet from the stain.
For small, clear, low-risk repairs, a careful DIY approach may work. For steep roofs, structural damage, complex flashing, skylights, chimneys, repeated leaks, or any unsafe condition, hire a licensed roofing contractor. A roof’s job is simple: keep weather outside where it belongs. Give it the right repair, and your ceiling can go back to being boringwhich, in roofing, is a beautiful thing.