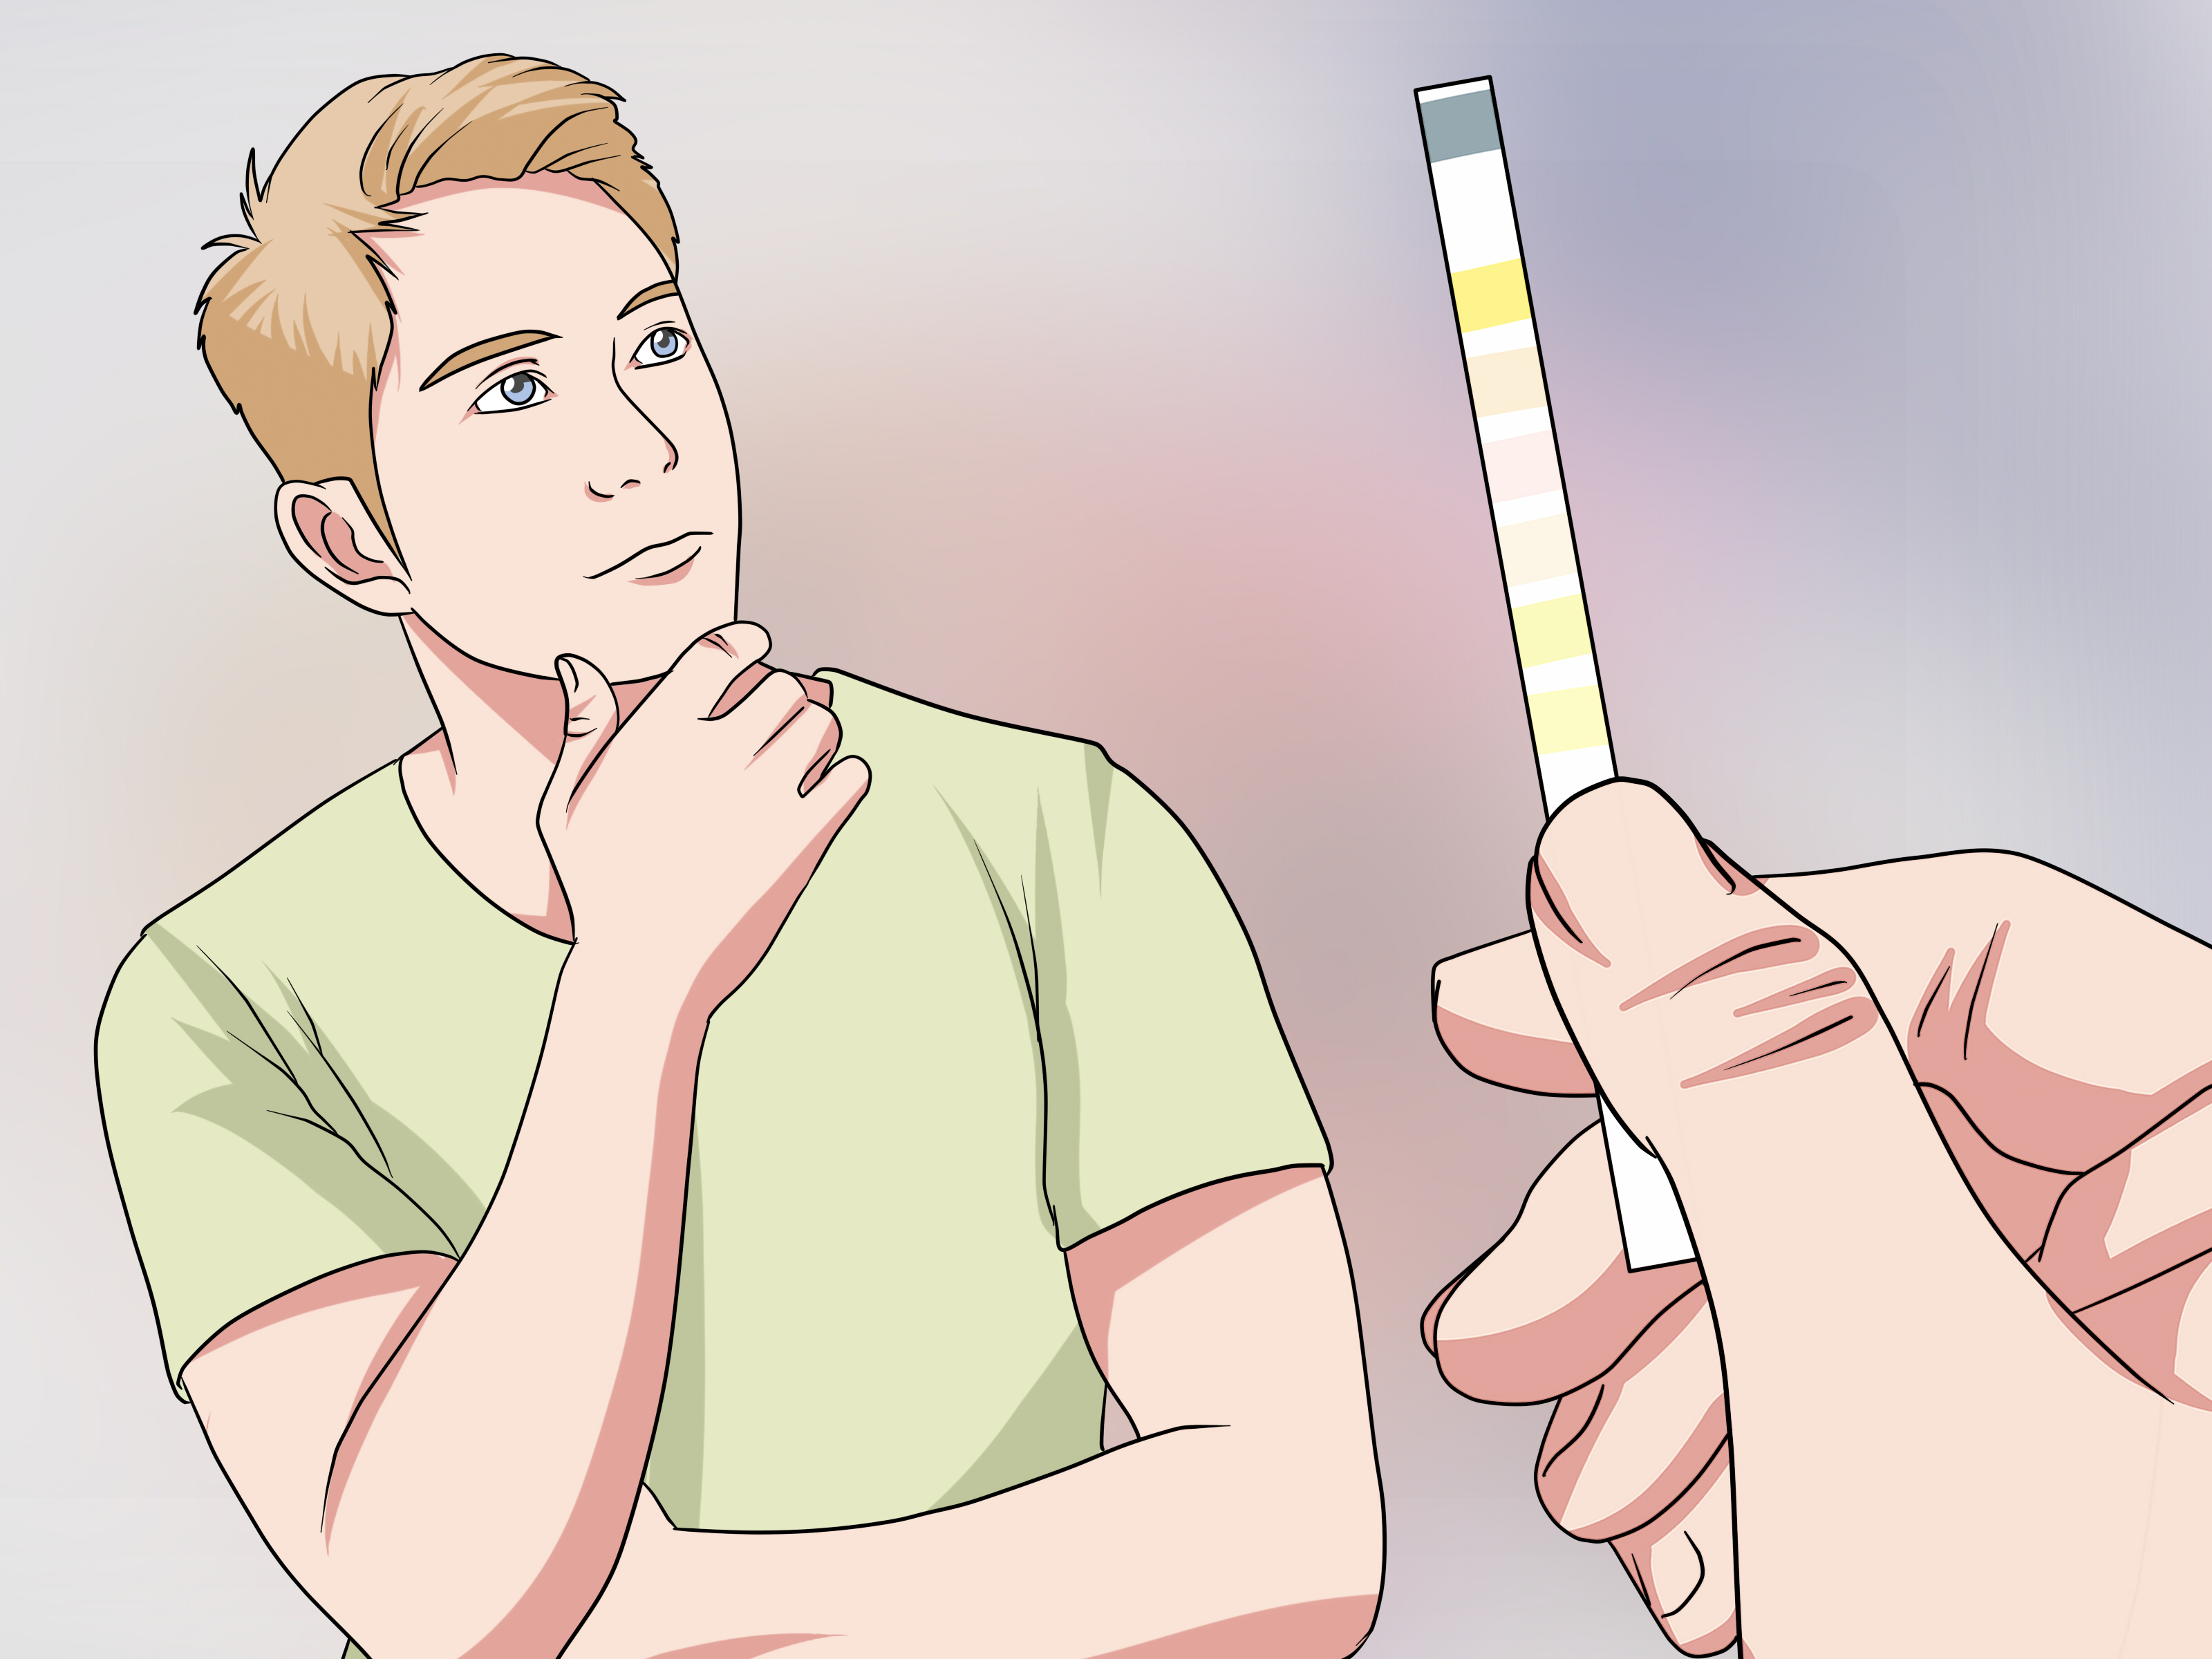
A urine dipstick test (also called a dipstick urinalysis or urine reagent strip test) is one of the fastest ways to learn what your pee might be trying to tell youwithout booking a full lab workup or becoming a part-time detective. In a couple of minutes, those tiny color pads can screen for clues linked to UTIs, dehydration, blood in the urine, sugar/ketones, and more. The key word is screen. A dipstick is a helpful first check, not a final diagnosis.
Quick safety note (because your bladder deserves respect)
- Always follow your specific kit’s instructions. Timing and interpretation can vary by brand.
- Dipsticks can be wrong. Contamination, expired strips, certain meds/supplements, and reading the strip too early/late can all distort results.
- If you feel truly sick, don’t wait on a strip. Fever, flank/back pain, pregnancy, severe symptoms, or diabetes with possible ketones = call a clinician promptly.
What a urine dipstick test measures (in plain English)
Most multiparameter urine test strips check a mix of chemical markers. Depending on the strip, you may see pads for: leukocyte esterase (white blood cell activity), nitrite (a byproduct some bacteria make), blood, protein, glucose, ketones, pH, specific gravity (how concentrated your urine is), and sometimes bilirubin and urobilinogen.
Think of this as a “dashboard light” system: helpful for spotting something that deserves follow-up, but not specific enough to tell you exactly what’s going on by itself.
Before you start: set yourself up for accurate results
Pick the right moment
If you’re doing an at-home UTI test strip, many people test at a consistent time (often morning) so results are easier to compare day to day. For nitrite in particular, it may help if urine has sat in the bladder for a while (not a guaranteejust one factor).
Avoid the accuracy-killers
- Expired or poorly stored strips: Moisture, heat, and leaving the bottle open can ruin strips faster than you can say “faint greenish-beige.”
- Contamination: Vaginal discharge, menstrual blood, skin bacteria, and leftover soap can cause confusing results.
- Timing errors: Reading too soon or too late is one of the most common ways to misread a dipstick.
- High-dose vitamin C: It can interfere with some dipstick reactions and contribute to false negatives on certain pads.
The 11 steps: how to use a urine dipstick test correctly
Step 1) Wash your hands and prep a clean surface
Use soap and water, then dry. Set out your supplies (test strip bottle, timer/phone, a clean collection cup, and the color chartusually printed on the bottle).
Step 2) Check the expiration date and the storage condition
Don’t skip this. Strips are sensitive to moisture and air exposure. If the bottle was left open in a humid bathroom, the pads may be unreliable even if the date looks fine. When in doubt, open a fresh bottle.
Step 3) Read your kit’s timing rules before you pee
Dipsticks aren’t “dip whenever, read whenever.” Many are read in a window around 60–120 seconds overall, and some pads are more time-sensitive than others. (Yes, this means you should start the timer like you’re doing a tiny science experimentbecause you are.)
Step 4) Collect a clean-catch, midstream urine sample
For the cleanest sample, use the “clean catch” method:
- Clean the genital area with provided wipes (front-to-back for females).
- Start urinating into the toilet.
- Pause briefly, then collect urine midstream into a clean/sterile cup (often about half full is plenty).
- Finish urinating into the toilet.
Try not to touch the inside of the cup or lid. If you do, swap for a new cup if possible.
Step 5) Test promptly (fresh urine is best)
For at-home dipsticks, test right away. In clinical settings, fresh specimens are preferred, and if testing is delayed, samples may need refrigeration and should be tested within specific time limits. Translation: urine is not a “set it and forget it” beverage.
Step 6) Remove one strip and recap the bottle immediately
Take out a single strip by the handle end (the end without pads). Then close the cap tightly right away to protect the remaining strips from air and humidity.
Step 7) Dip quickly: fully wet the pads, then remove immediately
Briefly immerse the reagent pads in the urine so they’re all moistened, then remove the strip right away (don’t soak it like a tea bag).
Step 8) Remove excess urine the right way (no “chemical waterfalls”)
Drag the strip’s edge along the cup rim to remove extra urine. Many protocols also blot the edge against absorbent material. Then hold the strip horizontally to prevent “runover,” where liquid from one pad bleeds into another and changes colors that shouldn’t change.
Step 9) Start a timer immediately
Timing matters. A common example schedule for multiparameter strips (your brand may differ) is: 30 seconds for glucose/bilirubin, 40 seconds for ketones, 45 seconds for specific gravity, 60 seconds for blood/pH/protein/nitrite/urobilinogen, and 2 minutes for leukocytes. Your kit’s label is the bossfollow it.
Step 10) Compare each pad to the color chart at the correct time
Use bright, neutral lighting (bathroom mood lighting is not your friend here). Hold the strip close to the chart and match carefully. Don’t “average” colors in your headpick the closest match at the right time window.
Pro tip: if your chart is tiny, take a clear photo of the strip next to the chart at the correct read time so you can review it calmly instead of panic-squinting.
Step 11) Record results, then dispose safely
Write down the date/time, your symptoms (if any), and the results for each pad (e.g., “nitrite positive, leukocytes trace”). Throw the used strip away, clean the surface, and wash your hands again.
How to interpret common results (without spiraling)
Your dipstick can suggest patterns, but it can’t tell the full story. Here are common scenarios and what they might mean:
Leukocytes and nitrite
- Both positive: often consistent with a bacterial UTI, especially with symptoms (burning, urgency, frequency).
- Leukocytes positive, nitrite negative: could still be infection, inflammation, or contamination. Not all bacteria produce nitrite.
- Nitrite positive, leukocytes negative: can happen early, with timing issues, or with strip/handling problems.
Blood
Blood on dipstick can be caused by a UTI, kidney stones, vigorous exercise, menstruation contamination, or other kidney/urinary tract issues. If you see blood repeatedly (or you have visible red urine), that’s a clinician conversationsoon.
Protein
Protein can show up transiently (after intense exercise, fever, dehydration), but persistent positivesespecially more than traceshould be evaluated. Some clinics specifically monitor protein trends over time rather than a single isolated reading.
Glucose and ketones
Glucose in urine can point toward elevated blood sugar. Ketones can show up with fasting/low-carb dieting, vomiting, or uncontrolled diabetes. If you have diabetes and see moderate-to-large ketones (especially with nausea, abdominal pain, deep/rapid breathing, or confusion), seek urgent medical care.
Specific gravity and pH
Specific gravity reflects how concentrated your urine is (hydration status is a big driver). pH can shift with diet, medications, and certain infections. These are usually context clues, not standalone answers.
Common mistakes that cause false positives/false negatives
- Leaving strips exposed to air: Some pads (like nitrite) can become unreliable if strips are left out.
- Reading at the wrong time: Leukocyte esterase is especially sensitive to timing; late reads can exaggerate color changes.
- Using a “not really clean” cup: Residual soap or disinfectant can interfere with reactions.
- Contaminated sample: Not doing a clean-catch, or collecting during menstruation without caution, can confuse results.
- Vitamin C supplements: High-dose ascorbic acid can interfere with certain dipstick reactions and contribute to false negatives on some pads.
- Old urine sitting at room temp: Chemical changes and bacterial growth can shift results over time.
When to contact a clinician (don’t “tough it out”)
Use a dipstick as a toolnot a substitute for care. Contact a clinician promptly if you have:
- Fever, chills, nausea/vomiting, or flank/back pain (possible kidney involvement)
- Pregnancy and UTI symptoms or positive screening results
- Symptoms in a child, or in men (often needs clinical evaluation)
- Visible blood in urine, or repeated dipstick blood positives
- Diabetes with positive ketones or feeling unwell
- Persistent symptoms despite negative dipstick results
FAQ: quick answers to common dipstick questions
How long should I wait before reading the strip?
Many strips are read within about 1–2 minutes overall, but individual pads may have different read times. Follow your bottle’s chart exactly and use a timer.
Do I need a sterile cup?
Sterile is ideal (especially for anything you’ll bring to a lab), but for at-home screening, a very clean cup can work. The cleaner the collection, the clearer your results.
What if I’m sure I have a UTI but the test is negative?
It happens. Not all bacteria make nitrite, timing matters, and inflammation can be intermittent. If symptoms are strong or persistent, a clinician may order a urinalysis with microscopy and/or a urine culture.
Real-world experiences : what people notice when using urine dipsticks
Let’s talk about what it’s actually like to use a urine dipstick test at homebecause the official instructions make it sound like you’ll calmly stroll through a flawless mini-laboratory procedure. In real life, people tend to run into the same “why is this so dramatic?” moments.
1) The color chart feels like a tiny art critique.
Many first-timers expect obvious “negative is white, positive is neon” results. Instead, you get subtle shifts: off-white to slightly-less-off-white, or beige with a whisper of green. The most common experience is hovering under a light and thinking, “Is this ‘trace’… or just my anxiety?” The fix is boring but effective: bright neutral lighting, a timer, and matching the pad at the exact read time. If you read late, colors can deepen and convince you something is wrong when it’s really just chemistry continuing to react.
2) Timing feels weirdly intense for something involving pee.
People often underestimate how fast those pads change. One minute you’re fine; the next minute you’re narrating like a sports commentator: “And at 60 seconds, the pH pad is holding steady… leukocytes coming in at the 120-second mark…” Using your phone timer helps, but here’s the pro move: don’t try to read every pad at once. Read the ones due at 30–60 seconds first, then check leukocytes at 2 minutes if your strip uses that schedule. It’s less chaotic, and you’ll be less likely to misread a pad because you were rushing.
3) “Clean-catch” is simple… until you’re doing it.
The clean-catch method sounds straightforward, but people commonly collect the sample too early in the stream or accidentally touch the inside of the cup. That’s not a moral failing; it’s just awkward geometry. If you’re testing for a possible UTI, sample quality matters because contamination can create confusing leukocyte results. People who repeat tests over a few days often notice that better collection technique leads to more consistent resultseven when symptoms are the same.
4) Results don’t always match symptoms (and that’s unsettling).
A frequent experience is classic UTI symptoms with a negative nitrite pad. That can happen for multiple reasons: not all bacteria produce nitrite, urine may not have been in the bladder long enough, or the strip may be old or moisture-exposed. The dipstick is a screening tool, not a verdict. Many people feel relief when they treat the dipstick like a “conversation starter” with their clinician: “Here’s what I’m feeling, here’s what the strip showed, and here’s when it started.” That combination is more useful than a single home test result.
5) The biggest win: tracking patterns, not obsessing over one test.
People who get the most value from dipsticks tend to track results alongside symptoms: burning, urgency, frequency, fever, hydration, and any meds/supplements (especially vitamin C). A single “trace” findingespecially if you were dehydrated or rushedoften means very little. But a consistent pattern (for example, leukocytes trending up over repeated properly timed tests while symptoms worsen) is a stronger signal that it’s time for professional evaluation.
Bottom line: if your first dipstick experience feels like you’re interpreting modern art under bathroom lighting, you’re normal. Use a timer, keep strips fresh and capped, focus on clean collection, and treat results as informationnot prophecy. Your bladder doesn’t need you to be perfect; it needs you to be practical.