Turning bike handlebars sideways sounds like one of those tiny tasks that should take ten secondsright up until the handlebars refuse to move, the front wheel points one way, the brake cable looks offended, and you suddenly feel like you are negotiating with a stubborn metal giraffe. The good news: this is usually a simple adjustment when you understand what kind of stem your bike has and why the handlebars are being turned in the first place.
Most people want to turn bike handlebars sideways for one of four reasons: storing the bike in a tight hallway, fitting it into a car, packing it in a bike box, or straightening handlebars after they were knocked out of alignment. The process is not the same for every bike. A modern mountain bike with a threadless stem uses different bolts than an older cruiser, road bike, or vintage commuter with a quill stem. Add carbon parts, hydraulic brake hoses, integrated cockpits, or e-bike wiring, and the “simple” job deserves a little patience.
This guide explains four simple ways to turn bike handlebars sideways safely, with practical examples, common mistakes, and a final real-world experience section for anyone who has ever tried to fit a bicycle into a hatchback while pretending everything is fine.
Before You Start: Know What “Sideways” Means
There are two common meanings when riders say they want to turn bike handlebars sideways. First, they may want to rotate the whole handlebar and stem assembly so the bars sit parallel with the bike frame for storage or transport. Second, they may want to rotate the handlebar inside the stem clamp to change the angle of the grips, brake levers, or drop bars. Both are normal adjustments, but they involve different bolts.
Before touching anything, look closely at the front of your bike. The stem is the part connecting the handlebar to the fork steerer tube. If the stem clamps around the outside of the steerer tube and usually has two side bolts, you likely have a threadless stem. If one long vertical bolt disappears down into the top of the stem, especially on an older bike, you probably have a quill stem. If your bike has a one-piece integrated handlebar and stem, internal cables, or a carbon steerer, slow down and consider a bike shop. Saving five minutes is not impressive if the front end later performs interpretive dance on the road.
Tools You May Need
For most bikes, you only need a 4 mm, 5 mm, or 6 mm Allen key. Some bikes use Torx bolts. A torque wrench is strongly recommended, especially on modern bikes, carbon components, and stems with printed torque values. You may also need a soft mallet or block of wood for a quill stem, a clean rag, and a little bicycle grease for older quill systems if the stem is removed and serviced.
Do not use pliers on bolts, do not force a stuck stem like you are opening a jar of pickles, and do not guess torque by “hand confidence.” Over-tightened bolts can damage parts; under-tightened bolts can let the handlebar slip. Neither option pairs well with traffic, hills, or dignity.
Way 1: Turn Handlebars Sideways Without Tools for Quick Storage
This is the easiest method and the safest for short-term storage when no actual adjustment is needed. Simply turn the front wheel until the handlebars sit almost parallel with the bike frame. This makes the bike narrower for a hallway, apartment wall, garage corner, elevator, or small storage space.
Best For
This method works well when you are not packing the bike in a box and do not need the handlebar to stay perfectly flat against the frame. It is ideal for daily storage, leaning a bike behind a door, or squeezing one more bicycle into a garage where the lawn mower already believes it owns the place.
How to Do It
Stand beside the bike and hold the saddle with one hand. Turn the handlebar and front wheel together to the left or right until the bar is as flat as possible along the bike. Make sure the brake cables, shift cables, hydraulic hoses, or e-bike wires are not pulled tight. If anything looks stretched, turn the bars the other direction or reduce the angle.
For short indoor storage, this method is usually enough. However, do not assume the bike will stay balanced just because the handlebars are sideways. A turned front wheel can make the bike easier to tip over. Use a stand, wall hook, floor rack, or careful lean point. If the bike has a front basket, handlebar bag, mirror, bell, or phone mount, check that accessories are not pressing against the wall.
Common Mistake
The most common mistake is twisting the bars until the cables wrap tightly around the head tube. That may look compact, but it can stress brake housing, shift housing, or electrical wiring. If the cables look like spaghetti after a windstorm, back off.
Way 2: Turn a Threadless Stem Sideways
Most modern mountain bikes, road bikes, hybrids, gravel bikes, and many e-bikes use a threadless stem. This type of stem clamps around the outside of the fork steerer tube. To turn the handlebar and stem sideways for transport or packing, you usually loosen the stem’s steerer clamp bolts, rotate the stem, then tighten the bolts again.
Best For
This method is useful when you need the handlebars to sit more neatly beside the frame for a car trunk, bike box, moving van, or compact storage. It is also the method often used when handlebars are slightly crooked after the bike falls over.
Step-by-Step Instructions
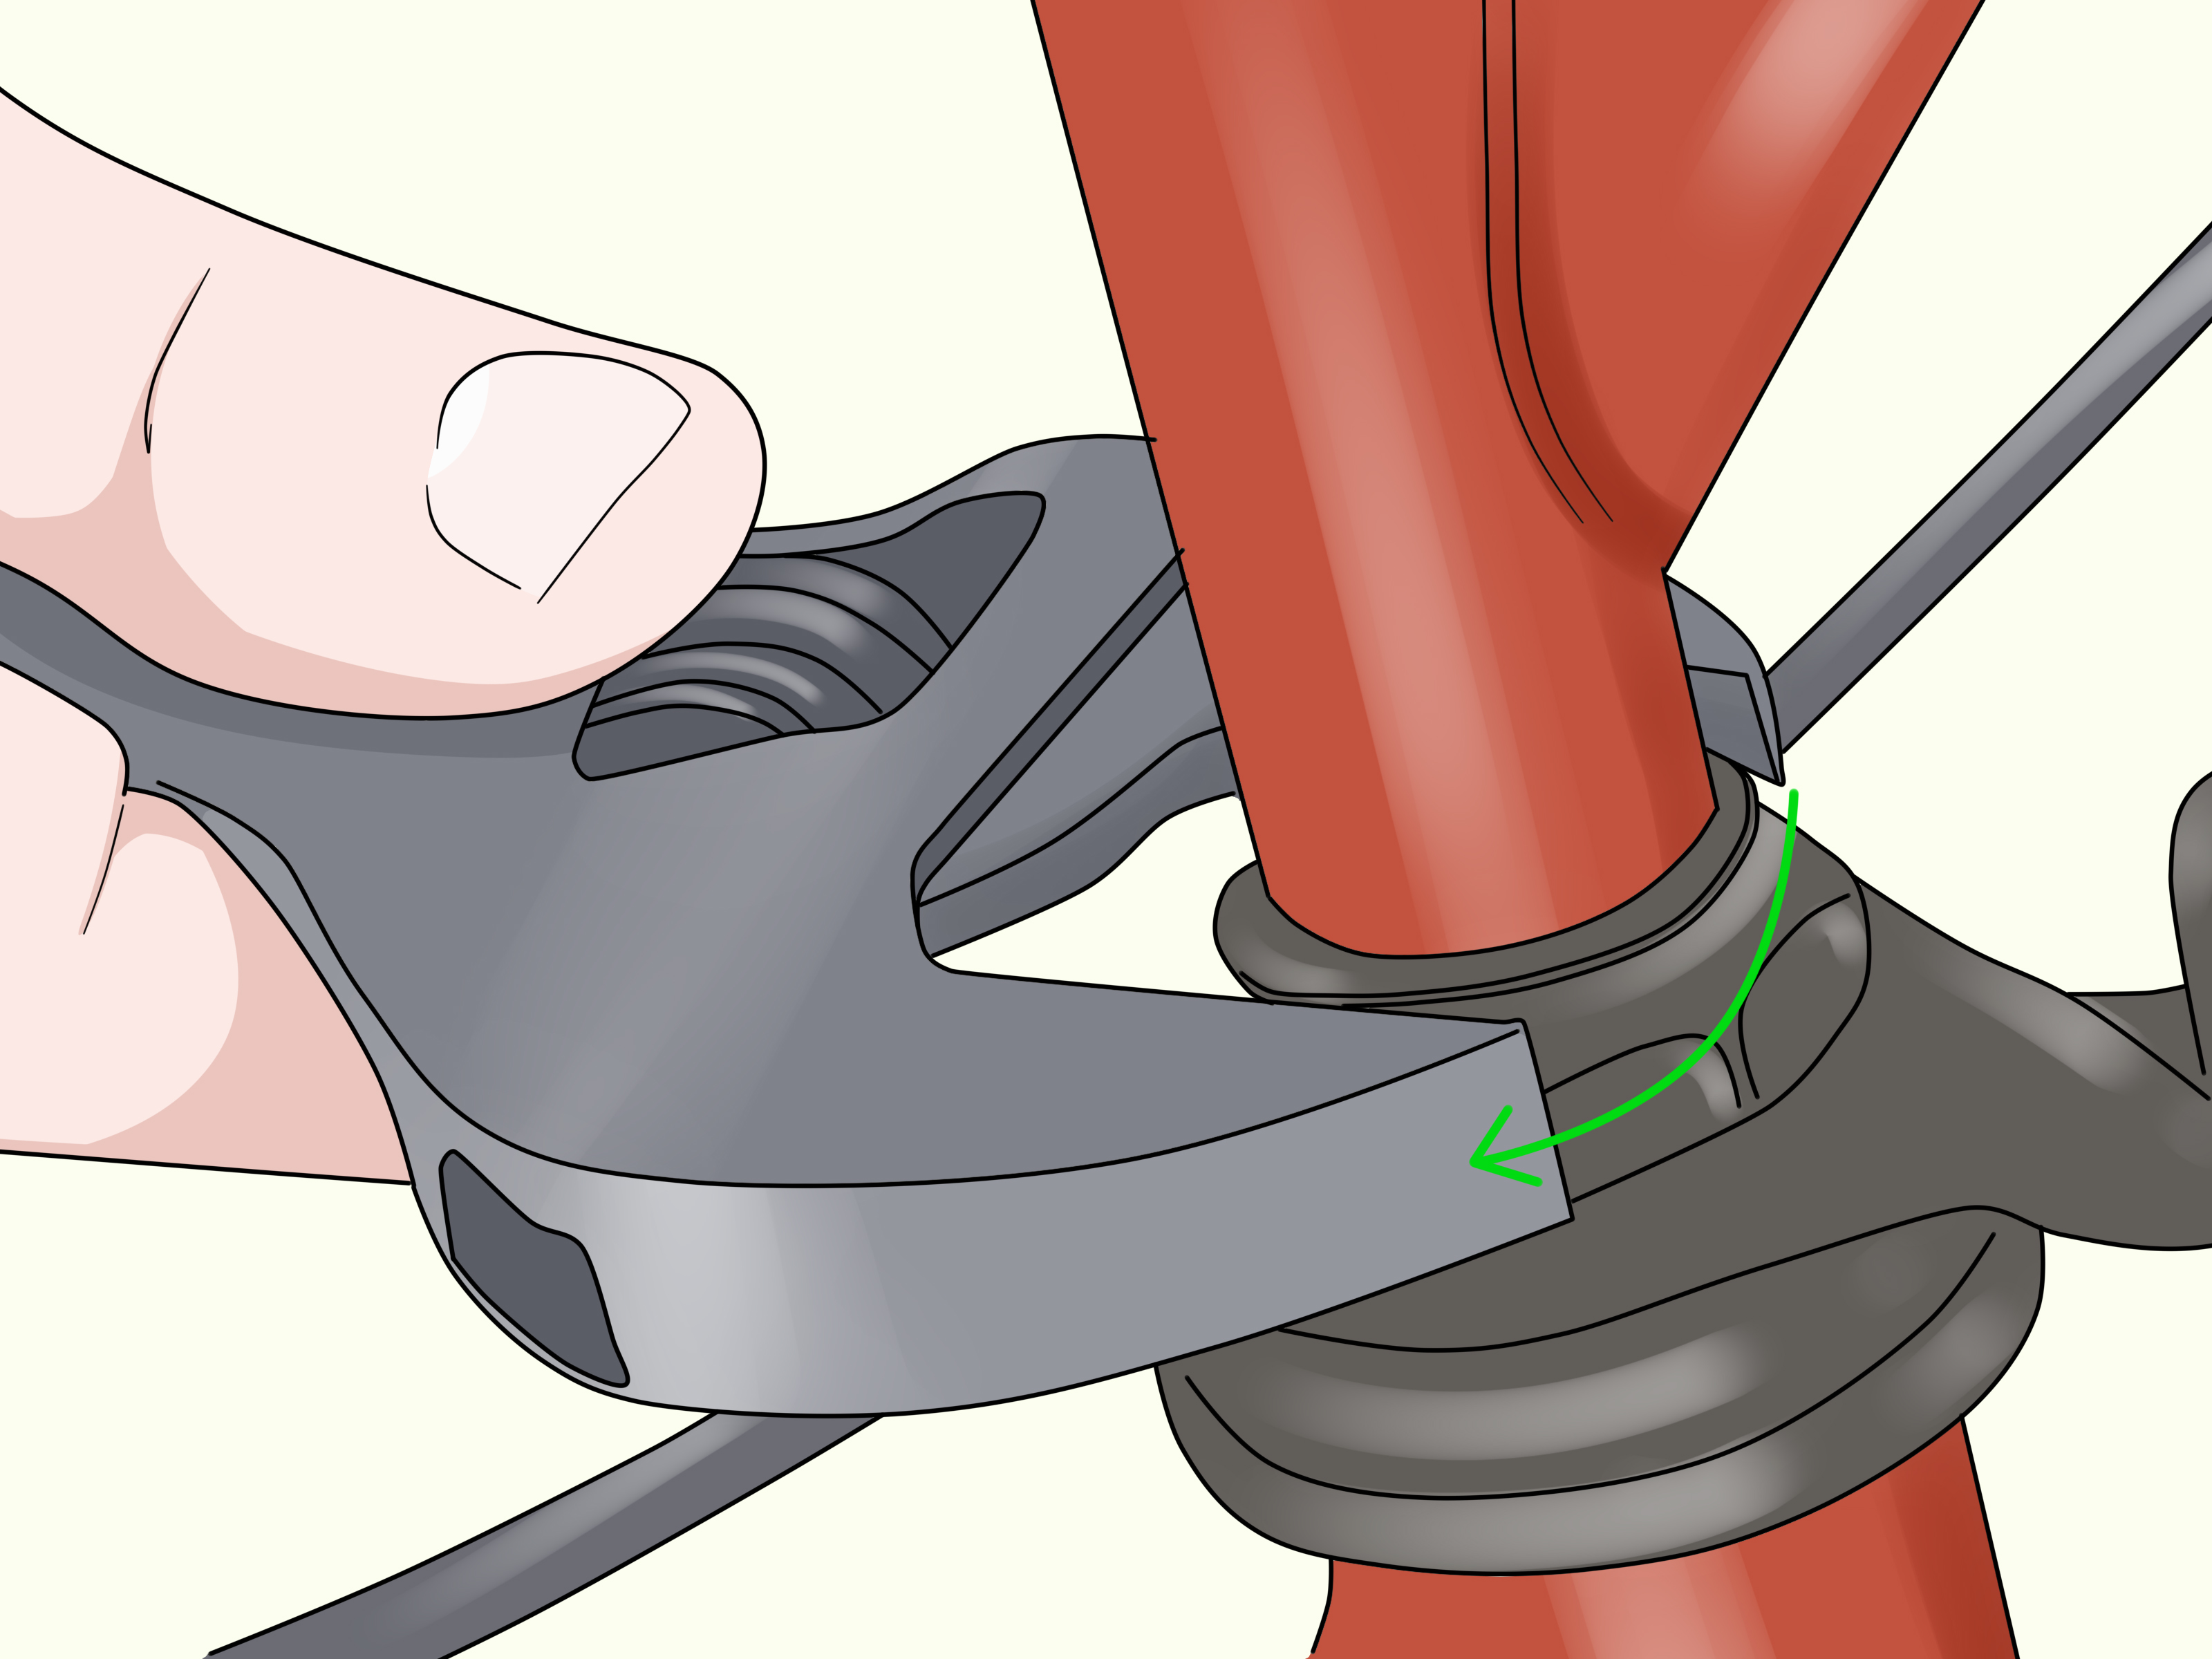
First, place the bike on the ground or in a repair stand. Keep the front wheel straight and locate the side bolts at the back or side of the stem. These bolts clamp the stem to the steerer tube. Do not loosen the top cap bolt first. On a threadless system, the top cap helps set headset preload; it is not the main bolt holding the stem straight while riding.
Next, loosen the stem clamp bolts a little at a time. Usually one or two turns is enough. The goal is to let the stem rotate, not remove the bolts or create a tiny hardware scavenger hunt on the garage floor.
Hold the front wheel between your knees or steady it with one hand, then rotate the handlebars and stem sideways. For transport, turn them until they lie parallel with the top tube or frame. Watch the cables carefully. If brake hoses or wires pull tight, stop and choose a smaller angle.
When you want the bike ready to ride again, realign the stem with the front wheel. Stand over the bike and look down from above. The handlebar should be square to the wheel, not aiming slightly toward your neighbor’s mailbox. Once aligned, tighten the stem clamp bolts evenly, alternating between bolts instead of fully tightening one side first. Use the torque value printed on the stem or listed by the manufacturer.
Safety Check Before Riding
After tightening, stand in front of the bike with the front wheel between your knees. Try to twist the handlebar side to side. The stem should not move independently of the wheel. Then lift the front of the bike slightly and turn the bars left and right. Steering should feel smooth, not loose, crunchy, or stiff. If the headset knocks when you apply the front brake and rock the bike, the headset may need adjustment.
Way 3: Turn a Quill Stem Sideways on Older Bikes
Quill stems are common on older road bikes, classic cruisers, vintage mountain bikes, some children’s bikes, and certain comfort bikes. A quill stem fits down inside the fork steerer tube and is secured by an expanding wedge or expander mechanism. To turn these handlebars sideways, you loosen the vertical expander bolt, free the wedge, rotate the stem, and tighten it again.
Best For
This method is best for vintage bikes, older steel-frame commuters, beach cruisers, and bikes with a single vertical stem bolt. It is especially useful when preparing a bike for storage or shipping.
Step-by-Step Instructions
Locate the vertical bolt at the top of the quill stem. It is often a 6 mm Allen bolt, though sizes vary. Loosen it two or three turns. If the stem does not move, do not keep unscrewing forever. Instead, tap the top of the loosened bolt gently with a soft mallet or a block of wood. This helps release the wedge inside the steerer tube.
Once the stem is loose, rotate the handlebars sideways. If you are only preparing the bike for transport, turn the bars parallel to the frame. If you are correcting alignment, line the stem back up with the front wheel. Never raise a quill stem so high that the minimum insertion mark is visible above the headset. That mark is there for safety, not decoration.
When the handlebar is positioned, tighten the expander bolt to the proper torque. If you do not know the torque specification, check the owner’s manual or ask a bike shop. After tightening, perform the twist test: hold the front wheel firmly between your knees and try to turn the handlebar. If it moves separately from the wheel, it is not secure enough for riding.
Common Quill Stem Problems
Older quill stems can seize inside the steerer tube, especially if the bike has lived through rain, sweat, and several decades of “I’ll service it next weekend.” If the stem will not move after loosening and tapping, do not attack it with extreme force. A stuck quill stem can require penetrating oil, patience, or professional help. Also, if the stem is rusty, cracked, deeply scratched, or missing a clear insertion mark, have it inspected before riding.
Way 4: Rotate the Handlebar Inside the Stem Clamp
Sometimes you do not need to turn the entire stem sideways. Instead, you may need to rotate the handlebar within the stem clamp. This is common when adjusting flat bars, riser bars, cruiser bars, or drop bars for comfort. It can also help make the front of the bike more compact for packing, especially when a removable faceplate lets you reposition or remove the handlebar without stripping off grips and controls.
Best For
This method is best for changing handlebar angle, improving wrist comfort, aligning brake levers, or packing a bike more neatly. It does not turn the front wheel sideways. Instead, it changes the roll angle of the handlebar.
Step-by-Step Instructions
Look at the front of the stem where it clamps the handlebar. Many modern stems have a removable faceplate with two or four bolts. Loosen the faceplate bolts just enough so the handlebar can rotate. Do not remove the faceplate unless you are intentionally removing the bar.
Rotate the handlebar to the desired angle. On flat bars and riser bars, the grips should feel natural when your wrists are relaxed. On drop bars, many riders prefer the flat portion of the bar or hood area to create a smooth, comfortable transition for the hands. The exact setup depends on riding style, body position, and brake lever placement.
Make sure the handlebar is centered in the stem. Most bars have alignment marks near the clamp area. Tighten the faceplate bolts gradually and evenly. If there are four bolts, use an X-pattern: a little on one corner, then the opposite corner, then the remaining two. Keep the faceplate gap even unless your stem manufacturer specifies otherwise. Finish with a torque wrench.
Important Warning
Never clamp the stem outside the marked clamp area of the handlebar. Many handlebars are reinforced only in the center. Clamping too far to one side can damage the bar. This is especially important with carbon handlebars. If you hear cracking, see crushed fibers, or feel the bar slipping at correct torque, stop riding and get the bike inspected.
How to Choose the Right Method
If you only need the bike narrower for a hallway, use Way 1. If you have a modern bike and need the bars turned for transport, use Way 2. If you have an older bike with a vertical stem bolt, use Way 3. If the bars are uncomfortable or need to roll forward or backward inside the stem, use Way 4.
The smartest method is the one that solves the problem with the least disturbance to the bike. Do not loosen the handlebar clamp if simply turning the front wheel works. Do not loosen the top cap on a threadless stem unless you understand headset adjustment. Do not force a quill stem that is stuck. And do not ride until the handlebar, stem, brake levers, and cables pass a basic safety check.
Safety Checks After Turning Bike Handlebars Sideways
1. Check Handlebar Alignment
Stand over the bike and look down. The handlebar should be square to the front wheel when set for riding. A tiny misalignment may feel huge once you are moving. If the bike drifts or feels strange, stop and recheck.
2. Perform the Twist Test
Hold the front wheel between your knees and try to twist the handlebar. Nothing should slip. If the stem turns separately from the wheel, the bolts are not tight enough or something is assembled incorrectly.
3. Test the Brakes
Squeeze both brake levers. Make sure the front brake still works and is not locked, loose, or pulling awkwardly because a cable or hose shifted. This is especially important after changing quill stem height or rotating bars with mechanical brake cables.
4. Inspect Cables and Wires
Look for stretched, kinked, twisted, or trapped cables. On e-bikes, also inspect display wires and control cables. The handlebars should turn left and right without tugging anything tight.
5. Use Correct Torque
Stem and handlebar bolts are small but important. If the torque value is printed on the stem, follow it. If not, check the manual or ask a mechanic. Guessing is common, but so is accidentally over-tightening lightweight parts.
Common Mistakes to Avoid
One mistake is loosening the wrong bolt. On a threadless stem, riders often loosen the top cap and wonder why the stem still will not rotate properly. The side clamp bolts are usually the ones that release the stem. Another mistake is turning handlebars sideways without checking the brake cables. A cable that looks fine while parked may pull tight when the bars are turned fully.
Another problem is riding after a “temporary” transport setup. If you turn the bars sideways to fit the bike into a car, remember to realign and tighten everything before the next ride. Put a reminder note on the saddle if needed. It may look silly, but it is less silly than discovering loose handlebars at the first stop sign.
Finally, avoid forcing parts. Bike components are designed to be secure, not defeated by heroic wrenching. If a bolt is rounded, a stem is seized, a carbon steerer is involved, or the bike has hidden cables, getting help from a mechanic is the practical move.
Extra Experience: What Turning Bike Handlebars Sideways Teaches You in Real Life
The first time many riders turn bike handlebars sideways, it is not during a calm Sunday maintenance session with perfect lighting and a clean workbench. It is usually in a parking lot, beside a car that suddenly looks much smaller than it did at the dealership. The bike refuses to fit, the trunk is half closed, and someone says, “Just turn the bars.” That sentence has launched thousands of tiny mechanical adventures.
In real life, the easiest solution is often Way 1: turn the front wheel and bars together. For a quick ride to the park or a short drive across town, that may be all you need. The trick is to load the bike gently. Put the drivetrain side up if the bike is lying down, protect the frame from pedals and handlebars, and avoid crushing brake levers against the floor. If the handlebar has a mirror, computer mount, bell, or light, remove or rotate accessories before they become accidental sacrifices to the cargo gods.
For longer trips, loosening the stem may make the bike much easier to fit. The key habit is to take a photo before adjusting anything. A quick picture of the original stem alignment, handlebar angle, cable routing, and faceplate gap can save confusion later. This is especially helpful for drop bars, where a few degrees of roll can change how the hoods feel. Marking the stem and steerer with a small piece of painter’s tape can also help you return the bars to their original position.
Another experience many riders learn the hard way: keep tools with the bike. If you loosen the stem at home, then drive to a trailhead and realize your Allen key is still on the kitchen counter, congratulationsyou have created a stationary sculpture. A small multi-tool and compact torque tool can prevent that awkward moment. Even better, make a habit of tightening and testing the bars before the bike goes into the car and again after it comes out.
Apartment storage teaches another lesson. Turning handlebars sideways can save space, but it does not magically make a bike weightless or graceful. Wide mountain bike bars can still catch jackets, door frames, backpacks, and unsuspecting ankles. If you store the bike in a hallway, consider turning the bars toward the wall and using a simple wheel stabilizer, wall hook, or floor rack. A bike that falls over at 2 a.m. makes a sound that can only be described as “metal raccoon.”
Vintage bikes bring their own personality. A quill stem may rotate easily after one gentle tap, or it may act as if it has signed a lifetime lease inside the fork. Patience matters. Loosen the bolt correctly, tap softly, and avoid twisting with full body weight. If the stem finally moves, clean and lightly grease the quill before reinstalling it, while keeping the minimum insertion mark hidden. Older bikes reward careful hands; they punish impatience with stuck parts and colorful language.
The biggest takeaway is simple: turning bike handlebars sideways is not just about saving space. It is about understanding the steering connection that keeps the bike controllable. Once you know whether you have a threadless stem, quill stem, removable faceplate, or integrated cockpit, the job becomes far less mysterious. The bike stops feeling like a puzzle and starts feeling like a machine you can work with confidently.
Conclusion
Turning bike handlebars sideways is simple when you match the method to the bike. For quick storage, turn the front wheel and bars together. For modern bikes, loosen the threadless stem clamp bolts and rotate the stem carefully. For older bikes, loosen the quill stem expander bolt, release the wedge, and keep the minimum insertion mark hidden. For comfort or packing adjustments, rotate the handlebar inside the stem clamp and tighten the faceplate evenly.
The golden rule is this: never treat handlebar adjustment as “good enough” until the bike passes the twist test, the brakes work, the cables move freely, and the bolts are tightened to the correct torque. Your handlebars are not decorative antlers. They are your steering system, your control center, and occasionally the only thing between you and an unplanned meeting with gravity.