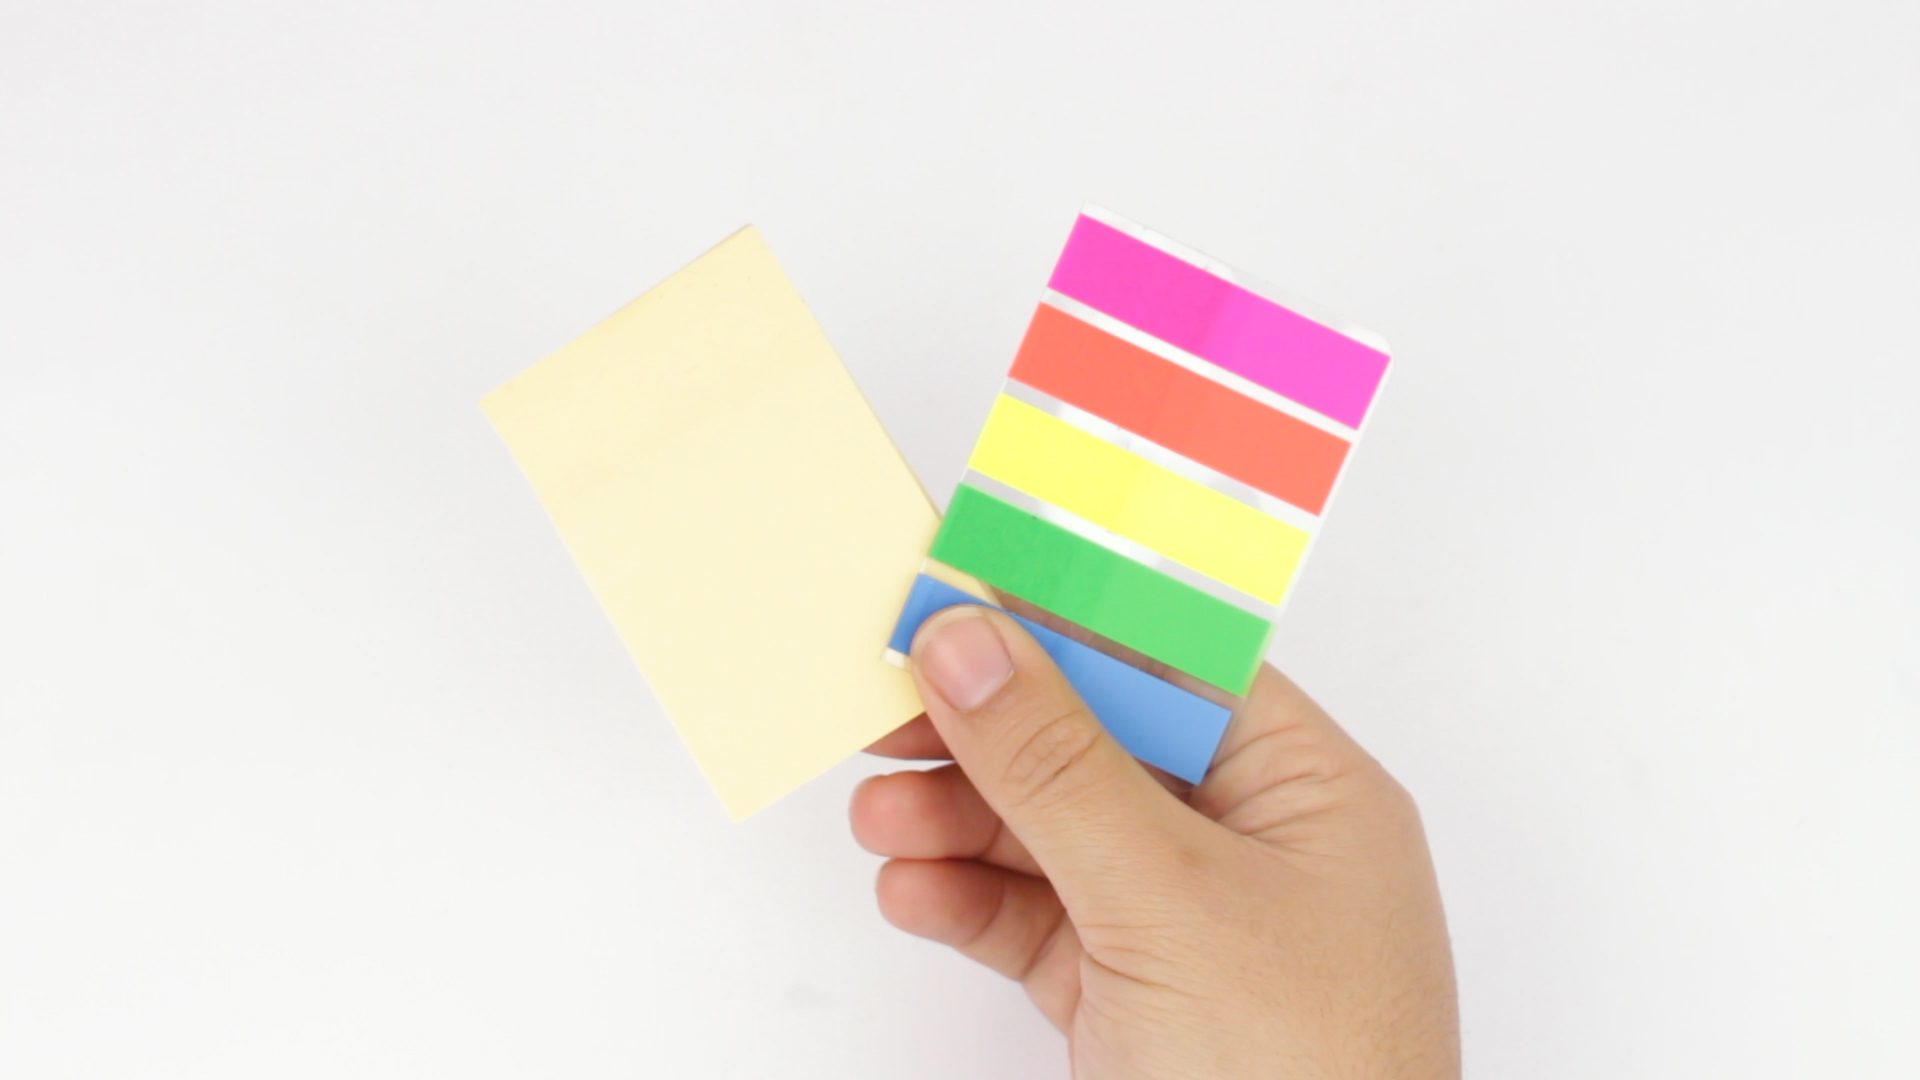
Paper dividers are the quiet heroes of organized life. They do not beep, sync, update, or ask you to create another password. They simply sit in your binder, folder, notebook, planner, recipe book, classroom packet, home-management file, or study guide and say, “Relax. The grocery budget is not hiding inside the math notes anymore.”
Learning how to make paper dividers is one of those simple DIY skills that saves money, reduces paper clutter, and gives you full control over your organization system. Store-bought binder dividers are useful, of course, but handmade paper dividers let you choose the size, color, tab placement, labels, and durability. You can make them from cardstock, scrapbook paper, recycled folders, poster board, or even sturdy junk mail if you are feeling thrifty and slightly rebellious.
This guide walks you through seven easy steps to create custom paper dividers that look neat, last longer, and actually help you find things when you need them. Whether you are organizing school subjects, office documents, recipes, coupons, project notes, craft patterns, tax paperwork, or a planner that keeps pretending to be your life coach, these DIY paper divider tabs will make your binder easier to use.
Why Make Your Own Paper Dividers?
Making paper dividers is practical, affordable, and surprisingly satisfying. You can match your divider tabs to your binder theme, color-code sections, create oversized tabs for better visibility, or design smaller tabs for a compact notebook. Unlike pre-made dividers, DIY dividers can be customized for any project, from a professional proposal binder to a cheerful home recipe collection.
Custom paper dividers are especially helpful when standard tab sets do not fit your needs. Maybe you need seven sections, not five or eight. Maybe you want tabs labeled “Receipts,” “Warranty Info,” “Meal Plans,” and “Things I Swear I’ll File Later.” Maybe you are building a school binder and want each subject to have a different color. Paper dividers give you that flexibility without requiring fancy supplies.
Supplies You’ll Need
Before you begin, gather your materials. You do not need a professional craft room, a cutting machine, or a drawer full of mysterious tools. A clean table and a little patience are enough.
- Cardstock, heavy printer paper, scrapbook paper, or recycled file folders
- A ruler or straightedge
- Pencil
- Scissors or a paper trimmer
- Hole punch or three-hole punch
- Packing tape, clear tape, or self-adhesive laminating sheets
- Glue stick, tape runner, or double-sided tape
- Markers, pens, printed labels, or label stickers
- A binder, notebook, folder, or planner to test the fit
For the best results, use cardstock or heavyweight paper. Regular copy paper can work in a pinch, but it bends easily and may tear around the punched holes. If you only have thin paper, reinforce it with tape or glue it to another sheet. Think of the divider as a tiny office wall: if it is too flimsy, the paperwork will walk all over it.
How to Make Paper Dividers: 7 Steps
Step 1: Choose the Right Paper
Start by deciding what kind of paper divider you need. For a standard three-ring binder, letter-size cardstock measuring 8.5 by 11 inches is the easiest choice. For a mini binder, planner, recipe box, or notebook, measure an existing page and cut your divider paper to match.
Cardstock is the best all-purpose material because it is sturdy but still easy to cut. Scrapbook paper adds personality and works well for planners, journals, and creative binders. Old file folders are excellent for durable dividers because they are already thick, flexible, and office-ready. If you want a budget-friendly option, reuse cereal boxes, mailers, or covers from old notebooks by trimming them neatly and covering them with decorative paper.
Choose colors that support your system. For example, blue can represent finances, green can represent meal planning, yellow can represent school assignments, and pink can represent personal goals. Color-coding makes sections easier to spot quickly, especially when you are flipping through a thick binder while pretending you are not running late.
Step 2: Measure and Cut the Divider Sheets
Use your binder paper as a template. Lay one regular sheet on top of your cardstock and trace around it with a pencil. Cut along the lines using scissors or a paper trimmer. A paper trimmer gives straighter edges, but scissors work perfectly well if you take your time.
If the divider will sit behind sheet protectors, consider making it slightly wider than a regular page so the tab is still visible. Extra-wide dividers are useful for binders full of plastic sleeves because standard tabs can disappear behind the edges. For a simple version, keep the main divider page at 8.5 by 11 inches and add a tab that sticks out about half an inch to one inch.
After cutting the first divider, use it as a template for the rest. This keeps every sheet consistent. Stack the dividers together and check the edges. If one piece looks like it was cut during an earthquake, trim it now. Your future organized self will appreciate the effort.
Step 3: Plan the Tab Placement
The tab is the most important part of a paper divider. It tells you where each section begins and saves you from flipping through thirty pages while muttering, “I know I put it here.”
Decide how many tabs you need and where each one should sit. If you are making five dividers, you can stagger the tabs down the right side: top, upper-middle, center, lower-middle, and bottom. For seven dividers, make the tabs slightly shorter or place them in a repeating pattern. If your binder will be used often, larger tabs are easier to read and grab.
A simple tab size is about 1.5 to 2 inches wide and 0.5 to 0.75 inches tall. For school binders or project binders, wider tabs give you more room for labels. For planners and journals, smaller tabs look cleaner and less bulky.
Lightly mark each tab position with a pencil before cutting or attaching anything. This is the stage where you can change your mind without needing to sigh dramatically and start over.
Step 4: Create and Attach the Paper Tabs
There are two easy ways to make tabs. The first method is to cut the tab as part of the divider sheet itself. Draw the divider outline with the tab extending from the right edge, then cut around the entire shape. This creates a strong one-piece divider. It works best with cardstock, file folders, or poster board.
The second method is to make separate folded tabs and attach them to the divider sheet. Cut small rectangles from cardstock, fold each one in half, and glue or tape one half to the front of the divider and the other half to the back. This sandwich-style tab is easy to customize and works beautifully when you want to add tabs to existing notebook pages.
For extra strength, cover each tab with clear packing tape before or after attaching it. Packing tape acts like a low-cost lamination layer. It protects the tab from finger oils, smudges, bending, and the mysterious backpack crumbs that appear even when you do not remember eating crackers.
If you want rounded corners, trim the tab edges with scissors or use a corner punch. Rounded tabs look polished and are less likely to catch on papers.
Step 5: Reinforce the Binding Edge
The left edge of a binder divider takes a lot of abuse. Rings pull on the holes every time you turn the page, so reinforcement is worth the extra minute.
Place a strip of clear packing tape along the left edge of each divider. Fold the tape over so it covers both the front and back. Smooth out bubbles with your fingers or the edge of a ruler. Then punch holes through the reinforced edge using a three-hole punch.
If you do not have packing tape, use washi tape, masking tape, clear adhesive film, or even narrow strips of another piece of cardstock. The goal is to prevent tearing around the punched holes. Reinforced holes make homemade dividers feel closer to store-bought binder dividers, especially if the binder will be opened daily.
Before punching every divider, test one sheet in your binder. Make sure the holes line up with the rings and the tab sticks out far enough to be seen. One test sheet can save an entire stack from becoming decorative rectangles of regret.
Step 6: Label and Decorate the Dividers
Now comes the fun part: labeling. You can write directly on the tabs with a marker, use printed labels, add sticker letters, or design labels on your computer. Keep the wording short and easy to read. “Math,” “Science,” “Receipts,” “Recipes,” and “Projects” are better than long phrases that require a magnifying glass and emotional commitment.
If you are making dividers for a professional binder, choose clean fonts and consistent colors. A simple black label on a white or neutral tab looks polished. For school or home use, feel free to use bright colors, doodles, icons, or themed paper. A recipe binder might use tabs like “Breakfast,” “Dinner,” “Baking,” and “Holiday Food.” A home-management binder might include “Bills,” “Schedules,” “Insurance,” “Passwords,” and “Maintenance.”
For reusable paper divider tabs, cover the tab with clear tape and write on it with a dry-erase marker. You can also place a small removable label over the tape. This is helpful for project binders where categories change often.
Do not forget the main divider page. You can add a title, a small table of contents, a motivational quote, or a checklist. Just keep it useful. A divider that says “You’ve got this” is nice, but a divider that also tells you where the emergency contact form is might be even better.
Step 7: Assemble, Test, and Adjust
Place the dividers in your binder, folder, or notebook. Add the documents behind each section and flip through the pages. The tabs should be easy to see, easy to grip, and spaced far enough apart that labels do not overlap.
If a tab is hidden, extend it with another folded piece of cardstock. If a hole tears, reinforce it with tape and punch again. If the labels look too small, rewrite or reprint them in a larger font. Homemade paper dividers are forgiving; you can improve them as you go.
Once everything is in place, create a simple order that matches how you naturally search for information. Alphabetical order works well for reference files. Chronological order works for receipts, bills, and schedules. Priority order works for project binders. Color order works for visual thinkers. The best divider system is not the fanciest one; it is the one you will actually use.
Best Uses for DIY Paper Dividers
Paper dividers are useful almost anywhere paper piles up. Students can use them to separate homework, notes, handouts, quizzes, and study guides. Teachers can organize lesson plans, worksheets, parent communication, and grading materials. Small business owners can divide invoices, client forms, proposals, tax documents, and marketing ideas.
At home, DIY paper dividers are great for recipe binders, family documents, medical records, warranties, cleaning schedules, holiday planning, and budgeting. Crafters can use them for patterns, color charts, supply inventories, and project ideas. Gardeners can create seed packet dividers, planting calendars, and seasonal notes. If it can be sorted, labeled, and slightly improved by a tab, a paper divider can probably help.
Tips for Making Paper Dividers Look Professional
Use the same paper weight for every divider so the binder feels consistent. Keep tab sizes uniform, even if the tab positions vary. Choose two or three colors instead of twelve if you want a clean, professional look. Use a ruler for every measurement, because “close enough” tends to look less charming after the third uneven tab.
Printing labels can make homemade dividers look store-bought. Use a simple sans-serif font for readability and keep the font size large enough to see at a glance. If you are decorating the divider pages, leave some white space. A little design looks intentional; too much design looks like your scrapbook and your office supplies got into a glittery argument.
For long-term use, laminate the whole divider or cover both sides with clear contact paper. This is especially useful for recipe binders, classroom materials, and frequently handled reference binders. If you do not have a laminator, clear packing tape on the tabs and hole-punched edge will still make a big difference.
Common Mistakes to Avoid
The biggest mistake is using paper that is too thin. Thin paper bends, tears, and disappears between documents. If you must use regular paper, glue two sheets together or reinforce the page with tape.
Another common mistake is making tabs too small. Tiny tabs may look cute, but they are hard to read and harder to grab. Give yourself enough space for clear labels. Also avoid placing every tab in the same position unless you want a bulky stack that behaves like a paper speed bump.
Finally, do not skip the test fit. Binders, notebooks, and planners vary slightly. A divider that looks perfect on the table may stick out too far, hide behind sheet protectors, or sit unevenly once punched. Test early, adjust quickly, and keep your scissors nearby.
Budget-Friendly Variations
If you want to make paper dividers without buying supplies, start with what you already have. Old folders can become sturdy divider pages. Greeting cards can become colorful tabs. Junk mail postcards can be cut into labels. Wrapping paper can cover plain cardstock. Cereal boxes can be trimmed into durable separators for recipe cards or craft storage.
You can also make temporary dividers from sticky notes or index cards. Fold an index card over the edge of a page, tape it down, and label it. This is not as durable as cardstock, but it works well for short-term projects, study packets, and planning sessions.
Experience Notes: What Actually Works When Making Paper Dividers
After making a lot of paper dividers for binders, planners, recipe collections, and school-style organizers, one lesson becomes obvious: the simplest version is usually the best version. It is tempting to over-design the first set. You may want patterned paper, layered labels, color-coded tabs, decorative borders, and maybe a tiny inspirational quote on every page. That can be beautiful, but if the dividers are meant for daily use, durability and readability matter more than decoration.
The most reliable paper dividers I have used were made from basic cardstock with reinforced edges. They were not fancy, but they survived months of page-turning, note-shuffling, and being tossed into bags. The tabs were wide enough to read quickly, and the labels were written in dark marker. That is the magic combination: sturdy paper, visible tabs, strong holes, and clear labels.
Packing tape is the secret weapon. It may not feel glamorous, but it turns a fragile paper tab into something much tougher. When tape is folded over a tab and trimmed neatly, the tab resists bending and smudging. It also gives the paper a smooth surface, which is helpful if you want to relabel it later. For a cleaner look, apply the tape before writing the label, then use a permanent marker on top. For a reusable label, write on the taped surface with a dry-erase marker or place a removable sticker label over it.
Another practical discovery is that tabs need breathing room. When too many tabs are crowded down the side of a binder, they become harder to use. Seven steps may sound neat for a tutorial, but seven physical tabs on one binder edge can feel cramped if the tabs are large. The solution is to stagger them carefully or use smaller but still readable tabs. For a very large binder, consider dividing the contents into major sections first, then using smaller internal dividers within each section.
Color-coding is helpful, but only when it has meaning. Random colors look cheerful, but meaningful colors make the system faster. In a home binder, green might mean money, red might mean urgent documents, blue might mean medical information, and yellow might mean schedules. In a school binder, each subject can have a different color. In a recipe binder, colors can separate breakfast, dinner, desserts, and holiday meals. The easier the color system is to remember, the more useful it becomes.
One underrated trick is to make a sample divider first. Cut one divider, add one tab, reinforce one edge, punch the holes, and place it in the binder. Flip it a few times. Add a sheet protector if you plan to use those. Close the binder and open it again. If the tab catches, bends, hides, or sticks out too far, adjust the template before making the full set. This tiny test prevents a surprisingly large amount of annoyance.
Paper dividers also work better when the categories are realistic. A binder with too many sections can become just as confusing as a binder with none. Instead of creating a tab for every possible topic, group similar papers together. For example, a family document binder might only need “Identification,” “Medical,” “Insurance,” “Home,” “Auto,” “School,” and “Finance.” You can always add subfolders or smaller tabs later if a section grows.
Finally, handmade dividers have one advantage that store-bought dividers rarely offer: they can evolve. If your categories change, make a new tab. If your binder gets heavier, reinforce the holes. If your planner theme changes, cover the divider with new paper. DIY paper dividers are not just a craft project; they are a flexible organization tool. And when they work well, they create that tiny but wonderful feeling of opening a binder and knowing exactly where everything belongs.
Conclusion
Learning how to make paper dividers is a small project with a big payoff. With cardstock, scissors, tape, and a little planning, you can create custom paper divider tabs for school, work, home, crafts, recipes, finances, or any binder that needs order. The process is simple: choose strong paper, cut it to size, plan your tabs, attach and reinforce them, label each section, and test the final setup.
The beauty of DIY paper dividers is that they do not have to be perfect to be useful. A handmade divider with a clear label and a reinforced tab can outperform a fancy store-bought set if it matches the way you actually organize. Start with one binder, keep the design practical, and adjust as your needs change. Your papers may not applaud, but they will finally stay in their proper sectionsand honestly, that is close enough.
Note: This article was written in original standard American English and synthesized from practical craft, office-supply, binder-organization, and paper-storage guidance without duplicating source text.