Learning how to crochet a potholder is one of those delightfully practical craft skills that makes you feel both cozy and wildly capable. One minute you are looping yarn around a hook; the next, you are protecting your hands from a sizzling casserole dish like a domestic superhero wearing cotton armor. Best of all, a crochet potholder is beginner-friendly, useful, giftable, washable, and small enough that it will not take three birthdays and a minor emotional crisis to finish.
This guide walks you through a simple, sturdy, double-thick crochet potholder in 13 clear steps. The design uses basic stitches, a dense fabric, and 100% cotton yarn, which is the go-to choice for kitchen crochet projects because it handles heat better than synthetic yarns. Acrylic may be soft and cheap, but near heat it can melt, and nobody wants their potholder to become a potholder-shaped regret.
Whether you are making your first crochet hot pad, replacing sad store-bought potholders, or creating a handmade kitchen gift, this tutorial gives you a reliable process from yarn choice to finishing. Grab your hook, pick a cotton color that makes your kitchen look slightly more intentional, and let’s crochet.
Why Crochet a Potholder?
A crochet potholder is a perfect small project because it teaches tension, stitch consistency, edging, joining, and finishing without asking you to commit to a blanket the size of a parking lot. It is also a smart stash-buster. One or two balls of worsted-weight cotton yarn can become a set of useful kitchen accessories, especially if you like coordinating colors with your dish towels, mugs, or that one mixing bowl you bought because it looked “farmhouse” online.
The best crochet potholders are thick, tightly stitched, and made from natural fibers. Open lace stitches may look pretty, but they are better for decoration than handling hot cookware. For real kitchen use, density matters. The goal is a fabric with very few gaps, enough structure to protect your fingers, and enough flexibility to grip a pan handle comfortably.
Materials You Need
Recommended supplies
- 100% cotton yarn, medium weight, also called worsted weight or size 4
- US G/6 to H/8 crochet hook, about 4.0 mm to 5.0 mm, depending on your tension
- Scissors
- Yarn needle for weaving in ends
- Stitch marker, optional but helpful
- Measuring tape or ruler
Basic abbreviations used in this guide
- ch: chain
- sc: single crochet
- sl st: slip stitch
- st: stitch
- rep: repeat
For this beginner potholder, aim for a finished size of about 7 to 8 inches square. That size is large enough to protect your hand but not so huge that it looks like a tiny placemat having an identity crisis.
How to Crochet a Potholder: 13 Steps
Step 1: Choose 100% cotton yarn
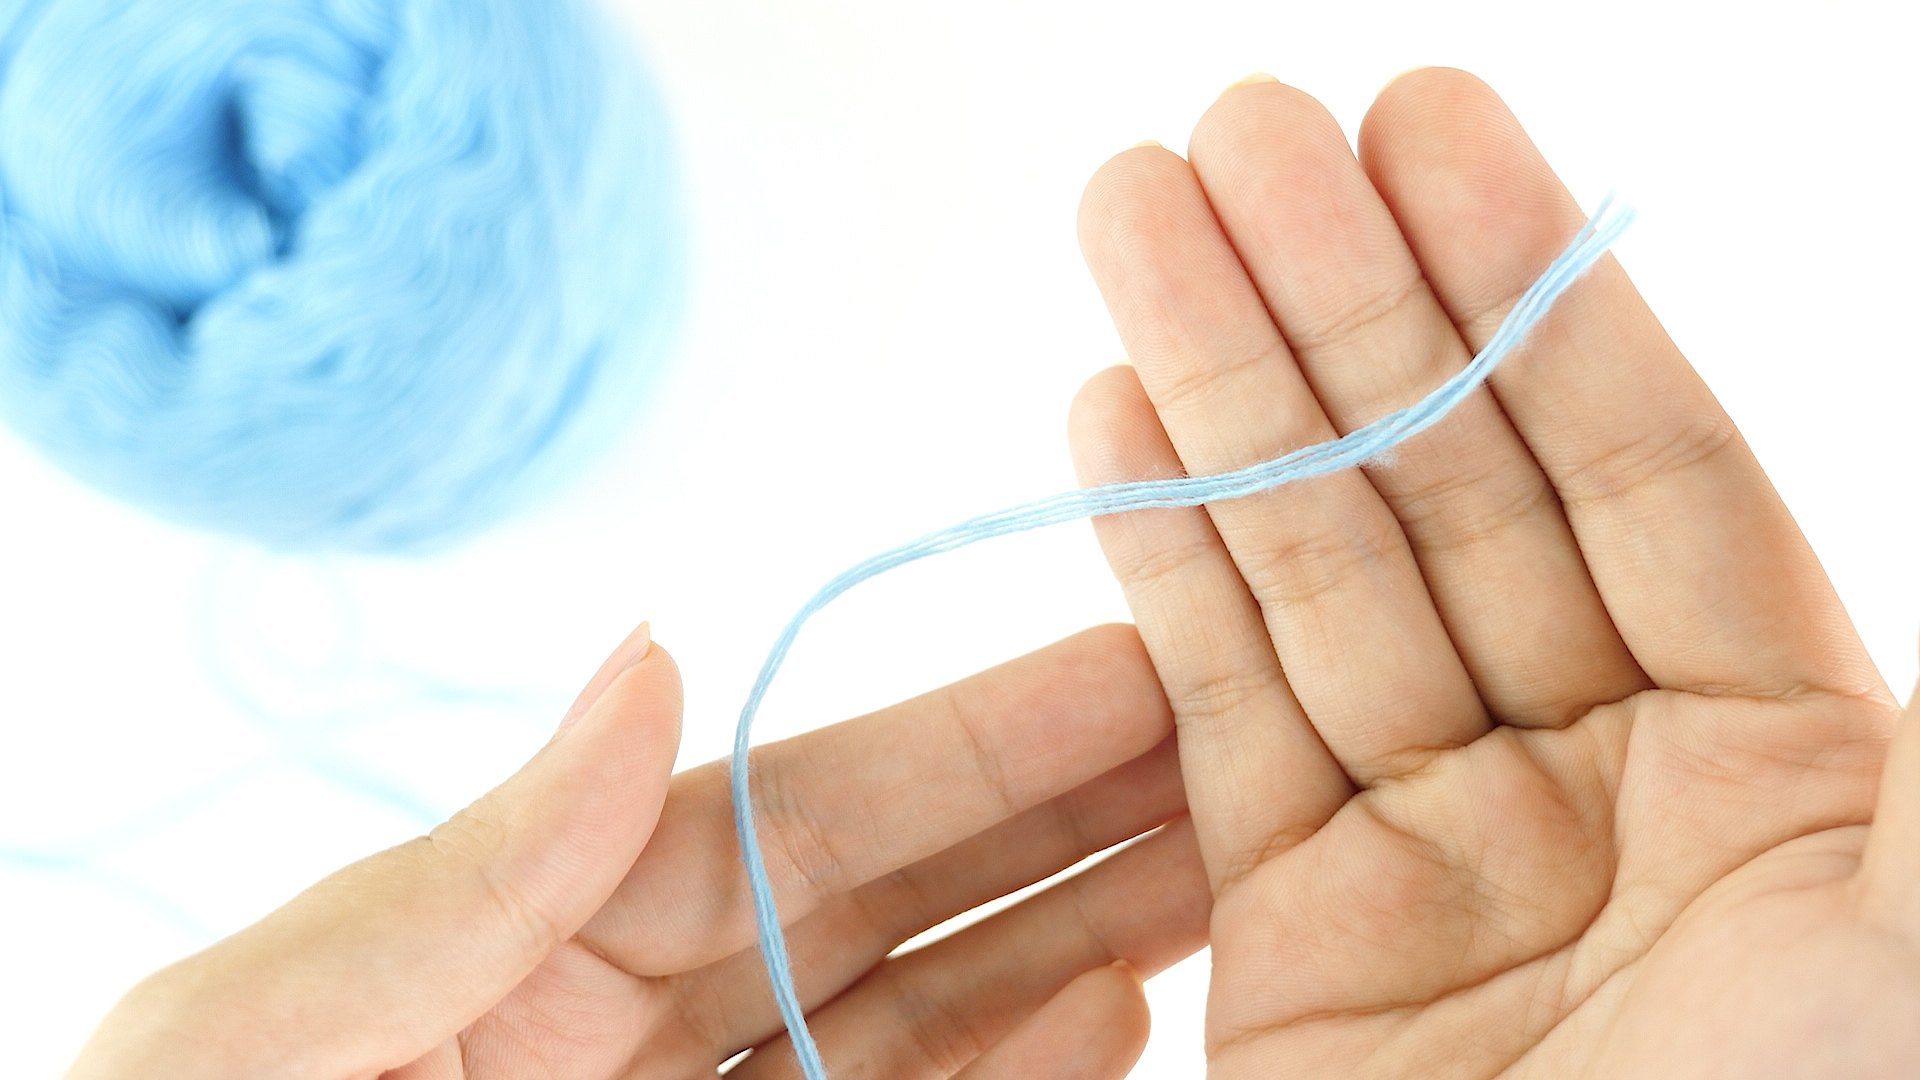
Start with cotton yarn. This is the most important decision in the whole project. Cotton is durable, washable, and suitable for hot pads and potholders when worked into a dense fabric. Avoid acrylic, polyester, fuzzy novelty yarn, and loosely spun synthetic blends for functional potholders. They may look cute in the yarn aisle, but they are not ideal for heat.
A medium-weight cotton yarn is a great beginner choice because it is easy to see, easy to hold, and thick enough to create a sturdy fabric without endless stitching. Popular kitchen cotton yarns usually work well for this type of project.
Step 2: Pick the right hook size
Use a crochet hook that creates firm stitches. If the yarn label suggests a 5.5 mm hook, you may still choose a slightly smaller hook, such as 4.5 mm or 5.0 mm, for a tighter potholder fabric. The exact hook size depends on your tension. Some crocheters naturally stitch tightly; others crochet with the relaxed energy of someone on vacation.
Make a small test swatch. If you can see large gaps between stitches, go down a hook size. If the fabric is so stiff that your wrist files a complaint, go up slightly.
Step 3: Decide on a simple construction
For beginners, the easiest functional potholder is a double-thick square. You can create this by crocheting one long rectangle, folding it, and joining the edges, or by making two squares and sewing or crocheting them together. This guide uses the two-square method because it is simple, predictable, and easy to adjust.
Two layers give better hand protection than a single thin layer. If you prefer a very thick potholder, you can add a third cotton layer or use a dense stitch such as thermal stitch later, once you are comfortable.
Step 4: Make a foundation chain
Chain 28 to 32 stitches, depending on your yarn, hook, and desired size. For many worsted-weight cotton yarns, a starting chain of 30 works well for a potholder around 7 inches wide. Keep your chain loose enough that you can insert your hook into each stitch, but not so loose that the bottom edge waves like it is greeting passing ships.
Count your chains carefully. The foundation chain sets the width of your potholder, so this is not the moment for “close enough” energy.
Step 5: Work the first row in single crochet
Insert your hook into the second chain from the hook. Yarn over, pull up a loop, yarn over again, and pull through both loops on your hook. That is one single crochet. Continue making one single crochet in each chain across the row.
Single crochet is ideal for a beginner crochet potholder because it creates a dense, sturdy fabric. It is not flashy, but neither is a fire extinguisher, and both are very useful in a kitchen.
Step 6: Chain one and turn
At the end of the row, chain one and turn your work. This turning chain gives your next row enough height. For this pattern, the turning chain does not count as a stitch. That means your first single crochet goes into the first stitch of the row, not into the turning chain.
This small habit helps keep your edges neat. If your rectangle starts leaning like it has heard disappointing news, check that you are not accidentally adding or skipping stitches at the ends.
Step 7: Continue until you have a square
Work one single crochet in each stitch across every row. Chain one, turn, and repeat. Continue until the piece measures the same height as its width. If your starting chain created a 7-inch width, crochet until the piece is about 7 inches tall.
Count stitches every few rows. This prevents the classic beginner problem: starting with a square and ending with a trapezoid. Handmade charm is wonderful, but cookware prefers geometry.
Step 8: Make a second matching square
Crochet a second square exactly like the first. Use the same yarn, same hook, same stitch count, and same number of rows. Matching squares make the joining process easier and create a cleaner finished potholder.
If one square is slightly larger, do not panic. Cotton can be gently shaped, and a small difference often disappears during edging. If one square is dramatically larger, you may have changed tension. That is normal for beginners. Crochet is basically hand yoga with math.
Step 9: Place the squares together
Lay the two squares on top of each other with the neatest sides facing outward. Line up the corners and edges. Insert a stitch marker or safety pin in each corner if you want to keep the layers from shifting while you join them.
Before joining, slide your hand between the layers and check the thickness. The potholder should feel substantial. If it feels thin, consider adding another square or using the finished piece as a trivet rather than a hand protector.
Step 10: Join the edges with single crochet
Attach yarn at one corner. Working through both layers, single crochet evenly around the edges. Place one single crochet in each stitch across the top and bottom edges. Along the row ends, space your stitches evenly so the edge does not pucker or flare.
At each corner, make three single crochet stitches in the same corner space. This helps the corner turn smoothly and keeps the potholder square instead of suspiciously rounded.
Step 11: Add a hanging loop
When you reach the final corner, chain 10 to 14 stitches to create a hanging loop. Slip stitch back into the same corner to secure the loop. Then continue with a few more slip stitches or single crochet stitches to strengthen the area.
The hanging loop is optional, but highly recommended. It lets you hang the potholder on a hook, where it can look charming and useful instead of vanishing into the kitchen drawer of mystery.
Step 12: Fasten off and weave in ends
Cut the yarn, leaving a 6-inch tail. Pull the tail through the last loop to fasten off. Thread the tail onto a yarn needle and weave it back and forth through the stitches. Do this with every loose end.
Secure ends carefully because potholders get handled, washed, tugged, and occasionally used by people who believe kitchen tools are indestructible. A well-woven end keeps your handmade project looking polished longer.
Step 13: Test before using
Before grabbing a hot cast-iron skillet, test the potholder carefully. Use it first with a warm mug or a mildly hot dish. Make sure heat does not pass through quickly. Never use a wet potholder with hot cookware because moisture conducts heat and can make the potholder unsafe.
Also remember that crochet potholders are heat resistant, not magical. They are not oven mitts, welding gloves, or dragon-scale gauntlets. Use common sense, check thickness, and keep them away from open flames.
Beginner Tips for a Better Crochet Potholder
Keep your tension consistent
Even tension makes your potholder look neat and perform better. If some rows are tight and others are loose, the fabric may ripple or stretch unevenly. Try to hold the yarn the same way throughout the project and take breaks if your hands get tired.
Use dense stitches
Single crochet, thermal stitch, moss stitch, and linked stitches can all create good potholder fabric when worked tightly. For a first project, single crochet is easiest. After that, thermal stitch is a popular upgrade because it creates a thick, textured fabric with very little space between stitches.
Choose practical colors
White cotton potholders look beautiful for about four minutes, especially if tomato sauce lives in your kitchen. Medium or darker colors are more forgiving for everyday use. Variegated cotton yarn can also hide minor stitch irregularities, which is excellent news for beginners and perfectionists trying to reform.
Wash before gifting
Cotton yarn can shrink slightly or soften after washing. If you are making a crochet potholder as a gift, wash and dry it first according to the yarn label. This gives the finished piece a more settled texture and lets you check that all ends are secure.
Common Mistakes to Avoid
Using acrylic yarn
Acrylic yarn is common, affordable, and colorful, but it is not the best choice for functional potholders. Save acrylic for blankets, scarves, toys, and decorative pieces. For kitchen heat protection, choose cotton or another suitable natural fiber.
Making the fabric too lacy
Decorative holes are lovely on shawls, but potholders need coverage. Avoid openwork patterns for anything that will touch hot pans. If you love lace, use it on a decorative outer layer only and pair it with a thick inner layer.
Skipping the test
Always test your finished potholder gradually. Different yarns, stitches, and hook sizes create different levels of thickness. A potholder that works for a warm plate may not be enough for a heavy Dutch oven straight from the oven.
Simple Pattern Summary
Here is the quick version of the pattern for easy reference:
- Chain 30 with worsted-weight 100% cotton yarn.
- Single crochet in the second chain from the hook and across.
- Chain one and turn.
- Single crochet across each row until the piece is square.
- Make a second matching square.
- Place squares together.
- Single crochet around all edges through both layers.
- Work three single crochet stitches in each corner.
- At the final corner, chain 10 to 14 for a loop.
- Slip stitch to secure the loop.
- Fasten off.
- Weave in all ends.
- Test carefully before kitchen use.
Creative Variations to Try
Striped crochet potholder
Change colors every two or four rows for a striped look. This is a great way to use leftover cotton yarn. Keep color changes on the same side so the back looks clean, or embrace the handmade look and call it “rustic charm,” which is craft language for “I meant to do that.”
Textured potholder
Once you are comfortable with single crochet, try working in the back loop only for a ribbed texture. You can also experiment with the moss stitch for a woven look. Just keep the fabric dense and avoid big gaps.
Decorative edging
A simple crab stitch border, picot edge, or contrasting color trim can make a basic potholder look boutique-worthy. If the potholder is for real kitchen work, keep the edging flat enough that it does not interfere with grip.
My Experience Crocheting Potholders: Practical Lessons from the Yarn Trenches
The first thing I learned about crocheting potholders is that they are honest little projects. A scarf may forgive uneven tension because it drapes. A blanket may hide a strange corner under a couch cushion. A potholder, however, sits squarely on the counter and announces every skipped stitch like a tiny cotton detective. That is not a bad thing. In fact, it is exactly why potholders are such good practice pieces.
When I first made a crochet potholder, I underestimated thickness. The square looked cute, the stitches looked tidy, and I briefly felt like I should open a handmade kitchen boutique with a chalkboard sign and artisanal lemonade. Then I tested it with a warm pan and realized the fabric was too thin. Lesson one: a potholder is not just a decorative square. It has a job. If it cannot protect your hand, it is a coaster with ambition.
The next lesson was about yarn choice. Cotton feels different from acrylic. It can be firmer, less stretchy, and sometimes harder on the hands if you crochet tightly. But for potholders, that firmness is useful. It helps create structure. I also found that cotton softens after washing, so a potholder that feels slightly stiff at first may become more pleasant with use. This is especially true for kitchen cotton yarns, which often bloom and relax after their first trip through the laundry.
Color choice also matters more than I expected. Light cream potholders are beautiful in photos, but real kitchens contain coffee, tomato sauce, cinnamon, and mysterious splashes no one admits causing. Medium colors, heathered shades, and variegated yarns are wonderfully practical. They still look handmade and cheerful, but they do not display every kitchen incident like a crime scene report.
I also learned to appreciate the hanging loop. At first, it seemed optional, almost decorative. Then I made a set without loops and immediately lost one behind a stack of baking sheets. A loop turns the potholder into something you can hang near the stove, admire between uses, and grab quickly. It is a small feature that makes the finished project feel more professional.
Another useful habit is making potholders in pairs. One potholder is nice. Two potholders feel like a set. If you are gifting them, roll them with a wooden spoon, tie them with cotton twine, and suddenly you have a thoughtful handmade present that says, “I care about you and your fingertips.” They are great for housewarming gifts, teacher gifts, holiday baskets, and last-minute presents that do not look last-minute.
Most importantly, crocheting potholders builds confidence. You practice counting, turning, joining, edging, and finishing in a small project that actually gets used. Every time you pull a tray from the oven or set a hot dish on the table, you get the quiet satisfaction of using something you made with your own hands. That feeling never gets old. It is practical, creative, and just a little smug in the best possible way.
Conclusion
Now you know how to crochet a potholder in 13 steps, from choosing cotton yarn to testing the finished piece safely. The process is simple enough for beginners but useful enough for experienced crocheters who want a quick, satisfying project. Start with basic single crochet, make two matching squares, join them into a double-thick hot pad, and add a hanging loop for everyday convenience.
The best crochet potholder is not just pretty; it is practical. Use 100% cotton yarn, keep your stitches dense, avoid lacy gaps, and test the finished fabric before handling hot cookware. Once you master the basic version, you can explore stripes, textured stitches, decorative borders, and matching kitchen sets.
A handmade potholder may be small, but it carries a lot of charm. It protects your hands, brightens your kitchen, uses up cotton yarn, and makes a thoughtful gift. Not bad for a square that started as a humble chain.
Note: This article is written as original, publish-ready HTML content based on widely accepted crochet practices for cotton potholders, dense stitch construction, and beginner-friendly kitchen crochet projects.