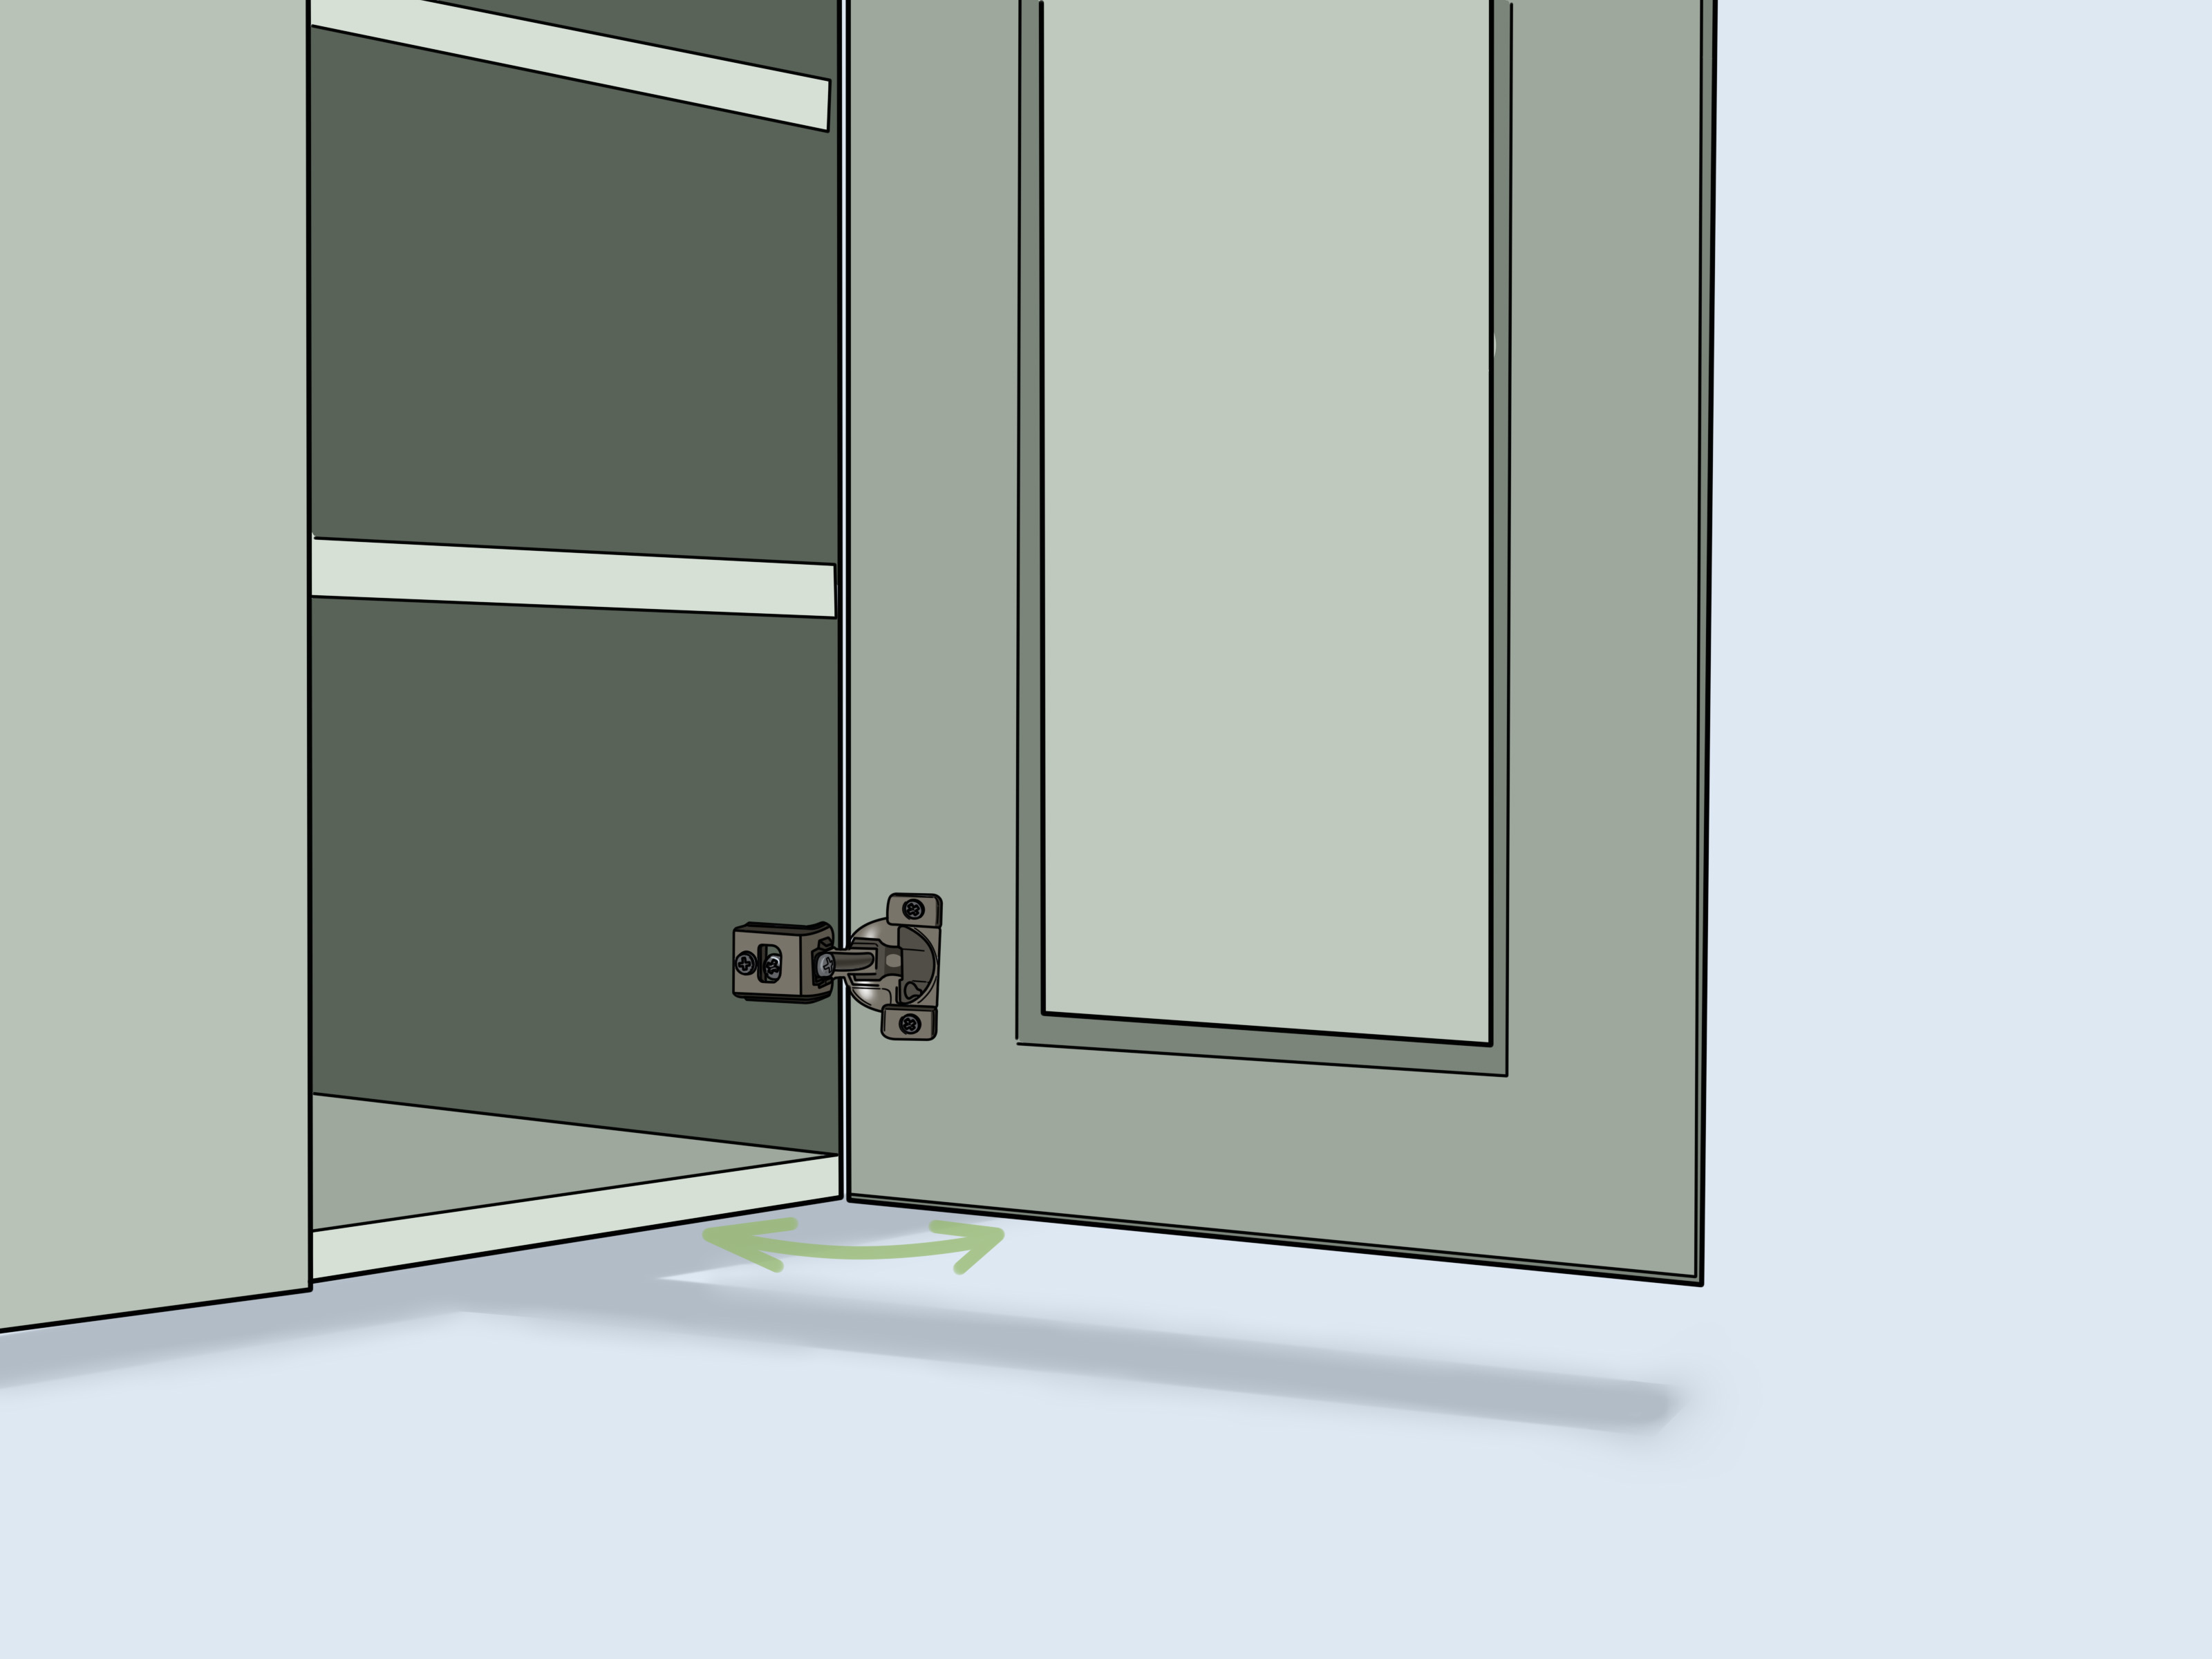
Soft close hinges are the tiny peacekeepers of the kitchen. When they work well, cabinet doors glide shut with quiet confidence. When they are out of adjustment, the same doors can rub, sag, bounce open, hang unevenly, or close with the emotional subtlety of a cymbal crash. The good news is that most soft close cabinet hinge problems do not require a new door, a new cabinet, or a dramatic phone call to a contractor. In many cases, all you need is a screwdriver, a little patience, and the courage to turn the correct screw instead of randomly attacking every screw in sight.
This guide explains how to adjust soft close hinges in 7 simple steps, including how to fix uneven gaps, cabinet doors that sit too high or too low, doors that rub the frame, and soft close hinges that shut too fast or not quite all the way. Most modern concealed hinges, also called European-style hinges, are designed with built-in adjustment points for side-to-side, up-and-down, and in-and-out alignment. That means the hardware already expects your cabinet doors to need a little fine-tuning over time.
Before you start, remember one rule: small adjustments win. A quarter-turn can make a visible difference. A full “I am fixing this forever” turn can send your cabinet door into a new zip code. Work slowly, test often, and treat the process like tuning a guitar rather than tightening a jar lid.
What Are Soft Close Hinges?
Soft close hinges are cabinet hinges with a built-in damping mechanism that slows the door during the final part of closing. Instead of slamming shut, the cabinet door catches itself and eases closed. These hinges are common in kitchens, bathrooms, laundry rooms, built-ins, and modern storage cabinets.
Many soft close hinges are concealed hinges, meaning you cannot see them from the outside when the door is closed. They usually include a hinge cup installed in the back of the cabinet door and a hinge arm attached to a mounting plate inside the cabinet box or face frame. Depending on the hinge brand and model, you may see adjustment screws, cam screws, mounting screws, or a small switch that turns the soft close feature on or off.
Tools You Need Before Adjusting Soft Close Hinges
You do not need a garage full of tools. For most cabinet hinge adjustment jobs, gather:
- A Phillips screwdriver or Pozidriv screwdriver, depending on your hinge screws
- A small flathead screwdriver, if your hinge has a soft close lever or damper switch
- A flashlight for seeing inside darker cabinets
- A level, optional but helpful for tall cabinet doors
- Painter’s tape or sticky notes for marking problem areas
- A helper, optional but useful for large pantry doors
A power drill can be useful for installation, but it is usually not the best choice for fine adjustment. Soft close hinges respond better to hand tools because you can feel resistance and avoid stripping screws. This is one of those rare moments when slower is actually faster.
How to Adjust Soft Close Hinges: 7 Steps
Step 1: Inspect the Cabinet Door and Identify the Problem
Start by closing the cabinet door and looking at the reveal, which is the visible gap around the door. Check the space between neighboring doors, between the door and the cabinet frame, and along the top and bottom edges. A properly adjusted cabinet door should look even, sit flush, and close without rubbing.
Ask yourself what is wrong before touching the hinge. Is the door too high? Too low? Crooked? Sticking out at the top? Rubbing the cabinet frame? Closing too quickly? Refusing to close completely? The answer tells you which adjustment to make.
If the top of the door leans left or right, you probably need a side-to-side adjustment. If the door is higher or lower than the neighboring door, you need a height adjustment. If the door sticks out from the cabinet or hits the frame before closing, you need a depth adjustment. If the alignment looks fine but the soft close action feels weak, harsh, or inconsistent, you may need to adjust the damper setting or check whether the soft close mechanism is damaged.
Open and close the door several times. Listen for rubbing. Watch where the door makes contact. If needed, place a small piece of painter’s tape near the problem area so you do not forget what you are trying to fix after staring at three nearly identical screws for two minutes.
Step 2: Tighten Loose Mounting Screws First
Before making alignment adjustments, check whether the hinge is simply loose. Open the cabinet door and inspect the screws that hold the hinge cup to the door and the mounting plate to the cabinet. If any screws are loose, tighten them gently by hand.
This step is important because loose hinge screws can create fake alignment problems. A sagging cabinet door may not need a side adjustment at all; it may just need the hinge secured again. Tighten the screws until they are snug, but do not over-tighten. If the screw keeps spinning without gripping, the screw hole may be stripped. In that case, the hinge cannot hold its position properly until the hole is repaired.
For stripped screw holes, a common fix is to fill the hole with wood glue and a wood dowel or wooden toothpicks, let it dry, trim it flush, and reinstall the screw. For particleboard cabinets, use care because the material can crumble if repeatedly over-tightened. When the hinge is secure, close the door again and check whether the problem improved. Sometimes this single step makes the cabinet look freshly installed, which is deeply satisfying and slightly annoying because it was that easy all along.
Step 3: Adjust the Side-to-Side Screw for Even Gaps
The side-to-side adjustment controls the horizontal position of the cabinet door. This is the adjustment you use when two doors are too close together, when one door overlaps the other, or when the gap between doors looks wider at one point than another.
On many concealed soft close hinges, the side adjustment screw is located on the hinge arm, often toward the front. Turning this screw moves the door left or right. The exact direction depends on the hinge model, but the method is the same: turn the screw a small amount, close the door, check the gap, and repeat if needed.
For a double-door cabinet, focus on the vertical gap between the two doors. If the top gap is narrow and the bottom gap is wide, adjust the top or bottom hinge slightly rather than moving both hinges equally. A crooked door often needs different adjustments at the upper and lower hinges.
Use quarter-turns. If the door moves too far, reverse the screw slightly. Do not chase perfection forever; aim for a clean, even reveal that looks right from normal viewing distance. Nobody is going to inspect your cabinet gaps with laboratory equipment unless you invite a very intense carpenter over for dinner.
Step 4: Adjust the Height Screws to Raise or Lower the Door
The height adjustment moves the entire cabinet door up or down. Use this step when one door sits higher than the door next to it, when the top edge is uneven, or when the bottom of the door rubs against the cabinet frame.
Many hinges adjust height through the screws on the mounting plate. Some models have cam height adjustment, while others require you to slightly loosen the mounting screws, move the door up or down by hand, and then tighten the screws again. If your hinge has elongated screw slots on the mounting plate, that usually means the door can slide vertically before being locked into place.
Support the cabinet door with one hand while loosening the height screws. Do not remove the screws unless you are taking the door off. Loosen them just enough for the door to move. Raise or lower the door slightly, then tighten the screws and check the alignment.
For larger doors, adjust both hinges together. If you only loosen one hinge, the door can twist or bind. For tall pantry doors with three hinges, start with the top and bottom hinges, then fine-tune the middle hinge after the door is aligned. The middle hinge should support the door, not fight the other two hinges like a tiny metal referee.
Step 5: Adjust the Depth Screw So the Door Sits Flush
The depth adjustment controls how far the cabinet door sits in or out from the cabinet box. This is the adjustment to use when a door sticks out, sits too far inward, hits the cabinet frame, or leaves an uneven shadow line along the side.
On many soft close hinges, the depth screw is located toward the back of the hinge arm. Turning it moves the door closer to or farther from the cabinet. If the top of the door sticks out while the bottom sits flush, adjust the top hinge depth. If the bottom sticks out, adjust the bottom hinge depth. If the whole door sits proud of the frame, adjust both hinges evenly.
Depth is especially important for inset cabinet doors because they sit inside the cabinet opening. Even a small error can make the door rub or appear crooked. Overlay cabinet doors are more forgiving, but depth still affects how smoothly the soft close mechanism works.
After each small adjustment, close the door slowly and watch the final inch of travel. The door should glide into place without scraping, bouncing, or pushing against the frame. If the door springs back open slightly, the depth may be too tight, the door may be rubbing, or the soft close piston may be resisting because the hinge is misaligned.
Step 6: Adjust the Soft Close Speed or Damper Setting
Not every soft close hinge has a speed adjustment, so do not panic if you cannot find one. Some hinges have a simple on/off switch for the soft close feature. Others have a small lever with light, medium, and strong damping settings. Some models have built-in damping that cannot be adjusted at all.
If your hinge has a switch marked with symbols such as “I” and “0,” the “I” position usually means the soft close feature is active, while “0” means it is off. This feature is useful for small or lightweight doors. If a small cabinet door closes too slowly or does not fully close, one hinge may need the soft close feature turned off while the other remains active.
If your hinge has a tension lever, increase damping for heavier doors and reduce damping for lighter doors. A heavy trash pullout door or tall pantry door may need stronger soft close resistance. A small spice cabinet door may work better with a lighter setting. Adjust one hinge at a time and test the door after each change.
If the cabinet door still slams even when the soft close setting is active, the damper may be worn out, broken, oily, dirty, or incompatible with the door size. In that case, alignment adjustments may not solve the problem. The hinge or add-on damper may need to be replaced.
Step 7: Test, Fine-Tune, and Repeat in Small Increments
Once you have adjusted side alignment, height, depth, and soft close action, test the door several times. Open it fully, let it close naturally, and watch the final motion. Then step back and look at the cabinet as a whole. The reveal should be even, the door should sit flush, and the closing motion should be smooth and quiet.
If you are adjusting a row of cabinet doors, do not perfect one door in isolation and then discover it looks strange beside the others. Align doors as a group. Start with the most visible door or the door that shares a gap with several others, then work outward. On upper kitchen cabinets, use the bottom edge as your visual guide. On base cabinets, use the top edge and the vertical gaps.
Keep in mind that cabinet boxes, floors, and walls are not always perfectly square. Older homes especially enjoy having “character,” which is a polite word for “nothing is level but we are all pretending.” Your goal is not mathematical perfection. Your goal is a door that looks straight, closes correctly, and does not scrape, slam, or sag.
Common Soft Close Hinge Problems and Quick Fixes
The Cabinet Door Slams Shut
First, check whether the soft close switch is turned on. If the hinge has an adjustable damper, increase the damping strength. If the door still slams, inspect the damper for damage. A worn soft close mechanism cannot usually be repaired internally; replacement is often the practical solution.
The Door Will Not Close All the Way
This usually points to a depth issue, a hinge obstruction, or too much soft close resistance for a lightweight door. Adjust the depth screw so the door is not pressed too tightly against the cabinet. If the door is small, try turning off the soft close feature on one hinge if your hinge model allows it.
The Door Rubs Another Door
Use the side-to-side adjustment screw to shift the door away from the neighboring door. If the gap is wider at the top than the bottom, adjust only one hinge slightly. If both doors are off, split the correction between them so one door does not end up doing all the visual heavy lifting.
The Door Looks Crooked
A crooked cabinet door usually needs a combination of side and height adjustments. Check for loose screws first. Then adjust the upper or lower hinge in small increments until the reveal looks even.
The Door Sags Again After Adjustment
If the door keeps sagging, the screws may be stripped, the hinge may be bent, or the door may be too heavy for the current hardware. Repair stripped holes, replace damaged hinges, or upgrade to hinges rated for the door’s size and weight.
Pro Tips for Better Cabinet Door Alignment
Use the same screwdriver size that fits the screw head properly. A poor fit can strip the screw and turn a five-minute adjustment into a hardware-store field trip. Keep the door supported while loosening height screws. Mark the original screw position with a pencil if you are nervous about losing your starting point. Adjust hinges with the cabinet empty if heavy items inside make it difficult to see or reach the hinge area.
For new hinges, check the overlay measurement before assuming the door is adjustable enough to fix everything. Overlay refers to how much the door covers the cabinet opening or face frame. If the wrong hinge overlay was installed, adjustment screws may not provide enough travel to correct the fit. In that case, the hinge may need to be replaced with the correct type.
Also, remember that soft close hinges are not magic shock absorbers for every door problem. If a cabinet door is warped, swollen from moisture, or installed on a twisted cabinet box, hinge adjustment can improve the situation but may not completely solve it. Sometimes the hinge is innocent. Sometimes the door itself is the drama.
When to Replace Soft Close Hinges Instead of Adjusting Them
Adjustment is the right first step, but replacement is better when the hinge is visibly bent, cracked, rusty, missing parts, or leaking damping fluid. Replace the hinge if the soft close action has failed on only one hinge while the others work normally. Also consider replacement if the screw holes no longer hold securely after repair, or if the cabinet door is too large or heavy for the existing hinges.
When replacing hinges, match the hinge type carefully. Important details include overlay, opening angle, face frame versus frameless cabinet construction, hinge cup diameter, screw pattern, and whether the hinge is inset, partial overlay, or full overlay. If possible, remove one existing hinge and bring it to the hardware store or compare it carefully with manufacturer specifications online.
Experience-Based Advice: What Actually Helps When Adjusting Soft Close Hinges
After you have adjusted a few soft close hinges, you learn that the process is less about strength and more about observation. The biggest beginner mistake is turning the wrong screw too much, too quickly. It feels productive, but it creates a new problem before the old one is solved. The better approach is to identify one symptom, make one small adjustment, close the door, and check the result. It may feel slow at first, but it is much faster than trying to undo five mystery turns later.
One helpful habit is to start with the most obvious problem. If a cabinet door is rubbing the door next to it, fix the side gap first. If it is scraping along the bottom, fix the height first. If it looks aligned from the front but refuses to close smoothly, then move to depth and soft close settings. This order keeps the job organized. Cabinet doors can have multiple issues at once, but one good adjustment often improves more than one symptom.
Another useful lesson is that upper and lower hinges do not always need the same adjustment. For example, if the top corner of a door leans toward the neighboring door, adjust the top hinge slightly rather than moving the entire door. If the bottom corner sticks out, change the depth on the bottom hinge instead of blaming the whole door. Think of each hinge as a control point. The top hinge affects the top of the door more. The bottom hinge affects the bottom more. That simple idea makes troubleshooting much easier.
Lighting also matters more than people expect. Cabinet interiors are often shadowy, and hinge screws can look similar. A small flashlight helps you see which screw controls adjustment and which screw simply holds the hinge in place. This can save you from loosening a mounting screw when you meant to adjust the cam screw. If you are working under a sink or in a corner cabinet, good lighting is not a luxury; it is emotional support.
For homeowners adjusting several kitchen doors, it helps to work in visual zones. Do the upper cabinets together, then the lowers. Align pairs of doors together instead of treating each one as a separate island. A single door can look perfect until the door beside it reveals that the gap is uneven. Step back often. View the cabinets from normal standing distance. The goal is a clean overall look, not microscopic perfection.
Soft close settings also require practical judgment. A heavy door may need more damping, while a small door may close better with one damper reduced or turned off. If a lightweight door stops short of closing, the hinge may not be broken; the soft close resistance may simply be too strong for the door. On the other hand, if a door slams no matter what setting you use, the damper is probably worn out. No amount of motivational speaking will bring a dead damper back to life.
Finally, know when to stop. Once the reveal is even, the door sits flush, and the soft close action feels smooth, put the screwdriver down. Cabinet hinge adjustment can become strangely addictive, but over-adjusting can undo a perfectly good result. A well-adjusted soft close hinge should disappear into daily life. You should not notice the hinge. You should just notice that the cabinet closes quietly, lines up nicely, and no longer sounds like it is making an announcement to the entire house.
Conclusion
Learning how to adjust soft close hinges is one of those small DIY skills that makes your home feel better immediately. A crooked or slamming cabinet door can make an otherwise beautiful kitchen feel unfinished, while a properly aligned door creates that smooth, quiet, polished feeling people associate with high-quality cabinetry.
The process is simple when you break it down: inspect the problem, tighten loose screws, adjust side-to-side alignment, set the height, fine-tune the depth, check the soft close damper, and test the door in small increments. Most fixes take only a few minutes per door once you understand which screw does what.
Soft close hinges are designed to be adjusted, so do not be intimidated by them. Work slowly, use the right screwdriver, avoid over-tightening, and make small changes. Your reward is a cabinet door that closes quietly, lines up beautifully, and no longer threatens your peace every time someone reaches for a coffee mug.
Note: This article is based on real cabinet hardware adjustment practices used for common concealed and European-style soft close hinges. Always check your specific hinge brand or model if the screw layout looks different.