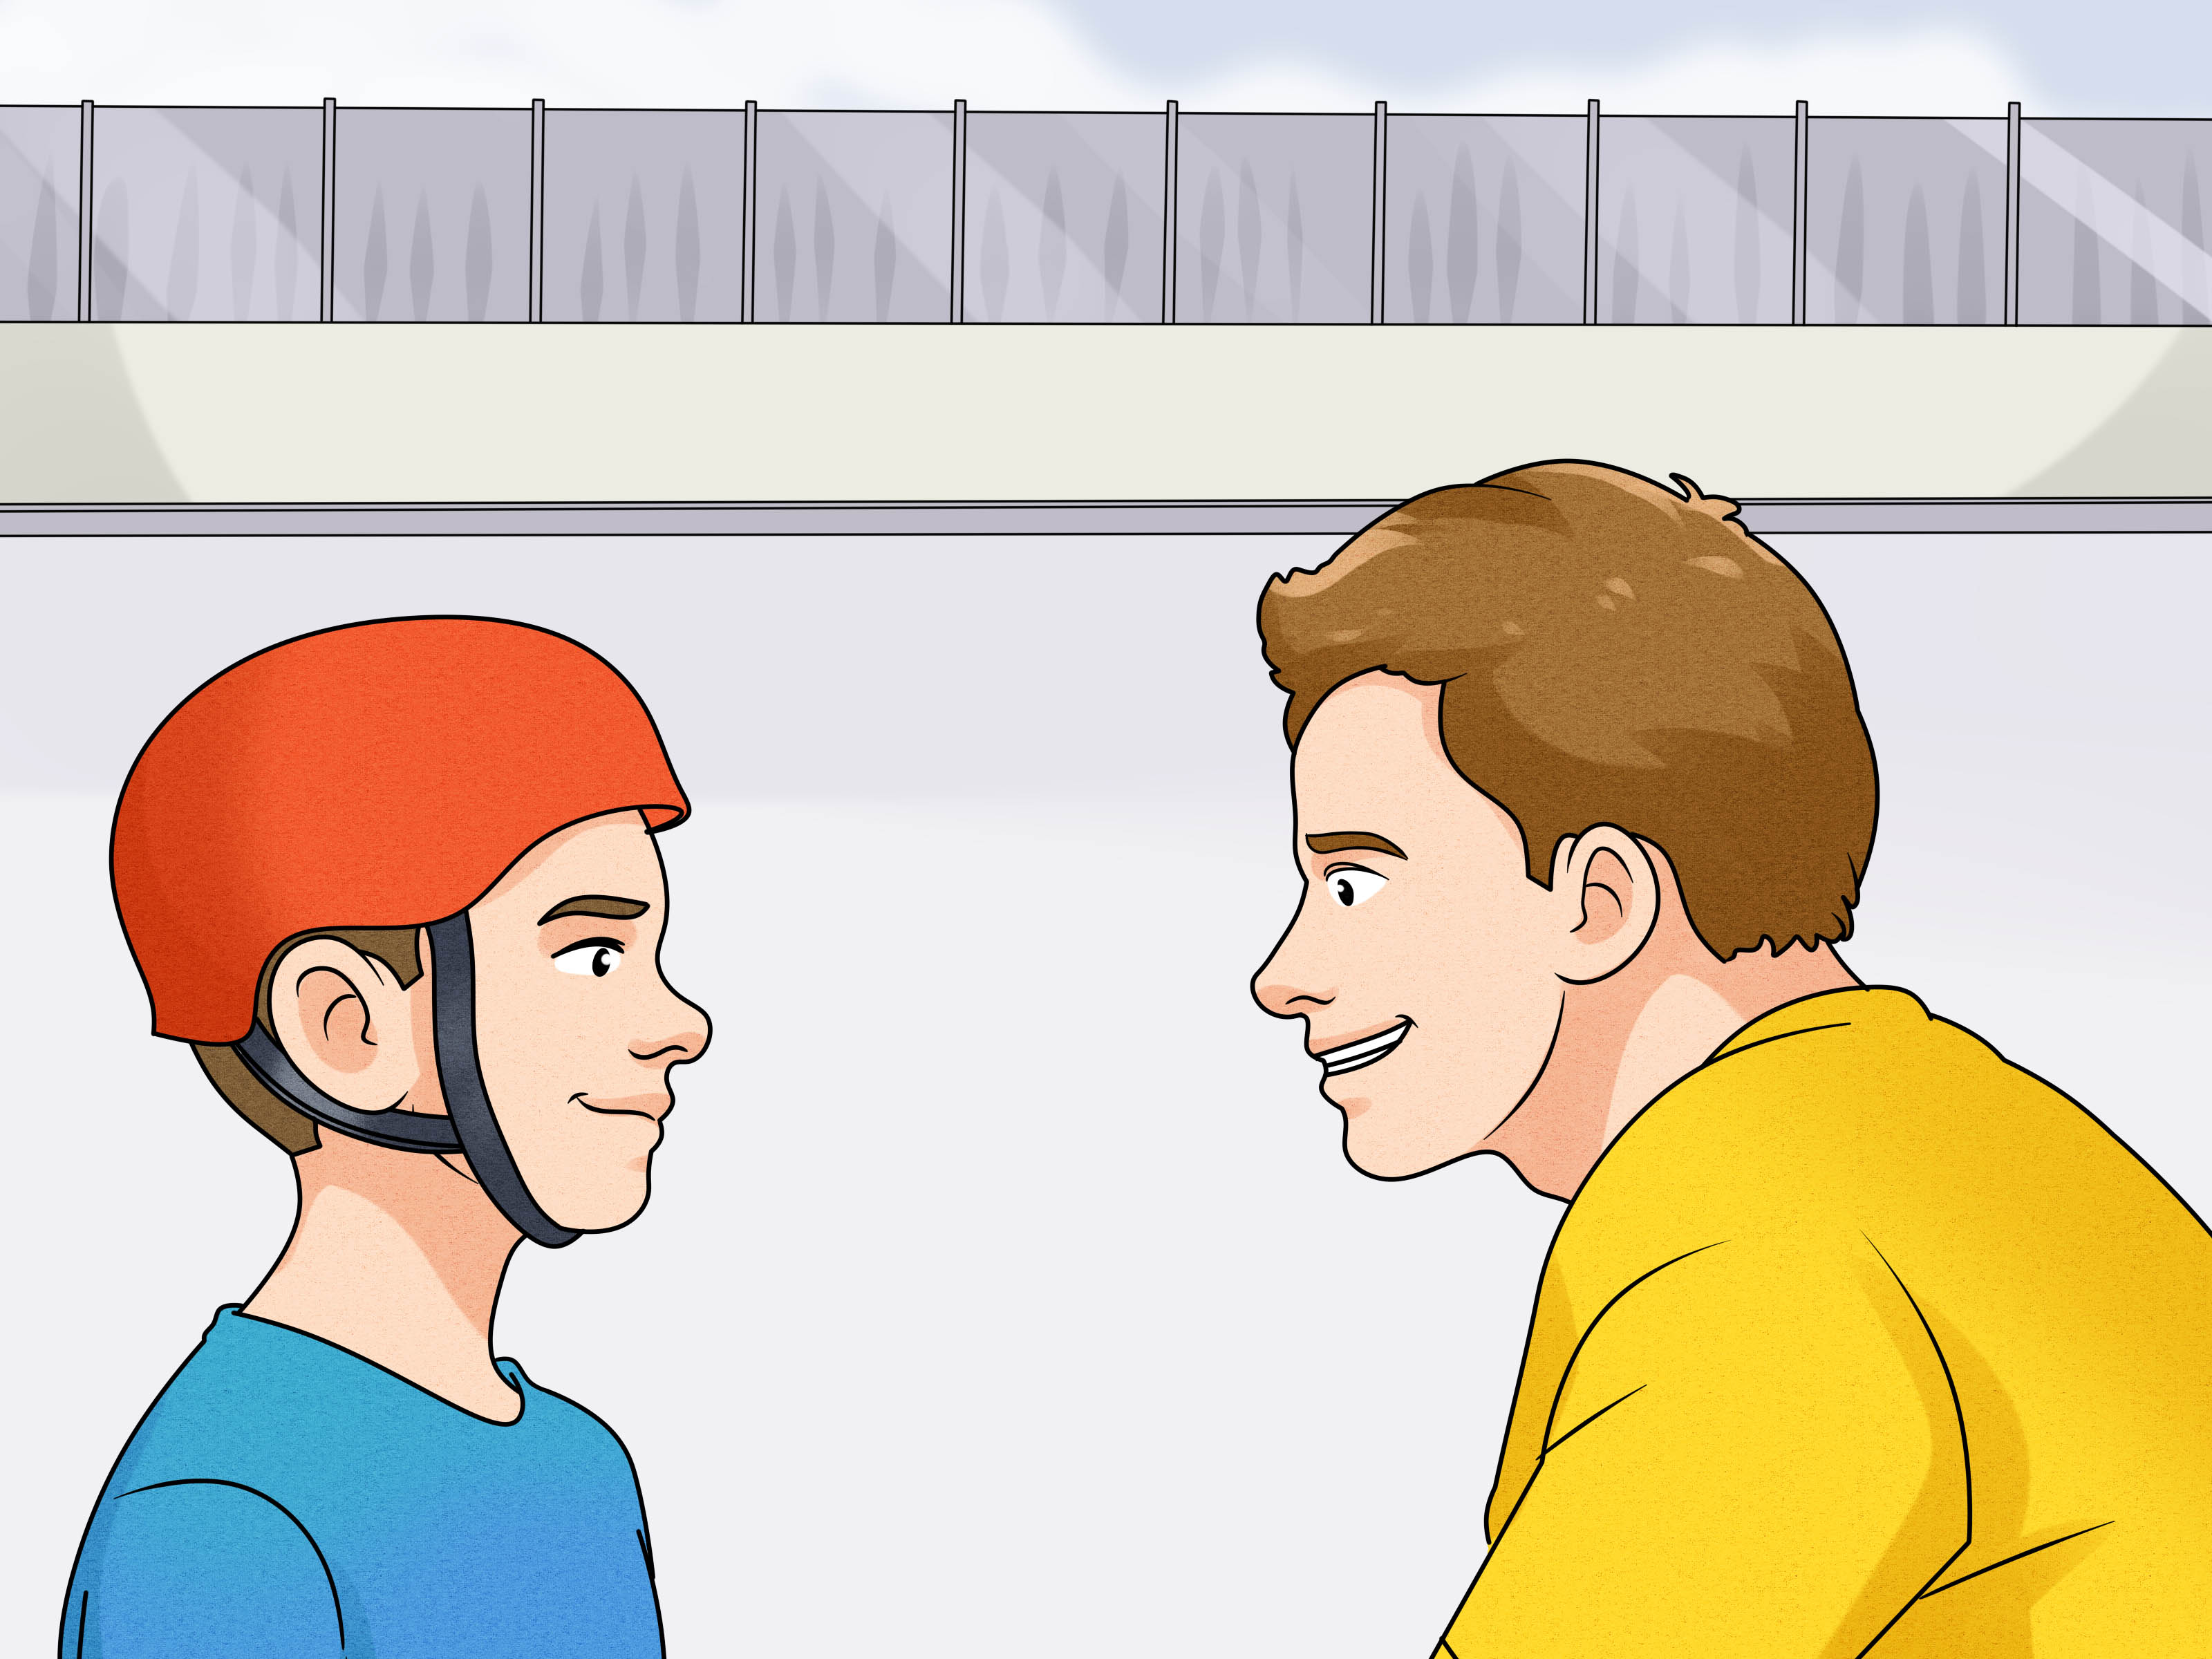
Teaching a kid to roller skate is one of those parenting adventures that looks adorable in your imagination and slightly wobbly in real life. One minute, your child is picturing themselves gliding like a tiny disco champion; the next, they are clinging to your arm like you are the last tree in a windstorm. Good news: learning how to roller skate does not have to be scary, chaotic, or full of dramatic carpet burns.
With the right gear, a calm plan, and a sense of humor, roller skating for kids can become a confidence-building activity that improves balance, coordination, strength, and patience. The key is to go slowly, celebrate small wins, and teach safety before speed. A child does not need to master fancy spins on day one. Day one is for standing, smiling, and discovering that wheels under shoes are both magical and suspicious.
This guide breaks down how to teach a kid to roller skate in 14 easy and safe steps, from choosing skates to practicing falls, stops, turns, and beginner games. Whether your child is learning at a roller rink, driveway, gym floor, or smooth playground court, these steps will help them roll with more confidence and fewer “I meant to do that” tumbles.
Why Roller Skating Is Great for Kids
Roller skating is more than a retro hobby with excellent sock potential. It is a full-body movement activity that encourages kids to use their legs, core, arms, and eyes together. Skating helps children practice balance, body awareness, coordination, and controlled movement. It can also be a fun way to build endurance without making exercise feel like exercise, which is a parenting victory worthy of a small parade.
For many children, skating also teaches emotional skills. They learn to try, wobble, fall, laugh, get up, and try again. That process builds resilience. A child who can say, “I fell, but I got back up,” is learning something far bigger than skating. They are learning that progress can look a little silly before it looks smooth.
Before You Start: Safety Comes First
Before the first lesson, make safety non-negotiable. A beginner skater should wear a properly fitted helmet, wrist guards, knee pads, and elbow pads. For nervous beginners, padded shorts can also help protect the tailbone. Protective gear should fit snugly without sliding around or blocking movement. Loose pads are like umbrellas in a hurricane: technically present, not especially useful.
Check the skates before every session. Wheels should roll smoothly, toe stops should be secure, laces or buckles should be tight, and the skates should fit comfortably. Skates that are too large make balance harder, while skates that pinch can turn a fun lesson into a tiny complaint festival. Choose a smooth, dry, flat surface away from traffic, stairs, gravel, wet leaves, sand, pets, and heroic older siblings doing stunts.
How to Teach a Kid to Roller Skate in 14 Easy and Safe Steps
1. Choose the Right Roller Skates
Start with skates that match your child’s age, size, and skill level. Quad skates, which have two wheels in front and two in back, often feel more stable for young beginners. Inline skates can work well for older children, but they may require more balance at the start.
The fit should be snug but not painful. Your child’s heel should not lift dramatically inside the boot, and their toes should have a little wiggle room. If your child says, “They feel weird,” that may be normal. If they say, “My toes are becoming raisins,” adjust or change the skates.
2. Put on Protective Gear Every Time
Make protective gear part of the routine, not a negotiation. Helmet first, then knee pads, elbow pads, and wrist guards. The helmet should sit level on the head, low on the forehead, with straps forming a V around the ears and the chin strap snug enough that the helmet does not wobble.
Teach your child a simple rule: no gear, no rolling. This keeps safety from becoming a debate. It also helps kids understand that smart skaters protect their bodies, just like soccer players wear shin guards and superheroes wear suspiciously dramatic capes.
3. Start on Carpet, Grass, or a Rubber Mat
Before moving to a slick surface, let your child stand in skates on carpet, grass, or a rubber mat. These surfaces slow the wheels, giving your child time to feel the height and shape of the skates without immediately rolling into a shrub.
Ask them to stand with feet about hip-width apart. Have them bend their knees slightly and keep their hands forward. This is the beginner “ready position.” It looks a bit like sitting in an invisible chair, except the chair is made of courage.
4. Teach the Safe Skating Stance
The safest beginner stance is simple: knees bent, chest slightly forward, eyes ahead, arms out, and weight over the middle or front half of the feet. Many children instinctively lean backward when they feel nervous, but leaning back increases the chance of a backward fall.
Use kid-friendly cues. Say, “Bend like a tiny basketball player,” or “Pretend you are holding a tray of cupcakes.” The cupcake cue works especially well because no child wants imaginary cupcakes to suffer.
5. Practice Falling Before Rolling
This may sound strange, but one of the best ways to teach a kid to roller skate safely is to teach falling first. On grass or carpet, show your child how to bend their knees, lower their body, and fall forward onto knee pads and wrist guards. The goal is not to crash. The goal is to remove fear.
Teach them not to throw their arms straight behind them or stiffen like a board. A relaxed, low body is safer than a tall, panicked one. Practice falling and getting back up several times. Make it silly. Say, “That was a five-star turtle landing.” Laughter reduces fear, and fear is often what makes beginners stiff.
6. Learn How to Get Up Correctly
Getting up on skates is a skill of its own. Have your child roll onto hands and knees, place one skate flat on the ground, put both hands on that knee, and slowly push up. Then bring the other skate underneath them.
Avoid pulling them up by the arms. It may seem helpful, but it can teach them to depend on you instead of finding their own balance. Stand nearby as a safety spotter, but let them do the work. Independence begins with one wobbly knee and a very proud grin.
7. Try the “Marching Penguin” Drill
Once your child can stand, begin with marching instead of rolling. Ask them to lift one skate slightly, put it down, then lift the other. Their feet can make a small V shape, with toes turned out just a little. This helps them move forward without pushing too hard.
Call it the marching penguin drill. Kids usually love this because penguins are naturally funny, formally dressed, and excellent at making wobbling look intentional. Keep the steps small. Big steps often lead to big slips.
8. Move to a Smooth, Flat Practice Area
When your child can stand, fall, get up, and march, move to a smooth surface. A roller rink is ideal because it is flat, clean, and designed for skating. A smooth driveway, empty tennis court, or paved park path can also work if it is dry and free of obstacles.
Walk the area first. Look for cracks, pebbles, puddles, sticks, uneven pavement, and slopes. Beginners do not need surprise speed. Gravity already has enough personality.
9. Teach Small Pushes and Glides
Now it is time to turn marching into skating. Have your child start in the ready position. Ask them to push gently out to the side with one foot, then glide on the other. Then switch sides. The push should be small and controlled, not a dramatic superhero launch.
Use the phrase “push and glide.” Keep your instructions short. Children can usually handle one or two cues at a time. Too many directions at once can make them freeze, overthink, or ask if snack time has arrived.
10. Practice Stopping Early
Stopping should be taught before speed. If your child uses quad skates, show them how to use the toe stop by placing one foot slightly behind and pressing the toe stop gently into the ground. Keep knees bent and weight controlled.
Another beginner option is the slow roll-out: stop pushing, bend the knees, and let the skates gradually lose speed in a safe open area. Avoid teaching kids to grab walls, people, or furniture to stop. Walls are not brakes. People are definitely not brakes.
11. Add Simple Turns
Once your child can roll and stop, teach turning. Start with gentle curves. Ask them to look where they want to go, point their shoulders in that direction, and make tiny steps around the turn. Looking matters because the body often follows the eyes.
Set up two cones, water bottles, or stuffed animals and let your child skate around them. Give the stuffed animals important jobs, such as “traffic manager” or “chief wobble inspector.” Small games make repetition feel fun instead of boring.
12. Use Games to Build Confidence
Kids learn best when practice feels like play. Try “red light, green light” for stopping and starting. Try “skate to the island” by placing a towel or chalk circle as a destination. Try “high-five delivery,” where your child skates a short distance to give you a high five.
Keep games slow and skill-based. The goal is not racing. The goal is balance, control, and confidence. Praise specific effort: “You bent your knees that time,” “You stopped all by yourself,” or “You got back up so calmly.” Specific praise tells kids what to repeat.
13. Keep Lessons Short and Positive
Beginner skating uses muscles and focus that kids may not be used to using. Short lessons are better than marathon sessions. Start with 10 to 20 minutes for younger kids and build gradually. Stop before your child is exhausted, frustrated, or negotiating with the pavement.
End each practice with one win. That win might be standing without holding on, rolling five feet, stopping once, or simply putting the skates away without tears. A positive ending makes your child more likely to want to skate again.
14. Progress Slowly to New Skills
After your child can start, glide, stop, turn, and fall safely, you can add new skills. Practice longer glides, smoother turns, skating in a circle, backward stepping, or gentle rhythm skating. Do not rush hills, crowded rinks, tricks, jumps, or outdoor trails until your child has strong control.
Progress should be based on readiness, not age alone. Some kids become comfortable quickly. Others need several sessions just to stand and march. Both are normal. The best skater is not the one who learns fastest; it is the one who keeps learning safely.
Common Mistakes Parents Should Avoid
Holding a Child Too Much
It is natural to want to hold your child’s hands the whole time. However, if they lean heavily on you, they may not learn their own balance. Instead, stand close, offer a hand for brief reassurance, and encourage them to balance independently.
Giving Too Many Instructions
“Bend your knees, look up, arms out, don’t lean back, push sideways, smile, breathe, be a champion!” That is too much. Choose one cue at a time. For example: “Bend your knees.” Once that improves, add: “Look ahead.” Simple coaching works best.
Skipping the Stop
Kids love going. Parents must love stopping. Practice stopping during every session. A child who can stop feels safer, and a safer child becomes braver in the right way.
Practicing in Unsafe Places
A bumpy sidewalk near traffic is not a beginner skating classroom. Choose smooth, dry, open spaces. Avoid slopes until your child can control speed and stop consistently.
What to Do If Your Child Is Afraid
Fear is normal. Roller skates change a child’s relationship with the floor, and the floor has a reputation for being unforgiving. If your child is scared, slow down. Go back to carpet practice, marching, or simply standing in gear. Let them watch other beginners. Offer encouragement without pressure.
Try saying, “You do not have to be good today. You only have to try one small thing.” This removes performance pressure. Avoid comparing siblings or friends. Nothing drains joy faster than, “Your cousin learned in ten minutes.” Good for the cousin. The cousin is not here wearing these skates.
Sample First Roller Skating Lesson Plan
Here is a simple first lesson you can use:
- Minutes 1–5: Put on gear, check helmet fit, check skates.
- Minutes 5–10: Stand on carpet or grass in the ready position.
- Minutes 10–15: Practice safe falling and getting up.
- Minutes 15–20: March like a penguin on a slow surface.
- Minutes 20–25: Try small pushes and short glides.
- Minutes 25–30: Practice stopping, then end with praise.
If your child is tired after 15 minutes, stop there. The perfect lesson is not the longest lesson. It is the one that ends with your child thinking, “I want to do that again.”
Extra Experience: Real-Life Tips for Teaching a Kid to Roller Skate
One of the most helpful experiences when teaching kids to roller skate is realizing that children do not always learn in a straight line. A child may glide beautifully one day and cling to the wall the next. That does not mean they forgot everything. It usually means their confidence is catching up with their body. Treat each lesson as a fresh start.
Another practical tip is to create a predictable routine. Kids feel safer when they know what comes next. Start every skating session the same way: gear check, helmet check, standing stance, one safe fall, one get-up, then rolling. This routine tells the child, “We know what we are doing.” Even if their knees are wobbling like jelly at a picnic, the structure feels calming.
It also helps to use visual markers. A child may not understand “skate about ten feet,” but they understand “skate from this chalk star to that blue water bottle.” Cones, chalk lines, small toys, and towels can turn an empty space into a friendly practice course. Keep the distances short at first. A five-foot glide can feel like crossing the Grand Canyon when you are six years old and wearing wheels.
Parents should also pay attention to energy levels. Many kids get goofy right before they get tired. If your child starts flopping, spinning randomly, or declaring themselves “the fastest human alive” after three slow glides, it may be time for a break. Fatigue often leads to sloppy posture, and sloppy posture leads to falls. Stop while the session is still positive.
Snacks and water matter more than people admit. Roller skating uses effort, especially for beginners who are constantly balancing. Bring water and a small snack for after practice. This gives the child something to look forward to and prevents the classic post-practice meltdown, also known as “I am hungry but will express it through skate removal drama.”
One excellent coaching trick is to skate or walk beside the child instead of in front of them. If you stand too far ahead, they may rush. If you stand behind, they may worry. Beside them is reassuring. Keep your voice calm and your face relaxed. Children read adult reactions quickly. If you gasp every time they wobble, they will assume wobbling is an emergency. It is not. Wobbling is just learning in motion.
Finally, remember that confidence is the real goal. Not speed. Not tricks. Not perfect form. When a child learns to roller skate, they are learning how to handle uncertainty. They are learning that falling is not failure. They are learning that practice changes what feels impossible. That lesson follows them far beyond the rink.
Conclusion
Teaching a kid to roller skate in 14 easy and safe steps is all about preparation, patience, and practice. Start with properly fitted skates and protective gear. Choose a smooth, safe area. Teach the ready stance, controlled falling, getting up, marching, gliding, stopping, and turning before adding speed. Keep lessons short, playful, and encouraging.
The best roller skating lessons are not rushed. They are built one tiny victory at a time. Today your child may stand for three seconds. Tomorrow they may glide across the driveway. Soon, they may be asking for rink music, glitter laces, and a personal fan club. When that happens, congratulations: you have helped create a confident young skaterand possibly a very small disco legend.