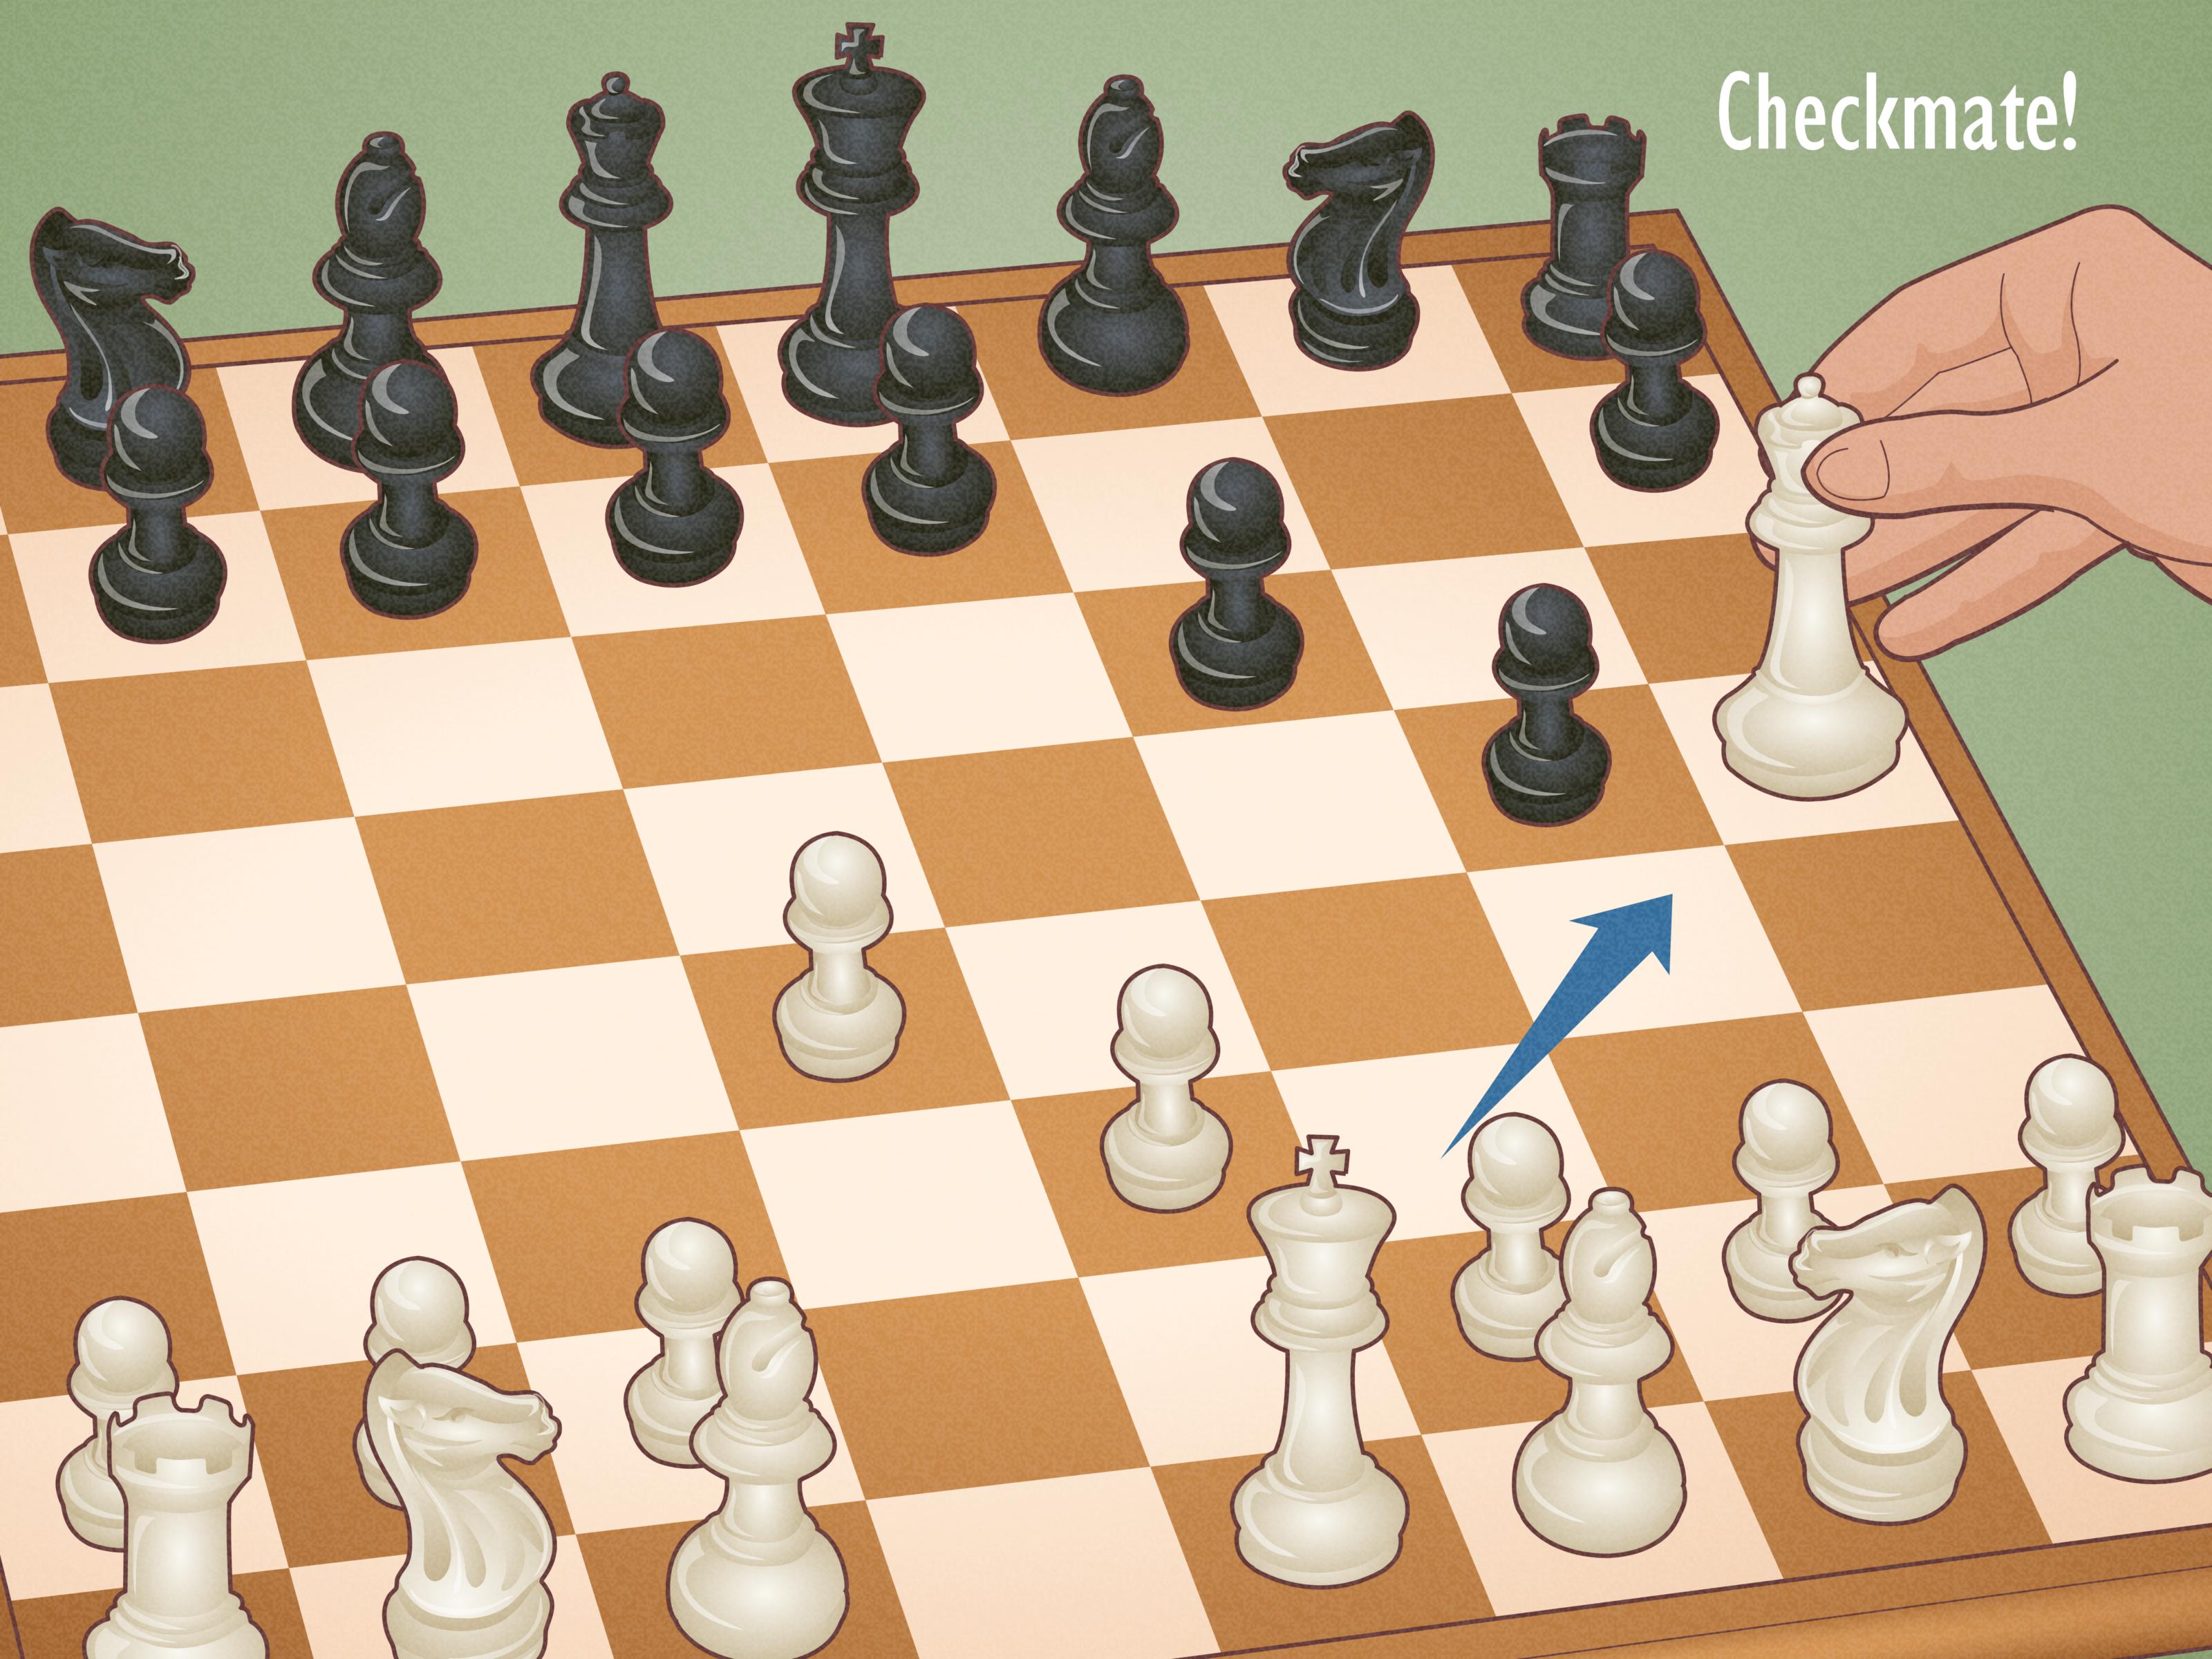
A chess game can last five hours, feature a heroic endgame, and leave both players emotionally negotiating with a lonely pawn. Or it can end before anyone has settled into the chair. Fool’s Mate is the fastest checkmate possible from the standard starting position, allowing Black to win on the second move after White makes two severe kingside mistakes.
The famous sequence is 1. f3 e5 2. g4 Qh4#. It is short enough to memorize during an elevator ride, but understanding it is more useful than merely reciting it. Fool’s Mate teaches king safety, diagonal attacks, pawn weaknesses, threat recognition, and the important difference between a clever pattern and a strategy you can force.
This guide explains exactly how to perform a Fool’s Mate, why the position is checkmate, how the pattern can appear through different move orders, and how to avoid becoming the player who loses before the snacks arrive.
What Is Fool’s Mate?
Fool’s Mate is a two-move checkmate delivered by Black. In chess notation, “two moves” means that White and Black have each moved twice. The game therefore ends after four individual turns, also called plies.
The standard move sequence is:
- 1. f3 e5
- 2. g4 Qh4#
The symbol # means checkmate. Black’s queen moves from d8 to h4 and attacks the White king on e1 along the diagonal h4–g3–f2–e1. White has emptied the f2 square by moving the f-pawn and has also pushed the g-pawn, removing a possible shield near the king. The queen’s route is open, the king is trapped by its own pieces, and no legal defense remains.
Despite its dramatic name, Fool’s Mate is not a dependable opening system. Black cannot force White to cooperate. It works only when White creates the exact weakness needed for the queen attack. Against a player who makes sensible opening moves, the trap disappears faster than free pizza at a chess club.
How to Perform a Fool’s Mate Step by Step
Step 1: White Weakens the King With 1. f3
White begins by moving the pawn from f2 to f3. This move is legal, but it has several drawbacks. It does little to control the center, blocks the natural development square of the knight on g1, and weakens the diagonal leading toward the king.
The f-pawn deserves special attention in chess because it begins directly beside the king and is initially protected only by the king. Moving it is not always wrongmany legitimate openings use an f-pawn advancebut doing so carelessly can remove an important layer of kingside protection.
Step 2: Black Opens the Queen’s Diagonal With 1…e5
Black responds by moving the pawn from e7 to e5. This is a normal central move that controls important squares and, crucially for this pattern, clears the diagonal from d8 to h4 for the queen.
Black is not yet giving check and should not assume the game is won. The move simply creates the possibility of Qh4# if White makes another weakening move. A good player notices the opportunity but remains ready to play ordinary chess if White responds safely.
Step 3: White Creates the Final Weakness With 2. g4
White then pushes the pawn from g2 to g4. This is the decisive blunder. The first pawn move weakened the diagonal; the second fails to stop the queen from entering on h4 and leaves the king with no useful defensive resource.
At this moment, Black should pause and run a basic tactical scan: checks, captures, and threats. The check on h4 is not merely strongit ends the game.
Step 4: Black Plays 2…Qh4#
Black moves the queen from d8 to h4. The queen now attacks the king on e1 along the open diagonal. This is checkmate because White cannot satisfy any of the standard responses to check:
- The king cannot move: Its nearby squares are occupied by White’s own pieces or remain unavailable.
- The queen cannot be captured: No White piece can legally take the queen on h4.
- The check cannot be blocked: White has no legal move that can place a piece on g3 or f2 to interrupt the diagonal.
The game ends immediately. The king is not physically captured in standard chess; checkmate is the final position.
Why Fool’s Mate Works
The e1–h4 Diagonal Becomes a Highway
At the beginning of the game, the pawn on f2 sits on the diagonal between h4 and e1. Once that pawn moves, the diagonal can become exposed. Black’s e-pawn move frees the queen, and White’s g-pawn advance fails to provide any protection. The result is a clear attacking lane aimed directly at the king.
White’s Own Army Traps the King
Fool’s Mate is a useful example of self-blocking. White’s king remains on e1, surrounded by the queen, bishop, and pawns that have not developed. Those pieces are normally defenders, but in the final position they behave like badly parked cars: they prevent the king from escaping.
The Queen Arrives With Tempo
The move Qh4# gives check immediately, so White receives no extra turn to repair the position. This is the tactical power of tempo. An attacking move that also checks the king forces an urgent response. In Fool’s Mate, there is no response at all.
Common Variations of the Fastest Checkmate
The exact order can change while preserving the same mating pattern. For example:
- 1. g4 e5 2. f3 Qh4#
- 1. f4 e5 2. g4 Qh4#
- 1. f3 e6 2. g4 Qh4#
Black may move the e-pawn one or two squares because either e6 or e5 clears the queen’s diagonal. White may move the f-pawn to f3 or f4, and the f- and g-pawn moves may occur in either order. The essential ingredients remain unchanged: the f2 square is vacated, the g-pawn advances, Black’s queen gains access to h4, and White fails to defend the king.
A mirrored idea can occur against Black, but White needs an additional move because White moves first. This is why the literal two-move version belongs to Black.
Can You Force Fool’s Mate?
No. Fool’s Mate depends on voluntary mistakes by White. Black can prepare the queen’s diagonal, but cannot compel White to play both weakening pawn moves. After 1. f3 e5, White can avoid immediate mate with many moves, including 2. e4, 2. d3, or 2. Nh3. Some alternatives may be awkward, but they do not allow Qh4 mate.
This matters because beginners sometimes confuse traps with forced combinations. A forced combination works despite the opponent’s best defense. Fool’s Mate is an opportunity, not a command performance. Hunting for it every game can lead to poor habits, especially if Black rushes the queen out without checking whether the mating conditions actually exist.
How to Avoid Losing to Fool’s Mate
Do Not Randomly Push the f- and g-Pawns
Pawn moves cannot be reversed. Before moving a pawn near your king, ask what lines, diagonals, or squares the move will weaken. There are good strategic reasons to advance kingside pawns, but “the pawn looked bored” is not one of them.
Watch Every Check Before You Move
Use a simple pre-move routine: examine all checks your opponent could play on the next turn. After White has moved the f-pawn and Black has opened the queen’s diagonal, Qh4+ should become an obvious warning. Threat awareness prevents many short losses, not just Fool’s Mate.
Follow Sound Opening Principles
Beginners usually improve faster by controlling the center, developing knights and bishops, and preparing to castle. Moves such as 1. e4, 1. d4, 1. Nf3, or 1. c4 contribute to central influence or development without immediately tearing holes around the king.
Stay Calm When the Queen Appears
An early queen move can look terrifying, but panic often causes more damage than the queen. Check whether the move is actually check, identify the attacked squares, and find a legal defense. Once the immediate threat is handled, the exposed queen may become a target for developing moves.
Fool’s Mate vs. Scholar’s Mate
These patterns are often confused because both can end a game quickly and involve the queen. However, they attack different weaknesses.
Fool’s Mate normally features Black’s queen mating on h4 after White weakens the diagonal to e1. It can finish on Black’s second move. Scholar’s Mate usually features White’s queen and bishop attacking f7, often ending with Qxf7# on White’s fourth move if Black ignores the threat.
Fool’s Mate is faster but far less likely. Scholar’s Mate appears more often among beginners because its setup can arise from moves that look active. Both patterns teach the same broader lesson: identify threats against f2 and f7, protect the king, and do not treat the opening like a pawn-moving contest.
How to Practice the Fool’s Mate Pattern
Set up the starting position on a physical board or analysis board and play the moves slowly. After each move, name what changed. When the f-pawn moves, trace the h4–e1 diagonal. After Black moves the e-pawn, confirm that the queen can travel to h4. After g4, test every possible response to Qh4#.
Then reverse the exercise. Create positions that look similar but are not mate. Add a White pawn on g3, develop a knight to f3, or leave the pawn on f2. Ask whether Qh4 is check, whether it can be blocked, and whether the queen can be captured. This comparison builds pattern recognition rather than shallow memorization.
Finally, review any game you lose in fewer than ten moves. Do not merely label the final move a blunder. Find the first move that weakened the king, the missed warning sign, and the defensive move that would have kept the game alive.
Strategic Lessons Hidden Inside a Two-Move Game
Fool’s Mate may look like a joke, but its lessons are serious. First, king safety begins on move one. Second, pawn moves change the board permanently. Third, open diagonals can be as dangerous as open files. Fourth, checks deserve immediate calculation. Fifth, tactical awareness means recognizing when an opponent’s move has changed what is possible.
The pattern also teaches restraint. Strong chess is not about playing a memorized trick and hoping the opponent cooperates. It is about noticing weaknesses, calculating accurately, and choosing the best move available. When Qh4 is mate, play it. When it is not, develop a piece and continue the game like a responsible adultor at least like a responsible chess gremlin.
Practical Experiences: What Fool’s Mate Teaches in Real Play
A common beginner experience with Fool’s Mate begins with disbelief. The board is still crowded, nearly every piece is on its original square, and suddenly the game is over. That emotional jolt can be embarrassing, especially in front of friends or during an online game where the rematch button seems to glow with judgment. Yet the loss is unusually educational because the cause is easy to isolate. There is no complicated endgame to analyze and no twenty-move tactical sequence to untangle. Two pawn moves weakened the king, the queen found the diagonal, and the lesson arrived with impressive efficiency.
During practice, many players initially focus on memorizing the four turns. That works for demonstrating the pattern, but the deeper breakthrough comes when they stop seeing “f3, e5, g4, Qh4” as a chant and start seeing the geometry. Once a learner can point to the h4–e1 diagonal before the queen moves, the pattern becomes transferable. The same player begins noticing exposed diagonals in other openings, checking whether a king is boxed in, and asking what changed after every pawn advance. A tiny checkmate becomes a doorway into tactical vision.
Another useful experience occurs when a player tries to reproduce Fool’s Mate against everyone. It may work once against a complete beginner, followed by several games in which the opponent simply plays a normal move. This is an excellent correction to trap-based thinking. Chess tricks are not magic spells. If the required weakness is absent, forcing the queen toward h4 can waste time and invite attacks on the queen. Players often improve when they learn to abandon the trick immediately and return to central control, development, and king safety.
Teaching the pattern to someone else is also revealing. Ask the learner why the final position is mate, then require three separate answers: Can the king move? Can the checking piece be captured? Can the attack be blocked? This turns a flashy miniature into a reliable checkmate test. Beginners who practice that test become less likely to announce checkmate when the opponent has a quiet defensive movea classic chess-club moment usually followed by awkwardly putting the captured confidence back on the board.
In fast online games, the most valuable experience is not collecting rare two-move wins. It is developing a safety scan that works under time pressure. Before every move, look for checks, captures, and direct threats for both sides. If a kingside pawn has moved, examine the newly opened lines. If the opposing queen has a clear route toward the king, calculate it before pursuing your own plan. That habit prevents Fool’s Mate, Scholar’s Mate, back-rank disasters, and many less famous ways to lose quickly.
Ultimately, the best experience associated with Fool’s Mate is the moment it stops being frightening. Once the pattern is understood, it becomes almost impossible to overlook. The player no longer sees an inexplicable cheap trick; they see a specific diagonal, a damaged pawn shield, and a trapped king. That shiftfrom surprise to explanationis exactly how chess improvement feels. The board has not become simpler. The player has learned to see more.
Conclusion
To perform a Fool’s Mate, Black needs White to expose the king with f- and g-pawn moves, clear the queen’s diagonal with an e-pawn move, and finish with Qh4#. The classic sequence is 1. f3 e5 2. g4 Qh4#.
The pattern is the fastest checkmate in chess, but its real value is educational. It demonstrates how pawn moves weaken squares, how queens use open diagonals, why trapped kings are vulnerable, and why every player should scan for checks before moving. Memorize the moves, understand the geometry, and then graduate from hoping for a two-move gift to playing strong opening chess.