Hey Dude shoes are famous for feeling light, flexible, and wonderfully uncomplicated. You slide them on, head out the door, and enjoy footwear that appears to have declared a permanent vacation from stiff construction. The downside is that the same relaxed design can occasionally feel a little too relaxed. A slipping heel, extra space over the instep, or stretched elastic laces can turn an easygoing shoe into a tiny boat.
Fortunately, learning how to tighten Hey Dude shoes is usually simple. Depending on the model and the source of the looseness, you may only need to redistribute the elastic lace tension, reposition the stopper knots, replace worn laces, or add a low-profile fit accessory.
The goal is not to squeeze your foot into submission. Properly adjusted shoes should hold your heel with minimal movement while leaving enough room for your toes to move comfortably.
Note: HEYDUDE construction varies by model. Some styles use elastic no-tie laces, some have conventional tie laces, and others are designed primarily as slip-ons. Inspect your pair before removing knots, cutting lace ends, or installing replacement hardware.
Why Do Hey Dude Shoes Sometimes Feel Loose?
Many popular HEYDUDE styles combine flexible uppers, lightweight outsoles, elastic laces, easy-on construction, and removable foam insoles. These features create the brand’s soft, casual feel, but they provide less rigid lockdown than a structured running shoe or hiking boot.
A pair may feel loose because the upper has relaxed with repeated wear, the elastic lace has stretched, or the foam insole has compressed. You may also have a low-volume foot, wear thinner socks than usual, or fall between available sizes.
Identify where the movement occurs
Put on your normal socks, walk around indoors, and determine what is actually moving:
- Loose over the top of the foot: Adjusting the lace tension or adding a tongue pad may help.
- Mild heel lifting: A snugger lace setting, heel grip, or thicker sock may solve the problem.
- Forward-and-back sliding: The shoe may be too long, although a thin insole can improve a borderline fit.
- Cramped toes after tightening: Loosen the shoe immediately. Security should not eliminate circulation or toe room.
How to Tighten Hey Dude Shoes in 5 Easy Ways
1. Redistribute the Elastic Lace Tension
This is the best first step for classic elastic-lace styles, including many Wally- and Wendy-type shoes. The visible lace ends may look decorative, but the tension is distributed through the eyelets across the upper. Pulling only on the ends can leave one area loose while another becomes uncomfortably tight.
- Put on the shoes with the socks you normally wear.
- Starting near the toe, gently pull a small amount of slack from the first lace section.
- Move that slack upward through each eyelet, one section at a time.
- Continue until the upper rests comfortably against your foot.
- Pull both lace ends evenly and walk around to test the fit.
Make small adjustments. Elastic laces continue applying tension as your foot moves, so “comfortably snug” is better than “industrial cargo strap.” If the upper wrinkles sharply or your foot starts tingling, loosen it.
2. Move or Retie the Stopper Knots
Many Hey Dude elastic laces are finished with knots or small end pieces that prevent the cord from sliding through the eyelets. Moving those knots closer to the shoe shortens the usable lace length and creates a firmer fit.
- Adjust the lace tension while the shoe is on your foot.
- Mark the comfortable position with removable tape.
- Take the shoe off before working on the knot.
- Carefully untie the existing knot if it is designed to be opened.
- Retie a compact overhand knot at the marked position.
- Repeat on the other side and keep both ends symmetrical.
If the original knot is difficult to remove, add a second small knot closer to the eyelet rather than cutting the lace immediately. Wear the new setting indoors before trimming any excess. Scissors are excellent at shortening laces and surprisingly poor at making them long again.
3. Tie a Conventional Bow on Compatible Models
Some wearers prefer the control of a traditional shoelace bow. This method can work when the lace is removable, long enough to tie, and threaded through functional eyelets.
- Remove or loosen the end knots without damaging the lace.
- Center the lace so both ends are approximately equal.
- Distribute tension evenly from the lower eyelets upward.
- Cross the ends and tie a normal bow.
- Walk around and loosen any section that creates pressure.
This approach is not suitable for every pair. A classic low-eyelet slip-on does not have the same lacing structure as an athletic sneaker. However, HEYDUDE sneakers or boots with additional functional eyelets may accept standard crisscross lacing.
On models with a suitable top eyelet, a heel-lock pattern may help reduce heel movement. Create a small loop on each side using the upper eyelets, cross the lace ends through the opposite loops, pull evenly, and tie. Stop if the pattern restricts ankle movement or places excessive pressure on the top of your foot.
4. Replace Stretched Laces With Shorter Elastic or Regular Laces
Elastic can gradually lose its ability to spring back. If you repeatedly tighten the original laces and they quickly become loose again, replacement may be more effective than creating a knot large enough to qualify as modern sculpture.
Remove one original lace and measure it from end to end without stretching it. Count the functional eyelet pairs and note whether the shoe uses round elastic cord, flat elastic, or conventional woven laces.
A replacement that is slightly shorter can create a closer fit, but an excessively short lace may compress the upper or make the shoe difficult to put on. Elastic no-tie laces preserve the slip-on convenience, while regular woven laces provide more precise control.
Replacement elastic systems with adjustable lace locks are another option. Thread the new lace through the original eyelets, put your foot inside the shoe, adjust the tension, and then secure the lock. Never set the final tension while the shoe is empty because the upper may become too tight once your foot is inside.
5. Reduce Extra Interior Space
Sometimes the laces are not the real problem. If your foot does not fill the interior volume, pulling harder may press down on the instep while leaving the heel or sides unstable. Fit accessories can address that empty space more directly.
- Slightly thicker socks: A simple solution for mild looseness.
- A fresh full-length insole: Helpful when the original removable foam insole has flattened.
- A thin volume-reducing insole: Raises the foot slightly and improves contact with the upper.
- A tongue pad: Fills space above a low instep and helps secure the midfoot.
- A heel grip: Reduces mild heel slip and cushions friction at the back of the shoe.
Add only one item at a time. Combining thick socks, a bulky insole, a tongue pad, heel grips, and tighter laces can turn a loose shoe into a padded storage locker. Walk indoors after every change and check for pressure, rubbing, numbness, or crowded toes.
How Tight Should Hey Dude Shoes Be?
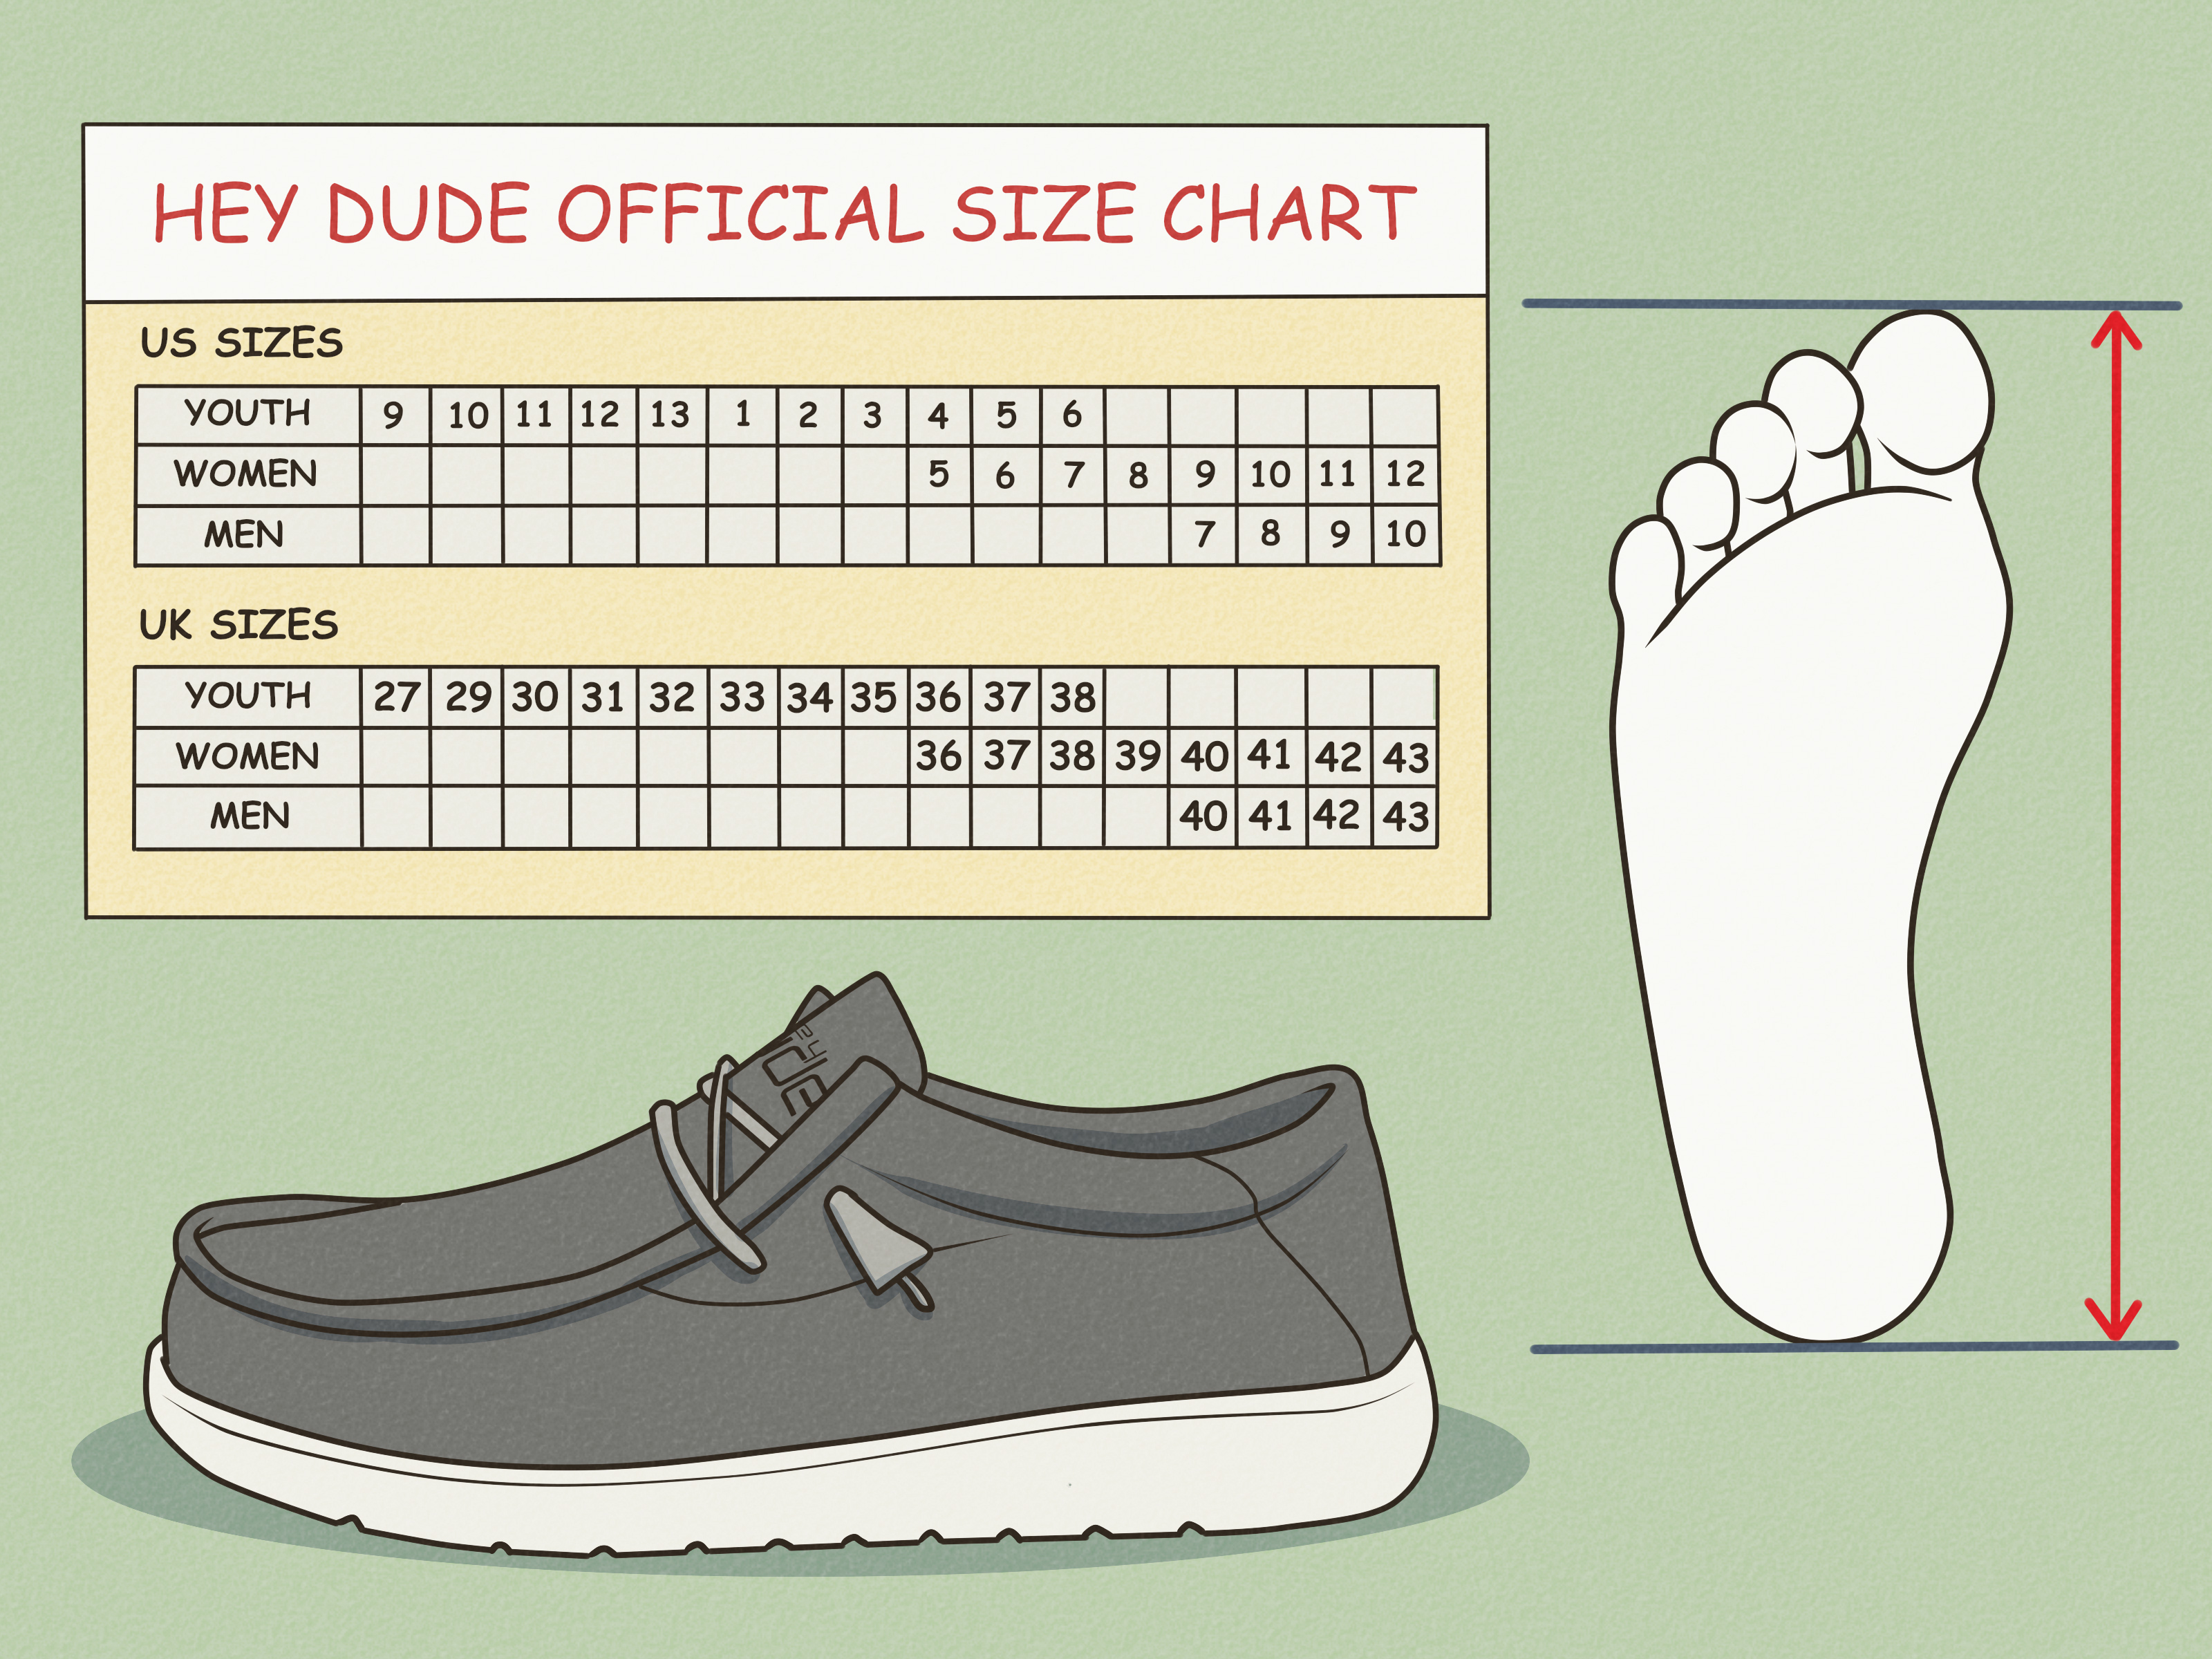
A secure shoe should not behave like a flip-flop, but it should not clamp your foot either. Your heel should remain reasonably settled during normal walking, the widest part of your foot should align with the widest part of the shoe, and your toes should be able to wiggle.
A commonly used fitting guideline is approximately three-eighths to one-half inch of space beyond the longest toe. However, foot shape and overall comfort matter more than a number printed on the size label.
Test the shoes later in the day when your feet may be slightly larger. Wear your usual socks, stand up, and walk on a clean indoor surface. Check both feet because one is often larger than the other. The correct adjustment should feel comfortable immediately rather than requiring a painful break-in period.
Common Tightening Mistakes to Avoid
Pulling only one lace end
This can twist the upper and create uneven pressure. Work the slack through each section before securing both ends evenly.
Cutting the elastic too soon
Test the new knot position for at least one indoor wearing session before trimming anything.
Using heat to shrink the shoes
Dryers, heat guns, and very hot water can damage fabric, elastic, foam, or adhesive. Controlled fit adjustments are safer than attempting to cook your shoes into a smaller size.
Ignoring major heel slip
If your heel repeatedly lifts, your toes curl to keep the shoe on, or your foot slides noticeably, the size or width may be wrong. Accessories can improve a borderline fit, but they cannot reliably transform a clearly oversized shoe.
Wearing the shoes painfully tight
Loosen them immediately if you notice tingling, numbness, deep pressure marks, or pinched toes. People with diabetes, neuropathy, circulation concerns, or existing foot conditions should be especially careful and may benefit from professional fitting advice.
Frequently Asked Questions
Can you tighten the original laces on Hey Dude shoes?
Usually, yes. On many elastic-lace models, you can redistribute slack through the eyelets and reposition or retie the stopper knots. The exact method depends on whether the lace ends and decorative pieces are removable.
Can you replace Hey Dude laces with regular shoelaces?
Many models with functional eyelets can accept replacement laces. Measure the original lace and inspect the eyelet size first. Regular laces provide more control, while elastic replacements preserve the slip-on experience.
Will washing Hey Dude shoes make them smaller?
Washing should be used for cleaning rather than intentional shrinking. Heat and aggressive drying can damage the upper, foam, elastic, or adhesive. Adjust the laces or use fit accessories instead.
What if my Hey Dudes are a full size too big?
A thicker sock, insole, or heel grip may help temporarily, but a full-size difference is often too large to correct comfortably. Exchanging the shoes for a more suitable size is usually the better solution.
Practical Experiences: How the Different Fixes Feel in Real Life
The following examples are composite wear scenarios based on common shoe-fit problems rather than claims about one specific person’s experience.
Scenario 1: A loose heel that needed only a small adjustment
A nearly new pair felt comfortable while standing, but the heel lifted slightly on stairs. The first instinct was to pull both lace ends as hard as possible. That compressed the top of the foot without fully stopping the movement.
Redistributing the slack from the lower lace sections upward worked better. Once the tension was even, only a small pull at the ends was necessary. The shoe remained easy to slip on, and the heel movement became minor enough that it no longer caused rubbing. The lesson was simple: even tension matters more than brute force.
Scenario 2: An older pair with tired elastic
An older pair had been adjusted several times, yet the laces relaxed again after an hour of wear. Moving the knots helped briefly, but the elastic itself had lost resilience.
A replacement elastic lace, measured against the original and installed slightly shorter, created a more stable fit. The shoes still functioned as slip-ons, but the upper returned toward the foot instead of remaining stretched outward. This is the point where repeated knot experiments stop being clever and become unpaid lace maintenance.
Scenario 3: A low-volume foot and a misleading lace problem
Another common situation involves a foot that is the correct length for the shoe but does not fill the space above the insole. Tightening the laces creates a deep wrinkle across the upper, while the heel continues moving.
A thin tongue pad can be more effective because it fills the space over the instep. In a similar situation, replacing a compressed removable insole can add enough volume to improve the fit without changing the laces. When pulling harder creates pressure but not stability, the empty space is probably located somewhere else.
Scenario 4: The “add every accessory” mistake
A loose pair may inspire an enthusiastic pile of solutions: thick socks, a new insole, heel grips, and tighter laces. Individually, each option may help. Together, they can crowd the forefoot and raise the heel too high.
A better process is to test one change at a time. Begin with normal socks and a lace adjustment. Add a heel grip only if the rear of the shoe still slips. Try an insole when the shoe has excess overall volume or the original foam has flattened. Incremental changes make it much easier to identify what actually works.
Scenario 5: Knowing when to change sizes
The clearest failure case is a shoe that is substantially too long. Even with tight laces, the foot slides forward, the heel lifts, and the toes curl instinctively to keep the shoe attached. A thick insole may reduce some movement, but it also removes toe-box height and changes how the foot sits on the outsole.
In that situation, exchanging or replacing the pair produces the better experience. A casual shoe should feel casually comfortable, not require an engineering department.
Across these scenarios, the best results come from matching the solution to the location of the looseness. Adjust the laces for slack over the instep, replace tired elastic when it no longer rebounds, use a heel grip for mild rear-foot movement, and consider a thin insole or tongue pad for excess interior volume. Most importantly, preserve toe room and stop tightening when comfort decreases. The ideal adjustment is the one you forget about after a few minutes of walking.
Conclusion
To tighten Hey Dude shoes, begin with the least invasive solution: put the shoes on, redistribute the elastic lace tension, and test the fit while walking. If that is not enough, move the stopper knots, tie a conventional bow on compatible models, replace stretched laces, or use a carefully selected sock, insole, tongue pad, or heel grip.
Avoid heat-shrinking tricks and excessive pressure. When a shoe remains unstable despite reasonable adjustments, the most comfortable fix is often a more appropriate size or width.