Cutting fringe bangs at home sounds simple until you are standing in front of the mirror with scissors in one hand, a comb in the other, and the sudden realization that hair does not come with an “undo” button. Still, learning how to cut fringe bangs at home is not impossible. With the right tools, a calm plan, and a healthy respect for the phrase “cut less than you think,” beginners can safely freshen up their bangs without creating a tiny forehead curtain of regret.
This easy beginner’s guide focuses on practical, realistic steps for trimming or creating soft fringe bangs at home. It is especially useful if your bangs are growing into your eyelashes, your curtain bangs have become face drapes, or your wispy fringe has turned into one mysterious middle strand with big opinions.
Before we begin, one important reminder: if you want a dramatic new fringe, have very curly or coily hair, a strong cowlick, a short forehead, or a complicated haircut, a professional stylist is still your best friend. At-home bang cutting is best for small trims, soft updates, and beginner-friendly fringe stylesnot extreme transformations.
What Are Fringe Bangs?
Fringe bangs are the shorter pieces of hair that fall across or around the forehead. In the United States, people often say “bangs,” while “fringe” is more common in British English, but the idea is the same: hair that frames your face from the front.
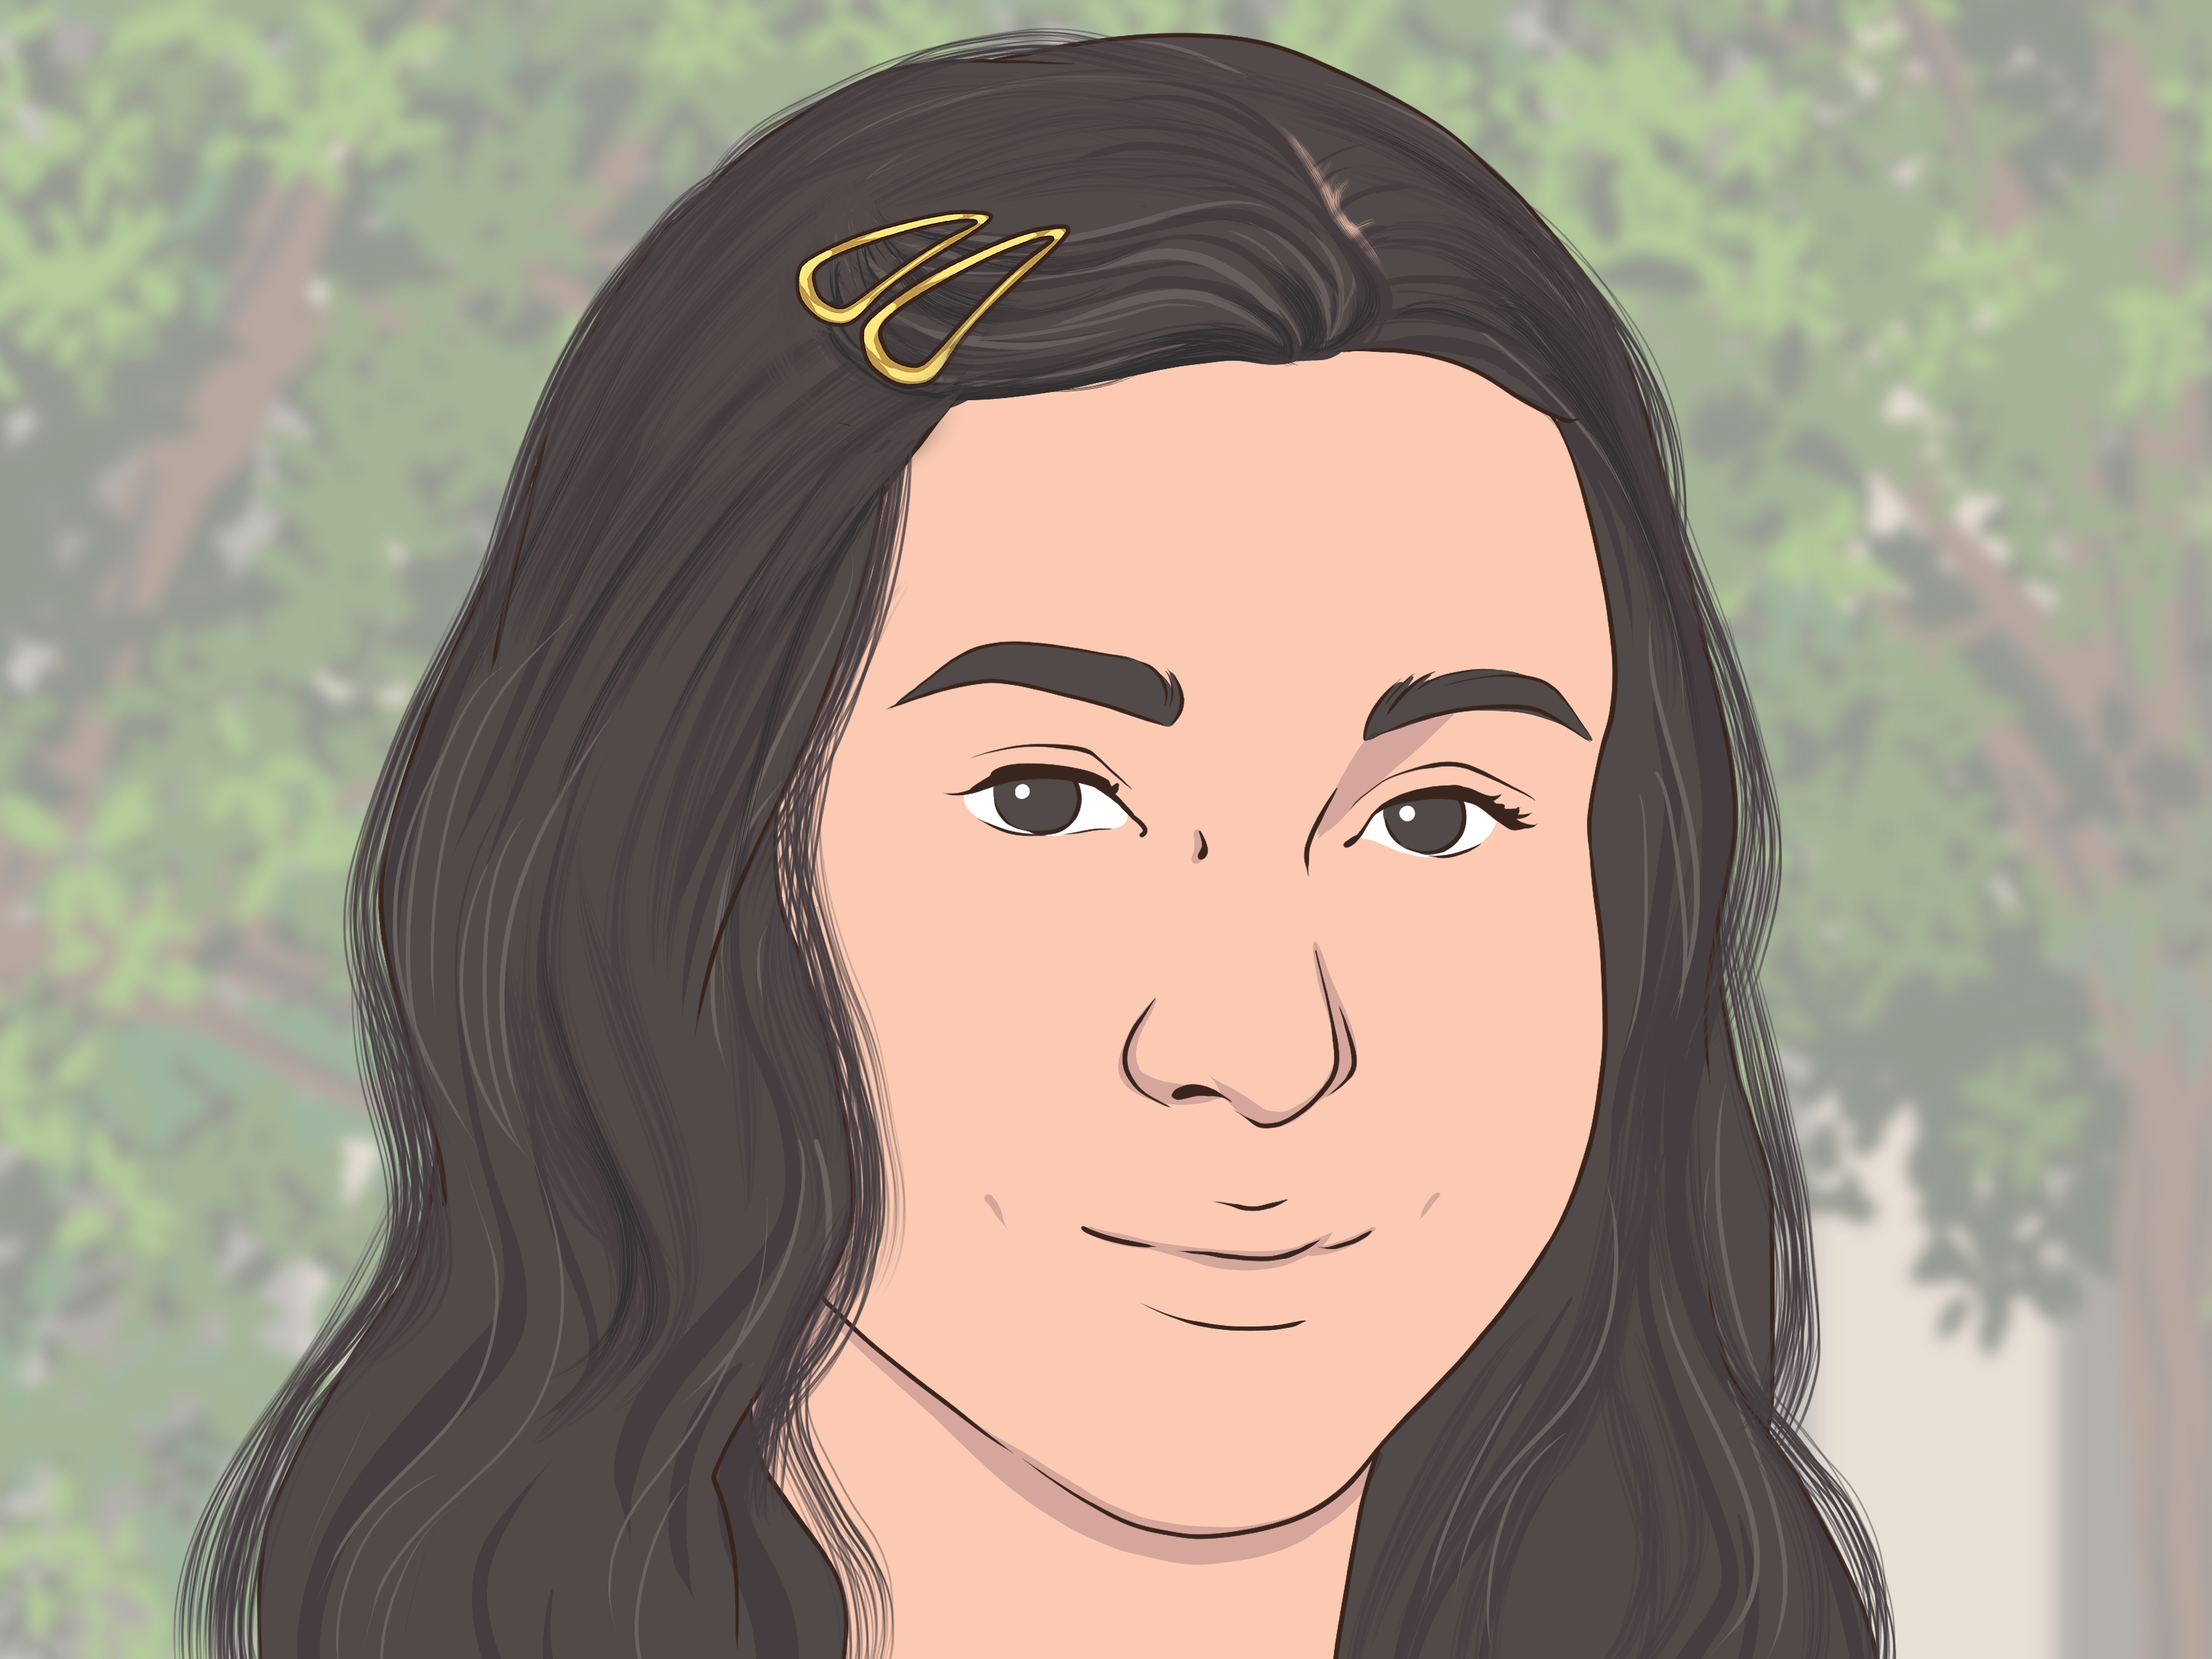
There are several popular types of fringe bangs. Blunt bangs create a strong, straight-across line. Wispy bangs are light, airy, and feathered. Curtain bangs part in the middle or slightly off-center and sweep toward the cheekbones. Bottleneck bangs are shorter in the center and longer at the sides, like a softer cousin of curtain bangs. Curly bangs are shaped according to curl pattern and shrinkage, which means they need extra patience and length allowance.
For beginners, wispy fringe, soft curtain bangs, or a tiny maintenance trim are usually easier than cutting heavy blunt bangs from scratch. Blunt bangs demand precision. Wispy bangs forgive you a little. They are basically the kind friend of the bang family.
Before You Cut: Decide What Kind of Bangs You Want
Do not start cutting just because you saw one photo and felt emotionally inspired by a celebrity’s forehead. First, decide what result you actually want. Ask yourself three questions:
1. How much daily styling am I willing to do?
Blunt bangs often need regular styling to sit neatly. Curtain bangs can be more flexible because they blend into the sides. Wispy bangs are lower commitment but may separate if your hair is oily or very fine.
2. What is my natural hair texture?
Straight hair shows every line, so small mistakes are easier to see. Wavy hair may hide tiny uneven areas but can spring up after cutting. Curly and coily hair can shrink significantly, so it should be cut longer and usually dry in its natural pattern.
3. Where do I want the shortest piece to land?
A safe beginner target is around the bridge of the nose or slightly below the brow when first cutting, then gradually refining. You can always go shorter. You cannot politely ask your bangs to grow back by dinner.
Tools You Need to Cut Fringe Bangs at Home
The right tools make a huge difference. You do not need a full salon setup, but you do need more than craft scissors and confidence.
- Hair-cutting shears: Use sharp shears designed for hair. Kitchen scissors can crush the ends and create a choppy, uneven finish.
- Fine-tooth comb: This helps section and control the fringe.
- Hair clips: Use clips to keep the rest of your hair away from the danger zone.
- Mirror with good lighting: Natural light is helpful. Dim bathroom lighting is where bangs go to make poor decisions.
- Blow dryer or styling brush: Style your bangs the way you normally wear them before cutting.
- Optional dry shampoo: If your roots are oily, a little dry shampoo can help your bangs fall more naturally.
The Golden Rules of Cutting Bangs at Home
Before touching scissors to hair, memorize these beginner rules. They are simple, but they prevent most bang disasters.
Cut Bangs Dry
Most beginners should cut fringe bangs dry, not wet. Wet hair stretches and looks longer. When it dries, it shrinks upward, which is how “just below the eyebrows” can become “hello, third-grade picture day.” Dry cutting lets you see how your fringe actually sits in real life.
Style Your Hair First
Cut your bangs after styling them the way you normally wear them. If you usually blow-dry your bangs forward, do that first. If you air-dry your curls, let them dry naturally. Cutting your hair in an unrealistic state gives you unrealistic results.
Do Not Pull the Hair Tight
Hold your bangs gently. If you pull them tight, they will spring back shorter after you cut. Use light tension only, especially near the hairline.
Cut Tiny Amounts
Think of bang cutting as seasoning soup. You add a little, taste, then adjust. You do not dump in the whole salt shaker and hope for character development. Trim less than one-quarter inch at a time when possible.
Point-Cut Instead of Chopping Straight Across
Point-cutting means holding the scissors vertically or at a slight angle and making small snips into the ends. This softens the line and helps avoid a harsh, helmet-like edge. A straight horizontal cut is harder to control and less forgiving.
How to Cut Fringe Bangs at Home: Step-by-Step
Step 1: Start With Clean, Dry, Styled Hair
Wash and dry your hair if needed, then style your bangs as usual. If your hair is already clean but a little oily at the roots, use a small amount of dry shampoo and brush it through. Your goal is to see how the hair naturally falls before you trim.
Step 2: Create a Triangle Section
Use your comb to section off the hair that will become your fringe. A classic bang section forms a triangle: the point begins near the top front of your head, and the two lower corners land near the outer edges of your eyebrows or temples. Clip the rest of your hair away.
For thinner wispy bangs, make the triangle smaller. For fuller bangs, the section can be slightly deeper, but beginners should avoid taking too much hair at once. Heavy bangs are harder to fix if you cut them too short.
Step 3: Find the Center Guide
Comb the middle section of your bangs down. Choose a small center piece, about half an inch wide. This will be your guide. Decide where you want the shortest part to fall, then cut a little longer than that. For first-timers, starting around the bridge of the nose or just below the brows is safer than starting above the brows.
Step 4: Point-Cut the Center
Hold the center section gently between two fingers, keeping your fingers relaxed. With the scissors pointing upward, make tiny vertical snips into the ends. Do not close the scissors aggressively. Small, shallow cuts create a softer fringe and give you more control.
Step 5: Work Slowly Toward the Sides
Take a small section next to the center guide. Use the center length as your reference, but leave the side pieces slightly longer if you want curtain bangs, bottleneck bangs, or face-framing fringe. Repeat on the other side. Keep checking the mirror straight-on instead of tilting your head.
Step 6: Blend the Edges
For a soft fringe, the outer pieces should blend into the rest of your hair rather than stop suddenly. Hold the side sections at a slight diagonal angle, with the shortest pieces near the center and longer pieces toward the cheekbones. Point-cut into the ends to remove weight and soften the shape.
Step 7: Shake, Style, and Recheck
Put the scissors down. Comb your bangs, shake your hair lightly, and style the fringe again. Look at it from the front and both sides. Only after this should you make tiny corrections. Many “mistakes” disappear after the hair is brushed or blow-dried into place.
How to Cut Different Types of Fringe Bangs
How to Cut Wispy Bangs
Wispy bangs are beginner-friendly because they are meant to look soft and slightly piecey. Use a smaller triangle section and avoid taking too much hair. Cut the center first, then point-cut into the ends to create airy separation. If the fringe looks too heavy, do not keep cutting length. Instead, point-cut gently into the lower half of the bangs to reduce bulk.
How to Cut Curtain Bangs
Curtain bangs are shorter in the middle and longer toward the sides. Start with the center section around nose or brow length, depending on your comfort level. Then angle the side pieces down toward the cheekbones. The key is symmetry: trim one side, then match the other side little by little. Style with a round brush or blow dryer directed away from the face for that soft, swoopy shape.
How to Trim Blunt Bangs
Blunt bangs are the most technical option because the line must be even. Beginners should avoid creating blunt bangs from long hair at home. If you are only maintaining existing blunt bangs, comb them down without tension and point-cut very lightly along the bottom edge. If you want a sharper finish, make tiny horizontal corrections only after the shape is already balanced.
How to Cut Curly Bangs
Curly bangs should be cut dry or nearly dry in their natural curl pattern. Never stretch a curl straight and cut it at brow level unless you want it to bounce up dramatically. Trim curl by curl, leaving extra length. Start longer than you think you need, then let the curls settle before making further adjustments.
Common Beginner Mistakes to Avoid
Using Dull or Household Scissors
Dull scissors can bend and chew the hair instead of slicing it cleanly. This can make ends look frayed and uneven. Hair-cutting shears are a small investment that can save your bangs from looking like they were trimmed during a power outage.
Cutting Too Much Hair Into the Fringe
If you pull hair from too far back on your head, your bangs may become too thick or hard to blend. Start with a modest section. You can always add more hair later with professional help.
Trying to Fix Uneven Bangs While Panicking
Panic cutting is real, and it is dangerous. If your bangs look uneven, stop. Brush them, restyle them, and check again. If they are still uneven, correct only the longer side in tiny snips.
Cutting Above the Desired Length Immediately
Bangs often look longer while you are holding them and shorter once they are free. Always cut below your final goal at first. The last few millimeters are for refining, not for dramatic plot twists.
How to Style Freshly Cut Fringe Bangs
After cutting your bangs, styling helps them look intentional. For straight or blunt bangs, blow-dry them forward using a brush, moving the dryer side to side to prevent separation. For curtain bangs, use a round brush to lift the roots and direct the ends away from the face. For wispy bangs, use a tiny amount of lightweight styling cream or texture spray, but avoid heavy products that make the fringe greasy.
If your bangs separate during the day, your forehead oil may be the reason. Wash just the fringe in the sink, use dry shampoo at the roots, or keep a small comb nearby. Bangs are cute, but they are also tiny facial roommates. They need boundaries.
How Often Should You Trim Bangs?
Most fringe bangs need a trim every two to four weeks, depending on how fast your hair grows and how short the style is. Blunt bangs usually need more frequent maintenance because the shape is obvious. Curtain bangs can grow out more gracefully because they blend into face-framing layers.
If you are new to cutting bangs at home, trim only between salon appointments. Let a professional create the original shape, then use this guide to maintain it. This gives you a clear roadmap instead of asking your bathroom mirror to become a licensed stylist.
What to Do If You Cut Your Bangs Too Short
First, breathe. Short bangs are not a medical emergency, even if your reflection briefly suggests otherwise. Wash and restyle your hair before deciding how bad the situation really is. Sometimes bangs look shocking simply because they are falling differently.
If they are truly shorter than planned, try styling them as micro bangs, sweeping them to the side, pinning them back, or using a headband. A little texture spray can make uneven short bangs look edgy instead of accidental. If the line is very uneven, book a professional correction rather than continuing to cut.
Beginner-Friendly Experience: What Cutting Fringe Bangs at Home Really Feels Like
The first time someone cuts fringe bangs at home, the emotional journey usually has five stages: confidence, suspicion, bargaining, tiny panic, and finally, relief. The good news is that most beginner trims turn out fine when the person starts slowly. The bad news is that the mirror can make every millimeter feel dramatic.
A common beginner experience starts with over-preparation. You watch several tutorials, save three inspiration photos, clean the bathroom counter, and place your scissors down like a surgeon preparing for a delicate operation. This is actually helpful. A calm setup makes the process feel less chaotic. Good lighting, clips, and a clean section can turn a scary haircut into a manageable grooming task.
The first snip is usually the hardest. Even when you are cutting only a tiny amount, the sound of scissors near your forehead can feel suspiciously loud. That is why starting with the center guide matters. Cutting one small middle section gives you a reference point and prevents you from attacking the entire fringe at once. Once that first piece is trimmed, the process becomes less mysterious.
Another real-life lesson: bangs look different every thirty seconds while you cut them. They may look too long, then too short, then uneven, then suddenly fine after you brush them. This is why beginners should pause often. Comb the hair down, let it fall naturally, and step back from the mirror. When your face is two inches from the glass, even a single strand looks like an architectural problem.
Many beginners also discover that their hairline has personality. A cowlick may push the fringe to one side. Fine hair may separate into little pieces. Thick hair may puff up like it has somewhere important to be. None of this means the cut failed. It means styling is part of bangs. A quick blow-dry, a round brush, or a small amount of lightweight product can make the fringe behave better.
The best experience usually comes from treating the first at-home bang cut as a trim, not a makeover. Removing a little length from existing bangs is far easier than creating a brand-new fringe from long hair. If you want curtain bangs, start long enough to tuck behind your ears. If you want wispy bangs, start with fewer hairs. If you want blunt bangs, consider getting the first cut professionally and maintaining it at home afterward.
Finally, the biggest lesson is emotional: do not cut bangs when you are rushed, angry, heartbroken, or bored at midnight. Bangs deserve daylight and stable decision-making. Cut them when you have time to go slowly. Put on music, take small snips, and remember that the goal is not perfection. The goal is a fringe that frames your face, feels wearable, and does not require you to introduce yourself as “I’m growing them out” for the next six weeks.
Conclusion
Learning how to cut fringe bangs at home is all about preparation, patience, and tiny cuts. Use proper hair shears, work on dry styled hair, section carefully, and point-cut for a soft finish. For beginners, wispy bangs, curtain bangs, and small trims are the safest starting points. Curly bangs need extra length and should be cut according to their natural pattern. Blunt bangs require the most precision, so approach them carefully or leave the first cut to a stylist.
The secret is not bravery. The secret is restraint. Cut less, check more, and stop before you start negotiating with your reflection. With a steady hand and a beginner-friendly method, you can freshen up your fringe at home and still look like you made a style choice on purpose.