Garland is the decorating equivalent of a good haircut: it instantly makes everything look more put together,
even if you’re wearing sweatpants and pretending your “seasonal refresh” was totally planned.
The best part? You don’t need a craft room (or a craft personality) to pull off gorgeous DIY garland decorating ideas.
With a few basic suppliesstring, wire, paper, greenery, or feltyou can make garlands that work for holidays,
birthdays, baby showers, weddings, or a random Tuesday when your wall looks emotionally unavailable.
In this guide, you’ll get practical, good-looking garland projects (from fresh greenery to paper and balloon styles),
plus smart styling tricks for mantels, staircases, doorways, and tables. We’ll keep it realistic, budget-friendly,
and very forgivingbecause perfection is for spreadsheets, not craft glue.
Before You Start: The “Garland Formula” That Makes Anything Look Intentional
Whether you’re making a lush holiday swag or a simple paper chain, most great garlands follow the same formula:
base + rhythm + focal moments. The base is your main material (greenery, yarn, paper, beads).
Rhythm is repetition (same shape, same spacing, same color family). Focal moments are the “oh wow” details:
a bow cluster, a pom-pom trio, a citrus slice grouping, or a mini bunch of ornaments.
Quick planning checklist
- Where will it go? Mantel, staircase, doorway, shelf, headboard, window, table runner, or outdoors.
- How long? Measure the space, then add 10–20% extra for drape and fullness.
- What vibe? Cozy (greenery + warm lights), playful (pom-poms + tassels), modern (minimal beads + neutral ribbon).
- How will it hang? Removable hooks, twine, ribbon ties, zip ties, or floral wire (depending on the surface).
1) Fresh Evergreen Garland That Doesn’t Immediately Turn Crispy
Fresh evergreen garland is the classic: it smells amazing and makes a room feel festive fast.
If you’re buying fresh garland or making it from clippings, the key is hydration and placement.
Keep it away from heat sources and direct sun, and you’ll get a longer, greener run out of it.
What you’ll need
- Fresh garland (cedar, pine, fir, or mixed greens)
- Floral wire or green wire (to attach extras)
- Ribbon for bows
- Optional: pinecones, faux berries, ornaments, warm white string lights
How to style it (the easy way)
- Hydrate first: If possible, let garland soak or drink up moisture before hanging.
- Hang loosely: Drape it naturallytight, straight garland looks like it’s being punished.
- Add “clusters”: Group ornaments or pinecones in little bunches instead of spacing everything evenly.
- Finish with bows: One big bow in the center or two on the ends makes it look custom.
Where it looks best: fireplace mantels, staircase banisters, door frames, and porch railings.
For staircases, anchor it securely so it doesn’t slide as people brush past it.
2) Dried Orange + Natural Elements Garland (Pretty, Affordable, Smells Like “I Have My Life Together”)
Dried citrus garlands are a favorite for good reason: they’re bright, nostalgic, and look high-end even if you made them while binge-watching a show.
Pair them with bay leaves, cinnamon sticks (optional), wooden beads, or greenery for a warm, natural look.
What you’ll need
- Oranges (and/or grapefruit, blood oranges for color variety)
- Baking sheet + parchment
- String, twine, or ribbon
- Needle or skewer to make holes
- Optional: cranberries, popcorn, bay leaves, sprigs of faux greenery
How to make it
- Slice citrus into thin rounds.
- Dry in a low oven until the slices are dehydrated and translucent (they should feel dry, not tacky).
- Punch a small hole near the edge (or two holes for more stability).
- String them with twine or ribbon, alternating with bay leaves, beads, or small knots as spacers.
Styling tip: Use ribbon instead of twine for a softer, more “gift-wrapped” vibe.
If you want it to last, store fully dried slices in an airtight container when the season ends.
3) Felt Ball Garland (The Cozy “Works All Year” Classic)
Felt ball garlands are basically the cardigan of décor: warm, friendly, and somehow appropriate in every season.
You can buy felt balls or make them, then string them in solids, ombré gradients, or a curated mix of neutrals.
What you’ll need
- Felt balls (1–2 cm is the sweet spot)
- Embroidery floss, sturdy thread, or thin cord
- Large needle
- Optional: tassels, wooden beads, bells
How to assemble it
- Thread the needle and tie a knot at the end.
- String balls in your pattern (repeat a 5–7 ball sequence for easy consistency).
- If the balls slide, add a small knot between every few balls or dab a tiny bit of glue behind select balls.
- Add tassels at the ends for a “finished” look.
Where it shines: nursery shelves, bedroom headboards, party backdrops, and mantels where you want softness instead of sparkle.
4) Paper Chain GarlandUpgraded So It Doesn’t Look Like a Kindergarten Flashback
Paper chains can look surprisingly chic when you choose the right materials.
Think: matte cardstock, book pages (from damaged or thrifted books), metallic paper, or ribbon-like strips.
Keep the chain links uniform and stick to a color palette for a modern look.
Modern variations to try
- Monochrome chain: all cream/white links for a minimalist holiday look.
- Patterned chain: mix two coordinating prints (like plaid + solid).
- Ribbon chain style: use ribbon strips for a soft, luxe take on the classic chain.
Pro tip
If you’re hanging it above eye level (like across a ceiling), larger links read better from a distance.
For shelves and mantels, smaller links feel more refined.
5) Tissue Tassel or Pom-Pom Garland (Party-Ready in Under an Hour)
If you need impact fastbirthdays, baby showers, graduation partiestissue tassel garlands are your best friend.
They’re lightweight, photo-friendly, and easy to customize to a theme (pastels, school colors, holiday red/green).
What you’ll need
- Tissue paper or crepe paper
- Scissors
- Twine or thin ribbon
- Tape (or glue dots)
Shortcut that saves your sanity
Make 8–12 tassels, hang them, and then decide if you need more.
Most people overestimate how many they needyour wall does not require 47 tassels to feel celebrated.
6) Wooden Bead Garland (Farmhouse, Coastal, ModernIt’s a Shape-Shifter)
Wooden bead garlands are simple, timeless, and endlessly customizable.
You can leave them natural, stain them, paint a few “accent” beads, or add a tassel for a soft finish.
Bonus: they store well and don’t wrinkle, crumble, or shed glitter in your sock drawer.
Ideas that look designer-approved
- Neutral + black: mostly natural beads with a few matte black beads for contrast.
- Seasonal tassel swap: keep the bead strand, switch tassels (rust for fall, red for holidays, pastel for spring).
- Mini charms: add small stars, bells, or tags for subtle seasonal cues.
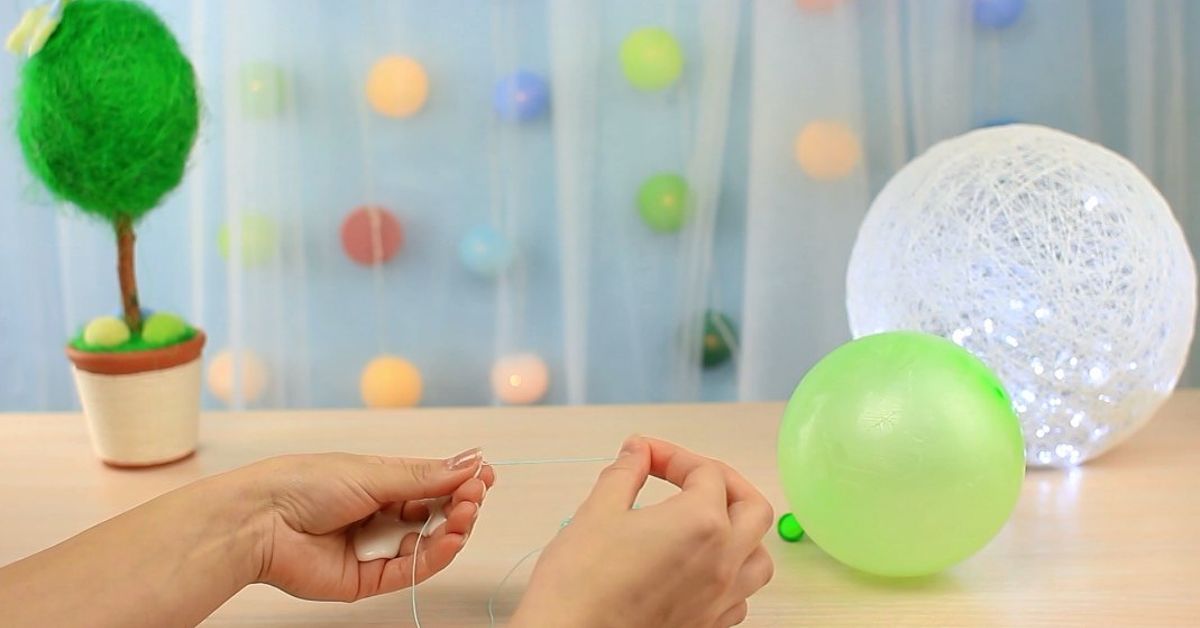
7) Balloon Garland (The “Wow” Factor for Parties and Backdrops)
Balloon garlands look professional, but the secret is: they’re mostly just repetition and anchoring.
Use different balloon sizes for texture, stick to a tight color palette, and give yourself a clean way to attach it to a wall or frame.
Balloon garland basics
- Choose 2–4 colors (one neutral + one pop color is a safe combo).
- Use multiple sizes (like 5″, 10″, 12″) to avoid a “bubble snake” look.
- Anchor invisibly using removable hooks, fishing line, or balloon tapedepending on the surface.
Styling tip
Add a few faux greenery sprigs or paper fans tucked into gaps to make it look fuller and more custom.
Keep balloon garlands away from sharp edges and heat sources (balloons are dramatic; they will quit without notice).
8) “Store-Bought, But Make It Custom” Garland Hack
You don’t have to build every garland from scratch. A plain store-bought base can become a custom statement piece
with a few upgrades: layered ribbon, ornament clusters, dried citrus, pinecones, or bows.
This is especially helpful if you need length and fullness without spending a full weekend crafting.
Three easy upgrades
- Ribbon weave: weave a wide ribbon in and out, then add a bow cluster.
- Light layer: tuck warm string lights underneath so the wires disappear.
- Natural accents: wire on pinecones or faux berries in small groups for a balanced look.
9) Where to Hang Garland (Beyond the Mantel)
Mantels get all the attention, but garland can do a lot more than sit above a fireplace and look pretty.
Try thinking in “lines”: any place your eye naturally travels is a great place for a garland moment.
High-impact placement ideas
- Staircase banister: drape greenery or felt garland and finish with bows at newel posts.
- Door frame: a garland “portal” makes any room feel like an event.
- Window top: shorter garlands soften hard lines and look great from outside, too.
- Dining table runner: use a bead garland or greenery down the center, then add candles.
- Headboard or shelf edge: perfect for cozy, non-holiday garlands (felt, beads, paper).
Damage-free hanging tip: Clean the surface properly before using removable hooks so they actually stick.
(Yes, this step is boring. No, it’s not optional if you like your garland to remain in the same zip code.)
10) Safety + Longevity Tips (So Your Garland Doesn’t Become a Problem)
Safe hanging
- Use a sturdy step stool or ladder; avoid leaning over furniture like a DIY action hero.
- Keep garlands away from open flames, hot bulbs, and heat vents.
- If using hot glue, work on a protected surface and let pieces cool before hanging.
Fresh greenery care
- Hydrate fresh garland before hanging when possible.
- Mist occasionally and keep it away from heat to slow drying.
- Outdoor is often better than indoor near a fireplace or sunny window.
Pet note
If you have pets who nibble plants, be careful with certain greenery and essential oils.
When in doubt, choose faux stems and place garlands out of reach.