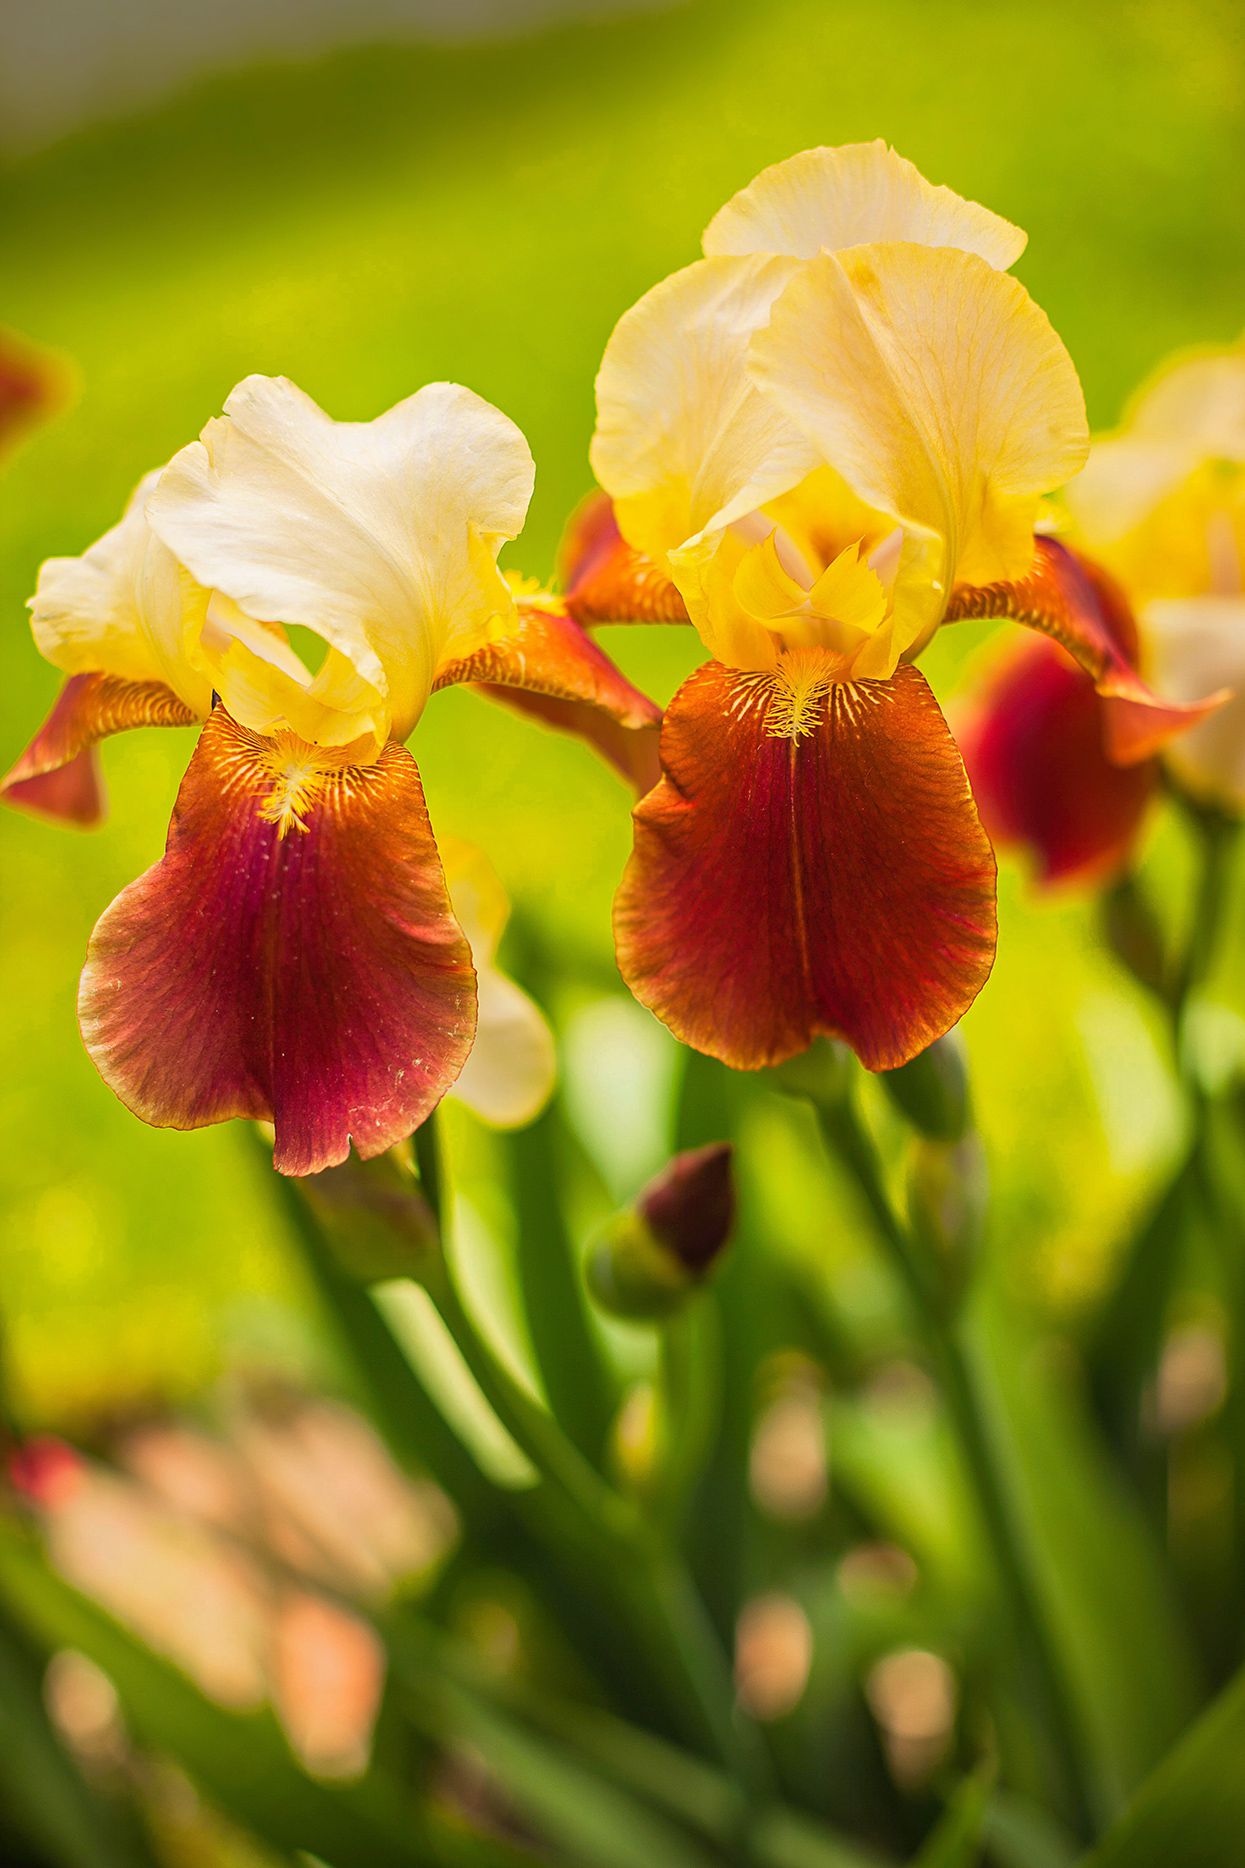
Bearded iris is the garden equivalent of a dramatic entrance. One week, the flower bed looks polite and green. The next, tall ruffled blooms rise up in shades of purple, gold, white, peach, burgundy, blue, and nearly every moody sunset color imaginable. Even better, bearded iris plants are surprisingly tough, drought tolerant once established, and willing to return year after year with only a modest amount of fuss.
The secret is understanding how these plants grow. Bearded irises do not grow from ordinary bulbs. They grow from thick, fleshy rhizomes that prefer to sit close to the soil surface, where they can stay dry, warm, and slightly sun-kissed. Plant them too deeply or in soggy soil, and they may sulk like a cat in a bathrobe. Plant them correctly, and they can become one of the most reliable spring-to-early-summer stars in your perennial garden.
This guide explains how to plant and grow bearded iris successfully, including the best planting time, soil preparation, watering, fertilizing, dividing, pest control, and real-world growing tips that help your irises bloom beautifully instead of simply producing a fashionable clump of leaves.
What Is a Bearded Iris?
Bearded iris, commonly associated with Iris germanica hybrids, is a flowering perennial known for its showy blooms and distinctive fuzzy “beard” on the lower petals. Each flower usually has upright petals called standards and downward petals called falls. That soft beard on the falls is not just decorative; it helps guide pollinators toward the flower’s center, like a tiny floral runway.
Most bearded irises bloom in spring or early summer, though some reblooming varieties can flower again later in the season when growing conditions are favorable. They are popular in borders, cottage gardens, cutting gardens, rock gardens, and sunny foundation beds. Depending on the variety, plants may range from short dwarf types to tall bearded irises that reach around 3 feet high.
Best Time to Plant Bearded Iris
The best time to plant bearded iris is usually late summer to early fall. In many parts of the United States, July through September is ideal, especially after the plants have finished blooming and entered a slower growth period. This timing gives rhizomes enough time to establish roots before winter.
Gardeners in colder climates should plant at least several weeks before the ground freezes. In warmer regions, planting can often continue into early fall, but it is still smart to avoid waiting until cold, wet weather arrives. Freshly planted rhizomes need time to settle in, grow new roots, and prepare for next year’s bloom show.
Can You Plant Bearded Iris in Spring?
Yes, spring planting can work if that is when you receive rhizomes or container-grown plants. However, late summer or early fall is often better for bare-root bearded iris because the plants can focus on root development rather than immediate flowering. Spring-planted irises may take longer to bloom well, so patience is part of the package. Think of it as a floral investment account.
Where to Plant Bearded Iris
Choosing the right location is half the battle. Bearded iris plants are not especially demanding, but they are very opinionated about sunlight and drainage.
Sunlight Requirements
Bearded irises bloom best in full sun. Aim for at least 6 hours of direct sunlight per day, and 6 to 8 hours is even better. In very hot climates, a little afternoon shade can help reduce heat stress, but deep shade usually leads to fewer flowers.
If your iris clump has plenty of healthy leaves but few blooms, sunlight is one of the first things to check. Trees and shrubs grow over time, and a bed that was sunny five years ago may now be wearing a leafy umbrella.
Soil and Drainage
Bearded iris rhizomes need well-drained soil. They dislike standing water, heavy wet clay, and garden beds that stay soggy after rain. Too much moisture around the rhizome can lead to rot, which is every iris grower’s least favorite surprise.
If your soil is heavy, improve it with compost and create a raised planting area or mound. Raised beds, slopes, and slightly elevated borders are excellent choices. The goal is not swamp chic. The goal is soil that drains well while still holding enough moisture to support root growth.
Air Circulation
Good air circulation helps reduce leaf diseases and keeps plants healthier. Avoid crowding bearded irises between dense shrubs or planting them so close together that the leaves cannot dry after rain. A little breathing room goes a long way.
How to Prepare the Soil Before Planting
Before planting bearded iris, loosen the soil about 10 to 12 inches deep. Remove weeds, rocks, old roots, and anything else that might compete with the new plants. Mix in compost if the soil needs better structure, but avoid adding large amounts of fresh manure or high-nitrogen fertilizer. Too much nitrogen can encourage leafy growth at the expense of flowers and may increase rot risk.
A soil test is helpful if you are building a new perennial bed. Bearded irises usually perform well in neutral to slightly alkaline soil, though they are adaptable when drainage is excellent. If your soil is extremely acidic or nutrient poor, testing helps you adjust it wisely instead of playing garden roulette.
How to Plant Bearded Iris Rhizomes
Planting depth is the most important detail when growing bearded iris. These rhizomes should sit at or just slightly below the soil surface. In many gardens, the top of the rhizome remains partly visible after planting. That is not a mistake; that is the point.
Step-by-Step Planting Instructions
Start by digging a shallow hole wide enough to spread the roots. Make a small mound of soil in the center of the hole. Place the rhizome horizontally on top of the mound, then spread the roots down and outward over the sides.
Backfill with soil so the roots are covered, but keep the top of the rhizome exposed or barely covered. Firm the soil gently, then water thoroughly to settle everything into place. After that first watering, avoid keeping the bed constantly wet.
Spacing Bearded Iris
Space bearded iris rhizomes about 12 to 18 inches apart. Taller varieties and vigorous growers may benefit from even wider spacing. If you want a strong visual display, plant three rhizomes of the same variety in a loose triangle, with the leaf fans pointing outward. This creates a fuller clump while giving each plant room to grow.
Do not pack rhizomes together like sardines at a garden party. Crowding reduces airflow, increases disease risk, and leads to fewer flowers over time.
Watering Bearded Iris
Water newly planted bearded iris well after planting, then keep the soil lightly moist while roots establish. Once established, bearded irises are fairly drought tolerant and usually need less water than many other perennials.
During dry spells, water deeply but infrequently. Let the soil dry somewhat between waterings. Avoid overhead watering when possible, especially in humid regions, because wet leaves can encourage fungal problems.
Common Watering Mistake
The most common watering mistake is loving your iris too much. Bearded iris is not a bog plant. If the rhizome stays wet for long periods, rot can develop. When in doubt, check the soil before watering. If it is still damp near the rhizome, wait.
Fertilizing Bearded Iris
Bearded irises do not need heavy feeding. A low-nitrogen fertilizer can be applied in early spring as growth begins and again after bloom when new rhizomes are forming. Look for a balanced or low-nitrogen formula rather than a lawn fertilizer, which is usually too high in nitrogen.
Keep fertilizer off the exposed rhizomes and work it lightly into the soil around the plants. Water afterward if rain is not expected. The goal is steady support, not forcing explosive leafy growth.
Mulching Bearded Iris: Should You Do It?
In most cases, avoid piling mulch directly over bearded iris rhizomes. Mulch holds moisture, and moisture trapped against the rhizome can encourage rot. If you mulch nearby to control weeds, keep the mulch away from the rhizome itself.
In very cold climates, a light winter mulch may be used temporarily after the ground freezes to reduce frost heaving, especially for newly planted rhizomes. Remove it in early spring so the rhizomes can dry and warm up.
How to Care for Bearded Iris After Blooming
After flowers fade, remove spent blooms and cut the flower stalk down near the base. This prevents seed pod formation and helps the plant direct energy back into the rhizome. Unless you are intentionally breeding irises, seed pods are mostly a decorative drain on the plant’s resources.
Leave the green foliage in place through summer because the leaves feed the rhizome for next year’s flowers. If leaves become damaged or diseased, remove the affected portions. In late fall, after frost, trim dead foliage and clean up plant debris to reduce overwintering pests and diseases.
How and When to Divide Bearded Iris
Bearded iris clumps should usually be divided every 3 to 5 years. When clumps become crowded, flowering declines, rhizomes grow over each other, and the center of the clump may become woody or unproductive.
The best time to divide bearded iris is after blooming, usually in July or August in many regions. This gives divisions enough time to establish before winter.
How to Divide Bearded Iris
Carefully lift the clump with a garden fork or spade. Shake or wash off soil so you can see the rhizomes clearly. Cut leaves back to about one-third of their height to reduce stress and make the divisions easier to handle.
Use a clean, sharp knife to separate healthy rhizome sections. Each division should have a firm rhizome, several roots, and at least one fan of leaves. Discard old, soft, hollow, diseased, or insect-damaged pieces. Replant the healthy divisions at the proper shallow depth.
Common Bearded Iris Problems
Bearded irises are sturdy plants, but they are not invincible. Most problems are related to poor drainage, overcrowding, pests, or planting too deeply.
Why Bearded Iris Will Not Bloom
If your bearded iris is not blooming, the most likely causes are too much shade, overcrowding, rhizomes planted too deeply, or excess nitrogen. Check whether the rhizomes are visible at the soil surface, whether the clump is crowded, and whether nearby plants are blocking sunlight.
Rhizome Rot
Soft, mushy, foul-smelling rhizomes often indicate rot. This is more common in poorly drained soil or when rhizomes are buried too deeply. Remove affected parts, improve drainage, and replant only firm, healthy sections.
Iris Borer
Iris borer is one of the most destructive pests of bearded iris in some regions. Larvae tunnel into leaves and rhizomes, causing streaking, browning, mushy tissue, and plant decline. Cleaning up dead foliage after frost helps reduce overwintering eggs. In spring, inspect young leaves for chewing damage or water-soaked streaks.
Leaf Spot
Leaf spot can cause tan, yellow, or brown marks on foliage. Improve air circulation, avoid overhead watering, remove infected leaves, and clean up debris at the end of the season. Healthy spacing and good sanitation are simple but powerful tools.
Best Companion Plants for Bearded Iris
Because bearded irises have a relatively short bloom period, combine them with plants that extend the season of interest. Good companions include catmint, salvia, allium, peony, daylily, yarrow, sedum, ornamental grasses, and low-growing groundcovers that do not smother the rhizomes.
Choose companions that enjoy sun and well-drained soil. Avoid aggressive plants that spread over the iris rhizomes, because the rhizomes need light, air, and space.
Growing Bearded Iris in Containers
Bearded iris can be grown in containers, especially dwarf or intermediate varieties. Use a wide pot with excellent drainage holes and a gritty, well-draining potting mix. Plant the rhizome shallowly, just as you would in the ground.
Container-grown irises may need more frequent watering than garden-grown plants, but the same rule applies: never let the rhizome sit in soggy soil. In cold climates, containers may expose rhizomes to freeze-thaw stress, so protection may be necessary.
Seasonal Bearded Iris Care Calendar
Spring
Remove winter debris, check that rhizomes are not buried, fertilize lightly, and watch for pest damage as new leaves emerge. Enjoy the blooms and cut flowers for indoor arrangements if desired.
Summer
Deadhead after flowering, cut back spent flower stalks, water during extended drought, and divide crowded clumps in mid-to-late summer.
Fall
Plant new rhizomes early enough for root growth before winter. Remove dead or diseased foliage after frost and clean up debris around plants.
Winter
Bearded iris usually needs little winter care. In very cold areas, protect newly planted rhizomes from heaving, but remove protective mulch in spring.
Practical Experiences for Growing Bearded Iris Successfully
One of the best lessons in growing bearded iris is that “less pampering” often produces better results. Many gardeners accidentally treat irises like thirsty annuals or moisture-loving perennials, then wonder why the plants decline. In real gardens, bearded iris often thrives in the spots that seem almost too dry for fussier flowers: sunny slopes, raised borders, gravelly edges, and beds where water drains quickly after a storm.
A useful experience-based tip is to plant the rhizome where you can still see it. New gardeners sometimes feel uncomfortable leaving the top of the rhizome exposed, as if the plant has forgotten to put on a jacket. But shallow planting is exactly what bearded iris wants. If soil or mulch gradually covers the rhizomes over the years, bloom production may drop. A quick mid-summer check can reveal whether the rhizomes need to be lifted and reset.
Another practical lesson is to divide before the clump becomes a tangled kingdom. A healthy iris bed can look wonderful for several years, then suddenly produce fewer blooms. That does not mean the plant has lost interest in life. It usually means the clump is overcrowded. Dividing every 3 to 5 years keeps the youngest, most vigorous rhizomes growing and flowering. It also gives you extra plants to share with neighbors, which is how many legendary iris collections begin.
When dividing, do not feel sentimental about old rhizomes. Keep firm, healthy pieces with fans of leaves and roots. Discard soft, hollow, shriveled, or damaged sections. This is not cruelty; it is garden editing. Strong divisions establish faster and are less likely to carry problems into the refreshed bed.
In heavy clay soil, gardeners often get better results by building the planting area upward instead of fighting the soil downward. A raised ridge or berm can dramatically improve drainage. Mix compost into the bed to improve texture, but avoid creating a rich, wet pocket that holds water around the rhizome. The rhizome should feel like it is resting on a sunny porch, not sinking into a pudding cup.
For more flowers, pay attention to sun patterns across the year. A bed may receive plenty of sun in early spring before trees leaf out, but far less sunlight by late spring and summer. Bearded irises need strong light to build energy for future blooms. If flowers fade year after year while leaves remain lush, nearby shade may be the sneaky culprit.
Finally, keep the bed tidy but not sterile. Remove spent flower stalks, clean up dead foliage after frost, and watch for leaf symptoms in spring and summer. These habits reduce pests and disease without turning gardening into a military operation. Bearded iris rewards simple consistency: sun, drainage, shallow planting, occasional division, and enough restraint not to drown it with kindness.
Conclusion
Learning how to plant and grow bearded iris is mostly about respecting the rhizome. Give it full sun, sharp drainage, shallow planting, and room to breathe, and it will repay you with bold, elegant flowers that look far more complicated than they are to grow. These perennials are perfect for gardeners who want high-impact blooms without babysitting plants every afternoon.
Whether you are planting your first rhizome or rescuing an old overcrowded clump, remember the essentials: plant late summer to early fall when possible, keep the rhizome near the soil surface, avoid soggy conditions, fertilize lightly, clean up old foliage, and divide every few years. Do that, and your bearded irises will not just survive. They will perform.