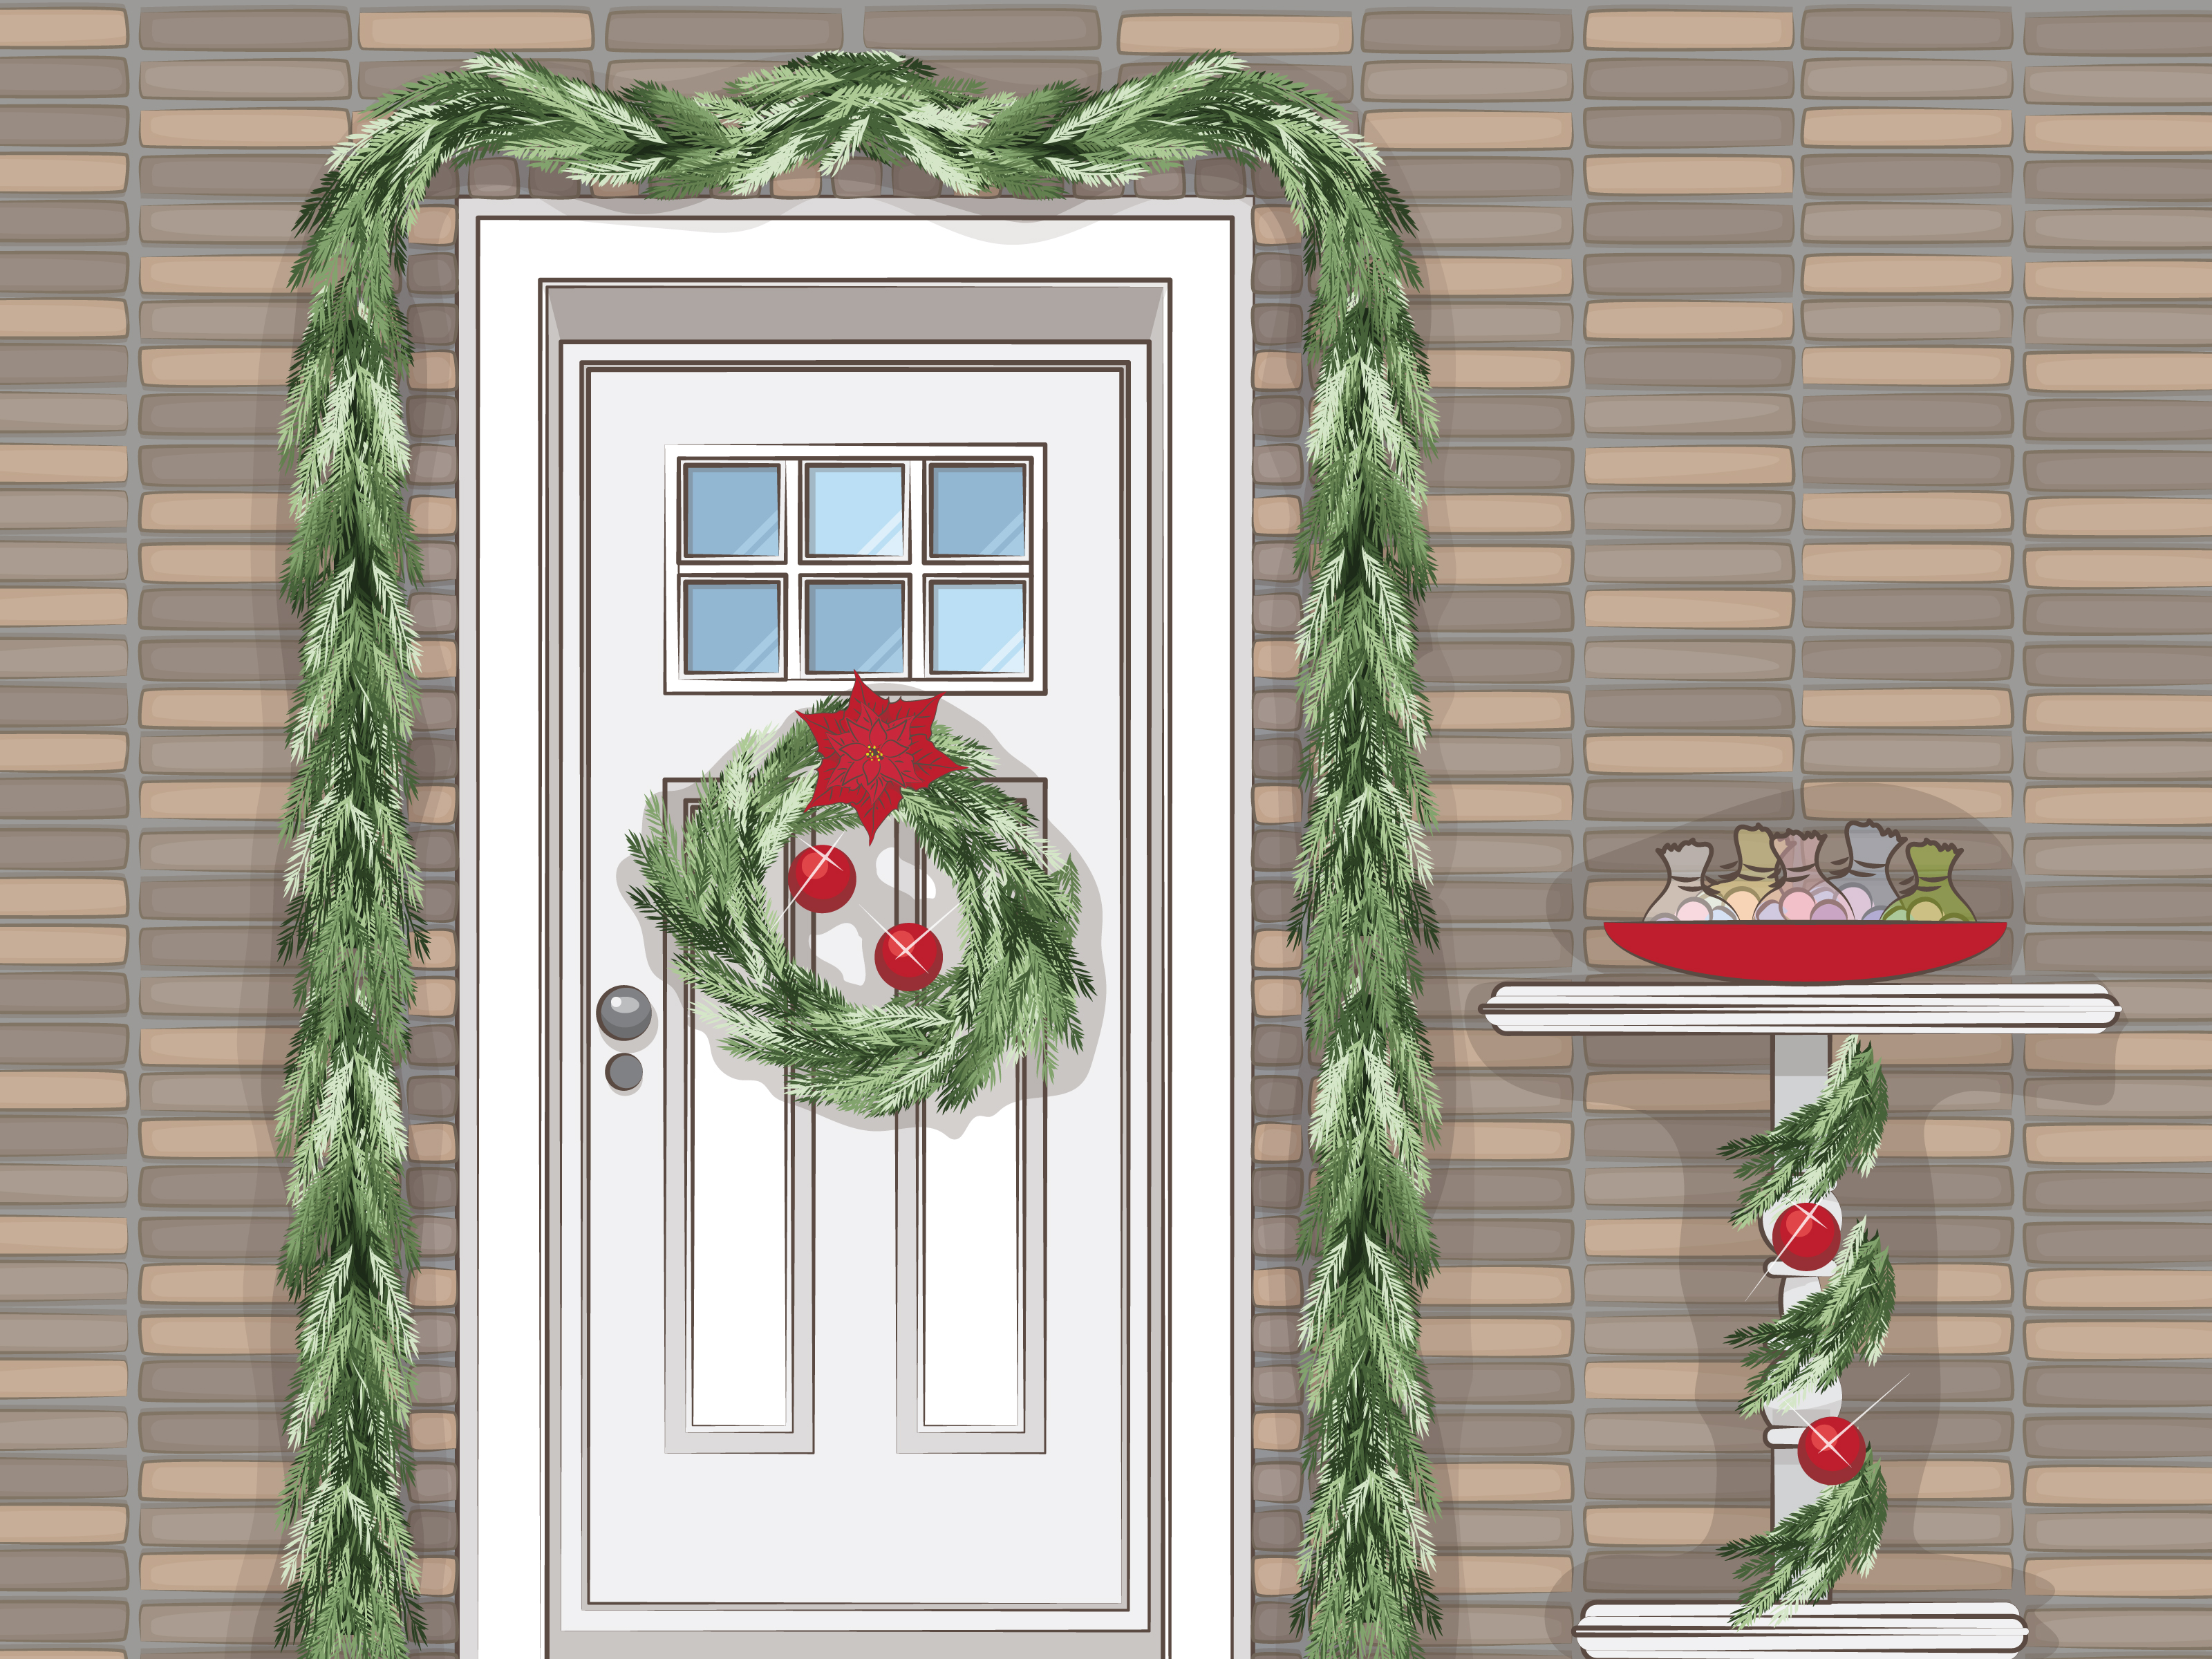
A garland-framed front door can make even an ordinary porch look ready for a holiday movie. Unfortunately, getting that greenery to stay in place can feel less like decorating and more like negotiating with a stubborn pine-scented octopus.
The good news is that you do not need to attack your door frame with a hammer. Whether you rent your home, want a completely removable setup, or need enough strength to support a thick outdoor Christmas garland, there is a practical hanging method for the job.
This guide explains three easy ways to hang garland around your front door, including outdoor adhesive hooks, adjustable garland hangers, and surface-specific clips or anchors. You will also learn how to measure the doorway, prevent sagging, protect exterior finishes, add lights safely, and create a display that still looks good after the first windy evening.
Before You Hang the Garland
A few minutes of preparation can prevent crooked greenery, failed adhesive, and emergency ladder climbing after dinner. Begin with the garland itself, the dimensions of the doorway, and the material surrounding the door.
Choose Fresh or Artificial Garland
Fresh greenery offers natural texture and the unmistakable fragrance of pine, cedar, or fir. However, it is usually heavier than artificial garland, becomes more brittle as it dries, and may need additional support points.
Artificial garland is lighter, reusable, and easy to shape because many versions contain wired branches. For an uncovered entrance, select a product labeled for outdoor use. Indoor-only garland may fade, rust, or deteriorate when exposed to moisture and direct sunlight.
Pre-lit garland saves decorating time, but battery-operated models are often easier to manage around a door than plug-in versions. There is no extension cord trying to sneak across the threshold like a tiny seasonal trip hazard.
Measure the Doorway Correctly
Measure from the ground to the top corner on one side, across the top of the opening, and back down the other side. Add those three measurements together.
For example, a doorway measuring 80 inches high and 40 inches wide requires approximately 200 inches, or 16 feet 8 inches, of garland for a close-fitting arrangement. Add another 2 to 4 feet for soft draping, fuller corners, or decorative tails.
Measure the area where the garland will actually hang rather than relying on the dimensions of the door slab. Exterior trim, sidelights, transoms, and storm doors can substantially change the required length.
Weigh and Inspect the Garland
Every hook, clip, hanger, or anchor has a weight limit. Weigh the completed garland after adding lights, ornaments, ribbon, pinecones, or other decorations. A lightweight strand can become surprisingly ambitious once it has been given three bows and enough ornaments to qualify as a small Christmas tree.
Inspect fresh garland for loose branches and check artificial garland for exposed wire. Repair weak connections with green floral wire before installation.
Way 1: Use Outdoor Adhesive Hooks or Garland Clips
Outdoor adhesive hooks are one of the easiest ways to hang garland around a front door without nails. They work particularly well on smooth, finished surfaces such as painted wood, metal, glass, vinyl trim, and certain sealed exterior materials.
Best For
- Renters and temporary displays
- Lightweight artificial garland
- Smooth, clean door trim
- Homeowners who want minimal visible hardware
What You Need
- Outdoor-rated adhesive hooks or garland clips
- Rubbing alcohol and a clean cloth
- Measuring tape
- Green floral wire, clear fishing line, or reusable twist ties
- A stable step ladder
Step-by-Step Instructions
- Clean the trim. Remove dust, grease, pollen, and residue. A clean surface allows the adhesive to bond properly. Let the area dry completely before continuing.
- Mark the support points. Place one hook near each upper corner and one at the center above the door. Add more hooks down both sides, spacing them approximately 18 to 24 inches apart for lightweight garland.
- Check the package directions. Confirm that the product is intended for outdoor use, compatible with the surface, and rated for the expected weight.
- Install the hooks. Apply each adhesive strip exactly as directed. Press firmly for the recommended time without touching the adhesive surface.
- Allow the adhesive to cure. Many products require a waiting period before weight is added. Skipping this step is a popular shortcut whose traditional ending is a garland on the porch floor.
- Hang the center first. Find the midpoint of the garland and attach it to the center hook. Work toward each upper corner before arranging the sides.
- Secure the vertical sections. Use floral wire or clear ties to connect the garland to the remaining hooks. Avoid stretching it tightly; a small amount of slack creates a softer, more natural appearance.
- Fluff and balance. Separate compressed branches, turn visible wire toward the wall, and make sure the two sides finish at approximately the same height.
Common Adhesive-Hook Problems
Adhesive products may struggle on rough brick, unsealed masonry, textured stucco, dirty siding, damp trim, or peeling paint. Extremely cold installation temperatures can also affect the initial bond. Use only products designed for exterior conditions and follow their temperature requirements.
If a heavy section keeps pulling away, do not simply add another strip to the same overloaded hook. Divide the weight among additional support points or choose one of the stronger methods below.
Way 2: Install an Adjustable Garland Hanger
An adjustable garland hanger is a reusable metal frame that fits around or inside the door opening. It supports the greenery without adhesive, screws, or nails. Many models expand to match the width of the doorway and use padded contact points to protect the trim.
Best For
- Homeowners who decorate the same entrance every year
- Medium-weight or layered garland
- Door frames with unsuitable adhesive surfaces
- Fast installation and removal
Step-by-Step Instructions
- Measure the opening. Record the interior or exterior width and height, depending on the hanger design.
- Check clearance. Verify that the hanger will not interfere with the door, storm door, weatherstripping, lock, security sensor, or overhead light.
- Assemble the frame. Follow the manufacturer’s instructions and keep the padded ends positioned against solid trim.
- Adjust the width gradually. Expand the hanger until it feels secure. Do not overtighten it against decorative molding or fragile trim.
- Attach the garland at the center. Use floral wire or the built-in clips to fasten the midpoint above the door.
- Work toward the corners. Secure the greenery along the upper bar before arranging each side.
- Test the installation. Gently tug the garland, open and close the door several times, and confirm that nothing shifts or catches.
Some adjustable doorway hangers can support much more weight than adhesive clips, but ratings vary considerably. Use the limit printed on your specific model rather than assuming every metal hanger can hold the same load.
Can You Use a Tension Rod?
A sturdy tension rod can provide a similar solution when the entrance has a deep, sheltered recess. Wrap the garland around the rod and position it above the doorway. This trick works best in a protected alcove where wind cannot dislodge the rod.
Do not place a makeshift tension rod where it could fall onto visitors, block door operation, or press against weak molding. For exposed outdoor entrances, a purpose-built garland hanger is the safer choice.
Way 3: Use Surface-Specific Clips or Small Anchors
For thick fresh greenery, elaborate pre-lit garland, or an entrance exposed to wind, surface-specific hardware often provides the most reliable support. The right option depends on whether the exterior is brick, stone, siding, wood, or stucco.
Best For
- Heavy fresh garland
- Windy or uncovered porches
- Long-term seasonal decorating
- Rough surfaces that reject adhesive strips
Choose Hardware for the Surface
Brick: Removable brick clips grip the upper and lower edges of individual bricks without drilling. They require a suitable exposed brick edge and may not fit every masonry profile.
Vinyl siding: Siding hooks slip into the seam between panels without puncturing the material. Position several hooks to distribute the weight evenly.
Wood trim: Small exterior-rated cup hooks or screw eyes provide strong, reusable attachment points. Install them only where minor permanent holes are acceptable.
Stucco or stone: Use fasteners specifically designed for masonry and the expected load. Drilling improperly can crack the finish or allow water intrusion, so a professional installation may be appropriate for heavy decorations.
Step-by-Step Instructions
- Identify the exterior material and choose compatible hardware.
- Check for electrical wiring, doorbell cables, security equipment, and hidden utilities before drilling.
- Place support points at the center, upper corners, and intervals along both sides.
- Install each clip or anchor according to its instructions.
- Attach the middle of the garland first and balance the remaining length on both sides.
- Secure the garland with coated floral wire or UV-resistant ties.
- Trim excess ties and rotate the connections toward the wall so they disappear behind the foliage.
This method requires slightly more planning, but it is usually the best defense against wind. It also allows permanent hooks to remain discreetly in place for wreaths, spring flowers, fall leaves, or whatever decorative season arrives next.
How to Make Front Door Garland Look Fuller
Once the garland is secure, styling makes the difference between “professionally decorated entrance” and “green rope attached to a house.”
Combine two thin garlands by twisting them loosely together before hanging. Another option is to attach extra pine, cedar, eucalyptus, or magnolia clippings with floral wire. Keep the branches pointing generally downward along the sides so the greenery appears to grow naturally rather than fighting gravity.
Concentrate larger decorations near the upper corners or center, where the strongest support points are located. Use wired ribbon for bows because it keeps its shape outdoors. Repeat two or three accent materialssuch as red berries, brass bells, pinecones, or gold ornamentsto create a coordinated design without overwhelming the doorway.
Stand approximately 15 feet away after decorating. From that distance, uneven sides and bare sections become surprisingly obvious. It is the front-porch equivalent of discovering a crooked picture only after sitting down.
Tips for Fresh Garland
Soak fresh greenery in water for several hours before hanging it, then allow excess moisture to drain. This helps the branches begin the display well hydrated.
A covered porch generally protects fresh garland better than a location exposed to strong afternoon sun. Check the greenery regularly and remove dried material near lights or electrical connections. Fresh garland can shed resin and needles, so protect delicate painted surfaces if necessary.
Never spray water directly onto electrical lights, plugs, battery compartments, or extension-cord connections. If the garland becomes extremely dry or brittle, take it down rather than attempting to keep it on display indefinitely.
How to Add Lights Safely
Use lights and extension cords specifically labeled for outdoor use. Inspect each strand for cracked sockets, exposed wires, damaged insulation, or loose connections before installation.
Attach lights with plastic clips, floral wire, or ties that cannot cut through the insulation. Do not drive ordinary nails, tacks, or sharp staples through electrical cords. Keep connections off the ground and use a GFCI-protected exterior outlet.
Battery-operated LED lights simplify the setup and eliminate a visible power cord. For plug-in lights, plan the route before hanging the garland so the cord does not cross the doorway or create a tripping hazard. Turn decorative lights off when leaving home or going to bed.
Frequently Asked Questions
How many hooks are needed for garland around a door?
A lightweight garland commonly needs a center support, two upper-corner supports, and additional hooks every 18 to 24 inches down the sides. Heavy garland requires closer spacing and hardware with a higher weight rating.
How do you keep garland from sagging?
Secure the center and both upper corners before attaching the sides. Add support where heavy decorations are concentrated and connect the garland to each hook with floral wire rather than simply laying it over the hook.
Can indoor adhesive hooks be used outside?
Indoor hooks are not designed for moisture, ultraviolet exposure, or outdoor temperature changes. Use exterior-rated hooks and follow the manufacturer’s surface, temperature, weight, and curing instructions.
Should garland touch the ground?
It may lightly reach the porch for a dramatic look, but leaving an inch or two of clearance keeps the ends cleaner and reduces moisture damage. Make sure the garland does not interfere with the threshold or become a tripping hazard.
Conclusion
The best way to hang garland around your front door depends on the weight of the greenery, the exterior surface, and the amount of weather exposure. Outdoor adhesive hooks provide a quick, removable solution for smooth trim. Adjustable garland hangers offer reusable, tool-free strength. Surface-specific clips and anchors provide the most dependable support for heavy or wind-exposed arrangements.
Whichever method you choose, measure carefully, distribute the weight, follow every product rating, and test the door before declaring victory. A beautiful garland should welcome guestsnot leap from the frame when someone rings the doorbell.
Experience-Based Lessons for a Better Garland Installation
The most useful lessons tend to appear after decorators have installed garland on several different entrances. A method that behaves perfectly on a sheltered painted doorway may fail quickly on dusty brick or a porch exposed to freezing wind. Treat the doorway, weather, and garland as one system rather than choosing hardware based only on convenience.
Assemble Decorations Before Hanging
It is much easier to add lights, ribbon, berries, and ornaments while the garland is resting on a table. Working overhead makes every task slower, and dropped floral wire has a remarkable talent for disappearing into porch cracks.
Complete most of the decorating first, but leave the final bows and a few accent pieces until after installation. This allows you to hide visible hooks and correct areas compressed during hanging.
Use More Support Than You Think You Need
Three hooks may hold a lightweight strand during installation, yet the unsupported sections can sag after several days. Rain, wind, drying fresh greenery, and repeated door movement all change the load. Adding two or three extra support points usually produces a cleaner shape and reduces strain on every individual hook.
Extra support is particularly important near bows, bells, clusters of ornaments, and battery boxes. Position hardware behind these decorations so the stronger attachment points remain hidden.
Do Not Install Adhesive on a Cold, Damp Morning
A common mistake is installing adhesive clips immediately after wiping down the trim, while the surface is still damp or extremely cold. The hook may seem secure at first and release later.
Choose a dry part of the day, clean the surface properly, and observe the installation temperature and waiting time stated on the package. Bring the adhesive products indoors before use if they have been stored in a cold garage.
Hang the Center Before the Sides
Beginning at one bottom corner often leaves too much garland on one side and not enough on the other. Find the midpoint, attach it above the center of the doorway, and then work outward symmetrically.
For two connected garlands, join them at the top center and arrange the branches so they flow down in opposite directions. Hide the connection with a bow, pinecone cluster, or bundle of bells.
Test the Door More Than Once
Open the main door and storm door fully after installing the empty support system. Test them again after the garland and decorations are attached. Thick greenery can catch on a door closer, hinge, camera, or weather seal even when the hardware itself appears clear.
Watch the garland while someone uses the door normally. If it shakes excessively, add ties or move the nearest support point. This simple test is considerably more pleasant than repairing the arrangement while guests wait on the porch.
Plan Removal During Installation
Leave adhesive pull tabs accessible and avoid burying reusable clips beneath tightly wrapped wire. Photograph permanent hook locations before covering them with greenery. When the season ends, remove decorations slowly and according to the hardware instructions rather than pulling everything down in one heroic motion.
Label the garland by location before storing it. A small tag reading “front door, center at red bow” can save time next season. Coil artificial garland loosely, protect delicate ornaments, and avoid crushing wired branches under heavy storage boxes. Future you will be grateful, even if present you is tempted to throw everything into one container and flee.
Research basis for removable attachment methods, exterior adhesives, and adjustable doorway hangers: Research basis for measuring, greenery preparation, styling, and surface selection: Research basis for exterior mounting and electrical safety guidance:
Note: Installation conditions vary. Always follow the weight, surface, temperature, curing-time, and electrical-safety instructions supplied with the exact hooks, clips, hangers, lights, and extension cords being used.