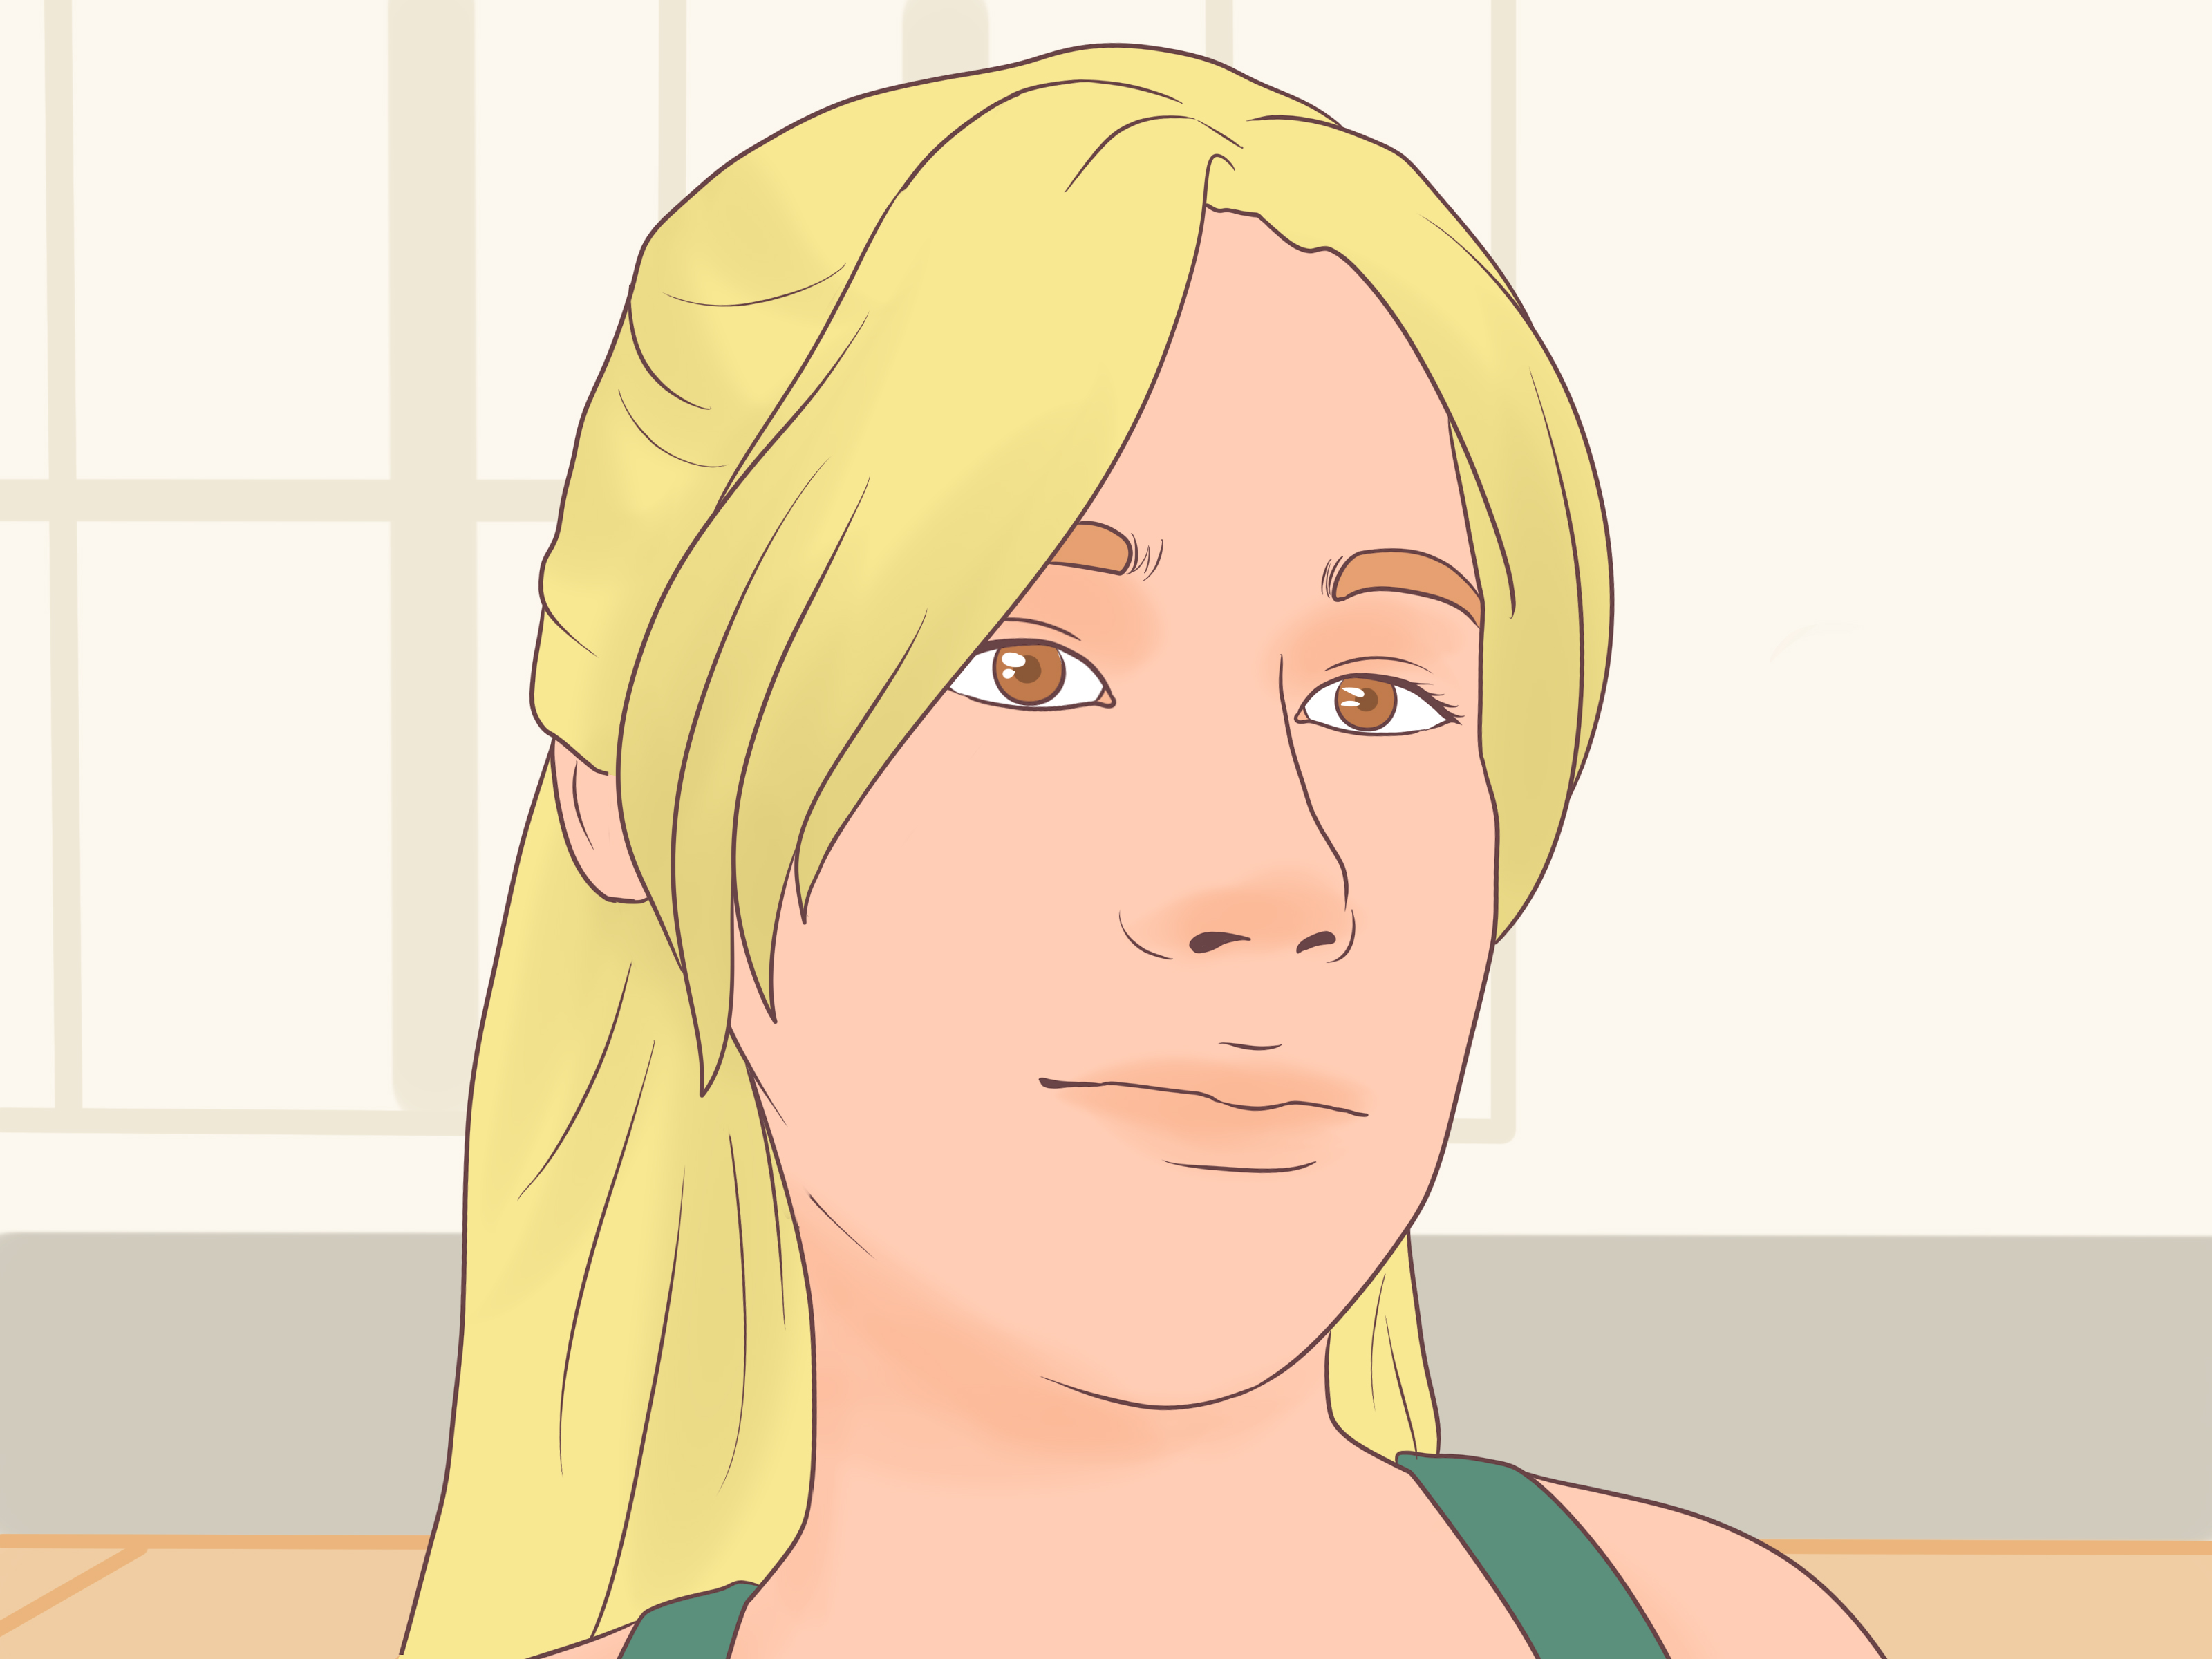
Long bangs with a middle part are the haircut equivalent of a good blazer: polished, flattering, and capable of making it look like you planned your whole life before breakfast. They frame the face, soften the forehead, highlight cheekbones, and give long or medium hair that breezy “I just left the salon, but I’m pretending I woke up like this” movement.
The best part? Long bangs are more forgiving than blunt bangs. If you cut them a little unevenly, they can blend into layers. If they grow out, they become face-framing pieces. If they misbehave, a round brush, a roller, or a strategically placed clip can usually talk them down. Still, bangs sit in the front row of your face, so the goal is not to attack them with kitchen scissors during an emotional Tuesday. The goal is to cut slowly, intentionally, and with a clear plan.
This guide breaks down 3 ways to cut long bangs with a middle part: soft curtain bangs, face-framing layered bangs, and wispy textured bangs. Each method creates a slightly different effect, but all three work beautifully with a center part and longer hair around the face.
Before You Cut: The Rules That Save Bangs from Drama
Before choosing a cutting method, start with the basics. Bangs may be small, but they have main-character energy. A tiny snip can change the whole shape of your haircut, so preparation matters.
Use Real Hair-Cutting Shears
Regular scissors crush hair instead of slicing it cleanly. That can leave the ends frayed, bulky, or uneven. Use sharp haircutting shears, preferably small ones that give you more control. Think of them as precision tools, not craft-drawer chaos sticks.
Cut Hair Dry or Mostly Dry
Hair stretches when wet and shrinks as it dries. Curly and wavy hair can shrink even more. Cutting long bangs dry lets you see where the hair actually falls around your eyes, cheekbones, lips, or jawline. If your hair is freshly washed, style it the way you normally wear it first, then cut.
Create a Clean Middle Part
Use a tail comb to create a straight center part from the hairline back toward the crown. Since the entire look depends on symmetry, your middle part is the map. If the map is crooked, your bangs may start a small rebellion.
Section a Triangle
Most long bangs begin with a triangular section at the front of the head. The point of the triangle sits near the top front of the head, while the two bottom corners land near the outer edges of the eyebrows or temples. A smaller triangle creates lighter bangs. A wider triangle creates fuller, more dramatic curtain bangs.
Cut Less Than You Think
Long bangs should be cut gradually. Start longer than your dream length, check the balance, style the pieces, then trim more if needed. Hair grows, yes, but unfortunately not on command.
Way 1: Cut Soft Curtain Bangs with a Middle Part
Soft curtain bangs are the classic choice for a middle part. They are shorter near the center and longer toward the sides, creating a gentle drape around the face. This is the best method if you want movement, softness, and a low-commitment fringe that grows out gracefully.
Best For
This method works well for straight, wavy, and lightly curly hair. It is especially flattering if you want to highlight your eyes and cheekbones without committing to thick, blunt bangs.
What You Need
- Sharp hair-cutting shears
- Tail comb
- Clips
- Mirror
- Round brush or blow-dryer brush for styling
Step-by-Step: Soft Curtain Bangs
Step 1: Part your hair down the middle. Make the part as clean as possible. Brush the front pieces forward, then separate them into a small triangle.
Step 2: Decide your shortest point. For long curtain bangs, the shortest center pieces usually fall between the bridge of the nose and the top of the lips. Beginners should start around the nose or upper lip because it gives room for corrections.
Step 3: Split the bang section in half. Clip one side away. On the loose side, hold the hair lightly between your fingers. Avoid pulling it tight, because too much tension can make you cut more than intended.
Step 4: Cut diagonally downward. Starting near the center, angle your fingers downward toward the cheekbone or jawline. Cut small vertical snips into the ends rather than slicing straight across. This point-cutting technique keeps the edge soft.
Step 5: Repeat on the other side. Use the first side as your guide. Check both sides often. If one side looks longer, do not panic. Style the bangs first, because hair often looks uneven before it is shaped.
Step 6: Blend the outer corners. The side pieces should connect softly into the rest of your hair. If they look chunky, point-cut into the ends with tiny vertical snips.
Styling Tip
For that classic curtain swoop, blow-dry the bangs forward first, then wrap each side around a round brush away from your face. Finish with cool air to set the shape. You can also use a Velcro roller for a few minutes while doing makeup, drinking coffee, or questioning why one eyebrow always looks more ambitious than the other.
Way 2: Cut Long Face-Framing Bangs with a Middle Part
Face-framing long bangs are longer than traditional curtain bangs. Instead of sitting around the nose or cheekbones, they begin around the lips, chin, or jawline and blend into front layers. This method is ideal if you want a subtle change without feeling like you suddenly joined a 1970s rock band, although honestly, that would not be the worst thing.
Best For
This method works beautifully on medium to long hair, especially if your haircut already has layers. It is great for people who wear ponytails, buns, waves, blowouts, or half-up styles because the front pieces fall out naturally and frame the face.
What You Need
- Hair-cutting shears
- Comb
- Clips
- Large mirror
- Optional: flat iron or curling iron for styling after cutting
Step-by-Step: Face-Framing Long Bangs
Step 1: Start with your natural middle part. Let your hair fall the way it usually does. This matters because cowlicks and growth patterns can change how bangs sit.
Step 2: Take two front sections. Instead of a deep bang triangle, take a narrower section on each side of the part. The pieces should begin at the hairline and extend back only slightly. This keeps the look light and layered.
Step 3: Choose a guide length. For soft face-framing bangs, start around the chin or slightly below it. If you want more visible bangs, start around the lips. If you are nervous, begin at the chin. Your future self will appreciate the emotional maturity.
Step 4: Over-direct the hair forward. Bring one side gently toward the center of your face. Hold it without stretching. Angle your fingers from shorter near the center to longer near the outside.
Step 5: Point-cut the ends. Use vertical snips to remove length gradually. Do not cut a hard diagonal line. Long bangs look best when the ends are soft and slightly feathered.
Step 6: Match the other side. Repeat the same process. Bring both sections forward and compare them under your chin or near your mouth. Remember that perfect symmetry is less important than balanced movement.
Step 7: Blend into layers. If the new bangs look separated from the rest of your hair, take the outermost pieces and point-cut lightly so they transition into your front layers.
Styling Tip
Use a large round brush, curling iron, or blow-dryer brush to bend the pieces away from the face. The goal is not a tight curl. It is a soft flick that says, “Yes, I have cheekbones, and yes, they have a lighting department.”
Way 3: Cut Wispy Textured Long Bangs with a Middle Part
Wispy long bangs are lighter, airier, and more piece-y than full curtain bangs. They work well if your hair is fine, if you dislike heavy fringe, or if you want bangs that can be styled forward, parted in the middle, or tucked away when you are in a no-bangs mood.
Best For
This method is ideal for fine to medium hair, soft waves, and anyone who wants a barely-there fringe. It can also help reduce bulk in thick bangs, but thick hair should be approached carefully because removing too much weight can create flyaways.
What You Need
- Sharp shears
- Fine-tooth comb
- Clips
- Dry hair styled naturally
- Light styling cream or texture spray
Step-by-Step: Wispy Textured Bangs
Step 1: Create a smaller triangle section. Wispy bangs should not be too dense. Start with less hair than you think you need. You can always add more, but you cannot un-cut bangs unless you own a time machine, and those are still inconveniently unavailable at beauty supply stores.
Step 2: Find the middle guide. Take a tiny center section and decide where the shortest pieces should fall. For long wispy bangs, start around the bridge of the nose, the tip of the nose, or the upper lip depending on how dramatic you want the effect.
Step 3: Cut upward into the hair. Hold your shears vertically and make tiny snips into the ends. This creates softness and prevents a heavy line. Never close the scissors aggressively across the full section.
Step 4: Add side pieces gradually. Move outward from the center, using the previous piece as your guide. Each section should become slightly longer as you move toward the cheekbones.
Step 5: Check the density. Let the bangs fall naturally. If they look too thick, point-cut only into the ends. Do not randomly thin the middle of the section unless you are experienced, because that can create short hairs that stick up like tiny antennas.
Step 6: Style and refine. Add a small amount of texture spray or light cream, then separate the bangs with your fingers. If a few pieces look heavy, trim them one at a time.
Styling Tip
Wispy bangs do not need to be perfectly polished. In fact, they often look better when slightly undone. Blow-dry them quickly from side to side, part them in the middle, then pinch the ends with a small amount of styling product.
How to Choose the Best Method for Your Face Shape
Long bangs with a middle part are popular because they are adaptable. Still, a few small adjustments can make them more flattering.
Round Face
Choose longer curtain bangs or face-framing bangs that fall below the cheekbones. This creates vertical lines and makes the face appear more elongated.
Oval Face
Most bang shapes work well with oval faces. Soft curtain bangs, wispy bangs, and longer cheekbone-skimming pieces are all strong options.
Square Face
Go for soft, layered bangs that curve around the cheekbones and jawline. Avoid overly blunt lines if you want to soften angular features.
Heart-Shaped Face
Curtain bangs are especially flattering because they balance a wider forehead and draw attention toward the eyes and cheekbones.
Common Mistakes to Avoid
Cutting Too Much at Once
This is the classic bang disaster. Always trim in tiny increments. Long bangs should be sculpted, not chopped like parsley.
Cutting Wet Hair Without Accounting for Shrinkage
Wet hair lies. It looks longer, calmer, and more cooperative than it really is. Once dry, it may bounce up shorter than expected.
Using Too Much Tension
If you pull the hair tightly while cutting, the final length may spring up. Hold the hair gently so it stays close to its natural fall.
Making the Bang Section Too Wide
A wide section creates heavier bangs and can accidentally remove too much hair from the sides. Start narrow, then expand only if needed.
Skipping Styling Before Judging
Freshly cut bangs can look strange before styling. Blow-dry, brush, or finger-shape them before deciding they need more trimming.
How to Maintain Long Bangs with a Middle Part
Long bangs are lower maintenance than short fringe, but they still need attention. Trim them every four to eight weeks depending on how fast your hair grows and how precise you want the shape to remain. If you like a soft, grown-out look, you can wait longer.
Use dry shampoo at the roots if your bangs separate or become oily. Bangs touch the forehead, so they tend to pick up skincare, sunscreen, and natural oils faster than the rest of your hair. A quick refresh can bring back volume without a full wash.
For styling, direct the roots first. Blow-dry the bangs forward, then split them at the center and sweep each side away from the face. This prevents the dreaded flat bang curtain, which is less “French girl chic” and more “I lost an argument with humidity.”
Real-Life Experiences: What Cutting Long Middle-Part Bangs Teaches You
The first experience many people have with cutting long bangs is confidence followed immediately by suspicion. You section the hair, hold the scissors, and think, “How hard can this be?” Then one strand falls differently than the others and suddenly you are negotiating with your reflection like it owes you rent. The truth is that cutting bangs is not impossible, but it rewards patience more than bravery.
One of the biggest lessons is that the first snip should never be the final length. A smart approach is to cut the center guide longer than planned, style it, then decide whether to go shorter. Long bangs change dramatically after blow-drying. A piece that looks chin-length when flat may sit near the cheekbone once it bends away from the face. This is especially true for wavy hair, where natural texture adds lift and shrinkage.
Another useful experience is learning that both sides of your face are not identical. One eyebrow may sit slightly higher. One side of your hair may grow forward while the other grows backward. A cowlick near the hairline may push one bang outward. This does not mean the cut is wrong. It means your hair is a living fiber with opinions. Instead of chasing perfect mathematical symmetry, aim for visual balance when the hair is styled.
People with fine hair often discover that less hair creates a better bang. A small, wispy section can frame the face without stealing volume from the sides. On the other hand, people with thick hair may learn that long bangs need blending. Without soft point-cutting, the bangs can look like two heavy panels. The solution is not to hack into them randomly, but to soften the ends slowly and connect them to the surrounding layers.
Curly-haired people often have the most important lesson of all: cut curl by curl, dry, and longer than expected. A curl that appears relaxed during cutting can spring upward after styling. For curls, long middle-part bangs usually look best when shaped around the cheekbones or jawline rather than cut too short in the center.
Maintenance is another real-world surprise. Long bangs are forgiving, but they are not invisible. They may need a quick morning reset with water, a blow-dryer, or a roller. They may also need more frequent washing than the rest of the hair. Still, the payoff is big: a ponytail looks softer, a bun looks more intentional, and loose hair gains shape even without a full haircut.
The best experience-based advice is simple: treat the first cut as a draft. Do not try to create perfect bangs in one session. Cut a little, style, live with the shape for a day, then refine if needed. Hair professionals build shape through control and restraint. At home, restraint is your best friend. So is good lighting. And maybe a snack, because nobody should cut bangs while hungry.
Conclusion
Learning 3 ways to cut long bangs with a middle part gives you options. Soft curtain bangs create the classic face-framing swoop. Long layered bangs offer a subtle, blended change. Wispy textured bangs add lightness and movement without heavy commitment. The key is to cut dry, use sharp shears, work in small sections, and style before making final adjustments.
Long bangs are popular for a reason: they flatter many face shapes, grow out beautifully, and make simple hairstyles look more finished. Whether you want a soft curtain effect, a cheekbone-skimming frame, or airy wisps, the middle part keeps the look balanced and modern. Go slowly, respect the scissors, and remember that the best bangs are not rushed. They are negotiated.
Note: This article is for general at-home grooming guidance. For major style changes, very curly textures, corrective cuts, or uncertainty about your hairline and growth pattern, a licensed hairstylist is the safest choice.