Crushed ice can turn an ordinary drink into something that feels suspiciously close to a vacation. It chills quickly, fills a glass beautifully, and gives lemonades, iced coffees, snow cones, mocktails, Mint Juleps, and tropical drinks that satisfying frosty texture. The good news is that you do not need a restaurant ice machine or a home bar with more equipment than a small airport.
You can make crushed ice with tools already sitting in most kitchens. The best method depends on how much ice you need, how fine you want it, and how strongly your household objects to sudden pounding noises. Below are three reliable ways to make crushed ice, along with practical tips for controlling texture, avoiding watery results, and keeping both your fingers and your blender in working order.
What Is Crushed Ice?
Crushed ice is simply frozen water broken into irregular pieces smaller than standard cubes. It is coarser than shaved ice and usually less uniform than nugget or pebble ice. A good batch contains small chips and fragments that pack together while still leaving enough space for liquid to flow through.
Because smaller pieces expose more surface area than large cubes, crushed ice chills a beverage quickly and melts faster. That is wonderful for drinks designed to evolve as you sip, but less helpful for a whiskey you plan to admire for 45 minutes while discussing the meaning of life. Match the ice to the drink instead of assuming smaller is always better.
Crushed Ice vs. Shaved Ice
Crushed ice has visible, crunchy pieces. Shaved ice is much finer and often resembles fluffy snow. Crushed ice works well in cocktails, punches, iced tea, lemonade, cold brew, seafood displays, and quick-chilling applications. Shaved ice is better for syrup-based desserts where a soft texture and maximum flavor absorption matter.
Before You Start: Four Small Details That Matter
First, use clean ice made from water you would happily drink. Ice is food, not decorative gravel. Wash your hands, use a clean container, and move the finished ice with clean tongs or a scoop rather than fishing through it with a glass.
Second, let rock-hard freezer ice sit at room temperature for about two to five minutes. Slightly tempered cubes fracture more predictably and are less likely to behave like tiny frozen cannonballs. Do not let them melt into a puddle; the goal is merely to take off the deep-freeze edge.
Third, work in batches. Whether you use a blender or a mallet, overcrowding creates a mixture of snow, boulders, and regret. Smaller batches give the blades or impact force room to reach every cube.
Finally, check your blender manual before asking the machine to pulverize ice. Some compact or portable blenders require liquid, some can handle only a few cubes, and others are not intended for ice at all.
Way 1: Make Crushed Ice in a Blender
A blender is the fastest choice when you need enough crushed ice for several drinks. It can produce a batch in seconds, although the exact method depends on the machine. A full-size blender with an ice-crush setting or pulse control is ideal.
What You Need
- Ice cubes
- A blender approved for crushing ice
- A fine-mesh strainer or colander
- A bowl, scoop, and clean towel
Step-by-Step Instructions
- Temper the ice briefly. Leave the cubes out for two to five minutes, especially if they came from a very cold freezer.
- Fill the jar only partway. Start with two or three cups, or follow the maximum amount stated by the manufacturer. Leave plenty of open space above the cubes.
- Secure the lid. This is not the moment to test whether ice can achieve low Earth orbit.
- Use short pulses. Pulse for roughly one second at a time. Pause between pulses so the pieces fall back toward the blades.
- Stop early and inspect. After several pulses, shake the jar gently with the motor off. Continue only until most pieces reach the desired size.
- Drain immediately. Pour the ice into a strainer to remove meltwater, then transfer it to a chilled bowl or directly into glasses.
Dry-Blending or Adding Water?
Many powerful blenders can crush dry ice cubes, but some machines work more evenly when the cubes float in cold water. The water method helps circulate the ice and can reduce the chance of one cube spinning uselessly above the blades. Add enough cold water to let the cubes move, pulse, and then strain thoroughly.
The trade-off is extra drainage and slightly wetter ice. For frozen beverages, that usually does not matter. For a carefully balanced cocktail, dry pulsing may provide better control, provided your blender is designed for it.
How to Avoid Turning Ice Into Slush
Use the pulse function rather than running the motor continuously. Long blending generates friction, encourages melting, and pushes small fragments toward a snow-like texture. Stop while a few larger pieces remain. One final quick pulse is easier than trying to reassemble ice dust into cubes.
Way 2: Crush Ice With a Towel and Rolling Pin
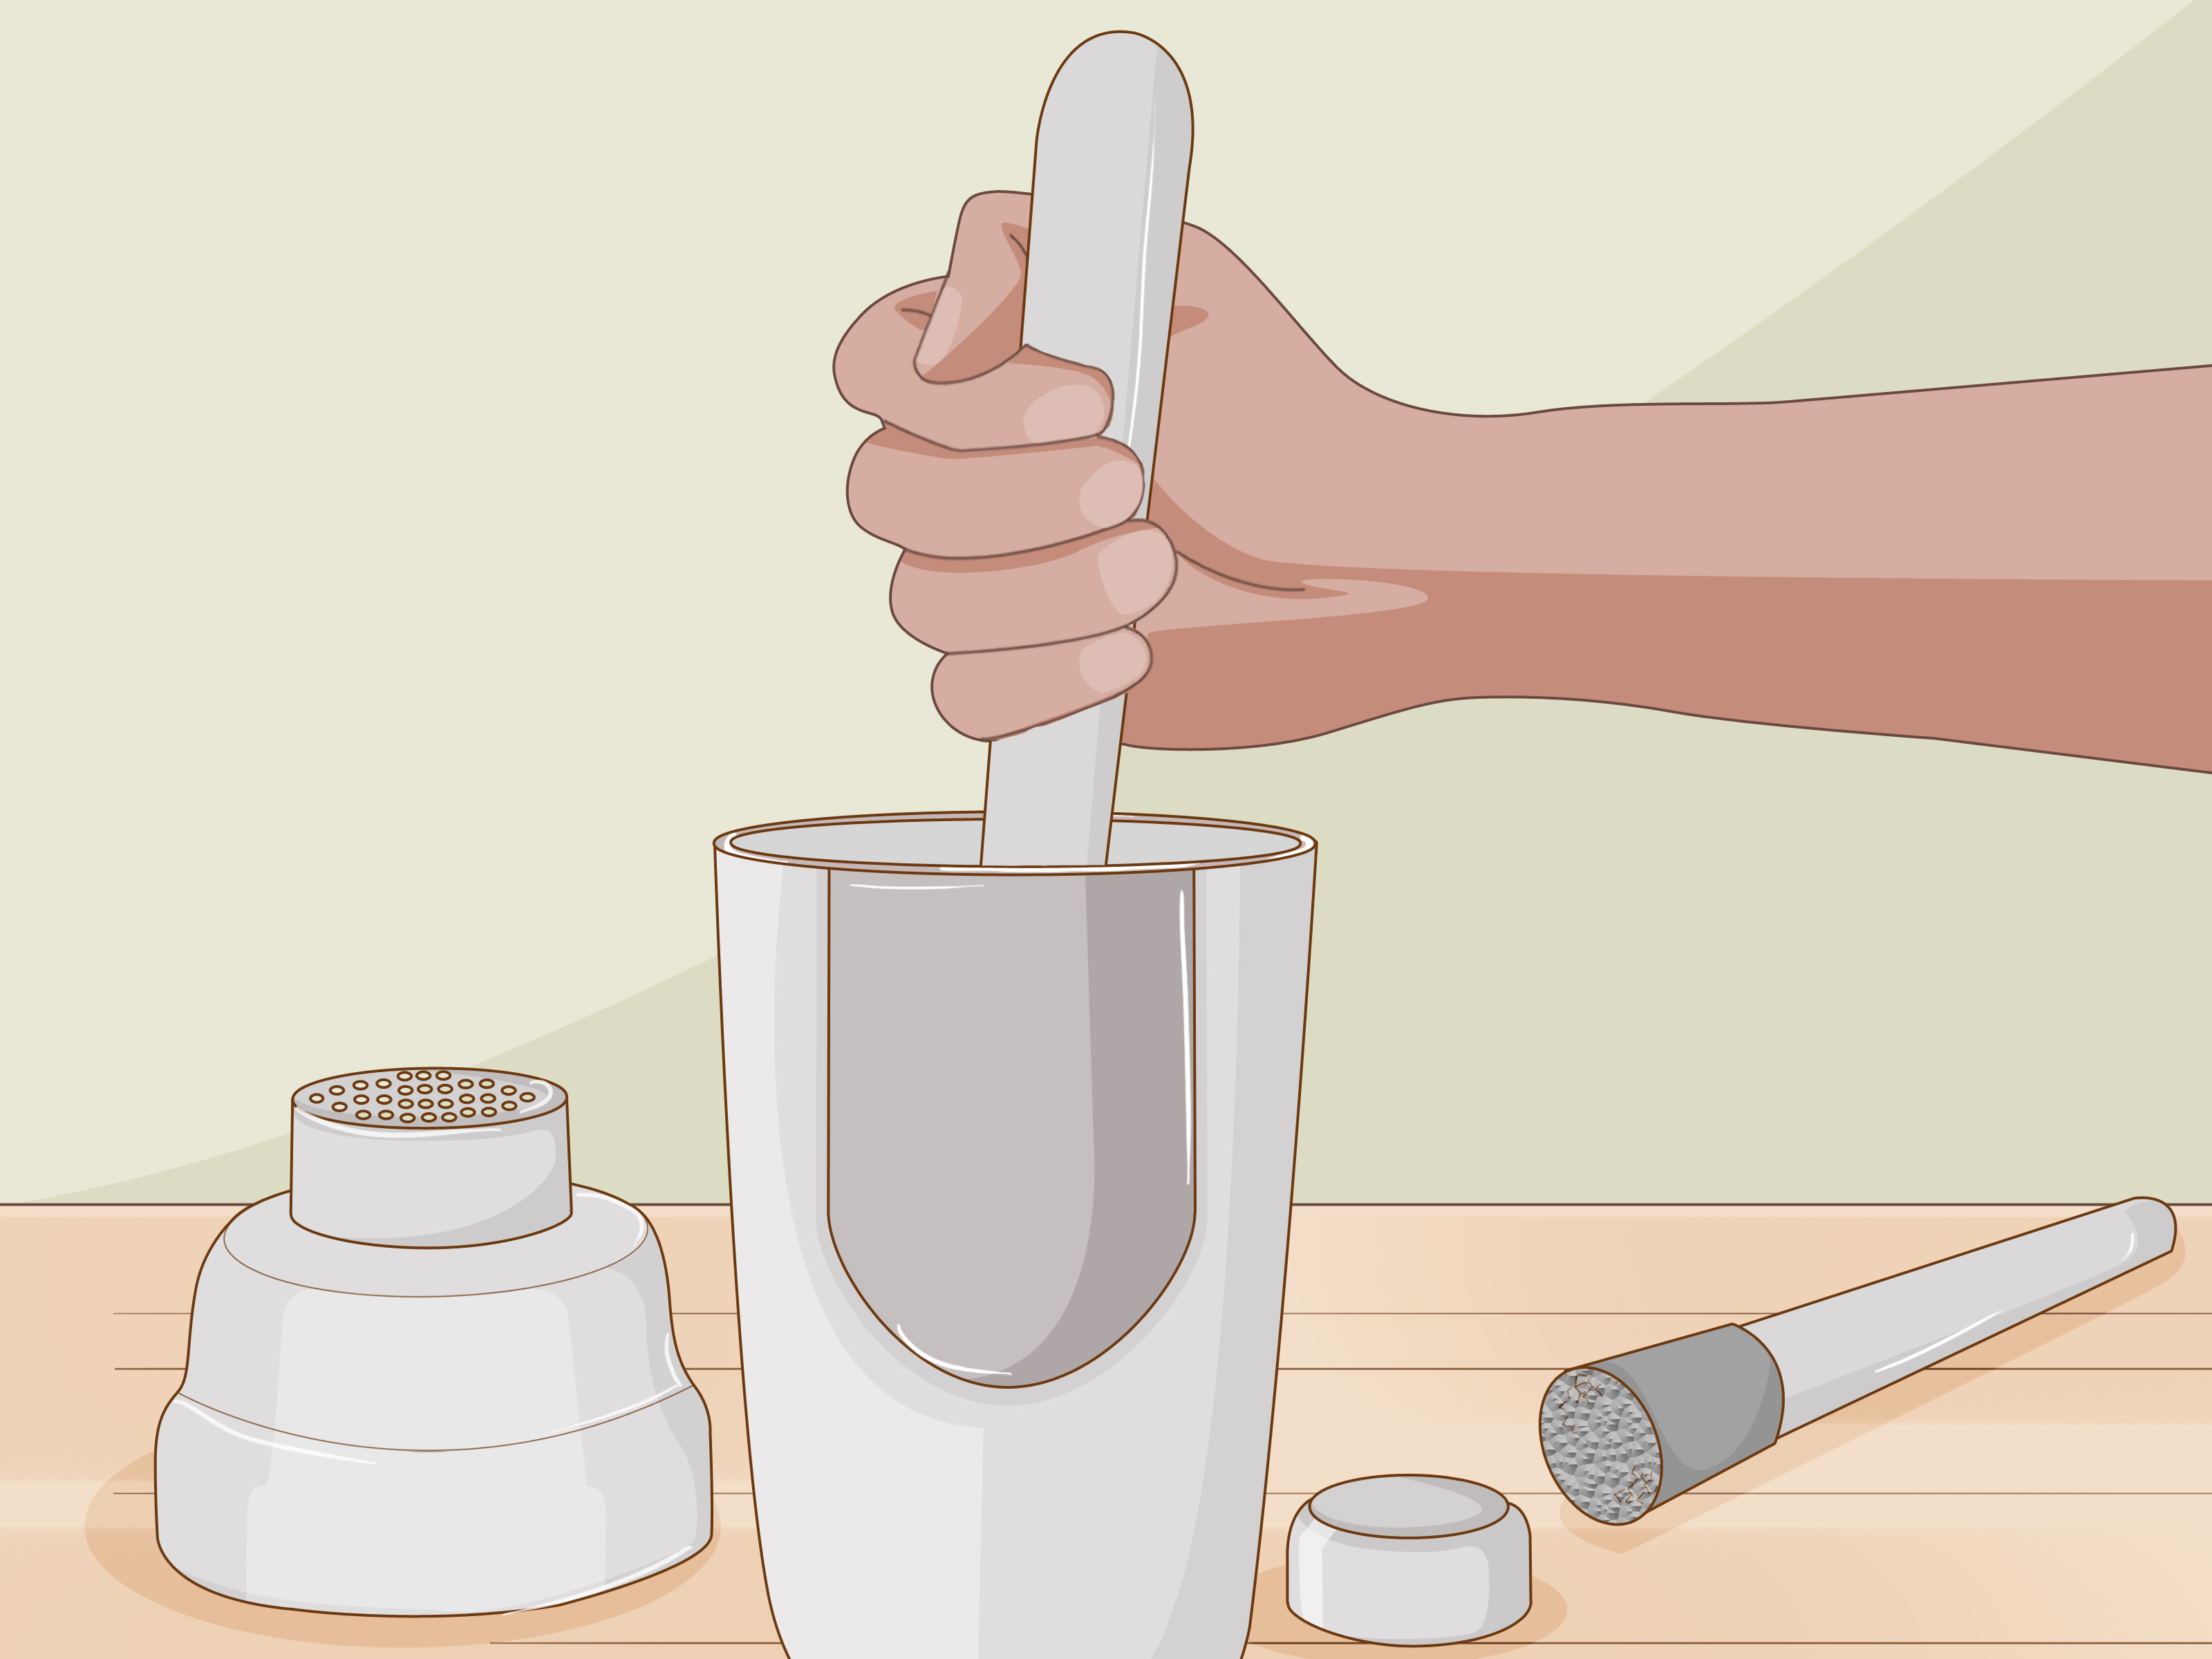
This low-tech method is inexpensive, effective, and pleasantly dramatic. It is perfect when you need one or two glasses of crushed ice and do not want to clean a blender. A rolling pin, meat mallet, heavy spoon, or the flat base of a sturdy pan can provide the impact.
What You Need
- Ice cubes
- A clean, thick kitchen towel
- A sturdy freezer bag, optional but helpful
- A rolling pin, meat mallet, or heavy pan
- A stable cutting board
Step-by-Step Instructions
- Choose a solid work surface. Set a cutting board on a stable counter. Avoid glass, delicate stone edges, or a table with emotional significance.
- Contain the cubes. Place a small batch in a sturdy freezer bag and press out excess air before sealing. Wrap the bag in a folded towel. Alternatively, bundle the ice directly in a thick towel and twist the ends closed.
- Begin with controlled taps. Strike the packet lightly to crack the largest cubes. Use the flat side of a mallet, not a sharp tenderizing face that could puncture the bag.
- Roll and pound. Once the cubes are cracked, roll over them firmly or deliver a few more measured blows until the pieces are evenly crushed.
- Check frequently. Open the towel, redistribute large pieces, and continue only where needed.
- Drain and serve. Remove any meltwater before filling the glass.
Why the Towel Matters
The towel contains flying chips, absorbs condensation, softens the noise, and protects the plastic bag from direct impact. It also gives you more control than pounding a naked bag of cubes. Think of it as protective clothing for a very cold and surprisingly aggressive ingredient.
Best Texture for This Method
A towel and rolling pin usually produce rustic, irregular chips. That texture is excellent for lemonade, iced tea, fruit punch, Moscow Mules, casual mojitos, and serving trays. It is harder to create uniform, snow-fine ice, but that is rarely necessary for everyday drinks.
Way 3: Use a Lewis Bag and Mallet
A Lewis bag is a durable canvas bag traditionally used by bartenders to crush ice. The fabric absorbs surface water while keeping the ice contained, which produces relatively dry pieces and prevents chips from escaping across the kitchen. Paired with a wooden mallet, it offers excellent control and requires no electricity.
What You Need
- A Lewis bag
- A wooden ice mallet
- Tempered ice cubes
- A stable, impact-resistant surface
Step-by-Step Instructions
- Fill the bag halfway. Leave enough room to fold or roll the top closed and for the cubes to spread into a single loose layer.
- Place it flat. Set the bag on a sturdy cutting board or another surface that can tolerate repeated impact.
- Crack the cubes first. Use moderate blows over the largest pieces.
- Refine the texture. Continue with lighter, more targeted taps. Move the mallet around rather than attacking one heroic cube for an entire minute.
- Feel for large pieces. Run your hand over the closed bag and crush any obvious lumps.
- Transfer the ice. Pour it into a chilled container and use it immediately.
Why Bartenders Like a Lewis Bag
The canvas absorbs moisture, helping the finished ice stay loose instead of immediately freezing into a wet clump. It also allows you to create anything from coarse cracked ice to a fine mound suitable for a Mint Julep or tiki-style drink. Most importantly, it gives direct feedback: you can hear, feel, and see the texture changing.
Caring for the Bag
After use, empty it completely and hang it open to air-dry. Do not leave damp canvas folded in a drawer unless your long-term plan includes cultivating a mysterious smell. Follow the maker’s washing instructions, since some bags may shrink or stiffen in a machine dryer.
Which Crushed-Ice Method Is Best?
| Method | Best For | Speed | Texture Control | Cleanup |
|---|---|---|---|---|
| Blender | Several drinks, frozen beverages, and parties | Fastest | Good, but easy to overprocess | Moderate |
| Towel and rolling pin | Small batches and everyday drinks | Quick | Moderate and rustic | Easy |
| Lewis bag and mallet | Cocktails and drier, more consistent ice | Quick | Excellent | Easy |
Choose the blender for volume, the towel method for convenience, and the Lewis bag for maximum control. All three can make excellent crushed ice when you work in small batches and stop before the ice becomes watery.
How to Control the Size of Crushed Ice
Coarse Cracked Ice
Use fewer blender pulses or several firm mallet strikes. Pieces around the size of small grapes or large beans melt more slowly and work well in pitchers, coolers, and long drinks.
Medium Crushed Ice
Continue pulsing or pounding until the pieces resemble small pebbles. This versatile texture packs neatly in a glass and suits lemonade, iced coffee, mojitos, swizzles, and many tropical drinks.
Fine Crushed Ice
Use additional light pulses or rapid, controlled mallet taps. Fine ice forms a frosty cap and chills aggressively, but it also melts quickly. Serve it immediately and mound it slightly above the rim for the classic presentation.
Common Mistakes to Avoid
Overfilling the Blender
A crowded jar prevents circulation and creates uneven results. Process smaller batches, even when everyone at the party is staring at you as if hydration depends on immediate action.
Running the Blender Too Long
Continuous blending can create slush at the bottom while leaving large chunks at the top. Short pulses provide control and limit heat buildup.
Using a Thin Sandwich Bag
Thin plastic can split under impact. Use a heavy freezer bag and wrap it in a towel, or skip the plastic and use a sturdy towel or Lewis bag.
Pounding on a Fragile Surface
Do not crush ice directly on glass, tile, a thin countertop overhang, or an unstable table. A heavy cutting board on a solid counter is safer.
Storing Wet Crushed Ice Too Long
Freshly crushed ice tends to fuse into a solid mass in the freezer. If advance preparation is unavoidable, drain it well, spread it on a chilled sheet pan, freeze it briefly, and then loosen the pieces before transferring them to a freezer-safe container. Even then, freshly crushed ice usually has the best texture.
Easy Ways to Use Crushed Ice
Fill a tall glass with medium crushed ice for homemade lemonade, sweet tea, fruit punch, cold brew, or sparkling water with citrus. Use finer ice for Mint Juleps, swizzles, tiki drinks, snow-cone-style desserts, and layered mocktails. Coarser pieces can rapidly chill canned beverages in a cooler or create a cold bed for shellfish and fruit platters, provided the food is handled safely.
For a simple alcohol-free treat, pack crushed ice into a glass, add fresh lime juice, a spoonful of fruit syrup, and sparkling water, and then stir. For iced coffee, add the coffee only after it has cooled. Pouring hot coffee directly over finely crushed ice produces a beverage with the confidence of coffee and the flavor strength of a polite rumor.
Real-World Experiences: What Actually Works in a Busy Kitchen
The first lesson from making crushed ice repeatedly is that the “best” method changes with the situation. For a family cookout, a blender wins because volume matters. Pulsing two or three cups at a time lets one person fill a pitcher of lemonade and several glasses quickly. The crucial habit is draining each batch immediately. Leaving crushed ice in the warm blender jar for even a short conversation creates a watery layer at the bottom, and that water can quietly weaken the next drink.
For a single evening drink, the towel method often feels more sensible. Setting up and washing a full blender for one glass can seem like using a leaf blower to move a breadcrumb. A freezer bag inside a folded towel, followed by six or eight controlled strikes with a rolling pin, produces enough ice with almost no cleanup. The most consistent results come from flattening the cubes into one layer before pounding. A thick pile protects the cubes in the center and forces the outside pieces into snow.
A Lewis bag becomes surprisingly useful once texture starts to matter. In tests with the same tray of cubes, the canvas bag produces drier ice than a plastic bag because it absorbs condensation and a little meltwater. The ice pours more freely and creates a cleaner mound in a glass. The mallet also makes it easy to stop at medium-size chips, check the bag, and target remaining chunks. It feels old-fashioned, but in the charming waynot in the “why is the internet making that noise?” way.
Cube shape matters more than many people expect. Small refrigerator cubes crush faster and more evenly than oversized cocktail cubes. Large, dense cubes should rest briefly at room temperature and be cracked individually before finer crushing begins. Hollow crescent-shaped ice can shatter quickly, but the thin edges may turn powdery while the thicker centers remain large. Mixing different cube sizes in one batch almost guarantees inconsistent texture, so sorting them first saves time.
Temperature also changes the experience. Ice taken directly from a deep freezer can be extremely brittle and may jump around inside a towel or Lewis bag. After a few minutes on the counter, the surface softens just enough for cleaner fractures. In a blender, slightly tempered cubes settle toward the blades more readily. However, waiting too long has the opposite effect: wet cubes stick together, and the resulting crushed ice clumps before it reaches the glass.
The final practical lesson is to prepare the drink before crushing the ice. Slice the citrus, measure the ingredients, chill the glass, and place the scoop nearby first. Crushed ice has a short window of peak texture. When everything else is ready, the ice can go directly from blender or bag to glass. This small change reduces dilution, improves presentation, and prevents the familiar kitchen scene in which beautiful crushed ice melts while someone searches three drawers for the bottle opener.
Conclusion
Making crushed ice at home does not require specialized machinery. A capable blender is the quickest option for a crowd, a towel and rolling pin provide an easy no-equipment solution, and a Lewis bag with a mallet offers the best hands-on control for cocktail-quality texture. Whichever method you choose, use clean ice, work in manageable batches, drain meltwater, and serve the finished ice promptly.
Once you learn how little effort it takes, standard cubes may begin to look oddly formal. Keep them for slow-sipping drinks. When you want a glass that looks colder, brighter, and far more fun, crush away.
{

  "meta_title": "3 Ways to Make Crushed Ice at Home",

  "meta_description": "Learn three easy ways to make crushed ice with a blender, kitchen towel, or Lewis bag, plus tips for better texture and less mess.",

  "sapo": "Crushed ice makes lemonade brighter, cocktails frostier, and everyday drinks much more fun. This practical guide explains three dependable ways to make crushed ice at home: pulsing cubes in an ice-capable blender, pounding them inside a towel and freezer bag, or using a bartender-style Lewis bag and mallet. You will learn how to choose the right method, control coarse or fine texture, prevent watery slush, protect your appliances and counters, store ice briefly, and use it in coffee, mocktails, punches, and tropical drinks. No commercial ice machine is requiredjust clean cubes, a few basic tools, and permission to make a little noise.",

  "keywords": [

    "ways to make crushed ice",

    "how to make crushed ice",

    "crushed ice in a blender",

    "crush ice without a blender",

    "Lewis bag ice",

    "homemade crushed ice",

    "cocktail ice"

  ]

}