Sewing a scarf is one of those magical beginner projects that looks boutique-worthy but does not require you to wrestle with zippers, darts, collars, or anything that makes your sewing machine sound like it is judging you. With the right fabric, a straight seam, and a little pressing, you can turn a simple rectangle into a cozy winter accessory, a lightweight fashion scarf, or an elegant infinity scarf that loops around your neck like you planned your outfit days in advance.
This guide covers 3 ways to sew a scarf: a classic rectangular scarf, an infinity scarf, and a lightweight rolled-hem scarf. Each method works for different fabrics and styles, so you can choose the version that matches your skill level, wardrobe, and patience level on laundry day. Whether you are sewing gifts, building a handmade closet, or rescuing that beautiful fabric you bought “for a future project,” this tutorial will help you make a scarf that looks polished, feels comfortable, and does not unravel the first time the wind gets dramatic.
Before You Start: Choose the Right Fabric
The best scarf fabric depends on the type of scarf you want to sew. For a warm winter scarf, choose flannel, fleece, wool, brushed cotton, or soft double gauze. For an everyday fashion scarf, lightweight cotton, linen, rayon challis, voile, or chambray drapes nicely without feeling bulky. For a dressy scarf, silk, chiffon, georgette, or satin can look beautiful, but these fabrics are slippery little noodles, so go slowly and use fine pins or clips.
As a general rule, scarves need drape. A fabric can be gorgeous on the bolt but uncomfortable around the neck if it is too stiff. Heavy canvas, upholstery fabric, thick twill, and rigid denim are better suited for bags, jackets, or very determined curtains. Hold the fabric in your hand before cutting. If it folds softly and falls gracefully, it is probably scarf material. If it stands up by itself, it may be applying for a job as a table runner.
Basic Supplies
For most scarf sewing projects, you will need fabric, matching thread, scissors or a rotary cutter, pins or sewing clips, a ruler, an iron, and a sewing machine. A hand-sewing needle is useful for invisible closing seams, while a rolled hem foot or serger can make lightweight edges easier. None of these specialty tools are required, but they can help create cleaner results.
Way 1: Sew a Classic Rectangular Scarf
The classic rectangular scarf is the easiest place to start. It is beginner-friendly, practical, and endlessly customizable. You can make it narrow and elegant, wide and cozy, long and dramatic, or short and simple. This version works especially well with cotton, flannel, linen, rayon, wool, and lightweight fleece.
Best Size for a Rectangular Scarf
A good adult scarf size is about 10 to 14 inches wide and 60 to 72 inches long. For a blanket-style scarf, try 20 to 24 inches wide and 72 to 80 inches long. For children, reduce both width and length for comfort and safety. If you are using a fabric with a bold plaid or stripe, cut carefully so the pattern looks intentional instead of “I cut this during a power outage.”
Steps to Sew a Rectangular Scarf
- Cut your fabric. Cut one long rectangle to your preferred size. Add about 1 inch to the width and length for seam allowance and hemming.
- Press the edges. Fold each raw edge toward the wrong side by 1/4 inch and press. Fold again by another 1/4 inch and press. This double-fold hem hides the raw edge.
- Pin or clip the hem. Secure the folded edges, especially at the corners.
- Sew around the scarf. Stitch close to the inner folded edge using a straight stitch. Sew slowly at the corners and pivot with the needle down.
- Press again. A final press makes the scarf look crisp and professional.
How to Make the Corners Neat
Corners can become bulky if all the folded fabric stacks in one place. To reduce bulk, trim a tiny diagonal piece from each corner before making the second fold. Do not cut too close to the stitching line. You are aiming for tidy corners, not a fabric crime scene.
Optional: Add Fringe
Fringe gives a rectangular scarf a relaxed, store-bought look. This works best with woven fabrics such as flannel, cotton, linen, or lightweight wool. Leave the short ends unhemmed, then pull threads from the crosswise edge until you create fringe about 1 to 2 inches long. Sew a straight line just above the fringe to stop it from unraveling farther. For a rustic scarf, fringe is charming. For slippery satin, fringe is chaos in formalwear.
Way 2: Sew an Infinity Scarf
An infinity scarf is a loop of fabric with no loose ends. It can be worn long, doubled around the neck, or twisted for extra warmth. This style is popular because it looks polished and stays put better than a traditional scarf. It is also one of the best sewing projects for gifts because sizing is forgiving and the finished scarf looks more complicated than it really is.
Best Fabrics for an Infinity Scarf
Soft knits, jersey, ponte, double knit, lightweight sweater knit, rayon challis, cotton voile, flannel, and chambray can all work well. If you use knit fabric, choose a ballpoint or stretch needle. If you use woven fabric, a universal needle is usually fine. Avoid fabric that is too thick because the loop can feel bulky once doubled around the neck.
Suggested Infinity Scarf Size
For an adult infinity scarf, cut a rectangle about 12 to 18 inches wide and 60 to 72 inches long. A narrower scarf feels lighter; a wider scarf gives more volume. If your fabric is only 45 inches wide, you can sew two pieces together to create the full length. Place the seam where it will be least noticeable.
Steps to Sew an Infinity Scarf
- Cut the fabric rectangle. Make sure the edges are straight and the fabric is smooth.
- Fold lengthwise. Place the fabric right sides together, matching the long edges.
- Sew the long edge. Stitch along the long side with a 1/2-inch seam allowance, creating a long fabric tube.
- Turn right side out. Gently pull the tube through itself so the right side of the fabric faces out.
- Join the short ends. Match the short ends right sides together as much as possible. Sew around the circle, leaving a small opening.
- Close the opening. Turn the seam neatly and close the gap by hand with a ladder stitch or by machine with a narrow topstitch.
- Press lightly. Use the correct heat setting for your fabric.
Beginner Tip: Mark the Opening
Before sewing the final seam, place two pins where you want the opening to begin and end. This prevents the classic beginner problem of sewing the entire thing shut and then staring at it like it personally betrayed you. A 3- to 4-inch opening is usually enough for turning and finishing.
Style Ideas for Infinity Scarves
Use two coordinating fabrics for a reversible infinity scarf. Try plaid flannel on one side and solid cotton on the other, or pair soft jersey with lightweight sweater knit. You can also add a hidden pocket for travel, but keep it small and flat so the scarf still drapes well. A scarf should hold your style together, not smuggle a hardcover book.
Way 3: Sew a Lightweight Rolled-Hem Scarf
The rolled-hem scarf is the elegant option. It is ideal for silk, chiffon, voile, georgette, lightweight cotton, and other delicate fabrics. Instead of a bulky folded hem, a rolled hem creates a tiny, refined edge. This method is perfect for square neck scarves, hair scarves, dress scarves, and warm-weather accessories.
Best Size for a Lightweight Scarf
For a square scarf, try 22 by 22 inches, 27 by 27 inches, or 36 by 36 inches. A small square works well as a neck scarf or hair scarf, while a larger square can be styled around the shoulders. For a long lightweight scarf, try 12 to 18 inches wide and 60 to 72 inches long.
Option A: Machine-Sewn Narrow Hem
A narrow machine hem is practical and clean. Fold the edge toward the wrong side by 1/8 inch, press, then fold again by another 1/8 inch. Stitch close to the inner fold using a short straight stitch. Work slowly, especially with sheer fabrics. If the fabric shifts, use tissue paper underneath while sewing, then tear it away carefully after stitching.
Option B: Rolled Hem Foot
A rolled hem foot can make delicate scarf edges faster once you get used to it. Start by pressing and stitching the first inch or two manually. Then guide the fabric into the curved part of the foot so it rolls as you sew. The key is consistency. Feed too much fabric and the hem becomes lumpy; feed too little and the raw edge escapes like it has weekend plans.
Option C: Hand-Rolled Hem
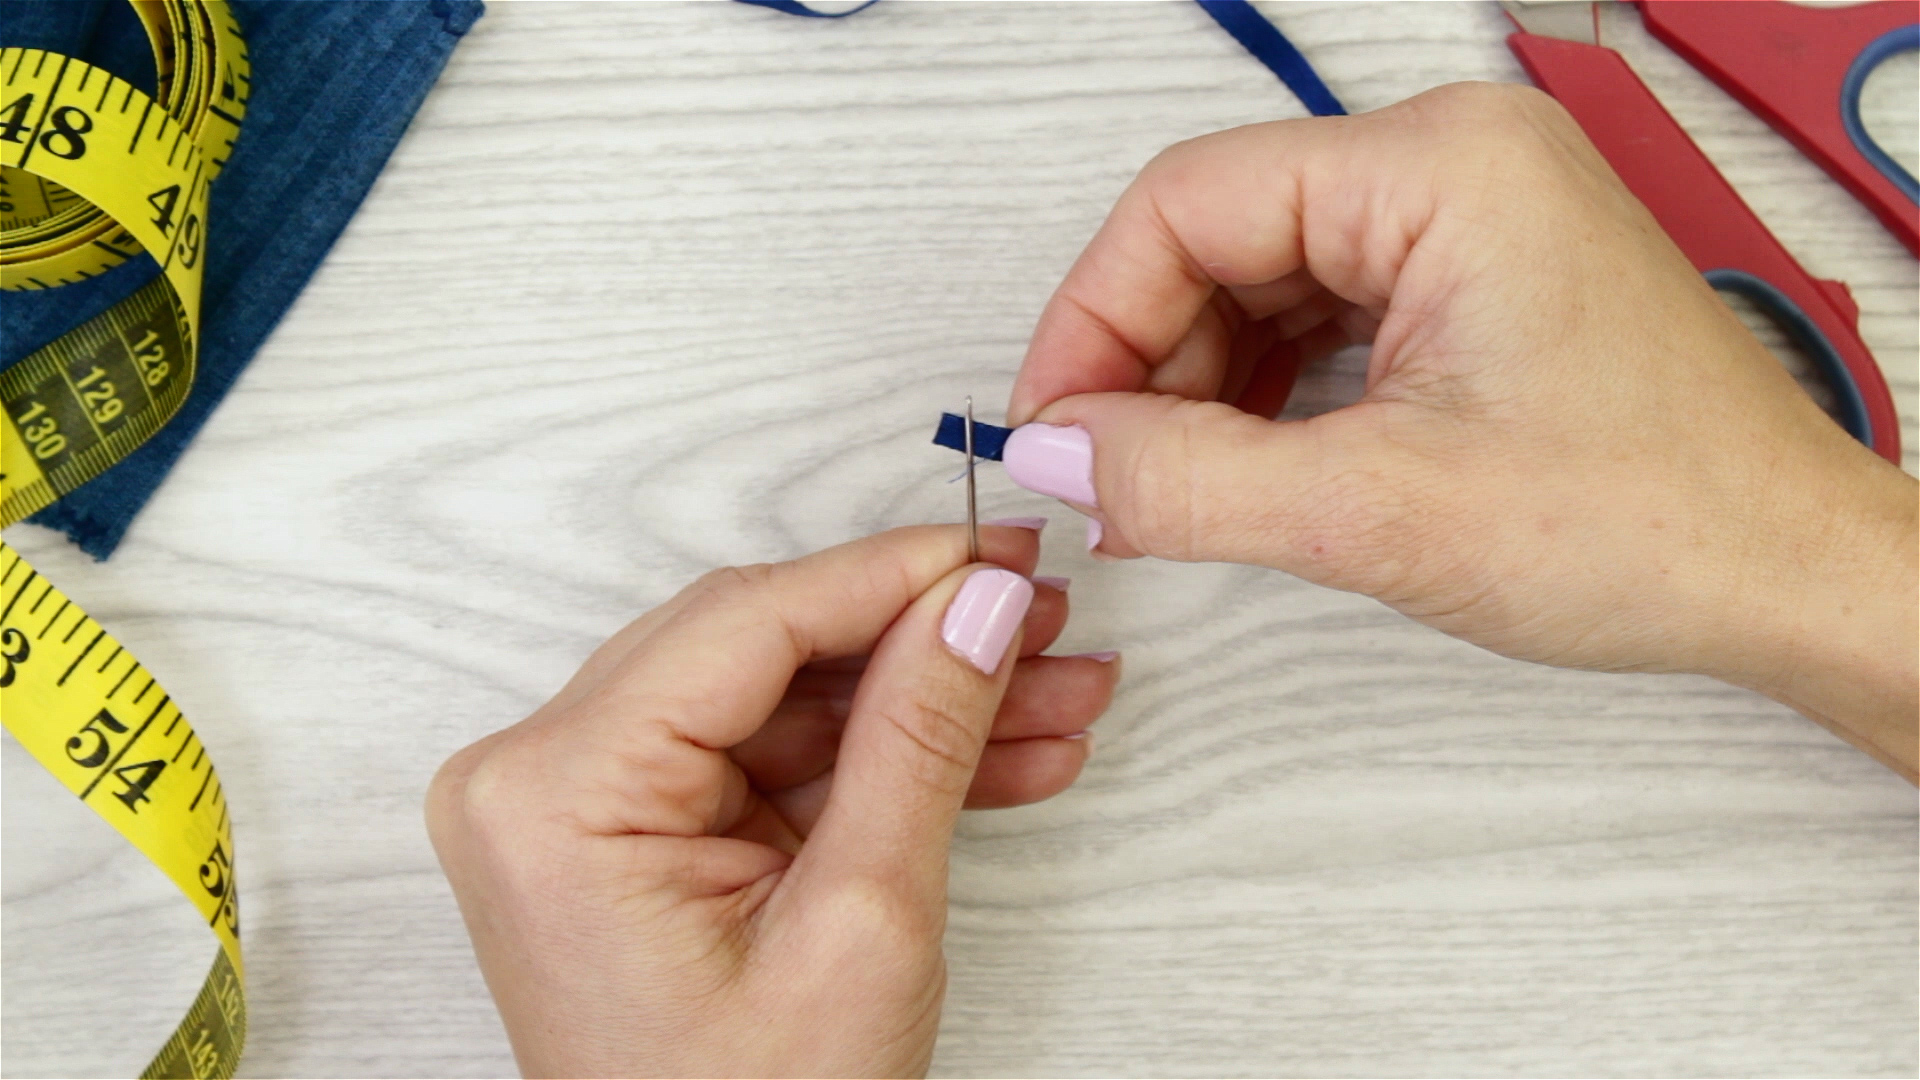
A hand-rolled hem takes longer, but it gives a beautiful couture-style finish. Trim loose threads, fold a tiny section of the edge to the wrong side, and use small hand stitches to catch a thread or two of the scarf fabric before stitching through the fold. After several stitches, gently pull the thread so the edge rolls neatly. This method is especially lovely for silk scarves and heirloom-style accessories.
How to Pick the Best Method
If you want the easiest beginner project, sew the classic rectangular scarf. It teaches measuring, pressing, hemming, and topstitching without too much stress. If you want a fashionable gift, sew the infinity scarf. It looks impressive and works with many fabrics. If you want something delicate and refined, sew the rolled-hem scarf. It requires patience, but the result can look like it came from a fancy boutique where everything smells faintly of perfume and financial decisions.
Common Scarf Sewing Mistakes to Avoid
Skipping the Pressing Step
Pressing is not optional decoration. It shapes the hem, flattens seams, and makes your stitching easier. A scarf that is pressed during construction looks cleaner than one that is only ironed at the end. Think of the iron as your quiet sewing assistant. It does not talk much, but it fixes a lot.
Using the Wrong Needle
A dull or incorrect needle can snag delicate fabric, skip stitches on knits, or leave visible holes. Use a fine needle for lightweight fabric, a ballpoint or stretch needle for knits, and a universal needle for medium woven fabrics. Change the needle if you hear popping sounds as it enters the fabric.
Choosing Fabric That Is Too Stiff
Scarves need movement. Before cutting, drape the fabric over your shoulder or around your neck. If it feels scratchy, heavy, or stiff, choose something else. Comfort matters because a scarf sits right against your skin. Nobody wants a handmade accessory that feels like a decorative napkin with ambition.
Forgetting to Backstitch
Backstitching at the beginning and end of seams helps prevent unraveling. This is especially important for infinity scarves and tube-style scarves. If you do not want visible backstitching on a delicate scarf edge, tie off the thread ends by hand instead.
Extra Experience: What I Learned Sewing Scarves the Practical Way
The first thing you learn when sewing scarves is that simple does not always mean sloppy, and easy does not always mean boring. A scarf is basically a rectangle, yes, but it is also a test of fabric choice, edge finishing, patience, and whether you can resist pulling your fabric while sewing. The best scarves I have made were not the most complicated ones. They were the ones where the fabric was soft, the hems were pressed carefully, and I did not rush the final seam while thinking about snacks.
One of the most useful experiences is testing fabric before committing. I like to wrap the uncut fabric around my neck for a few seconds. This tells you more than the label on the bolt ever will. Some fabrics look beautiful but feel scratchy, hot, slippery, or too heavy. Flannel is forgiving and cozy, making it perfect for beginners. Rayon challis drapes beautifully but can shift while cutting. Chiffon looks dreamy but behaves like it was raised by butterflies. Each fabric has a personality, and scarf sewing gets easier when you respect that personality instead of fighting it.
Another lesson is that pressing can turn average sewing into polished sewing. When I skip pressing, the scarf usually tells on me. The edges ripple, the corners puff up, and the final result looks homemade in the “craft table at midnight” way, not the charming handmade way. Pressing each fold before stitching makes the fabric easier to control. On delicate fabrics, a press cloth is helpful because shiny iron marks are not the design feature anyone asked for.
For beginners, the rectangular scarf is the confidence builder. It teaches straight stitching and hemming without complicated shaping. The trick is to sew slowly and keep the seam allowance consistent. If the stitches wobble a little, do not panic. Scarves are worn with folds, movement, and casual styling. Unless someone is inspecting your hem with a magnifying glass, tiny imperfections will disappear in the drape.
The infinity scarf is the project that feels most giftable. It looks stylish, takes little fabric, and does not require exact fitting. The main challenge is joining the ends without twisting the tube incorrectly. Before sewing the final seam, lay the scarf flat and check that it forms one clean loop. A single accidental twist can be stylish if you planned it, but confusing if you did not. I also recommend leaving a generous turning opening. A tiny opening makes the final step feel like trying to stuff a comforter into a sandwich bag.
Rolled hems are where patience earns its trophy. The first attempt may look uneven, especially on silk or chiffon. That is normal. Practice on scraps first. A hand-rolled hem becomes smoother once your fingers learn how tightly to roll the edge and how small the stitches should be. Machine narrow hems are faster, but they also require steady feeding. If the fabric slips, lightweight stabilizer or tissue paper can save the day.
My favorite finishing habit is giving the scarf a final inspection before wearing or gifting it. Trim stray threads, check that seams are secure, press one last time, and make sure the fabric label or care note is included if it is a gift. Handmade scarves are personal. They carry the maker’s taste, time, and tiny sewing victories. And unlike fitted clothing, they rarely complain about measurements. That alone makes scarves one of the friendliest sewing projects you can choose.
Conclusion
Learning 3 ways to sew a scarf gives you a strong foundation for making practical, stylish accessories at home. A classic rectangular scarf is perfect for beginners and everyday wear. An infinity scarf is fast, fashionable, and ideal for gifts. A lightweight rolled-hem scarf adds elegance and teaches refined finishing skills. Once you understand fabric choice, measuring, pressing, hemming, and finishing, you can create scarves for every season, outfit, and “I need a handmade gift by tomorrow” emergency.
The beauty of scarf sewing is its flexibility. You can make a cozy flannel scarf for winter, a breezy cotton scarf for spring, a polished silk scarf for special occasions, or a soft knit infinity scarf for daily wear. Start with the method that matches your fabric and skill level, then experiment as your confidence grows. Your first scarf may not be perfect, but it will be wearable, useful, and probably much more satisfying than buying one off a rack.