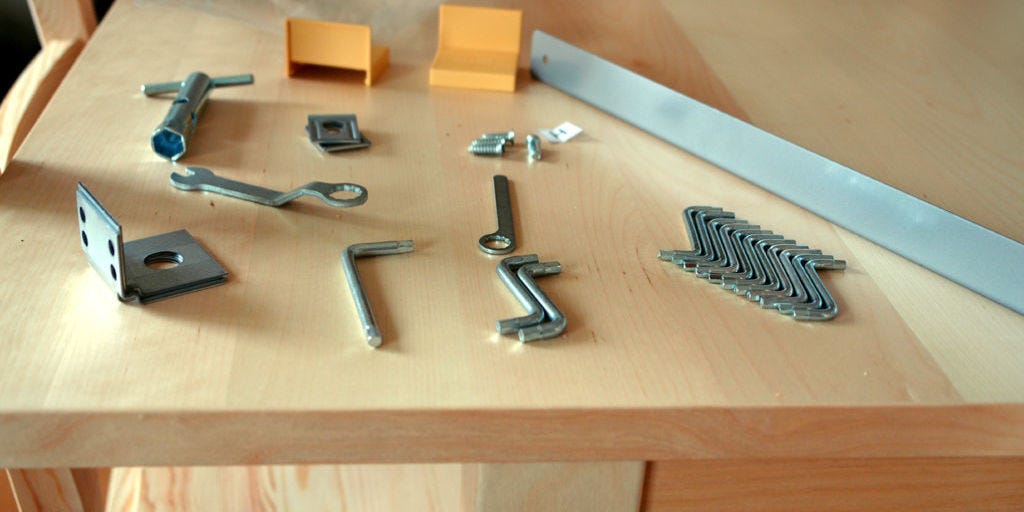
There are two kinds of people in this world: those who casually say, “I’ll build that IKEA dresser after dinner,” and those who stare at a tiny Allen key like it just personally insulted them. The good news is that assembling IKEA furniture does not have to feel like a survival show with wooden dowels. With the right setup, a little patience, and a few smart tricks, you can turn a flat-pack puzzle into a sturdy, good-looking piece of furniture without sacrificing your mood, your floor, or your dignity.
This guide breaks down seven practical, no-nonsense tips for assembling IKEA furniture faster and with fewer mistakes. Whether you are tackling a slim bedside table, a wall of bookcases, or a dresser that arrives in enough cardboard to build a second apartment, these ideas will help you work smarter. We will also cover common mistakes, safety concerns, and what real-life assembly teaches you once the box is open and the confidence starts to wobble.
Why IKEA Furniture Feels Easy in the Store and Slightly Personal at Home
IKEA furniture is popular for good reason. It is affordable, functional, stylish, and designed for modern spaces where every inch has a job to do. It is also famously shipped flat, which keeps transport easier and costs lower. The tradeoff is simple: you save money, but you become part-time furniture builder.
That is not necessarily a bad deal. In fact, many IKEA pieces are perfectly manageable for beginners. The challenge usually is not the design. It is the process. Tiny hardware, picture-only instructions, similar-looking boards, and one wrong turn with a cam lock can transform a calm Saturday into a melodrama starring one confused bookshelf and one deeply disappointed human.
The trick is to respect the process. IKEA assembly rewards preparation and punishes overconfidence. In other words, it is less “wing it” and more “read the pictures like your coffee table depends on it,” because it does.
Tip 1: Make More Space Than You Think You Need
The first rule of assembling IKEA furniture is simple: clear a large work area before you open the box. Not a little corner. Not “this should be fine.” A real workspace. Flat-pack furniture often takes up much more room during assembly than it does once finished, because the parts need to be spread out, turned over, rotated, and moved around without bumping into walls, pets, or your own ankles.
A roomy setup helps in several ways. First, you are less likely to lose screws, pegs, and cam locks under the couch. Second, you can lay panels flat without stacking them in a chaotic wooden lasagna. Third, you reduce the chance of scratching the finish while flipping or sliding parts into position.
Put down a rug, moving blanket, cardboard, or soft drop cloth to protect both the furniture and your floor. This one move can save you from two annoying discoveries later: a chipped panel and a mysterious scratch on the hardwood that somehow “was definitely not there yesterday.”
If the finished piece is large, think ahead about where you build it. Building in a wide-open room is smart, but only if the item can still fit through the doorway once assembled. Nothing humbles a person faster than successfully building a wardrobe that now lives forever in the wrong room.
Tip 2: Take Inventory Before You Touch the First Screw
Before you start assembling IKEA furniture, open the box carefully and check every panel, piece of hardware, and included tool against the instructions. Yes, this is the less glamorous part. No, it is not optional.
Taking inventory early helps you spot missing or damaged parts before you get emotionally attached to progress. It also helps you learn the difference between pieces that look almost identical but are absolutely not interchangeable. If one board has four pre-drilled holes and the other has six, that difference matters more than your optimism.
Group similar hardware together and keep small parts contained in bowls, trays, cups, or small containers. If you want to feel especially organized, label parts with painter’s tape or sticky notes. It may feel a little extra, but so does rebuilding half a drawer because you mixed up left and right side panels.
This is also the time to inspect for shipping damage. Look for cracked edges, chipped laminate, bent fasteners, or warped boards. Catching problems now is far better than discovering them at step 19 when you are already negotiating with the universe.
Tip 3: Upgrade Your Tools, but Do Not Go Full Demolition Mode
IKEA usually includes the basics, but the included tools are more “technically possible” than “pleasant to use.” If you plan to assemble more than one piece of IKEA furniture in your life, it is worth using your own tools.
A sturdy screwdriver with a comfortable grip, a rubber mallet, a small level, and a set of hex bits can make the job faster and far less annoying. Many experienced assemblers also use a cordless drill or electric screwdriver on a low setting. That can speed up repetitive fastening, especially on larger pieces like dressers, shelving systems, and storage units.
Here is the important part: low speed, light pressure, and good judgment. A power tool can save time, but it can also strip screws, damage hardware, or drive right through particleboard if you get overly enthusiastic. This is furniture assembly, not a monster truck rally. If you are inexperienced with power tools, practice first or stick with a hand tool where the instructions recommend it.
A rubber mallet is especially helpful for seating dowels and gently persuading panels into place. The keyword is gently. You are aligning furniture, not punishing it for existing.
Tip 4: Lay Out Parts in Assembly Order
One of the smartest ways to speed up IKEA furniture assembly is to lay out the parts in the order you will use them. Spread out panels, separate hardware by type, and orient the main boards so you can quickly match them to the instruction diagrams.
This step reduces backtracking and keeps you from constantly digging through packaging like a raccoon with a home-improvement budget. When similar pieces are grouped and facing the same direction, the instructions make more sense and the process becomes smoother.
Good lighting matters too. IKEA instructions rely heavily on drawings rather than text, which means shadowy corners and late-night “close enough” thinking are not your friends. Assemble in bright light so you can clearly see holes, grooves, arrows, and hardware orientation.
If a piece has a front and back, top and bottom, or left and right side, identify that before you install anything permanent. A surprising number of IKEA disasters come from one innocent sentence: “I didn’t realize it was upside down until the back panel was already nailed on.”
Tip 5: Follow the Instructions in Order, Even When You Think You Have Evolved Beyond Them
IKEA instructions can look almost comically minimal, but they are designed in a sequence for a reason. Resist the temptation to skip ahead, improvise, or assemble “the obvious part” first. That confidence is how people end up removing twelve cam locks while whispering apologies to a half-built dresser.
Read through the instructions before you begin. Then follow them step by step. Pay close attention to how hardware is oriented, which holes are used, and when parts should remain slightly loose versus fully tightened. Sometimes a panel needs wiggle room until the frame is square. Tighten too soon, and the whole thing becomes a crooked wooden argument.
If something feels off, stop and look again. Do not force parts together just because they almost fit. In IKEA land, “almost” is usually a warning label in disguise.
It also helps to glance ahead a few steps so you understand where the build is going. You do not need to memorize the entire manual, but knowing that a panel will later support drawer slides or a back board will square the whole piece can help you avoid avoidable mistakes.
Tip 6: Tighten Carefully, Square Everything, and Double-Check Before the Victory Dance
Good IKEA furniture assembly is not just about getting the screws in. It is about getting them in correctly. Tighten fasteners firmly, but avoid overtightening, especially in particleboard, laminate, or veneer-covered materials. Too much force can strip holes, crack finishes, or weaken the structure you are trying to strengthen.
As the piece comes together, check that corners are square and panels sit flush. A small level can help with shelves and tops, while a measuring tape can confirm that diagonal corners are even on larger boxes and frames. This matters because drawers, doors, and shelves tend to behave badly when the main structure is slightly off.
Before installing a back panel, drawer runners, or doors, pause and inspect your work. Are the sides aligned? Are the fasteners seated correctly? Did you use the correct panel for the top? This is the moment when tiny adjustments save big headaches later.
Think of it like baking. You can eyeball some things, but not the part where structure matters. Nobody wants a leaning bookshelf with “character.” That is not character. That is foreshadowing.
Tip 7: Finish Strong With Safety, Placement, and an Honest Plan B
Once the furniture is assembled, you are not quite done. Tall dressers, bookcases, wardrobes, and other top-heavy pieces should be anchored according to the manufacturer’s instructions. This step is especially important in homes with children or pets, but honestly, stable furniture is a good idea in any home where gravity continues to operate.
Anti-tip hardware exists for a reason. Anchoring tall furniture reduces the risk of tip-overs and adds peace of mind, particularly for pieces that may tempt climbing, contain heavy drawers, or sit on uneven floors. If the product includes anchoring hardware or instructions, use them.
This is also the moment to adjust placement, level the piece if needed, and test drawers, doors, and shelves. Open and close everything. Make sure nothing sticks, rubs, or wobbles. It is much easier to fix a small alignment issue now than after you have filled the dresser with six sweaters, three random charging cables, and a passport you will definitely forget about again.
And yes, there is always the backup option: hire help. IKEA’s partnership with Taskrabbit makes professional assembly more accessible if a project is too large, too complex, or simply not worth your time. Outsourcing is not failure. Sometimes the smartest IKEA assembly tip is knowing when you would rather spend your Saturday doing literally anything else.
Common Mistakes to Avoid When Assembling IKEA Furniture
Rushing the setup
Most assembly mistakes happen before assembly really starts. People tear open boxes, scatter parts everywhere, and assume they will “figure it out.” That approach works beautifully until it does not.
Using the wrong tool too aggressively
Power tools can be helpful, but they can also cause stripped screws and damaged panels if used carelessly. Speed is great. Control is better.
Ignoring orientation marks
Front versus back, left versus right, finished edge versus unfinished edge: these details matter. One wrong panel can create a domino effect of confusion.
Skipping safety anchoring
A finished piece that looks stable is not always stable. Tall storage furniture should be secured properly, especially if drawers can be opened at the same time or if kids might climb.
Real-Life IKEA Assembly Experiences and Lessons Learned
If you assemble enough IKEA furniture, you start collecting stories. Not heroic stories, exactly. More like very specific tales of mild confusion, accidental wisdom, and the moment you learn that Step 3 is somehow more important than your college degree.
One of the most common real-life experiences is the false start. It usually goes like this: you open the box, glance at the instructions, and think, “This looks easy.” Twenty minutes later, you are holding a side panel upside down, wondering why the cam lock will not catch, and learning the hard way that the tiny hole on the inside absolutely does matter. That experience teaches a valuable lesson: pictures are not suggestions. They are destiny.
Another classic moment happens with drawers. Dressers and storage units often seem straightforward until the drawer slides go on the wrong sides, which means the drawer either will not fit or will move like it is emotionally unavailable. People who have made this mistake once rarely make it twice. After that, they check every rail, groove, and hole pattern like detectives working a case.
Then there is the famous “I should have built this with a friend” revelation. Some IKEA projects are perfectly fine for one person, but larger beds, wardrobes, and shelving systems often become dramatically easier when another set of hands is available. One person holds the panel steady. The other lines up the fasteners. Both people preserve a little more sanity. It is teamwork, but with more cardboard and fewer trust falls.
Many people also discover that the emotional arc of assembling IKEA furniture is surprisingly predictable. It begins with confidence, enters a short period of suspicion, dips into unnecessary anger around the halfway point, and then rises sharply once the frame starts to look like actual furniture. By the time the final panel is secured, there is usually a moment of triumph so intense that even a modest nightstand feels like a personal architectural achievement.
There are practical lessons in these experiences too. People who assemble IKEA furniture regularly tend to develop rituals. They keep hardware in bowls. They label boards with painter’s tape. They use a soft blanket under glossy panels. They tighten screws only partway until the frame is aligned. They keep snacks nearby but far away from the hardware, because nobody wants to discover a meatball sauce fingerprint on a white laminate shelf.
Some of the best lessons come after the piece is built. A bookshelf that rocks slightly teaches you the value of floor leveling and wall anchoring. A drawer front that sits crooked teaches you that “good enough” at Step 8 becomes “why is this uneven?” at Step 22. A successful build teaches something even better: patience works. So does preparation. And occasionally, so does admitting that paying for assembly was actually the best home-improvement decision of the month.
In the end, assembling IKEA furniture becomes easier not because the furniture changes, but because you do. You learn to slow down, stay organized, and respect the tiny illustrated manual like it is the map out of the woods. That may not sound glamorous, but it is how flat-pack survival turns into furniture-building confidence.
Conclusion
Assembling IKEA furniture is rarely as terrible as the jokes make it sound, but it is also rarely as simple as “just screw it together.” The best results come from giving yourself space, taking inventory, using the right tools, following the instructions carefully, and finishing with smart safety steps like anchoring tall pieces. Do that, and your new furniture has a much better chance of looking clean, functioning well, and staying solid for years.
So the next time a flat-pack box arrives at your door, do not panic. Clear the floor, sort the parts, respect the diagrams, and keep your Allen key close. You are not just assembling IKEA furniture. You are building confidence, one cam lock at a time.