Note: This article is written in standard American English and synthesizes current bathroom design guidance from reputable U.S. home, design, and remodeling sources, including professional kitchen-and-bath organizations and established home-improvement publishers.
Your bathroom vanity is the unofficial command center of the morning. It holds the toothpaste, hides the backup soap, supports your coffee while you pretend not to be late, and somehow collects 14 hair ties no one remembers buying. So when it starts looking tired, the whole bathroom can feel tired tooeven if the tile, shower, and flooring are perfectly fine.
The good news? You do not need a full renovation, a dramatic demolition scene, or a contractor named “Dusty” to make your vanity look better. According to designers, the smartest bathroom vanity upgrades usually come down to scale, finish, lighting, storage, and a few high-impact details that make the space feel intentional. A fresh mirror, better hardware, a new faucet, or a cleaner countertop can make a builder-basic vanity look like it finally got invited to the design party.
Below are seven easy, designer-approved ways to upgrade your bathroom vanity without turning your home into a construction zone. These ideas work for small powder rooms, guest baths, rental-friendly refreshes, and primary bathrooms that deserve more than one sad overhead bulb.
1. Swap the Hardware for an Instant Style Upgrade
If your vanity still has tiny chrome knobs from the “I came free with the cabinet” era, hardware is the easiest place to start. New knobs, pulls, or handles can change the entire mood of a bathroom vanity in under an hour. Think of hardware as jewelry for cabinetry: small, shiny, and capable of making everything look more expensive than it was.
Choose a Finish That Matches the Mood
For a warm, modern look, try brushed brass, champagne bronze, or soft gold. For a crisp contemporary bathroom, matte black or polished chrome can feel clean and graphic. If your bathroom leans traditional, unlacquered brass, oil-rubbed bronze, or polished nickel adds a timeless touch. The designer trick is to repeat the finish at least twice in the space. For example, pair brass vanity pulls with a brass mirror frame or a brass towel ring so the hardware does not look like it wandered in from another room.
Before buying, measure the existing screw holes. If you are replacing pulls, match the center-to-center measurement so you do not have to patch and drill new holes. If you are switching from knobs to pulls, use painter’s tape to test placement before committing. Nobody wants a drawer pull installed slightly crooked, because once you see it, you will see it forever.
2. Paint or Refinish the Vanity Cabinet
Painting a bathroom vanity is one of the most budget-friendly bathroom vanity makeover ideas because it delivers a major visual change without replacing the entire cabinet. It is especially useful if the vanity shape is fine but the finish screams “early 2000s maple special.”
Pick Bathroom-Friendly Colors
Designers often recommend colors that feel fresh under bathroom lighting. Soft white, warm greige, dusty blue, sage green, charcoal, navy, and mushroom beige all work beautifully. If your bathroom is small, a lighter vanity can keep the room feeling open. If you want drama, a deep green or inky blue vanity can look custom, especially with marble-look counters and warm metal hardware.
The key is prep. Remove doors and drawers, clean away residue, sand lightly, prime properly, and use a durable paint finish that can handle humidity and daily splashes. Satin, semi-gloss, or cabinet-grade enamel usually performs better than flat wall paint. A vanity lives a hard life. It gets steam, toothpaste, face wash, and sometimes the emotional fallout of a bad haircut. Give it paint that can survive.
3. Upgrade the Faucet and Sink Area
A dated faucet can quietly age a bathroom vanity, even when the cabinet itself looks good. Replacing the faucet is a practical upgrade that improves both style and daily function. A sleek single-handle faucet gives a modern look, while widespread faucets feel more classic and substantial. Wall-mounted faucets can look elegant, but they are usually better suited to larger remodels because they may require plumbing changes.
Match the Faucet to the Vanity Style
For a simple shaker vanity, a bridge faucet or curved widespread faucet adds charm. For a floating vanity, a clean-lined single-handle faucet keeps the profile modern. For a vintage dresser-style vanity, consider a faucet with cross handles or a softer silhouette. The goal is not to make every finish identical, but to make everything feel like it belongs in the same conversation.
Also look at the sink area itself. If the caulk is yellowing, cracked, or peeling, replacing it can make the whole vanity look cleaner. If the countertop is laminate and still structurally sound, specialty refinishing kits can refresh the surface. If the budget allows, a new quartz, stone, solid-surface, or cultured marble top can dramatically change the vanity’s personality. Translation: the same cabinet can look “builder grade” or “boutique hotel” depending on what is sitting on top of it.
4. Replace the Mirror With Something More Intentional
The mirror above your vanity is not just there to help you check whether your eyeliner has gone on a spiritual journey. It is one of the biggest design elements in the bathroom. A plain frameless sheet mirror can be useful, but swapping it for a framed, shaped, or storage-friendly mirror instantly makes the vanity area feel designed.
Use Shape to Add Personality
Round mirrors soften boxy vanities. Arched mirrors add height and a subtle architectural feel. Rectangular mirrors with slim metal frames look polished and modern. Wood-framed mirrors bring warmth, especially in bathrooms with white tile or cool gray finishes. In a small bathroom, an oversized mirror can reflect light and make the space feel larger, while a medicine cabinet mirror adds hidden storage without stealing counter space.
A helpful designer guideline is to choose a mirror that is slightly narrower than the vanity, rather than wider. This keeps the proportions balanced. For a double vanity, you can use one large mirror for a seamless look or two individual mirrors for a more tailored effect. Add sconces between or beside them, and suddenly your bathroom starts acting like it has a reservation at a nice hotel.
5. Improve Vanity Lighting So Everyone Looks Human
Bad bathroom lighting is rude. It creates shadows, exaggerates everything, and makes even a well-designed vanity feel like an interrogation room. Designers pay close attention to vanity lighting because it affects grooming, ambiance, and the overall comfort of the bathroom.
Layer Light Around the Face
The best vanity lighting usually comes from more than one source. Sconces placed at eye level on both sides of the mirror provide even illumination and reduce shadows. If side sconces are not possible, a horizontal fixture above the mirror can still work well when it is wide enough and uses flattering bulbs. LED mirrors with adjustable brightness or color temperature are another smart choice for compact bathrooms.
Choose warm or neutral light that flatters skin tones without turning the room orange. Dimmers are worth considering because bathroom needs change throughout the day. In the morning, bright task lighting helps with shaving, makeup, and finding the floss you swear you put right there. At night, softer lighting makes the space feel calm instead of “airport restroom at 5 a.m.”
For any electrical changes, especially in a wet area, work with a qualified electrician. Bathroom lighting should be beautiful, but it should also be safe. Glamour is great; surprise sparks are not.
6. Add Smart Storage That Hides the Chaos
A vanity can look stylish in photos and still fail in real life if it cannot store everyday essentials. Designers know that function is not the boring part of a bathroom vanity upgradeit is the part that keeps the upgrade looking good after Tuesday.
Organize by Daily Routine
Start by removing everything from the vanity. Yes, everything. Expired sunscreen, mystery cotton balls, travel-size hotel lotion from 2018this is their moment of truth. Group items by category: dental care, skincare, hair tools, first aid, cleaning supplies, and backup toiletries. Then choose organizers that fit each category instead of buying random bins and hoping for the best.
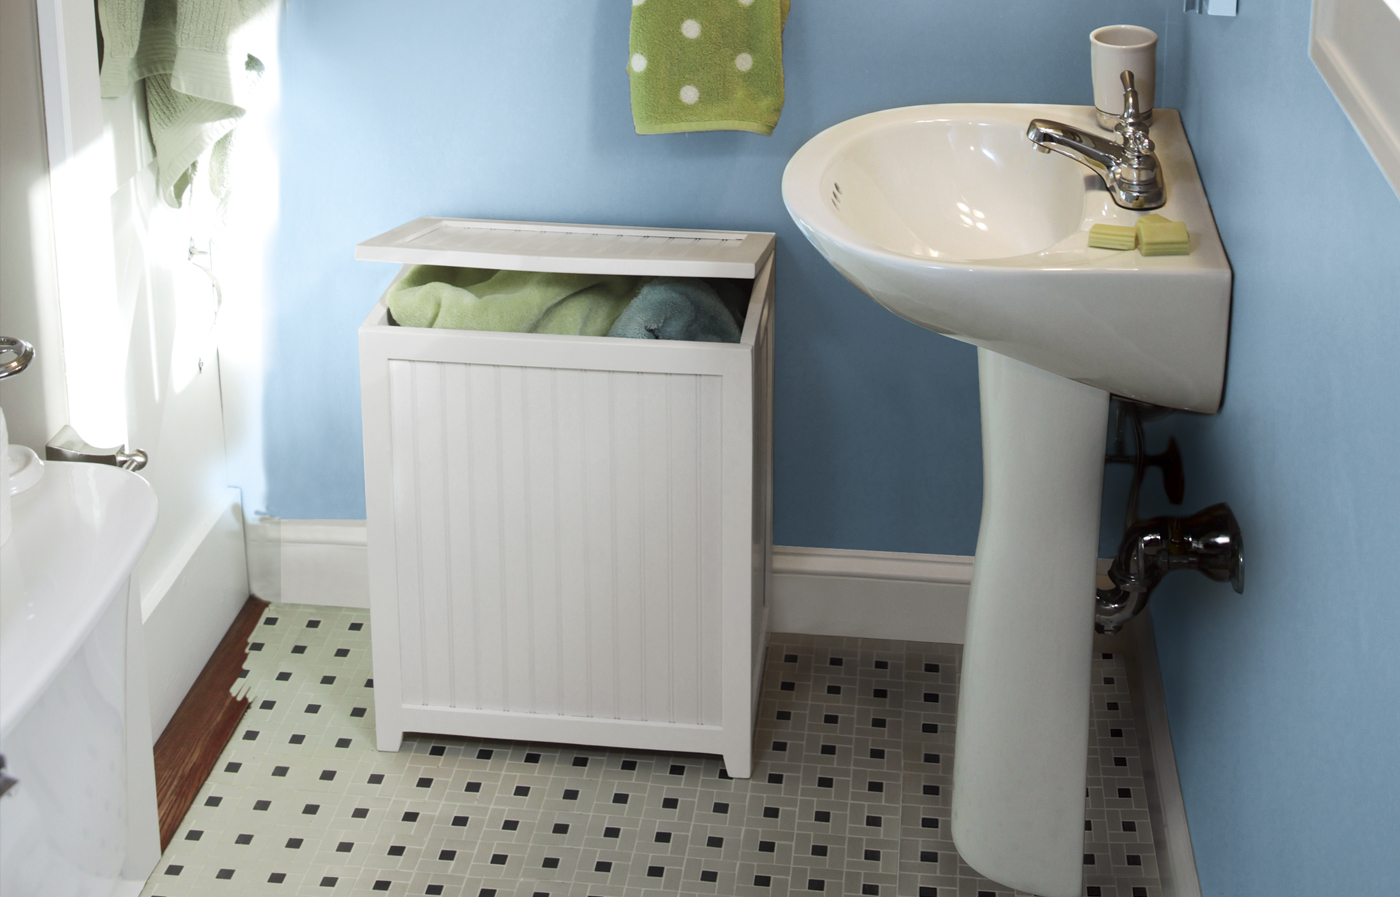
Drawer dividers keep small items from turning into a tiny junkyard. Clear bins help you see what you have. Stackable containers make the most of under-sink storage. A pullout shelf can save you from kneeling on the floor and reaching into the cabinet abyss. For pedestal sinks or vanities with limited storage, use a mirrored medicine cabinet, a wall shelf, or a narrow freestanding cabinet nearby.
Designer tip: leave some negative space. A vanity counter with one soap dispenser, one small tray, and maybe a bud vase looks calm. A counter covered with 26 products looks like a pharmacy had a garage sale.
7. Style the Countertop Like a Designer, Not a Product Tester
The final layer of a bathroom vanity upgrade is styling. This does not mean cluttering the counter with decorative objects that get knocked into the sink. It means choosing a few functional, attractive pieces that make the vanity feel finished.
Create a Small “Vanity Moment”
Use a tray to corral daily items such as soap, lotion, perfume, or a small candle. Replace mismatched plastic bottles with refillable dispensers for hand soap and lotion. Add a small plant if the bathroom has enough light, or use realistic greenery if your bathroom is basically a windowless cave. A folded hand towel, ceramic cup, or stone dish can bring texture without making the space feel busy.
Keep the color palette tight. If your vanity is navy with brass hardware, repeat navy, cream, brass, and warm wood tones in the accessories. If your vanity is white and minimal, use texturewoven baskets, ribbed glass, matte ceramicsto keep it from feeling sterile. The best bathroom vanity ideas look effortless, but the secret is editing. Designers are ruthless editors. They do not ask, “Can I fit this here?” They ask, “Does this deserve to be here?” Harsh, but effective.
Designer Checklist: What to Upgrade First
If you are not sure where to begin, start with the parts you touch and see every day. Hardware, lighting, mirror, faucet, and counter organization usually create the biggest improvement for the least disruption. Painting the vanity takes more effort but delivers a more dramatic transformation. Replacing the countertop or sink area costs more, but it can make an old cabinet feel completely new.
Here is a simple order that works for many bathrooms: declutter first, change hardware second, update lighting third, replace the mirror fourth, then decide whether the cabinet needs paint or refinishing. This approach prevents overspending and helps you see what the vanity actually needs. Sometimes the cabinet is not uglyit is just surrounded by bad lighting and seven bottles of half-used dry shampoo.
Common Bathroom Vanity Upgrade Mistakes to Avoid
One common mistake is choosing finishes in isolation. A matte black faucet may look great online, but if the bathroom has polished chrome shower trim, brass lighting, and brushed nickel towel bars, the result can feel scattered. Mixing metals is absolutely allowed, but it should look deliberate. Choose one dominant finish and one accent finish, then repeat each finish in at least two places.
Another mistake is ignoring scale. A tiny mirror over a wide vanity looks awkward. A huge light fixture over a narrow vanity can feel top-heavy. Oversized hardware on small drawers can look clumsy, while tiny knobs on a large double vanity can disappear. Scale is the quiet detail that makes a bathroom look custom.
Finally, do not sacrifice function for a pretty photo. A vessel sink may look sculptural, but it might not be ideal for kids. Open shelving can look airy, but it requires neatness. A dark painted vanity can be gorgeous, but it may show dust or water spots more than a mid-tone finish. The best bathroom vanity upgrade fits your real life, not an imaginary life where no one owns toothpaste.
Real-Life Experience: What Actually Makes a Vanity Feel Better
In real homes, the most successful bathroom vanity upgrades are rarely the most expensive ones. They are the ones that solve daily annoyances. A homeowner may start out wanting a “luxury bathroom,” but after looking closely, the real problem is usually simpler: not enough light, too much counter clutter, a faucet that splashes, drawers that do not organize anything, or a mirror that feels too small for the wall.
One practical experience many people share is the shock of how much difference a mirror makes. Replacing a frameless builder mirror with a warm wood frame or slim metal arch can make the vanity area look finished almost immediately. It also changes how the wall feels. Instead of one flat reflective surface, the room gains shape, texture, and a focal point. In a small guest bathroom, this can be the difference between “fine” and “wait, did you remodel?”
Lighting is another upgrade people tend to underestimate. A vanity with a dated overhead fixture can make the bathroom feel older than it is. Once better bulbs, dimmers, or sconces are added, the paint color looks cleaner, the mirror feels more useful, and the whole space becomes more flattering. People often blame the vanity cabinet when the real villain is the lighting. The cabinet was innocent. The bulb was the drama.
Storage upgrades also create a surprisingly emotional payoff. When everything has a place, mornings feel smoother. Instead of digging under the sink for a razor or knocking over three bottles to find moisturizer, you open one drawer and there it is. That kind of order may not be glamorous, but it is luxurious in the way a quiet hotel room is luxurious. It gives your brain one less thing to wrestle before breakfast.
Painting a vanity tends to be the most satisfying hands-on project, especially for homeowners who enjoy DIY. The process takes patience, but the result can feel dramatic. A plain oak vanity painted deep green with brass pulls can suddenly look custom. A dated espresso vanity painted warm white can brighten the bathroom instantly. The lesson is simple: if the cabinet is sturdy and the layout works, refinishing may be smarter than replacing.
Counter styling is the final experience-based detail that matters more than people expect. After the big changes are done, a vanity can still feel unfinished if the counter is cluttered or bare in the wrong way. A small tray, clean dispenser, folded towel, and one decorative accent can make the space feel calm and intentional. The trick is restraint. The vanity should not become a museum of tiny jars. It should support your routine and look good doing it.
Perhaps the biggest lesson is that upgrading a bathroom vanity is not really about chasing trends. It is about creating a spot in your home that works better every single day. A great vanity upgrade makes the bathroom easier to use, easier to clean, and nicer to look at when you are brushing your teeth half-awake. That is not a small thing. That is domestic magic with plumbing.
Conclusion
Upgrading your bathroom vanity does not require a gut renovation or a budget that makes your wallet hide under the sink. With smart changesnew hardware, fresh paint, better lighting, a stylish mirror, improved storage, an updated faucet, and thoughtful stylingyou can turn a tired vanity into the best-looking part of the bathroom.
The designer approach is simple: improve what you see, touch, and use every day. Focus on proportion, finish, function, and light. Edit the clutter. Repeat materials. Choose pieces that fit your bathroom’s style and your actual routine. When done well, a bathroom vanity upgrade makes the whole room feel fresher, cleaner, and more personal. And yes, it may even make Monday morning feel slightly less rude.