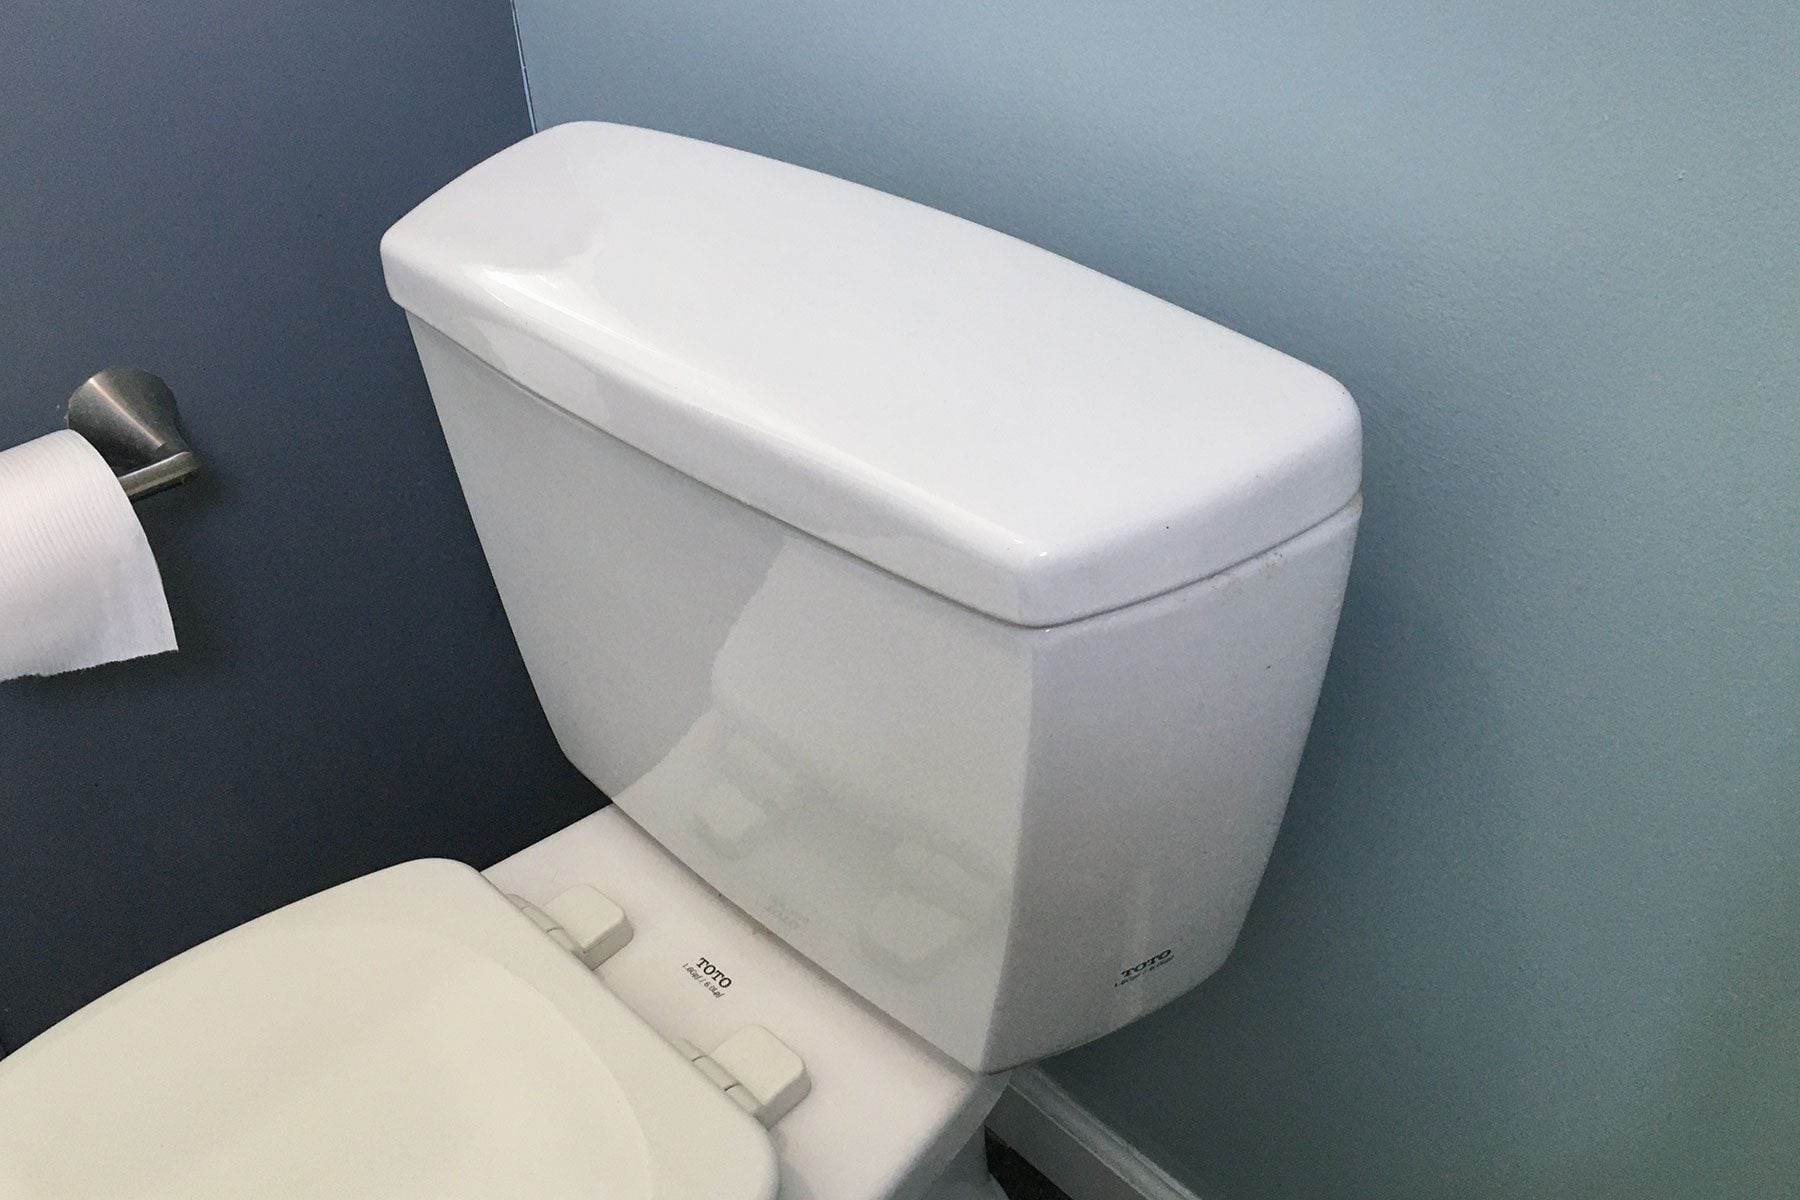
Painting a bathroom wall sounds simple until you meet the toilet tankthat bulky porcelain obstacle parked approximately three molecules away from the drywall. Suddenly, an ordinary paint job becomes a puzzle involving tiny rollers, careful wrist movements, and a sincere desire not to paint the plumbing.
Fortunately, you usually do not need to remove the entire toilet. With the right preparation and a slim painting tool, you can coat the wall behind the tank neatly, safely, and without turning a weekend refresh into an emergency plumbing seminar.
Why Painting Behind a Toilet Is So Awkward
A toilet creates several obstacles at once. The tank blocks your view, the water-supply line limits movement, and the narrow space encourages paint to collect on the wall, toilet, pipe, or all three. Bathrooms also tend to contain humidity, soap residue, dust, hairspray, and condensationnone of which are particularly interested in helping paint stick.
The area behind the toilet may look clean from across the room, but close inspection often reveals dust, lint, old drips, mildew spots, or minor water stains. Painting directly over that collection can produce uneven coverage, weak adhesion, bubbling, or peeling. The hidden location does not eliminate the need for preparation; it merely makes procrastination more tempting.
Tools and Materials You May Need
Gathering everything before you begin prevents the classic DIY experience of discovering that your only clean brush is in the garage while you are kneeling beside an uncovered toilet.
- Bathroom-appropriate interior paint
- Primer, if the wall is stained, patched, bare, or dramatically changing color
- Four-inch mini roller and tray
- Slim paint pad, radiator roller, or paint-behind tool
- Quality angled paintbrush
- Painter’s tape
- Plastic sheeting, a large trash bag, or a toilet cover
- Canvas drop cloth or absorbent floor covering
- Mild detergent and clean water
- Sponges, microfiber cloths, and paper towels
- Putty knife, patching compound, and fine-grit sandpaper if repairs are needed
- Screwdriver or wrench if removing the tank
- Rubber gloves and eye protection for cleaning
A standard nine-inch roller is excellent for open walls but behaves like a canoe paddle behind a toilet. A four-inch mini roller handles the visible areas around the fixture, while an extra-slim pad or long-handled tool reaches the narrowest section behind the tank.
Choose the Right Paint for a Bathroom
Bathrooms expose painted surfaces to moisture, temperature changes, splashes, and regular cleaning. Select a durable interior acrylic paint labeled for bathrooms or high-humidity rooms. Traditional satin and semi-gloss finishes are popular because they resist moisture and are relatively easy to wipe clean.
You are not limited to shiny walls, however. Some modern bathroom-specific paints are engineered to deliver moisture and mildew resistance in lower-sheen or matte finishes. The product label matters more than an old rule insisting that every bathroom must gleam like a freshly polished bowling ball.
When Primer Is Necessary
Primer is useful when you are covering bare drywall, repaired areas, persistent stains, glossy paint, or a dark color with a much lighter shade. It can also improve uniformity where the hidden wall has aged differently from the exposed surface.
A paint-and-primer product may work over a clean, sound wall in a similar color, but it cannot magically neutralize grease, mildew, loose paint, or damp drywall. Surface problems need to be corrected before any coating is applied.
How To Prepare the Area Behind the Toilet
1. Ventilate and Dry the Bathroom
Run the exhaust fan and open a window or door when practical. Avoid taking a hot shower immediately before painting. High humidity slows drying and may contribute to an uneven or sticky-looking finish.
Continue ventilating the room as the paint dries. Follow the manufacturer’s instructions for application temperature, recoat time, and the length of time the coating should remain dry before the bathroom returns to normal use.
2. Clean the Wall Thoroughly
Use a sponge with mild detergent and water to remove dust, residue, and grime from the wall behind and around the toilet. Rinse with a clean damp cloth so detergent does not remain on the surface. Then allow the wall to dry completely.
If you find mildew, identify and correct the moisture source before painting. Use a mildew-removal product according to its label, wear suitable protection, and ventilate the room. Never mix bleach with ammonia, vinegar, or other household cleaners. Dangerous fumes are a remarkably poor bathroom color scheme.
3. Repair Wall Damage
Scrape away loose or peeling paint. Fill dents, holes, and cracks with patching compound, allow it to dry, and sand it smooth. Wipe away all sanding dust before priming or painting.
Investigate brown stains, soft drywall, recurring bubbles, or damaged baseboards. These may indicate a leaking supply connection, tank condensation, or another moisture problem. Fresh paint should be the final step after the cause is repairednot a decorative witness-protection program for a plumbing leak.
4. Protect the Toilet and Floor
Remove the toilet-tank lid and place it on a padded surface away from the work zone. Porcelain lids are heavy, slippery, and surprisingly expensive to replace after they meet a tile floor.
Wrap the tank and bowl in plastic, a large contractor bag, or thin protective sheeting. Secure the covering with painter’s tape, but avoid applying aggressive tape to delicate or damaged surfaces. Cover the floor around the toilet with a drop cloth and tape around the baseboard, supply valve, and exposed pipe where necessary.
Method 1: Paint Behind the Toilet With a Mini Roller
This method works when there are several inches between the wall and tank.
- Paint the open wall around the toilet with your regular roller, stopping before the tool touches the fixture.
- Use an angled brush to cut in along the baseboard, pipe, corners, and other edges.
- Load a four-inch mini roller lightly. Roll off excess paint in the tray.
- Insert the roller behind the tank from one side and apply paint in controlled vertical or diagonal passes.
- Approach the area from both sides to eliminate thin spots and visible lines.
- Inspect the wall with a flashlight from several angles before the paint dries.
Do not overload the roller. Too much paint creates drips that are difficult to see and even more difficult to retrieve. Several light passes produce a cleaner finish than one enthusiastic slathering.
Method 2: Use a Slim Paint Pad or Specialty Tool
When the gap is too narrow for a mini roller, use a flat paint pad, radiator tool, or specialty painting applicator designed for tight spaces. These tools have thin heads and extended handles that can slide behind toilets, radiators, appliances, and other objects that refuse to cooperate with normal rollers.
- Apply a small amount of paint evenly across the pad.
- Test the applicator on an accessible section of wall to confirm the paint load.
- Slide the tool behind the tank without scraping it against the porcelain.
- Move it up and down in overlapping passes.
- Reload sparingly and repeat until the wall is evenly covered.
A homemade alternative is to secure a small, flat paint pad to a clean paint-stirring stick. Make certain the pad is firmly attached; otherwise, it may detach behind the tank and begin its new career as permanent bathroom insulation.
Method 3: Remove the Toilet Tank
Removing the tank provides clear access and can produce the most uniform result, but it requires more care. This method generally applies only to two-piece toilets with a separate tank and bowl.
- Turn the toilet’s shutoff valve clockwise until it is closed.
- Flush the toilet and hold the handle down to drain as much water as possible.
- Remove the tank lid and use a sponge to absorb remaining water.
- Place towels under the supply connection, then disconnect the water-supply line.
- Loosen the tank bolts while supporting the tank. Avoid excessive force because porcelain can crack.
- Lift the tank straight up and place it upright on a padded, stable surface.
- Clean, repair, prime, and paint the newly exposed wall.
- After the coating has dried sufficiently, reinstall the tank with sound gaskets and hardware.
- Reconnect the supply line, open the valve slowly, and check carefully for leaks.
If bolts are badly corroded, the shutoff valve does not work, or you are unsure about the tank hardware, stop and call a plumber. Saving one small patch of paint is not worth cracking a toilet or creating a slow leak.
Should You Remove the Entire Toilet?
Complete toilet removal is rarely necessary just to paint the wall. It may make sense during a major bathroom renovation, when replacing flooring, repairing damaged drywall, or installing a new toilet.
Once a toilet is lifted from the floor, its wax or wax-free seal should normally be replaced before reinstallation. The fixture must also be set securely and checked for leaks. Homeowners without plumbing experience should consider hiring a professional for this option.
How To Apply the Paint Cleanly
Maintain a Wet Edge
Paint the hard-to-reach area close to the same time as the surrounding wall. Blending wet paint into wet paint helps prevent obvious borders and changes in texture.
Use Thin, Even Coats
A thin first coat may look disappointing, but that is normal. Let it dry for the full recoat time listed on the can, then apply a second coat. Attempting to achieve instant coverage with a thick layer increases the risk of runs, ridges, and slow drying.
Check the Wall With Strong Light
The tank creates shadows that can hide missed areas. Shine a work light or flashlight behind the toilet and inspect from both sides. Look for bare spots, roller lines, drips, and paint accidentally transferred to the supply pipe.
Remove Tape at the Right Time
Remove painter’s tape carefully according to the tape and paint manufacturers’ recommendations. Pull it back over itself at an angle. If paint has formed a heavy film across the tape edge, lightly score the line with a sharp utility knife to reduce tearing.
Common Mistakes to Avoid
- Skipping the cleaning step: Bathroom residue can prevent paint from bonding properly.
- Painting a damp wall: Trapped moisture may cause blistering, peeling, or an uneven finish.
- Using too much paint: An overloaded pad or roller leaves drips in places you cannot easily see.
- Forgetting the tank lid: Leaving it in place limits access and increases the chance of paint splatter.
- Ignoring a leak: Paint cannot repair a faulty valve, supply line, gasket, or recurring condensation problem.
- Rushing the second coat: Bathroom humidity can extend drying times beyond what you expect.
- Using ordinary flat paint without checking suitability: A bathroom-specific coating generally handles moisture and cleaning better.
- Removing the whole toilet unnecessarily: Try a slim applicator before creating additional plumbing work.
Real-World Lessons From Painting Behind Toilets
The first lesson from this project is that the hardest part is rarely applying the paint. It is seeing what you are doing. In a compact powder room, the tank may block the overhead light and make a perfectly unpainted stripe look completely finished. A small flashlight placed on the floor can reveal missed patches immediately. Checking from the left, right, and above is much more reliable than trusting one viewing angle.
Another practical lesson is that less paint on the tool usually means less work overall. Loading a slim pad until it looks generously coated feels efficient, but most of that generosity ends up on the tank, floor, valve, or baseboard. A lightly loaded applicator may require extra passes, yet it produces cleaner edges and fewer drips. The five seconds spent rolling off excess paint can save fifteen minutes of wiping and muttering.
Tool choice depends heavily on the actual clearance. A four-inch roller may work beautifully behind one toilet and fail completely behind another. Measuring the gap before purchasing a tool is helpful, but the shape of the tank also matters. Some tanks curve toward the wall near the bottom, leaving less room than the top measurement suggests. A flexible flat pad is often the most forgiving option because it can approach from either side.
Removing the tank can make the wall easy to paint, but it also changes the project from decorating to light plumbing. Older bolts may resist removal, rubber washers may be brittle, and a weak shutoff valve may begin dripping when disturbed. Before choosing this method, it is wise to have replacement hardware, towels, a bucket, and enough time to address a minor problem. Starting tank removal an hour before guests arrive is an excellent way to turn a bathroom makeover into interactive dinner theater.
Protecting the toilet thoroughly also pays off. Tiny paint specks are easy to miss on white porcelain until they cure. Wrapping the fixture takes only a few minutes and allows you to focus on smooth coverage rather than constantly watching for splatter. Removing the tank lid first makes the protective plastic fit more securely and eliminates the risk of accidentally knocking the lid onto the floor.
Finally, the hidden section should receive the same basic preparation as the visible wall. It is tempting to treat the area behind the toilet as a technicality because guests are unlikely to examine it. However, poor preparation can allow peeling or mildew to spread beyond the hidden zone. Cleaning, drying, repairing, and applying two controlled coats produces a finish that looks consistent and lasts longer. The best result is delightfully uneventful: no drips, no leaks, no porcelain casualties, and no mysterious unpainted halo around the tank.
Final Thoughts
Learning how to paint behind a toilet is mainly about preparation, patience, and choosing a tool that fits the available space. Clean and dry the wall, protect the fixture, use a bathroom-appropriate coating, and apply thin coats with a mini roller or slim paint pad.
Tank removal can provide full access when the gap is exceptionally narrow, but it should not be the automatic first step. Begin with the simplest method and escalate only when necessary. Your goal is a smooth, continuous wallnot an unexpected apprenticeship in residential plumbing.