Cleaning an oxygen sensor sounds like one of those magical garage tricks: remove a tiny part, spray it, reinstall it, and suddenly your car runs like it just graduated from engine yoga. The truth is a little less sparkly. An oxygen sensor, also called an O2 sensor or lambda sensor, is a sensitive emissions component that measures oxygen in the exhaust so the engine computer can adjust the air-fuel mixture. When it gets dirty, slow, damaged, or contaminated, your car may burn more fuel, run rough, fail an emissions test, or turn on the Check Engine light.
So, can you clean an oxygen sensor? Sometimes you can clean the outside, the connector, and the surrounding area. But if the sensing element is poisoned by coolant, oil, silicone, soot, lead, or fuel additives, cleaning usually will not bring it back to factory performance. In many cases, replacement is the smarter and safer repair. This guide explains how to inspect and clean an oxygen sensor the right way, what not to do, and how to know when cleaning is basically wishful thinking wearing mechanic gloves.
What an Oxygen Sensor Does
Your oxygen sensor sits in the exhaust stream and monitors how much oxygen remains after combustion. The engine control module uses that information to fine-tune the air-fuel ratio. If the mixture is too rich, the engine is using too much fuel. If it is too lean, there is too much air and not enough fuel. Either condition can hurt performance, raise emissions, and make your car act like it woke up on the wrong side of the driveway.
Most modern vehicles have at least two oxygen sensors: an upstream sensor before the catalytic converter and a downstream sensor after it. The upstream sensor helps control fuel mixture. The downstream sensor helps monitor catalytic converter efficiency. Some V6, V8, and newer vehicles may have four or more sensors, labeled by bank and sensor position, such as Bank 1 Sensor 1 or Bank 2 Sensor 2.
Can You Really Clean an Oxygen Sensor?
The honest answer: you can clean some parts of the oxygen sensor system, but you usually cannot “restore” a contaminated O2 sensor. The most important sensing area is protected inside the sensor tip. Scrubbing, brushing, sanding, or blasting it can damage the ceramic element or change how it reads exhaust gases. Aerosol cleaners may remove surface grime, but they cannot reverse chemical poisoning inside the sensor.
That does not mean inspection is useless. If your issue is a dirty connector, loose wiring, external carbon around the sensor body, or grime near the threads, careful cleaning may help. If the sensor is old, slow, cracked, oil-soaked, coolant-contaminated, or showing heater-circuit failure, replacement is usually the correct fix.
Symptoms of a Dirty or Failing Oxygen Sensor
A dirty or failing O2 sensor can create several symptoms. None of these proves the sensor is bad by itself, but together they are strong clues:
- Check Engine light is on
- Poor fuel economy
- Rough idle or hesitation
- Engine misfires
- Sluggish acceleration
- Failed emissions inspection
- Rotten-egg smell from the exhaust
- Black smoke from the tailpipe
- Diagnostic trouble codes such as P0130, P0133, P0135, P0141, P0150, or related O2 sensor codes
Important warning: an oxygen sensor code does not always mean the sensor is the villain. Sometimes the sensor is simply reporting a real problem, such as a vacuum leak, exhaust leak, bad fuel injector, coolant leak, damaged wiring, or rich fuel mixture. Do not fire the parts cannon before checking the basics. Your wallet deserves better manners.
Tools and Supplies You May Need
Before cleaning or removing an oxygen sensor, gather the right tools. Working on exhaust parts can be hot, rusty, and awkward, so preparation matters.
- OBD2 scan tool
- Oxygen sensor socket or suitable wrench
- Ratchet and extension
- Penetrating oil for stuck threads
- Shop towels or microfiber cloth
- Electrical contact cleaner for the connector only
- Safety glasses and gloves
- Jack stands or ramps if access is needed
- Torque wrench if reinstalling the sensor
- Vehicle service manual or reliable repair database
Do not use gasoline, harsh soaking chemicals, wire brushes, sandpaper, brake cleaner on the sensing tip, or open flames. Also avoid silicone sprays and non-sensor-safe sealants near the intake or exhaust. Oxygen sensors are surprisingly delicate for parts that live in exhaust heat. Think of them as tiny ceramic detectives: useful, expensive, and not impressed by rough handling.
Safety First: Before You Touch the Sensor
Always let the exhaust cool before working near it. Exhaust components can stay hot long after the engine is turned off. Park on a level surface, set the parking brake, and use proper jack stands if lifting the vehicle. Never rely on a jack alone. Disconnecting the battery may be recommended on some vehicles, especially if you are working near wiring, but check the service manual first because some vehicles require specific reset procedures.
If you are inexperienced, ask an experienced adult or professional technician for help. Removing a seized oxygen sensor can damage exhaust threads, and replacing an expensive catalytic converter because of one rushed repair is the automotive version of stepping on a rake twice.
Step-by-Step: How to Clean an Oxygen Sensor Safely
Step 1: Read the Trouble Codes
Start with an OBD2 scan tool. Record all codes before clearing anything. Look not only for oxygen sensor codes but also for fuel trim codes, misfire codes, heater circuit codes, catalyst efficiency codes, and vacuum leak clues. Live data is even better. A lazy upstream sensor may switch slowly, while a heater code may point to an electrical issue rather than dirt.
Step 2: Locate the Correct Oxygen Sensor
Find the sensor named by the code. Bank 1 is usually the side of the engine with cylinder number one. Sensor 1 is upstream before the catalytic converter. Sensor 2 is downstream after the catalytic converter. Confirm the location before removing anything. Accidentally removing the wrong sensor is not dangerous, but it does make you feel like the car won the argument.
Step 3: Inspect the Wiring and Connector
Many oxygen sensor problems are wiring problems in disguise. Look for melted insulation, broken clips, loose connectors, corrosion, oil inside the plug, or wires resting against the exhaust. If the connector is dirty, unplug it carefully and clean only the electrical terminals with electrical contact cleaner. Let it dry completely before reconnecting.
Step 4: Remove the Sensor Carefully
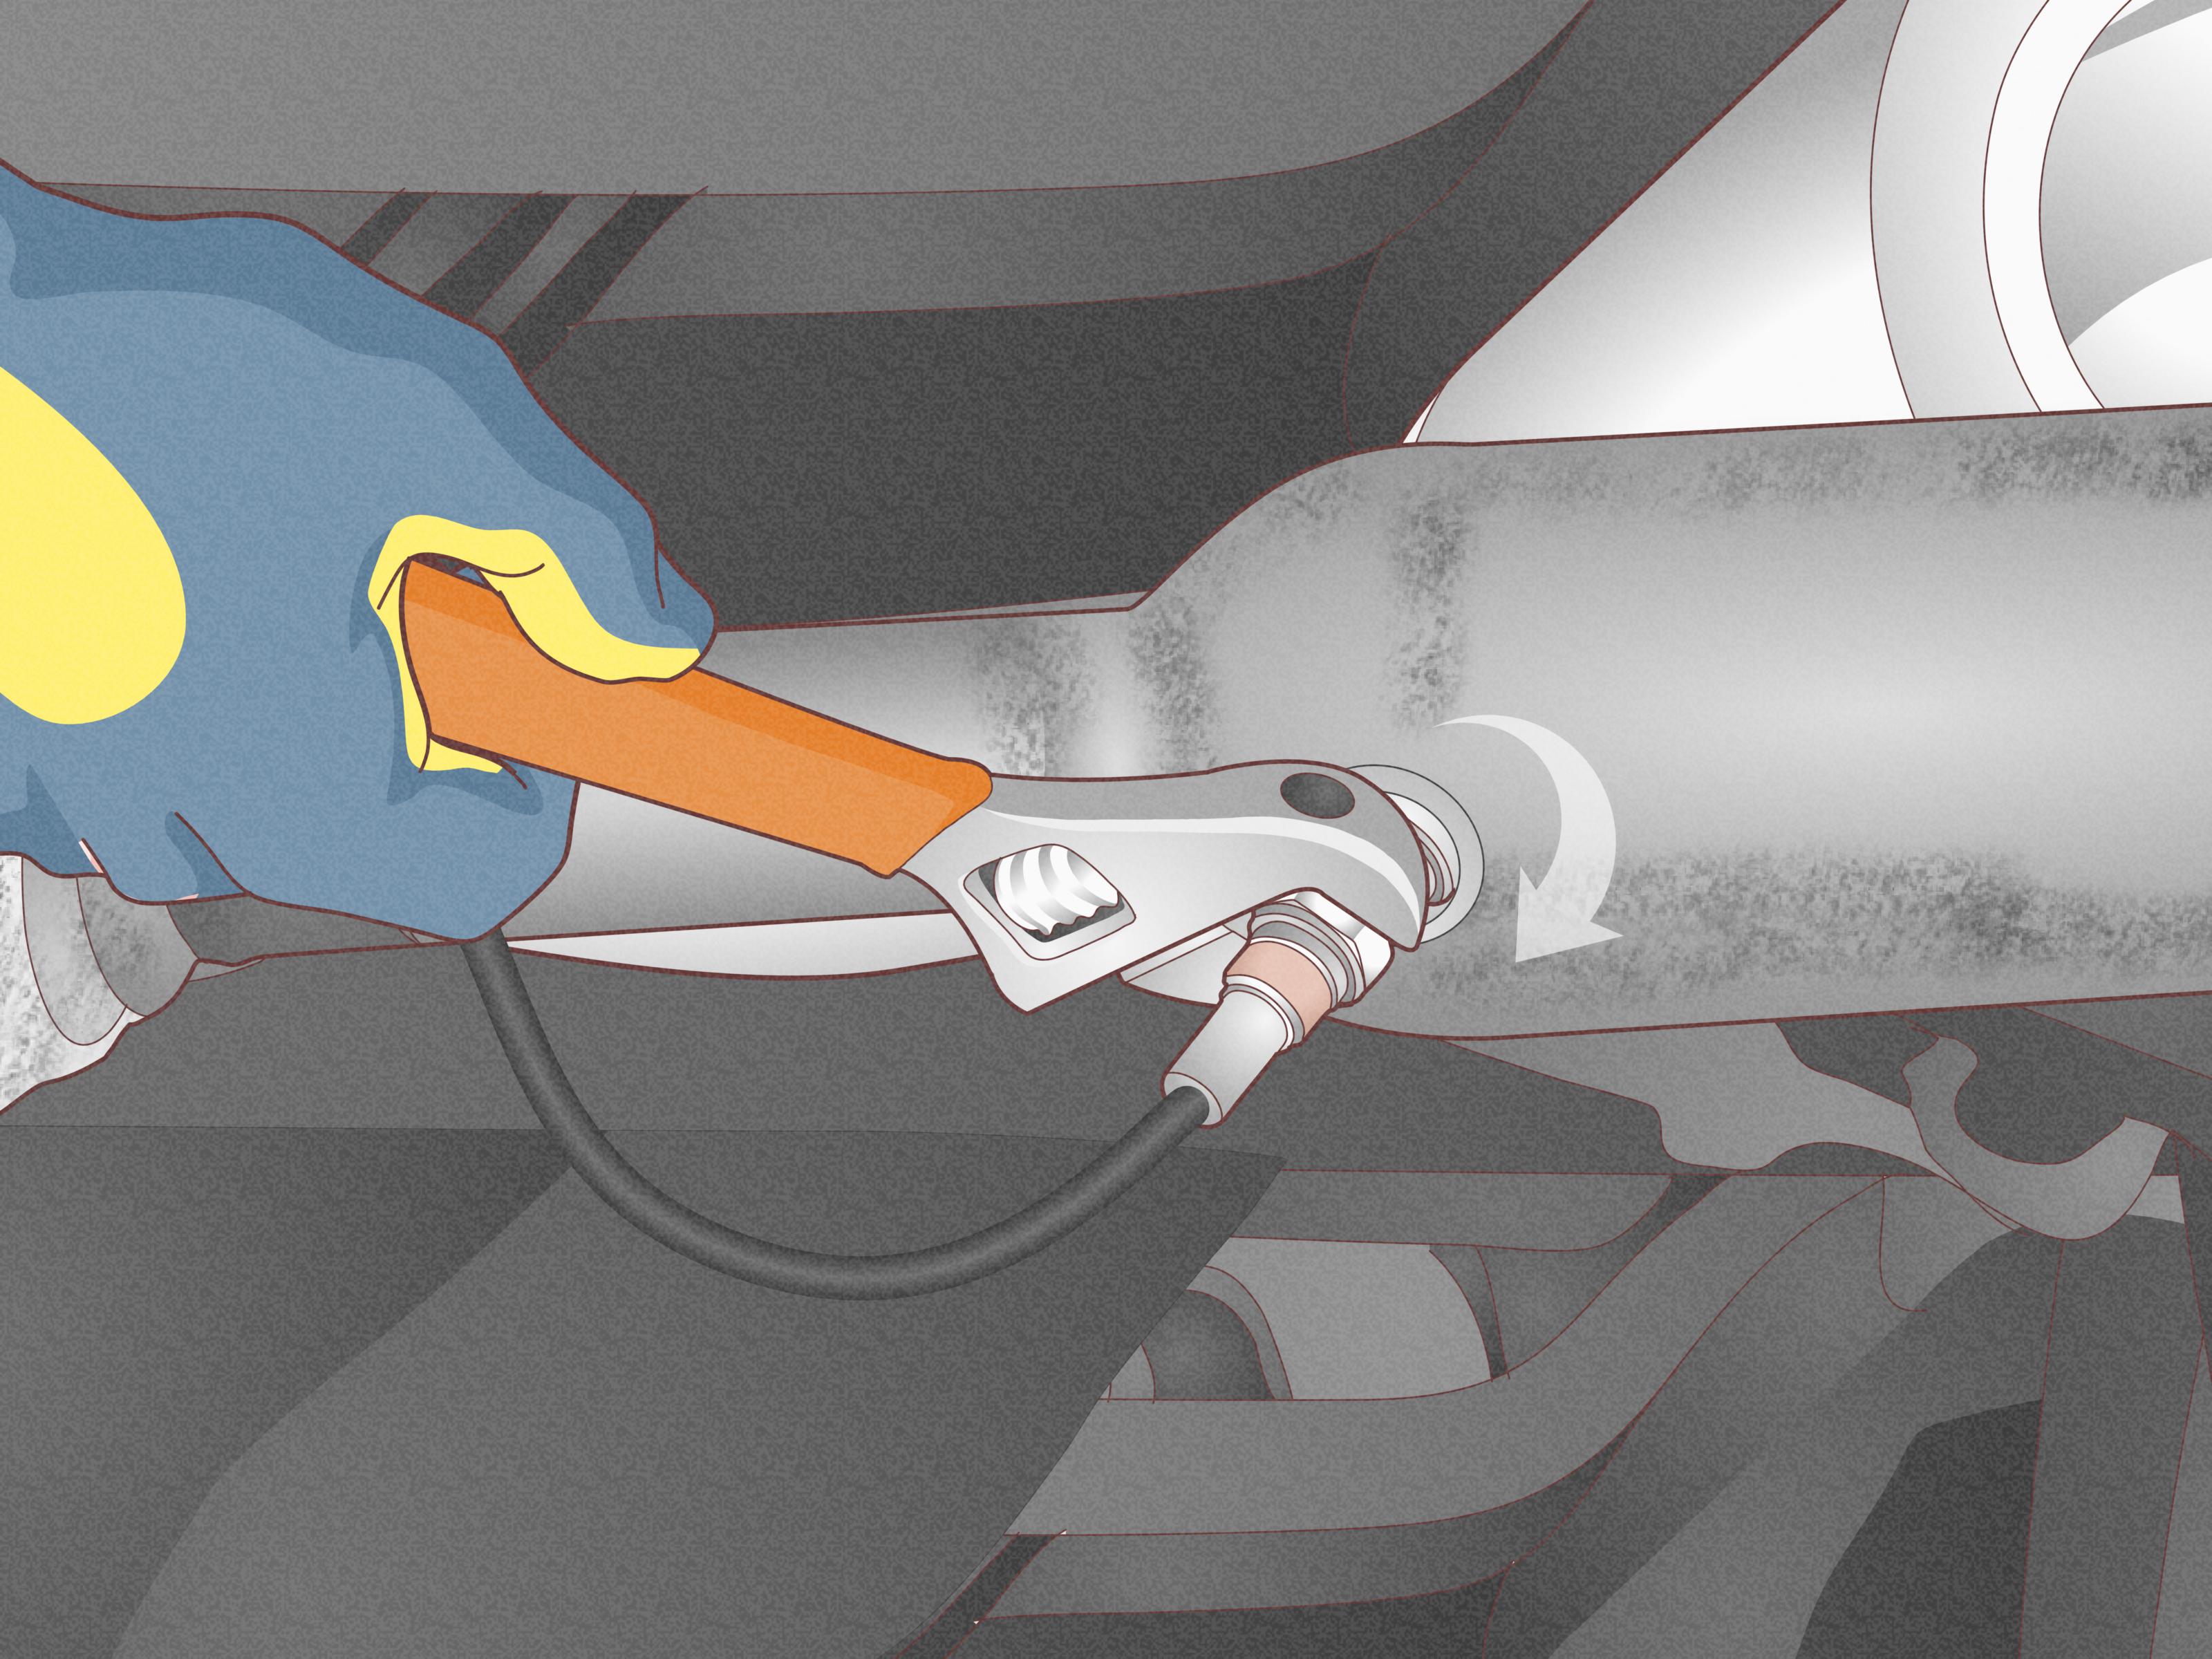
If removal is necessary, spray a small amount of penetrating oil on the threads where the sensor enters the exhaust bung. Avoid soaking the sensor tip or wiring. Let it sit for a few minutes. Use an oxygen sensor socket and turn the sensor counterclockwise. If it feels welded in place by time, rust, and bad luck, stop before stripping the threads. A repair shop may be the better choice.
Step 5: Inspect the Sensor Tip
Once removed, look at the sensor tip. A light gray or tan appearance may be normal. Thick black soot may suggest a rich mixture, clogged air filter, leaky injector, or ignition issue. White or chalky deposits can point to silicone or additive contamination. Greenish or pale crusty deposits may suggest coolant contamination. Oily black deposits can indicate oil burning. These clues are useful because replacing the sensor without fixing the cause may lead to another failed sensor.
Step 6: Clean Only What Should Be Cleaned
Use a dry shop towel to wipe the metal body and threads. If the connector is dirty, use electrical contact cleaner on the connector only. Do not scrape the sensing tip. Do not spray chemicals directly into the sensor tip. Do not soak it overnight in mystery fluid recommended by an online comment from someone named “TurboBanana92.” The goal is gentle cleaning, not chemical archaeology.
Step 7: Reinstall or Replace
If the sensor looks physically intact and the problem was external grime or a dirty connector, reinstall it carefully. Some new sensors come with anti-seize already applied to the threads. If anti-seize is allowed by the manufacturer, use only a tiny amount on the threads and keep it far away from the sensor tip. Tighten to the manufacturer’s torque specification. Reconnect the wiring exactly as it was routed so it does not touch hot exhaust parts.
Step 8: Clear Codes and Test Drive
After reinstallation, clear the codes with a scan tool and take a normal test drive. Watch for returning codes, rough running, or poor fuel economy. Some emissions monitors require multiple drive cycles to complete. If the same code returns, the sensor may be bad, the wiring may be damaged, or the engine may have another problem affecting the sensor reading.
When Cleaning Will Not Work
Cleaning will not fix a cracked ceramic element, failed heater circuit, damaged wires, stripped threads, internal contamination, or a worn-out sensor that responds too slowly. It also will not fix root causes like coolant entering the combustion chamber, oil burning, a rich fuel condition, exhaust leaks, or bad injectors.
Replace the oxygen sensor if you see severe contamination, physical damage, repeated sensor-specific trouble codes after diagnosis, or poor live-data response. Also replace it if the service manual directs replacement. Oxygen sensors are maintenance-sensitive components, and once they are chemically poisoned, they rarely forgive and forget.
Common Mistakes to Avoid
Using a Wire Brush on the Sensor Tip
A wire brush can damage the protective coating and sensing element. It may make the part look cleaner while making its readings worse. That is like putting a tuxedo on a raccoon: cleaner-looking, still a problem.
Spraying Random Cleaner Into the Sensor
Many cleaners leave residue or are not designed for oxygen sensors. Residue can change readings or contaminate the sensor further. Use electrical contact cleaner only on electrical connectors, not the sensing tip.
Ignoring the Root Cause
If oil, coolant, or soot contaminated the sensor, find out why. Check for oil consumption, coolant loss, vacuum leaks, rich fuel trim, misfires, leaking injectors, clogged air filters, or exhaust leaks. The oxygen sensor may be the messenger, not the criminal.
Clearing Codes Without Recording Them
Always write down codes and freeze-frame data before clearing the Check Engine light. That information can help identify whether the issue happened during cold start, highway cruising, idle, or heavy load.
Replacing the Wrong Sensor
Bank and sensor numbers matter. Bank 1 Sensor 1 is not the same as Bank 1 Sensor 2. Upstream and downstream sensors can also have different designs. Match the correct part number to your year, make, model, engine, and emissions package.
Cleaning vs. Replacing: Which Is Better?
If the sensor is only dirty around the connector or threads, cleaning may be worth trying. If the sensor tip is contaminated, old, slow, or triggering repeated codes, replacement is usually better. Professional oxygen sensor replacement costs vary widely depending on vehicle design, labor time, and part quality. DIY replacement may cost less if you have the tools and confidence, but professional diagnosis can save money when the real problem is not the sensor.
A quality replacement sensor is often cheaper than ignoring the issue. A bad oxygen sensor can waste fuel and may contribute to catalytic converter damage. Since catalytic converters are much more expensive than sensors, delaying repairs can turn a small problem into a financial jump scare.
How to Keep Oxygen Sensors Cleaner for Longer
The best way to “clean” an oxygen sensor is to prevent contamination in the first place. Keep the engine in good tune. Replace air filters on schedule. Fix misfires quickly. Repair coolant leaks. Address oil consumption. Use the correct fuel and avoid questionable fuel additives. Use only sensor-safe sealants where required. Make sure exhaust leaks are repaired, especially near the upstream sensor, because extra oxygen entering the exhaust can confuse the readings.
Also avoid washing the engine bay aggressively near sensor connectors. Water and oil can enter wiring and connectors, leading to false readings or sensor failure. Your engine bay does not need a spa day if the spa treatment causes electrical drama.
Real-World Experience: What Cleaning an Oxygen Sensor Teaches You
In real garage life, cleaning an oxygen sensor is less about making an old sensor brand-new and more about learning how the whole engine system talks to itself. Many drivers first notice a problem because the Check Engine light appears after weeks of slightly worse gas mileage. The car still starts. It still drives. Nothing explodes. So the temptation is to ignore it and hope the dashboard light gets bored and leaves. Unfortunately, oxygen sensor problems rarely solve themselves.
A common experience goes like this: the driver scans the vehicle and sees an oxygen sensor code. They immediately buy a sensor, install it, clear the code, and celebrate. Two days later, the light returns. The sensor was not necessarily bad. It may have been reporting a lean condition caused by a vacuum leak or exhaust leak. This is why diagnosis matters. An O2 sensor is like a restaurant critic. If it says the soup tastes wrong, you do not replace the critic before checking the soup.
Another familiar situation involves a sensor that looks filthy. Someone removes it, sees black soot, cleans the outside, reinstalls it, and notices a temporary improvement. But if the engine is running rich because of a bad injector, weak ignition, dirty air filter, or incorrect fuel pressure, the soot comes back. The sensor gets blamed again, even though the real problem is upstream. That is why the appearance of the sensor should be treated as evidence, not the final verdict.
People also learn quickly that oxygen sensors live in a brutal neighborhood. They sit in the exhaust, deal with extreme heat, and go through countless heat cycles. Threads can seize. Connectors can become brittle. Wires can melt if routed incorrectly. A job that looks simple in a two-minute video may take an afternoon under a rusty car. Patience is not optional; it is a tool, right next to the ratchet.
The best practical experience is to start small. Scan the codes, inspect the wiring, check the connector, look for exhaust leaks, and review fuel trim data if your scan tool supports it. If you remove the sensor, inspect it carefully. Clean the connector and external threads if appropriate, but do not attack the sensing tip. If contamination is obvious, replace the sensor and fix the cause. If you are unsure, paying for a proper diagnosis can be cheaper than replacing parts one by one like you are feeding coins into a confused vending machine.
The biggest lesson is simple: cleaning an oxygen sensor is not a miracle cure. It is a careful inspection and maintenance step. Sometimes it helps. Sometimes it proves the sensor needs replacement. Either way, the goal is not just to turn off the Check Engine light. The real goal is to restore correct engine feedback, protect the catalytic converter, improve fuel economy, and keep your car running cleanly without turning every commute into a mechanical guessing game.
Conclusion
Learning how to clean an oxygen sensor is useful, but the most important lesson is knowing what cleaning can and cannot do. You can safely clean the connector, wipe external grime, inspect the threads, and remove dirt around the sensor area. You should not scrub, sand, soak, or chemically blast the sensing tip. If the sensor is contaminated by coolant, oil, silicone, soot, or additives, replacement is usually the right repair.
Before replacing anything, diagnose the issue with an OBD2 scan tool and inspect related systems. A sensor code can point to a failed sensor, but it can also reveal a fuel mixture problem, wiring issue, exhaust leak, or engine condition. Treat the oxygen sensor as part of a bigger system, and your repair will be more accurate, less expensive, and much less likely to end with you muttering at your car in the driveway.