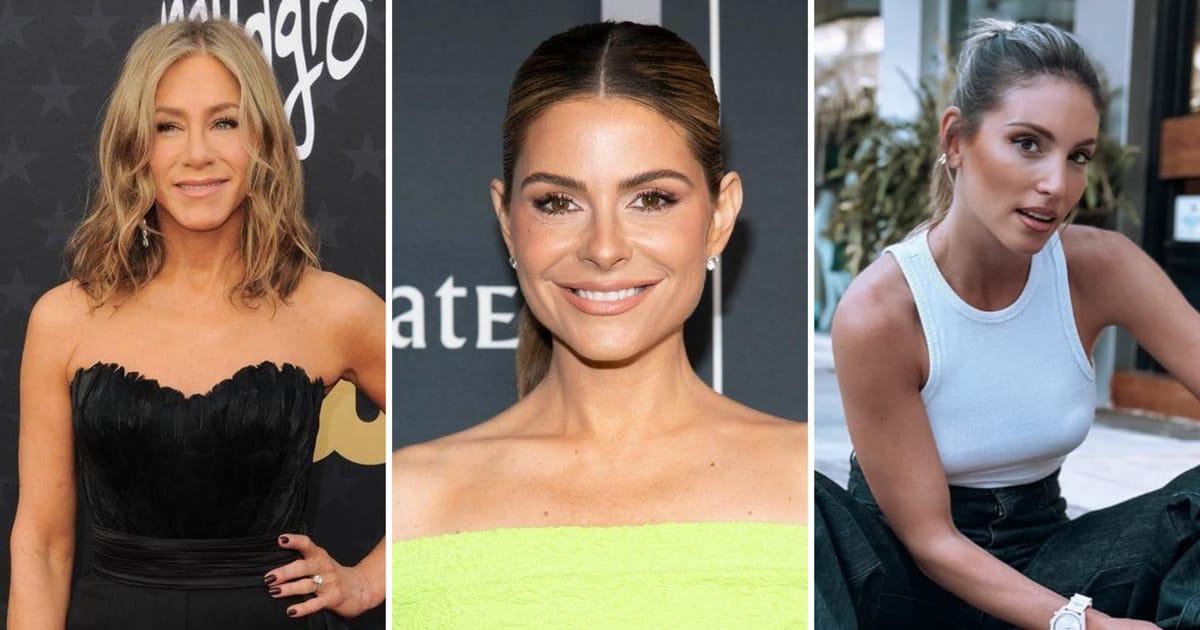
Some people claim they are “not photogenic,” which is usually code for “a camera has betrayed me more than once.” The good news? Looking good in pictures is not about having a perfect face, a professional modeling contract, or a mysterious gene passed down from magazine covers. It is mostly about light, posture, timing, comfort, and knowing a few small tricks that make a huge difference.
Whether you are taking a profile photo, a vacation selfie, a family portrait, a graduation shot, or one of those “quick group pictures” that somehow takes 14 minutes, these steps will help you look more relaxed, natural, and confident on camera. The goal is not to become someone else. The goal is to make the photo feel like you on a very good lighting day.
Why Some Photos Look Better Than Others
A great picture is rarely an accident. Professional photographers think about light direction, background, body position, lens choice, expression, and the mood of the moment. Smartphone cameras now do a lot of technical work automatically, but they still need help from the human in front of the lens. That means you can improve almost any photo by making a few simple choices before the shutter clicks.
The best photo tips are not dramatic. You do not need to stand on a mountain at golden hour wearing a wind machine as a hat. You just need to understand how the camera sees you: flat, frozen, and sometimes a little too honest about overhead lighting. Let’s fix that.
How to Look Good in Pictures: 12 Steps
1. Find Soft, Even Light
Lighting is the secret sauce of good pictures. Soft, even light is usually the most forgiving because it reduces harsh shadows and keeps details balanced. A cloudy day, open shade, or a spot near a window can make a simple photo look polished without extra equipment.
Try facing the light source rather than standing with bright light directly behind you. If you are outside at noon, move under a tree, awning, porch, or building shade. Direct overhead sun can create strong shadows, while soft front-facing light helps your expression look clearer and more natural.
2. Avoid Weird Overhead Lighting
Bathroom lights, office fluorescents, and ceiling lamps have committed many crimes against innocent faces. Overhead light can create shadows under the eyes and nose, making people look more tired than they feel. If the lighting makes you look like you are about to announce a haunted-house tour, change locations.
For indoor photos, stand near a window during the day or use a lamp positioned slightly in front of you and above eye level. If you are using a ring light or desk lamp, keep it gentle and avoid blasting your face with light like you are being interrogated by a very stylish detective.
3. Angle Your Body Slightly
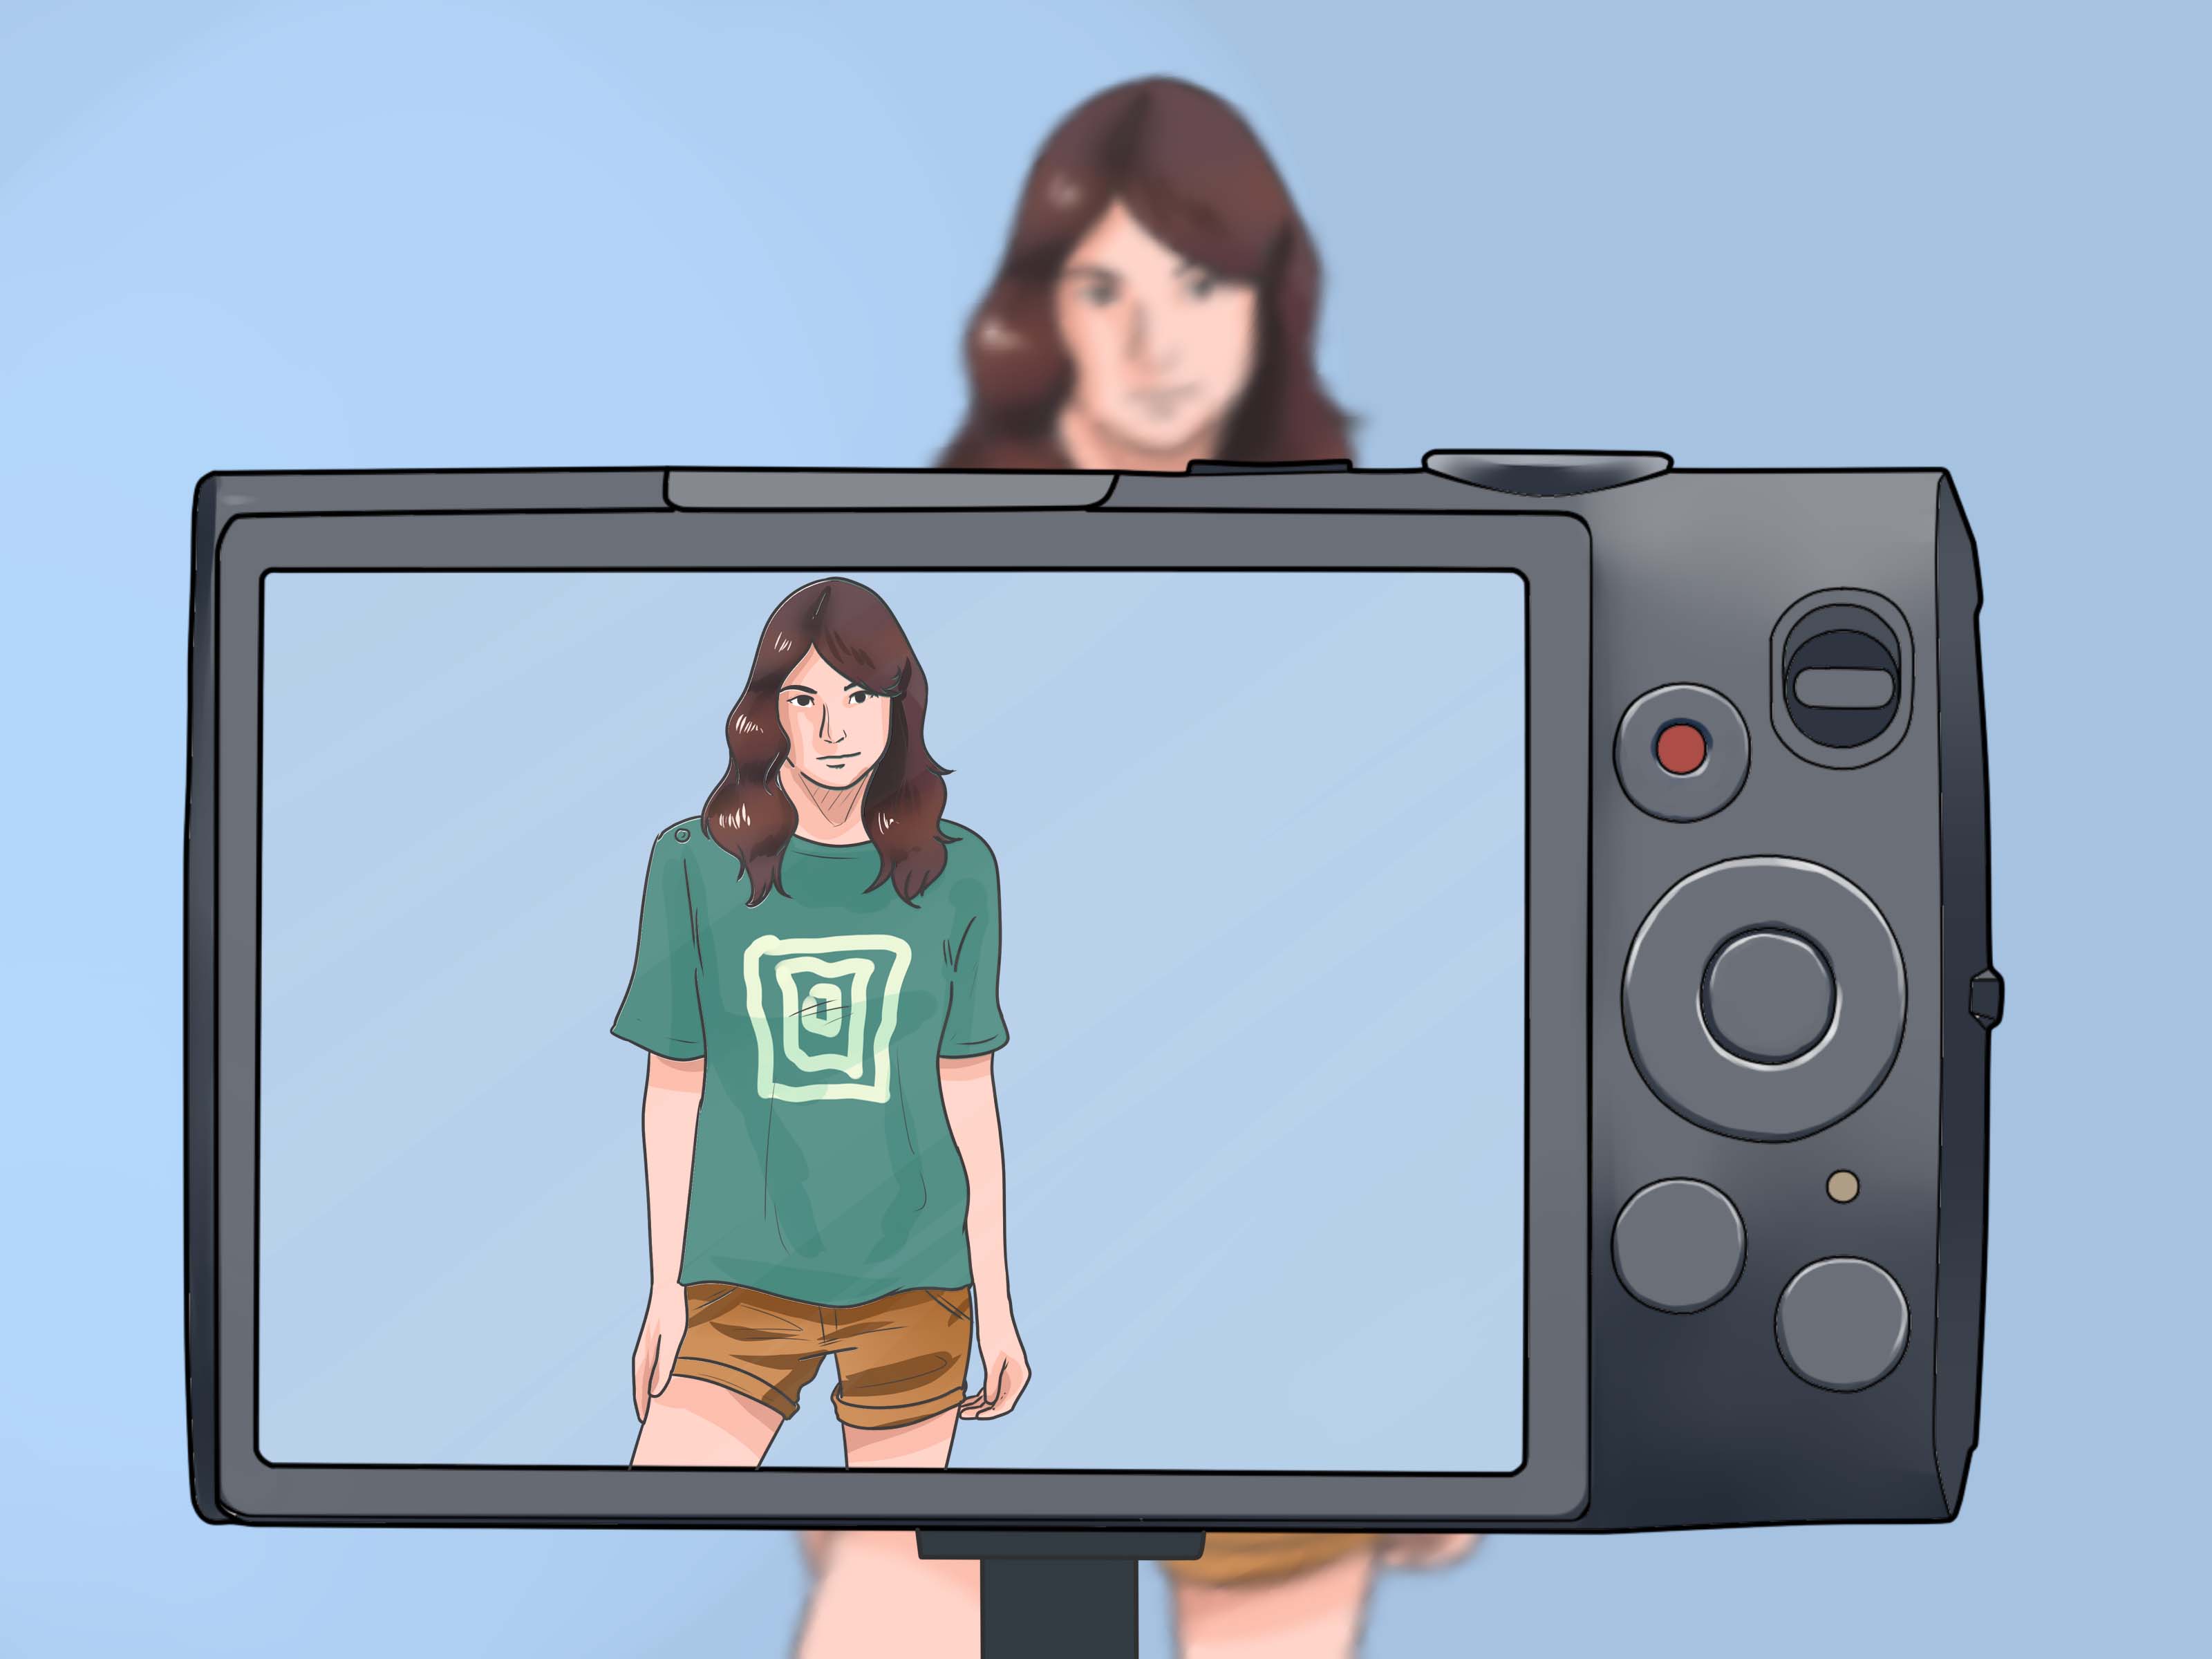
Standing straight toward the camera can work, but it often makes a photo feel stiff. Turning your body slightly creates shape, movement, and a more relaxed composition. Think of it as giving the camera a friendly three-quarter view instead of presenting yourself like a passport application.
Place one foot slightly ahead of the other, shift your weight naturally, and let your shoulders relax. You do not need an exaggerated pose. A small angle is enough to make the picture look more dynamic and less like someone shouted “freeze!” in a grocery store aisle.
4. Keep Your Posture Relaxed but Awake
Good posture helps you look confident in pictures, but stiff posture can make you look like you are waiting for a school principal to finish a speech. The sweet spot is relaxed but alert. Lengthen your spine, drop your shoulders, and keep your chest open without forcing anything.
A quick reset before the photo: inhale, roll your shoulders back once, exhale, and soften your arms. This prevents the classic “tense photo arms” problem, where your limbs suddenly forget they belong to a human being.
5. Give Your Hands Something Natural to Do
Hands can be the surprise villains of portraits. When people feel awkward, their hands often become claws, paddles, or mysterious floating objects. The easiest fix is to give them a job.
Hold a coffee cup, touch a jacket sleeve, rest one hand in a pocket, lightly hold your sunglasses, or place your hands gently together. The key word is gently. Heavy gripping can make a pose look tense. Light contact looks more natural and keeps your hands from stealing the scene like unpaid backup dancers.
6. Use a Real Expression, Not a Forced One
A forced smile is easy to spot. It says, “I am happy, legally speaking.” A real expression usually starts before the photo is taken. Think of something funny, talk to the person behind the camera, or laugh lightly before settling into a smile.
For a natural smile, relax your jaw and let your eyes participate. You can also try the “almost laugh” method: breathe out, smile gently, and think of the camera as a friend rather than a tiny judgment box. If you do not want to smile, that is fine too. A calm, comfortable expression can look just as strong.
7. Pay Attention to the Background
A good background supports the photo. A bad background grows a pole out of your head, puts a trash can next to your elbow, or features a stranger eating fries with intense emotional commitment.
Before taking the photo, scan the frame. Look for clutter, bright distractions, messy shelves, reflective surfaces, or anything that pulls attention away from you. Simple backgrounds usually work best: a clean wall, greenery, an interesting doorway, a soft city scene, or a tidy room.
8. Use Portrait Mode Carefully
Portrait mode on smartphones can help you look good in pictures by keeping you sharp while softly blurring the background. This creates a more professional look, especially for headshots, profile photos, and casual portraits.
However, portrait mode is not magic. It works best when there is enough light and the camera can clearly detect the subject. Keep some distance between yourself and the background, tap to focus on your face, and review the edges of hair, shoulders, and glasses after the shot. If the blur looks strange, take a normal photo too. Options are good. Camera regret is not.
9. Choose Clothes That Feel Like You
Clothing can change the mood of a picture. The best outfit is not the trendiest one; it is the one that helps you feel comfortable and recognizable. Solid colors, clean lines, and clothes that fit the occasion usually photograph well.
Avoid outfits that make you fuss every five seconds. If you constantly adjust a collar, pull at sleeves, or wonder whether a pattern is fighting with the wallpaper, that discomfort can show. For group photos, choose colors that coordinate without everyone dressing like a matching family phone plan.
10. Mind the Camera Angle
Camera angle changes everything. A camera held too low can distort proportions, while one held too high can make the photo feel unnatural. For most portraits, placing the camera around eye level or slightly above works well.
For selfies, hold the phone a little away from your face and avoid extreme wide-angle distortion. If your phone has different lens options, the standard or portrait lens is often more natural for faces than an ultra-wide lens held close. Ultra-wide is wonderful for landscapes and group shots. For close-up selfies, it can behave like a funhouse mirror with a college degree.
11. Take More Than One Photo
One photo is a lot of pressure. Even professional photographers take many frames because blinking, laughing, shifting, and awkward timing happen to everyone. The best picture is often not the first one. It might be the third, fifth, or the one right after everyone stops trying so hard.
Take a short burst or several individual shots with tiny changes: turn slightly, adjust your chin, soften your smile, move your hands, or change your gaze. Then choose the photo that feels most like you. This is not vanity. This is quality control.
12. Edit Lightly and Honestly
Editing can improve a photo, but heavy editing can make it feel less personal. Start with simple adjustments: brightness, contrast, warmth, cropping, and straightening. A small lift in exposure or a better crop can do more than a dozen filters.
Keep skin texture, facial features, and natural details intact. The most timeless photos look polished, not plastic. Think of editing as cleaning a window, not replacing the whole house.
Extra Tips for Specific Photo Situations
For Selfies
Use natural light, hold the phone slightly above eye level, and avoid standing too close to the lens. Look at the camera lens rather than only at the screen. This creates better eye contact and makes the photo feel more direct.
For Group Photos
Stand close enough that the group looks connected, but do not squeeze so tightly that everyone becomes one giant sweater. Keep faces on a similar plane when possible so the camera can focus clearly. Take several shots because someone will blink. It is the law of group photography.
For Professional Headshots
Choose a clean background, simple clothing, and soft light. Keep your expression approachable and your posture confident. A headshot should say, “I am capable,” not “I was trapped near a beige wall and told to smile.”
For Vacation Photos
Instead of standing stiffly in front of every landmark, interact with the place. Walk, turn, look at the scenery, hold a map, sip coffee, or laugh with someone off-camera. Movement makes travel photos feel alive.
Common Mistakes That Make Pictures Look Awkward
Many photo problems come from small details. The most common mistakes include standing in harsh light, using a cluttered background, forcing a smile, holding the camera too close, locking the knees, pressing arms tightly against the body, or taking only one shot and hoping the universe behaves.
The fix is simple: pause for three seconds before taking the picture. Check the light, background, posture, hands, and expression. That tiny pause can turn a throwaway photo into one you actually want to keep.
Experience-Based Advice: What Actually Works in Real Life
In real photo moments, the best advice is often the simplest. People usually look better in pictures when they stop treating the camera like a final exam. The camera captures tension quickly, so comfort matters more than complicated posing. A relaxed person in decent light will usually photograph better than a perfectly posed person who looks like they are mentally calculating tax forms.
One useful experience is to practice before the important moment. This does not mean spending an entire evening auditioning for your own phone. It means taking a few test photos in different lighting and noticing what works. Maybe you like window light more than overhead light. Maybe a slight body angle feels better than standing straight forward. Maybe your best smile happens after you laugh, not when someone says “cheese,” which has never been as helpful as humanity hoped.
Another real-world lesson: comfort with the photographer changes the result. If a friend is taking your photo, ask them to keep talking. Conversation prevents the frozen-face effect. If you are taking photos of someone else, give specific, kind direction. Instead of saying “look natural,” which immediately makes most people forget how faces work, say “turn a little toward the window,” “relax your shoulders,” or “look just past the camera for one shot.” Clear direction creates confidence.
Clothing also matters in practical ways. Wear something you can move in. If an outfit looks great but makes you stand like a museum statue, it may not photograph the way you expect. The same goes for shoes, jackets, and accessories. If you are uncomfortable, the camera will probably notice before your friends do.
For events, take photos early. At weddings, parties, graduations, and family gatherings, people usually look fresher and more patient before the schedule becomes chaos. Waiting until everyone is hungry, tired, or late can turn a simple picture into a documentary about endurance.
Finally, remember that the best photos often happen between poses. The laugh after the formal shot, the moment you adjust your jacket, the quick glance toward a friend, the second after you stop worryingthose are often the keepers. Looking good in pictures is not about controlling every muscle. It is about setting up the conditions where your real personality has room to show up.
Conclusion
Learning how to look good in pictures is less about changing your appearance and more about understanding the camera. Soft light, a clean background, relaxed posture, natural expressions, careful angles, and light editing can transform everyday photos. You do not need a professional studio or a suitcase full of equipment. You need awareness, practice, and maybe the courage to delete the photo where you blinked with your whole soul.
The next time someone raises a camera, do not panic. Find the light, relax your shoulders, angle slightly, breathe, and let the photo capture a version of you that feels comfortable and real. That is the kind of picture people actually remember.