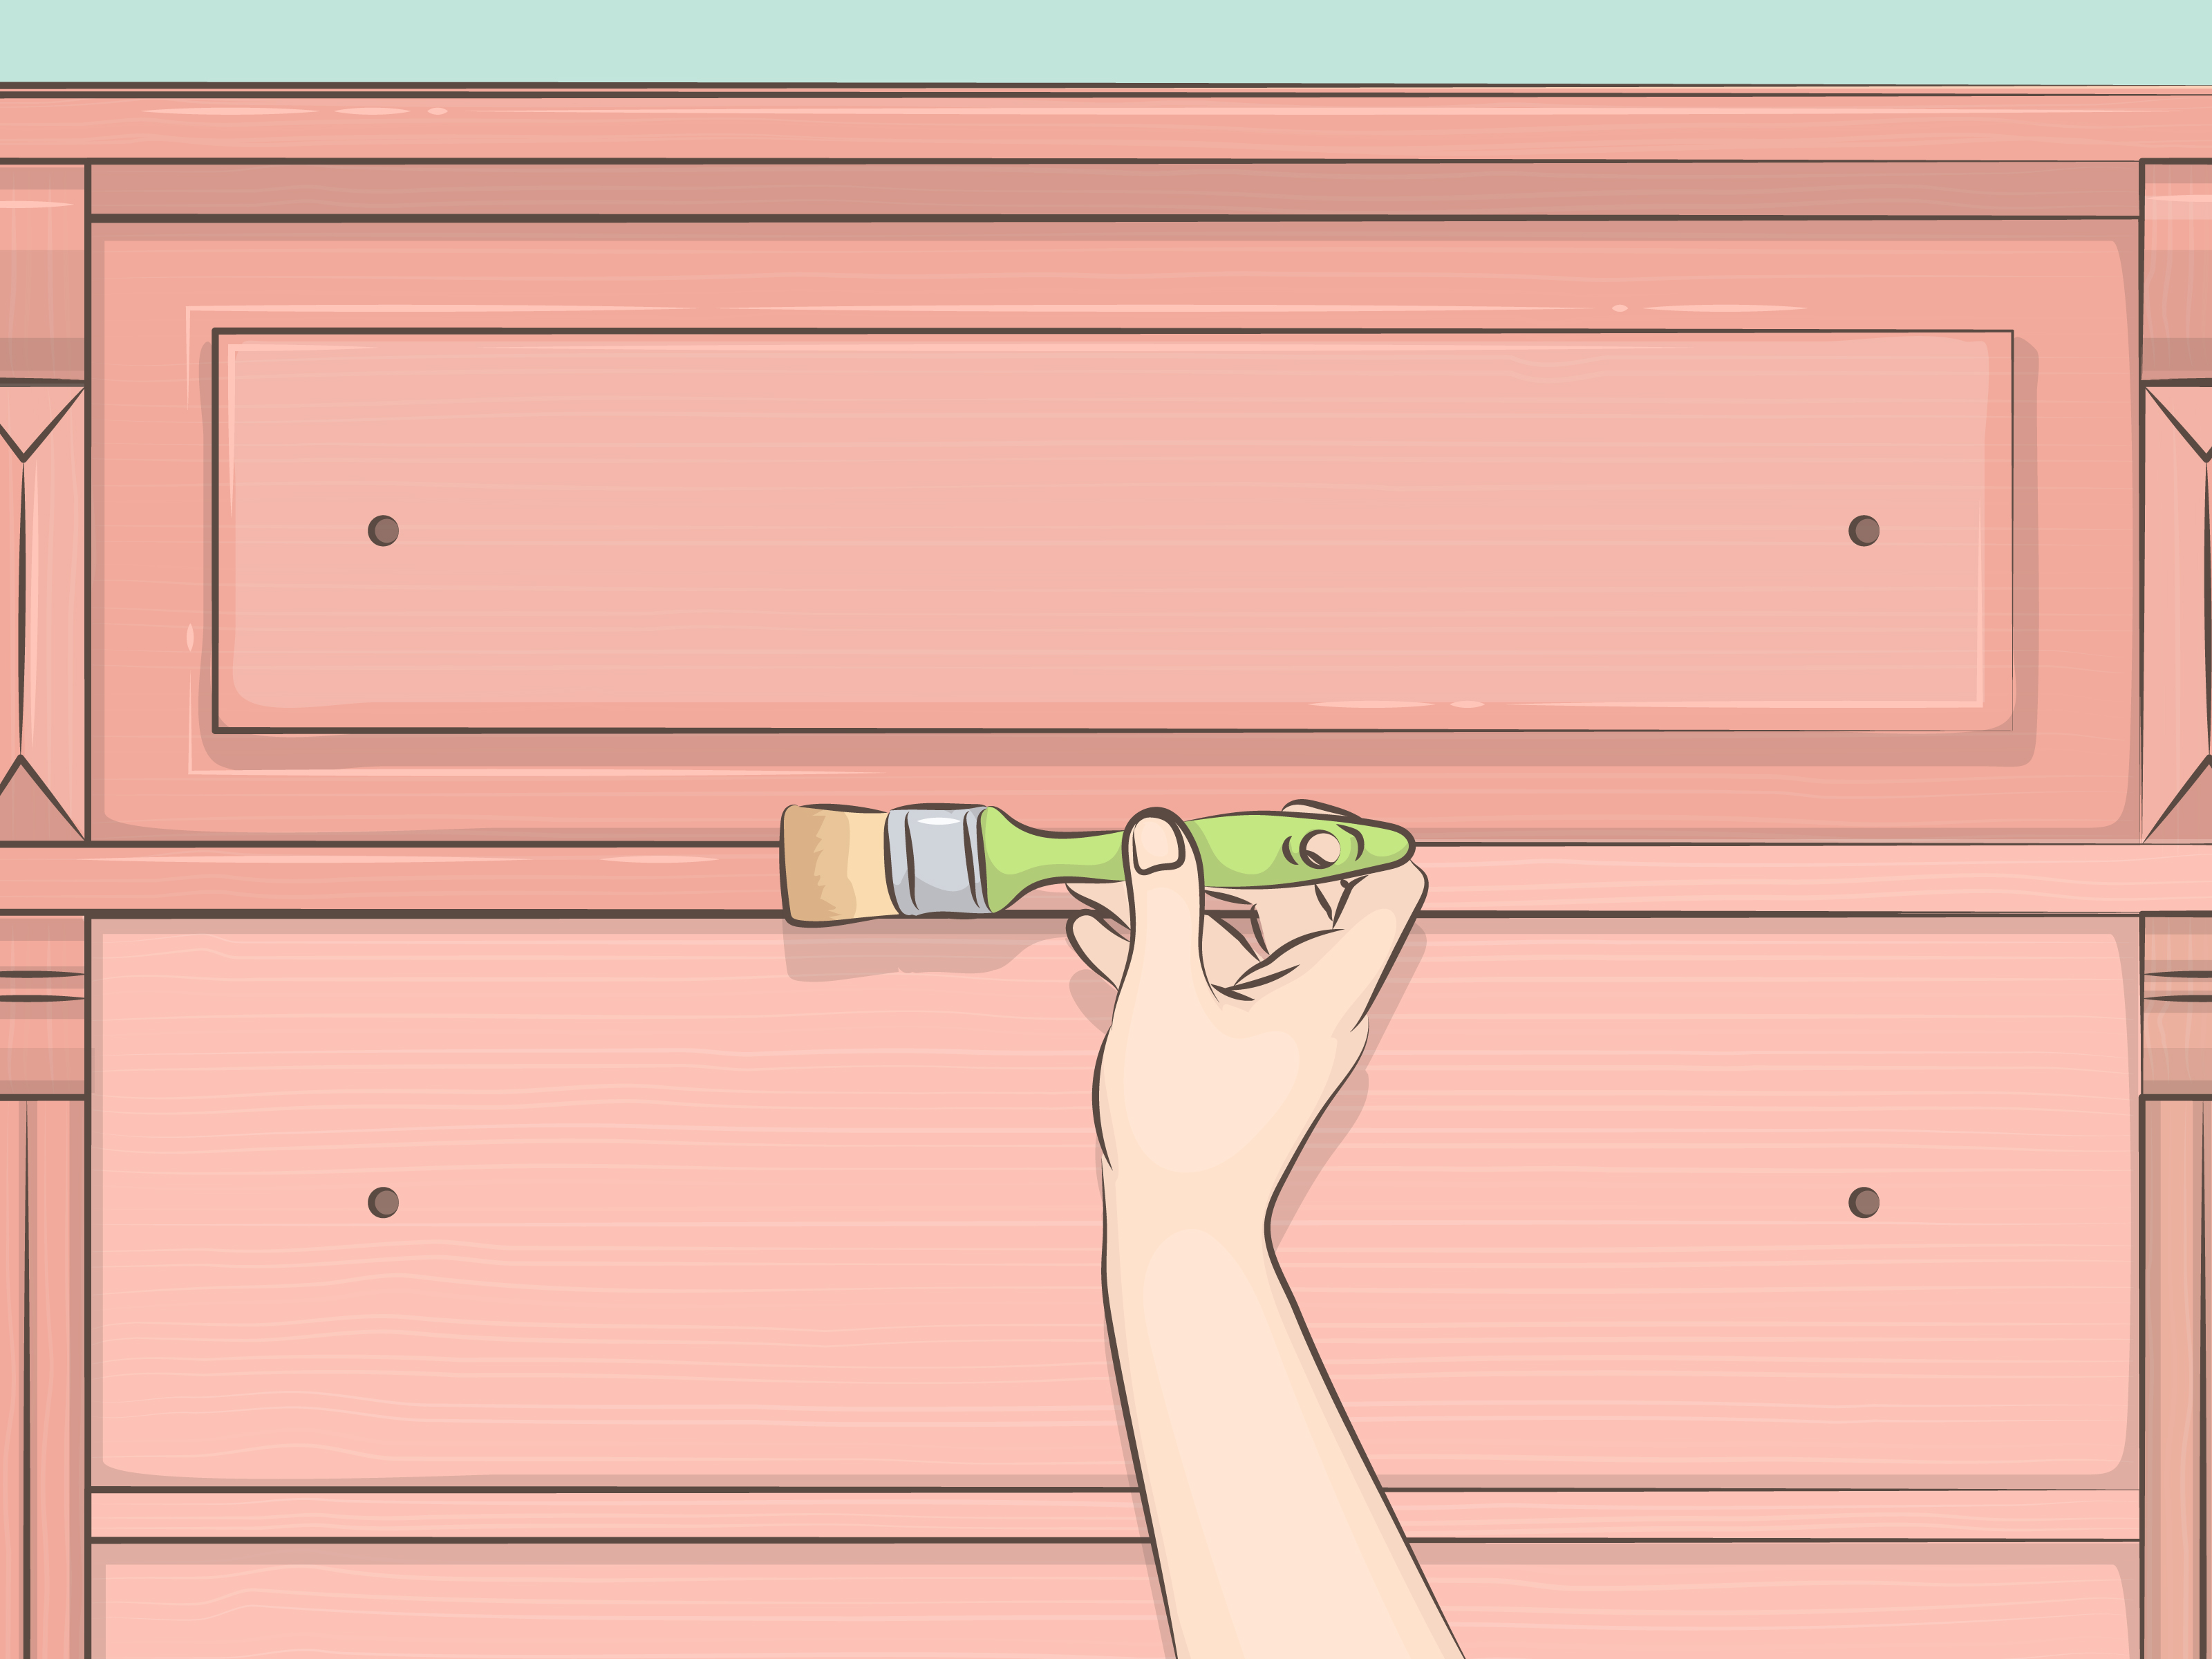
Color washing furniture is the magical middle ground between painting and staining. It gives old dressers, side tables, cabinets, benches, and thrift-store “what was I thinking?” finds a soft, layered finish while still letting texture, grain, carvings, and character show through. Instead of covering every inch with an opaque coat of paint, a color wash uses diluted paint to create a translucent, lived-in effect. Think cottage charm, coastal calm, farmhouse warmth, vintage patina, or that casually expensive look that says, “Yes, I found this in a tiny antique shop,” even if it came from the garage.
The best part? You do not need to be a professional furniture refinisher to learn how to color wash furniture. You need a clean surface, the right paint-to-water ratio, a brush or rag, a little patience, and the emotional strength to wipe away paint you just applied. That last part feels wrong the first time, but trust the process. The wipe-back step is where the beauty happens.
In this in-depth guide, you will learn how to color wash furniture in 11 practical steps, including how to prep the piece, mix the wash, apply it evenly, layer color, avoid blotches, seal the finish, and fix common mistakes. Whether you are refreshing raw wood, reviving painted furniture, or giving laminate a more custom look, these steps will help you create a finish that looks intentional instead of “oops, I sneezed near a paint can.”
What Is a Color Wash Finish?
A color wash is a thin, transparent or semi-transparent layer of diluted paint applied over wood, painted furniture, or another prepared surface. The goal is not full coverage. The goal is depth. A good furniture color wash softens the base surface, highlights details, and creates visual movement. It can make new wood look aged, dark furniture look lighter, or plain painted furniture look more textured and handmade.
Color washing is often compared with whitewashing, paint washing, limewashing, dry brushing, and glazing. These techniques are cousins, but not twins. Whitewashing usually uses white paint or a light neutral to create a sun-bleached effect. A color wash can use blue, gray, green, beige, taupe, black, cream, terracotta, or almost any paint color. Glazing usually uses a dedicated glaze medium to extend drying time and deepen details. Color washing is simpler: paint plus water, applied thinly and wiped back.
Before You Start: Choose the Right Furniture Piece
The best furniture for color washing has visible grain, carved details, paneling, raised edges, or interesting texture. Raw wood, unfinished pine, oak, and lightly sanded wood are excellent candidates because they absorb diluted paint and allow the grain to show. Previously painted furniture can also work beautifully, especially if the base color complements the wash color.
Be more cautious with glossy laminate, slick veneer, metal, or plastic furniture. These surfaces can still be painted, but they require stronger prep, bonding primer, and sometimes a different painting approach. If the surface is shiny enough to check your hair in it, the paint wash will probably slide around like a toddler in socks unless you degloss and prime first.
Supplies You Will Need
Gather everything before opening the paint. Color wash dries quickly, and nobody wants to sprint through the house holding a dripping brush while looking for a clean rag.
- Drop cloth or old sheet
- Mild dish soap or degreasing cleaner
- Clean rags or lint-free cloths
- Sandpaper or sanding sponge, usually 120-grit to 220-grit
- Tack cloth or damp microfiber cloth
- Painter’s tape
- Screwdriver for removing hardware
- Water-based latex, acrylic, milk, or chalk-style paint
- Small container or paint cup
- Water for thinning paint
- Paintbrush, foam brush, chip brush, or round natural-bristle brush
- Clear topcoat, wax, polyurethane, or furniture sealer
- Gloves and a dust mask for sanding
How to Color Wash Furniture: 11 Steps
Step 1: Inspect the Furniture Carefully
Start by looking over the entire piece. Check for loose veneer, peeling paint, sticky residue, broken corners, wobbly legs, deep scratches, old wax, and mystery stains. Every piece of secondhand furniture has a past. Some pasts involve candle wax, children with markers, or a drawer that smells faintly like 1997. Your job is to identify problems before paint makes them permanent.
If the piece is old and may have been painted before 1978, avoid aggressive sanding until you know whether lead-based paint could be present. Lead dust is hazardous, especially for children and pregnant people. Use a lead test kit or consult a professional if you are unsure. Safety is less glamorous than a perfect patina, but it is much more important.
Step 2: Remove Hardware, Drawers, and Doors
Take off knobs, pulls, hinges, drawer handles, and removable doors. Put screws and hardware in a labeled bag so they do not enter the mysterious household portal where tiny metal things disappear forever. Removing hardware helps you clean, sand, and paint more evenly. It also prevents dried paint from collecting around edges and making the finished piece look rushed.
If you plan to reuse the hardware, clean it while the furniture dries. Brass, bronze, black iron, brushed nickel, and ceramic knobs can all change the final style dramatically. A soft blue wash with antique brass pulls feels coastal and vintage. A charcoal wash with matte black hardware feels modern and moody. The color wash is the outfit; the hardware is the jewelry.
Step 3: Clean the Surface Thoroughly
Cleaning is not optional. Paint does not bond well to grease, furniture polish, dust, wax, hand oils, or old kitchen grime. Mix mild dish soap with warm water, wipe the furniture, and pay attention to corners, drawer fronts, legs, and carved details. For stubborn residue, use a furniture-safe degreaser according to the product instructions.
After cleaning, wipe with a damp cloth to remove soap residue, then let the piece dry completely. Do not rush this step. Painting damp wood can lead to uneven absorption, streaky color, or adhesion problems. If your furniture came from a garage, basement, porch, or curbside rescue mission, give it extra drying time.
Step 4: Sand or Degloss for Better Adhesion
Light sanding gives the color wash something to grip. For most wood furniture, start with 120-grit or 150-grit sandpaper if the surface is rough or glossy, then finish with 180-grit or 220-grit for smoothness. Always sand with the grain when working with real wood. Sanding against the grain can leave scratches that show through the wash like tiny angry highways.
You do not always need to strip the furniture down to bare wood. If the existing finish is stable, you can often scuff-sand it lightly. The goal is to remove shine, smooth imperfections, and open the surface enough for the wash to behave. If the furniture has peeling paint or flaking finish, scrape and sand loose areas until the surface is sound.
For laminate or very glossy furniture, use a liquid deglosser or a bonding primer after cleaning and sanding. Color wash on laminate without prep is like trying to watercolor a dinner plate. It may look promising for five seconds, then it betrays you.
Step 5: Repair Holes, Dents, and Loose Areas
Fill unwanted holes, chips, and deep dents with wood filler. Let the filler dry completely, then sand it smooth. If you are changing hardware and the new pulls require different holes, fill the old ones now. For loose veneer, use wood glue and clamps before sanding and painting.
Not every flaw needs to disappear. Color washing is forgiving because it celebrates texture. Small dents, worn edges, and minor scratches can add charm. The key is knowing the difference between “beautiful character” and “this drawer front is actively falling off.” Repair structural problems; keep the charming ones.
Step 6: Decide on Your Base Look
A color wash changes depending on what is underneath it. Over raw wood, the wash settles into the grain and creates a soft stained-paint look. Over white paint, a gray, beige, or blue wash can create gentle depth. Over black or navy paint, a white or pale gray wash can highlight raised details and create a weathered finish. Over natural oak, a muted green or warm taupe wash can tone down orange undertones.
If you want a dramatic layered effect, paint a base coat first and let it dry fully before adding the wash. For example, a cream base with a pale sage wash feels cottage-inspired. A charcoal base with a smoky gray wash feels refined and modern. A tan base with a white wash creates a beachy, sun-faded finish. Always test your color combination on the back of the piece, the underside, or a scrap board before committing.
Step 7: Mix the Color Wash
The easiest furniture color wash recipe is water-based paint mixed with water. A good starting ratio is one part paint to one part water for a sheer wash. For more coverage, try two parts paint to one part water. For a very subtle tint, use one part paint to two or three parts water. Chalk-style paint, milk paint, acrylic paint, and latex paint can all work, but each behaves a little differently.
Mix in a small container and stir until smooth. The texture should be thinner than regular paint but not so watery that it runs everywhere. Imagine heavy cream, not skim milk. If the mixture drips like rain off the brush, add a little more paint. If it covers like regular paint, add a splash of water.
For beginners, it is better to start lighter. You can always add another layer, but removing a wash that dried too dark is more work. Furniture refinishing rewards patience, which is rude but true.
Step 8: Apply the Wash in Small Sections
Dip your brush lightly into the color wash, then apply it in the direction of the wood grain. Work in small sections, such as one drawer front, one tabletop area, or one side panel at a time. Do not coat the entire piece before wiping. Thin paint dries quickly, and once it dries, it becomes harder to soften or blend.
Use long strokes on flat areas and circular or stippling motions around carved details. Push the wash into grooves, corners, and raised trim where natural aging would collect color. Avoid overloading the brush. A color wash should build gradually, not arrive like a paint tidal wave.
Step 9: Wipe Back the Excess Paint
This is the step that creates the washed effect. While the paint is still wet, use a clean rag to wipe away excess. Wipe with the grain for a soft, natural look. Use a lighter touch if you want more color to remain. Press harder if you want more wood or base coat to show through.
On detailed furniture, leave a little more wash in corners and crevices. That contrast makes carvings, legs, and panel lines stand out. If you accidentally remove too much, simply brush on more wash and wipe again. If you leave too much and it starts looking muddy, dampen a clean rag with water and gently blend the area before it fully dries.
Do not panic if the first section looks underwhelming. Color washing often looks best after the full piece is finished and dry. Like eyebrows, one small area can look strange until the whole face is done.
Step 10: Add Layers, Blending, or Distressing
Let the first coat dry before deciding whether to add another. A second wash layer deepens the color while keeping the translucent look. You can use the same color for a richer finish or add a second related color for dimension. For example, layer warm white over beige, smoky gray over blue, or pale green over cream.
If you want a distressed color wash finish, lightly sand edges, corners, drawer fronts, and raised details after the wash dries. Focus on areas that would naturally wear over time: corners, handles, feet, and tabletop edges. Use a light hand. Distressing should look believable, not like the furniture lost a fight with a belt sander.
You can also dry brush a lighter color over raised areas for extra texture. Dry brushing uses very little paint on the brush and catches only the high points. Combined with color washing, it can create a layered antique effect without needing complicated tools.
Step 11: Seal the Finish
Once the color wash is completely dry, protect it with a clear topcoat, furniture wax, matte polyurethane, water-based polycrylic, or another compatible sealer. The right sealer depends on how the furniture will be used. A decorative picture frame may need only a light wax. A coffee table, nightstand, desk, or dining bench needs more durable protection.
Choose a matte or satin finish if you want the piece to keep its soft, vintage look. Glossy sealers can make a subtle wash look more modern and less rustic. Apply thin, even coats, and let each coat dry according to the product instructions. Avoid heavy brushing, which can disturb the wash or leave streaks.
Give the piece time to cure before heavy use. Paint may feel dry to the touch quickly, but curing takes longer. Be gentle with tabletops, drawers, and shelves for the first several days. Your furniture just had a makeover. Let it enjoy its spa recovery period.
Best Color Combinations for Color Washing Furniture
Choosing colors is where the project gets personal. The safest combinations use colors that are close in temperature and style. Warm white over natural wood gives a relaxed farmhouse or coastal look. Pale gray over white creates a soft French-country effect. Sage green over cream feels calm and organic. Dusty blue over raw pine creates a beach-house mood. Charcoal over brown wood creates a smoky, masculine finish.
For modern interiors, try black wash over medium wood, greige wash over oak, or warm white over walnut. For vintage or cottage-style spaces, try pale pink over white, moss green over tan, or antique white over blue. If your home already has strong wall colors, choose a furniture wash that quietly supports the room instead of competing with it.
Common Mistakes to Avoid
Using Too Much Paint
A color wash should be translucent. If your mixture covers the surface like regular paint, thin it with more water. The beauty of this technique comes from layers, not one heavy coat.
Skipping Surface Prep
Dirty, glossy, or waxy furniture can reject paint. Clean, sand, and degloss before applying a wash. Prep may feel boring, but it is the difference between a finish that lasts and one that peels when you look at it too confidently.
Working Too Large
Apply and wipe in small sections. If you cover too much area at once, the wash may dry before you can blend it.
Not Testing First
Paint dries darker or lighter depending on the surface, lighting, and sealer. Always test your mixture before applying it to the most visible area.
Choosing the Wrong Sealer
Some oil-based sealers can amber over light colors. Water-based sealers are often better for white, gray, blue, or pale washes. Always check compatibility before sealing.
How Long Does Color Washing Furniture Take?
A small side table can often be cleaned, sanded, washed, and sealed over a weekend. A large dresser or cabinet may take several days because of drying time between cleaning, priming, washing, layering, and sealing. The hands-on work is not difficult, but patience matters. The finish improves when you let each stage dry properly.
As a general timeline, expect one to two hours for cleaning and removing hardware, one to three hours for sanding and repairs, one hour for mixing and applying the wash, several hours for drying, and additional time for sealing. Larger pieces, humid weather, and multiple layers will extend the project.
Can You Color Wash Over Stained Wood?
Yes, you can color wash over stained wood if the surface is clean, dull, and able to accept the wash. Glossy varnish or polyurethane should be scuff-sanded first. If the stain is very dark, the wash may appear subtle unless you use a lighter, more opaque mixture. White, cream, gray, and pale blue washes are popular over stained wood because they soften the tone while still allowing grain to show.
Can You Color Wash Painted Furniture?
Yes. Color washing painted furniture is a smart way to add depth to a flat paint job. The wash settles into edges and details, making the piece look less factory-made. For the best result, choose a wash color that contrasts gently with the base coat. A dark wash over light paint creates an aged look. A light wash over dark paint creates a weathered look. A tone-on-tone wash creates subtle texture.
Experience-Based Tips for Better Results
After working with color wash techniques on dressers, side tables, shelves, and decorative pieces, one lesson stands above the rest: the best results usually come from restraint. It is tempting to keep adding more paint because the wet finish looks too faint. Then it dries, the sealer deepens it, and suddenly your “soft gray wash” has become “storm cloud trapped in a drawer.” Start light. Let it dry. Reassess in natural daylight.
Another useful habit is keeping two rags in your hand: one dry and one slightly damp. The dry rag removes paint and creates texture. The damp rag softens harsh lines and rescues areas that look too heavy. This tiny two-rag system can save a project from panic. If a tabletop starts looking streaky, lightly drag the damp rag with the grain, then feather the area with the dry rag. It feels almost too simple, but it works.
Brush choice also matters more than beginners expect. A cheap chip brush can create a rustic, streaky finish, which may be perfect for farmhouse-style furniture. A smoother synthetic brush gives a cleaner, more controlled wash. A round natural-bristle brush is helpful for carved details because it pushes diluted paint into grooves. There is no single “best” brush; there is only the best brush for the look you want.
For tabletops, consistency is everything. Long, continuous strokes look better than short, nervous ones. Begin at one end, brush with the grain, wipe with the grain, and keep moving. If you stop in the middle of a large flat surface, you may create lap marks. On drawers and doors, complete one full face at a time. On legs and spindles, rotate the piece or move around it so you can catch drips before they dry.
Lighting is another sneaky factor. A color wash that looks beautiful in a dim garage may look completely different beside a sunny window. Whenever possible, check the piece in the room where it will live. Warm bulbs can make whitewash look creamier. cool daylight can make gray wash look bluer. Before sealing, move the furniture into good light and inspect every side. Sealer locks in both your success and your mistakes, so this is the moment to be picky.
When layering colors, let each layer dry fully. Wet layers can mix into one muddy tone, especially if you are combining brown, gray, green, or blue. If you want an aged coastal finish, try a tan or gray base wash first, let it dry, then add a thin white wash over it. If you want a more antique look, apply a darker wash into corners and wipe most of it off the flat areas. Small variations make the finish look authentic.
Finally, remember that color washing furniture is supposed to look handmade. Tiny variations are not failures. They are the reason the finish has charm. A perfectly uniform wash can look printed; a slightly varied wash looks alive. The trick is to make the variation feel balanced. Step back often. Look at the whole piece, not just one square inch. Furniture refinishing is part technique, part patience, and part knowing when to put the brush down and walk away like a responsible adult.
Conclusion
Learning how to color wash furniture is one of the easiest ways to give an old piece a fresh personality without hiding everything that made it interesting in the first place. With basic supplies, a simple paint-and-water mixture, and careful wipe-back technique, you can create a finish that looks soft, layered, and custom. The key is preparation: clean well, sand lightly, test your wash, work in small sections, and seal the finished piece for durability.
Whether you want a beachy whitewash, a smoky gray patina, a farmhouse-style cream finish, or a colorful vintage accent, color washing gives you room to experiment. Start with a small piece, keep your mixture thin, and let the furniture guide you. Sometimes the best makeover is not about making something look brand-new. It is about making it look loved, useful, and ready for its next chapter.