Adding salt to a pool sounds almost too easy, right? Open bag, toss salt, feel like a backyard scientist, celebrate with lemonade. But if you have a saltwater pool, adding salt correctly matters more than most pool owners realize. Too little salt and your salt chlorine generator may sulk like a teenager with no Wi-Fi. Too much salt and you may invite corrosion, warning lights, and expensive equipment drama.
The good news: learning how to add salt to a pool is simple when you follow a clean, careful process. You do not need a chemistry degree, a lab coat, or a clipboard with mysterious pool math scribbles. You need a reliable salt reading, the right kind of pool salt, a working pump, a brush, and a little patience while the salt dissolves and circulates.
This guide breaks the process into 11 practical steps. You will learn how to test salt levels, calculate how much pool salt to add, choose the right product, spread it safely, protect your salt cell, and avoid common mistakes that can turn a relaxing pool day into a “why is the control panel yelling at me?” kind of afternoon.
Before You Start: What Pool Salt Actually Does
A saltwater pool is still a chlorine pool. The difference is how the chlorine gets there. Instead of manually adding chlorine tablets or liquid chlorine as your primary routine sanitizer, a salt chlorine generator uses dissolved sodium chloride in the water and converts it into chlorine through electrolysis. That chlorine sanitizes the water, then the system continues the cycle.
This is why salt levels matter. The generator needs enough dissolved salt to work efficiently. If the salinity is too low, chlorine production drops or stops. If salinity is too high, some systems may shut down, and high salt can contribute to corrosion or damage around metals, stone, equipment, and pool surfaces. Most residential salt systems operate somewhere around 2,700 to 4,000 parts per million, but the correct number depends on your specific salt chlorine generator.
Always treat your owner’s manual as the boss. This guide gives homeowner-friendly steps, but your equipment manual gives the final target salt range for your system.
Easy Ways to Add Salt to a Pool: 11 Steps
Step 1: Check Your Salt Chlorine Generator Manual
Start by finding the ideal salt range for your exact salt system. Many popular systems are happiest around 3,200 ppm, while others may recommend a slightly higher or lower level. Do not guess based on what your neighbor uses, even if your neighbor owns three pool floats and speaks with great confidence near the barbecue.
Your manual should tell you the recommended operating range, low-salt warning level, high-salt warning level, and whether the generator should be turned off while new salt dissolves. This is especially important for newer systems with digital displays, automation panels, or app-based controls.
If you cannot find the manual, look up the model number on the manufacturer’s website or contact a pool professional. A few minutes of checking can prevent over-salting, which is much harder to fix than under-salting.
Step 2: Test the Current Salt Level
Never add salt before testing the water. Salt does not evaporate, so a low water level caused by evaporation does not remove salt from the pool. Salt usually drops only when water leaves the pool through splash-out, backwashing, draining, overflow from heavy rain, leaks, or dilution from adding fresh water.
You can check salinity in several ways:
- Read the salt level on your generator display.
- Use salt test strips designed for pool water.
- Use a liquid salt test kit.
- Take a water sample to a pool store for testing.
For best results, compare your generator reading with an independent test. Salt cells can develop scale or sensor issues, and a dirty cell may report a misleading level. If your panel says “low salt” but your independent test says the level is fine, the cell may need cleaning rather than another bag of salt.
Step 3: Measure or Confirm Your Pool Volume
To add the right amount of salt, you need to know how many gallons of water your pool holds. Pool salt dosing is based on volume and the ppm increase you want. A 10,000-gallon pool and a 25,000-gallon pool do not need the same amount of salt, just like a coffee mug and a bathtub do not need the same amount of sugar. Please do not sugar the bathtub.
If you do not know your pool volume, use a pool volume calculator or estimate it with basic measurements. For a rectangular pool, multiply length by width by average depth by 7.5. For a round pool, multiply diameter by diameter by average depth by 5.9. These formulas are estimates, but they are usually close enough for salt planning when paired with careful retesting.
When in doubt, round slightly low and add salt in stages. You can always add more. Removing extra salt requires draining and replacing water, which is less fun than it sounds.
Step 4: Calculate How Much Salt to Add
Once you know your current salt level, target salt level, and pool volume, calculate the dose. A useful rule is that raising 10,000 gallons of water by 1,000 ppm takes about 83 pounds of salt. Since pool salt commonly comes in 40-pound bags, that is a little over two bags.
Here is a simple formula:
Pounds of salt needed = pool gallons × desired ppm increase × 0.00000834
Example: Suppose your pool holds 15,000 gallons, your current salt level is 2,400 ppm, and your target is 3,200 ppm. You need an 800 ppm increase.
15,000 × 800 × 0.00000834 = about 100 pounds of salt
That equals two and a half 40-pound bags. In real life, you might add two bags first, circulate, retest, and then add the remaining amount if needed. This staged approach is especially smart if your pool volume is an estimate.
Step 5: Buy the Right Type of Pool Salt
Use high-purity pool-grade salt made for saltwater pools. Look for sodium chloride with minimal additives. The best pool salt dissolves quickly and does not contain unwanted minerals, dirt, or anti-caking ingredients that can stain surfaces or cloud the water.
Avoid rock salt, road salt, table salt, iodized salt, and water-softener pellets unless the product label specifically says it is appropriate for pools. Road salt belongs on icy driveways, not in your backyard oasis. It may contain impurities that your pool equipment did not sign up for.
Most pool salt is sold in 40-pound bags. Before buying, calculate your approximate dose so you do not end up carrying twelve extra bags into the garage like a person preparing for a very strange snowstorm.
Step 6: Balance the Pool Water First
Salt is only one part of water care. Before adding a large amount, test and balance the basics: pH, free chlorine, total alkalinity, calcium hardness, and cyanuric acid if your outdoor pool uses stabilizer. Balanced water helps protect swimmers, equipment, pool surfaces, and the salt cell.
For many residential pools, pH is commonly maintained in the 7.2 to 7.8 range, with many owners aiming around 7.4 to 7.6. Free chlorine should be maintained according to your product label, local guidance, and pool conditions. Saltwater pools also need stabilizer in outdoor settings because sunlight breaks down unstabilized chlorine quickly.
If the water is green, cloudy, or full of debris, fix those problems before relying on the salt system. A salt chlorine generator is excellent for routine chlorination, but it is not a magic swamp eraser. Heavy algae cleanup may require brushing, filtration, and appropriate shocking before the pool returns to normal operation.
Step 7: Turn On the Pump and Circulation
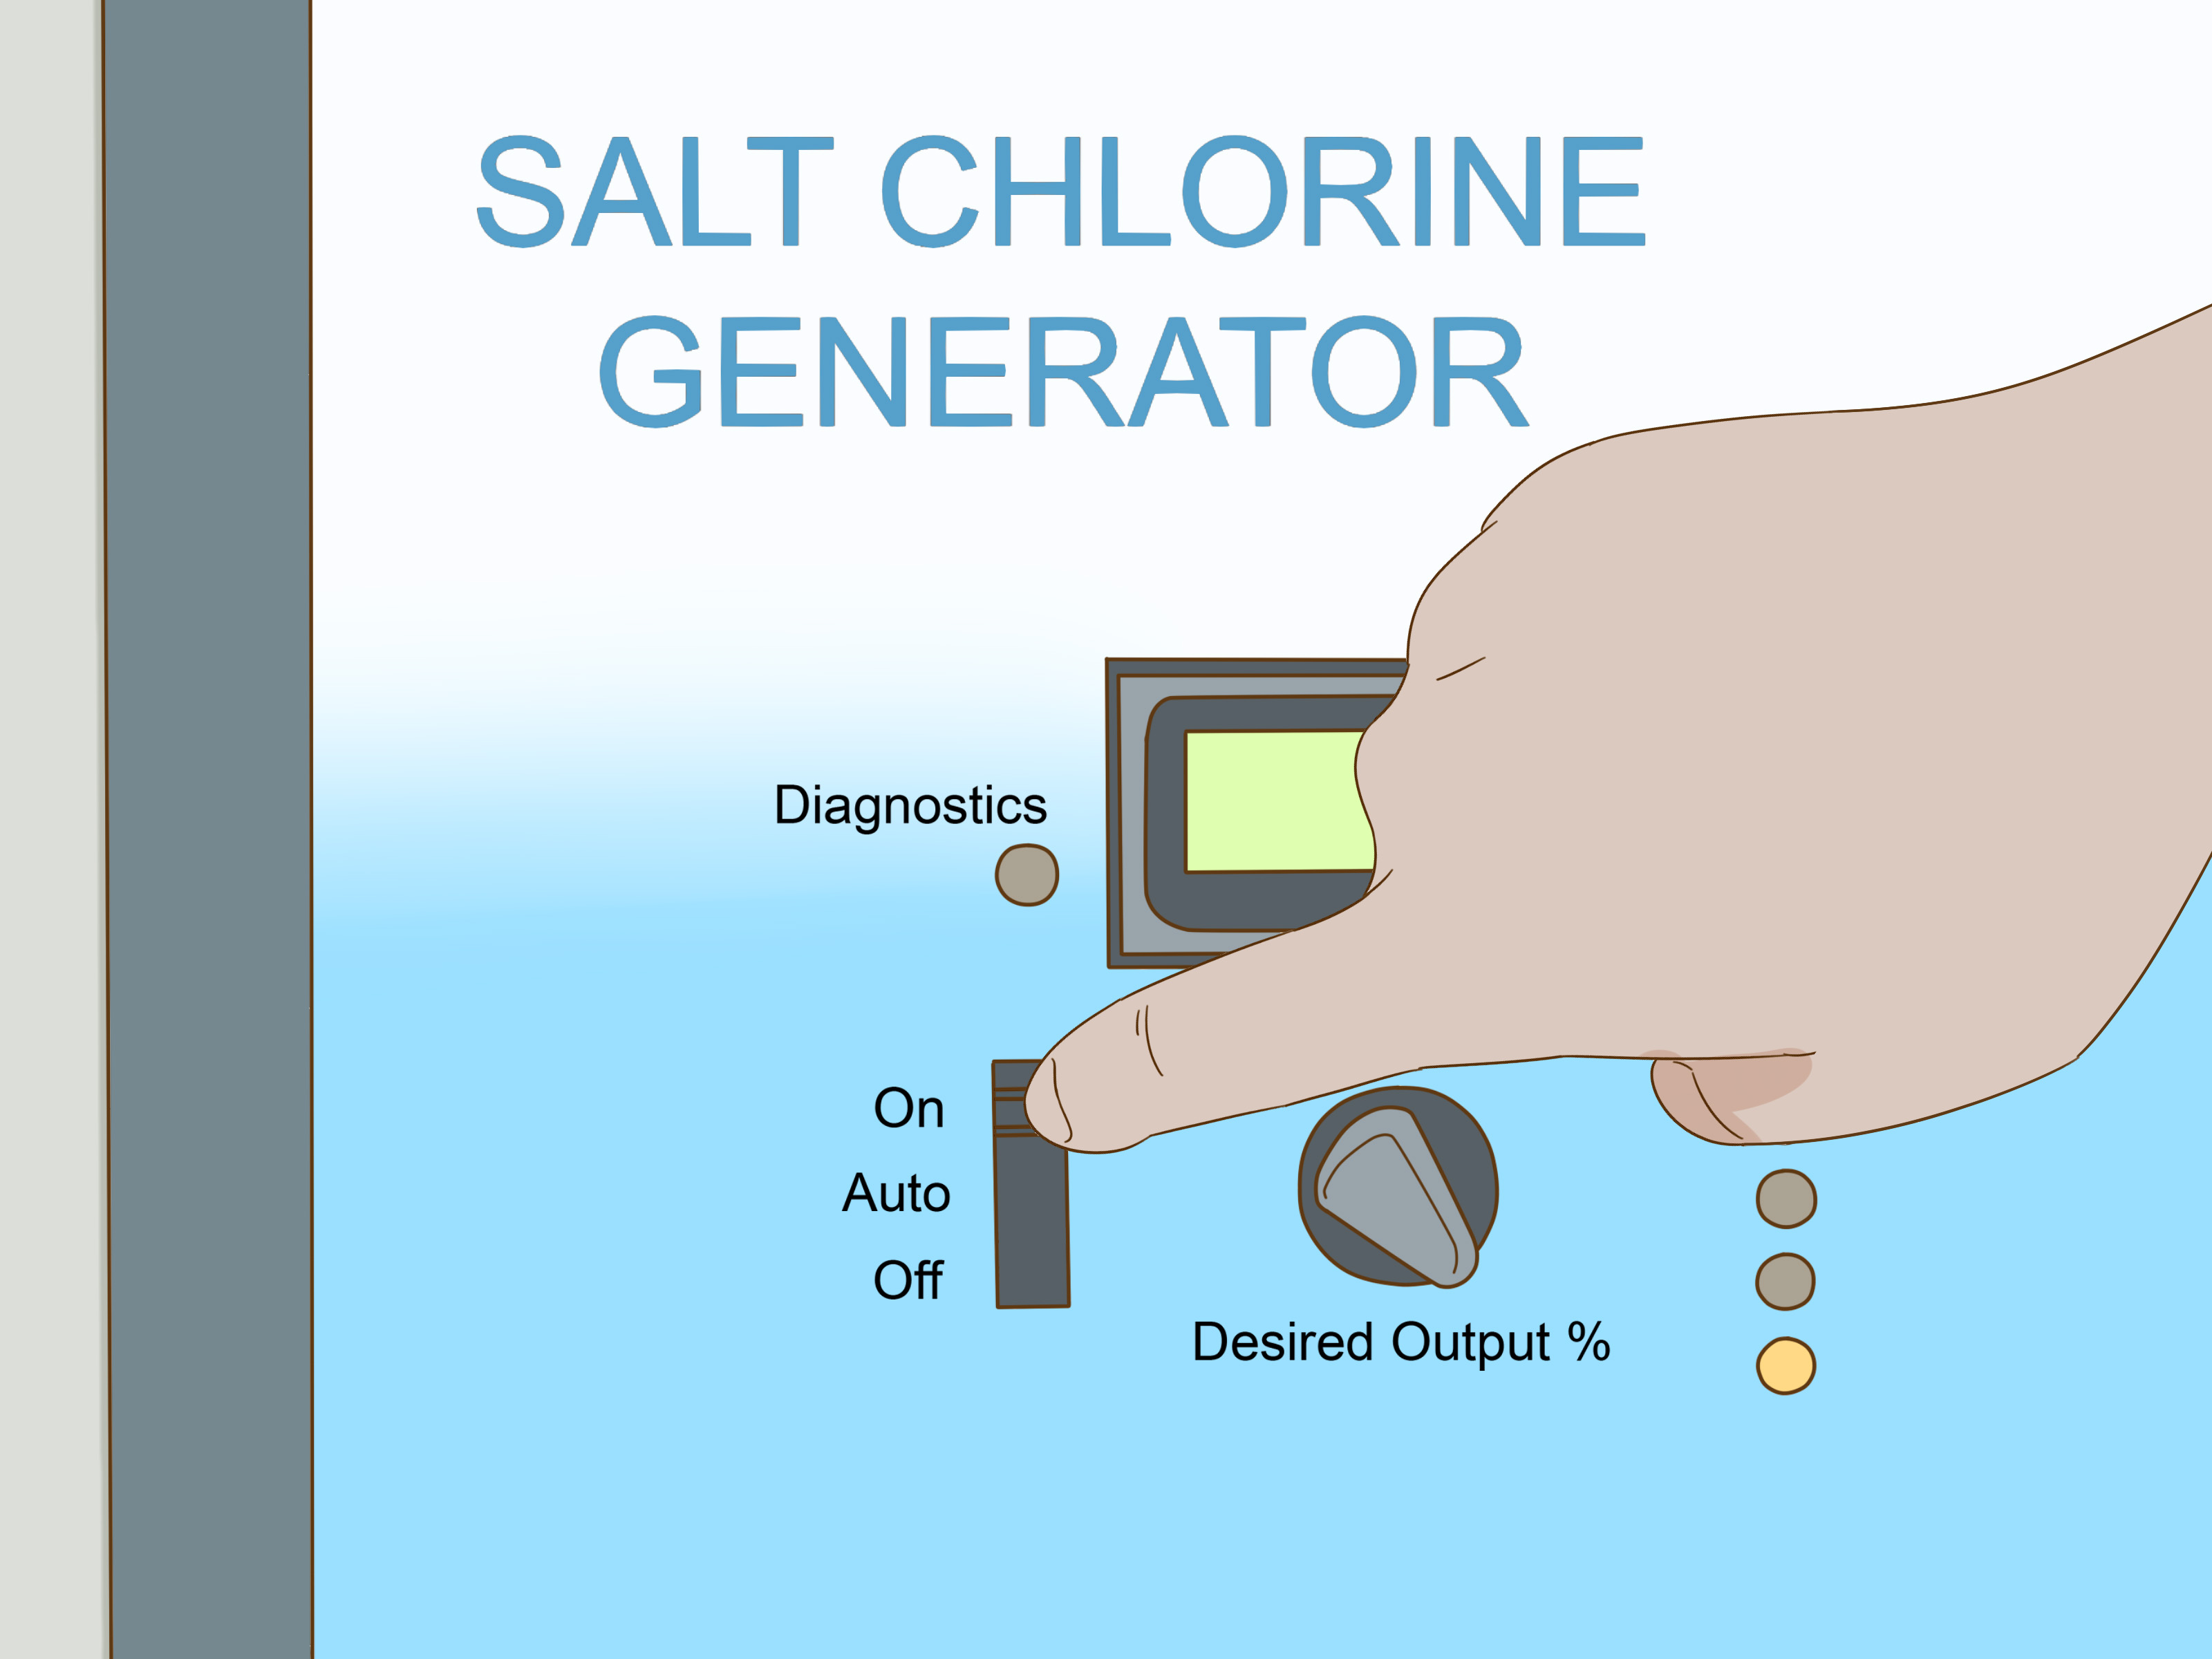
Before adding salt, turn on the pool pump so the water is moving. Circulation helps dissolve and distribute the salt evenly. Many manufacturers also recommend turning the salt chlorine generator off or setting chlorine production to zero while the new salt dissolves. This helps avoid false readings and protects the cell from concentrated salt passing through the system too soon.
Keep the pump running during and after application. Good circulation is your friend here. Without it, salt can sit on the floor, collect in piles, dissolve slowly, and potentially irritate certain pool surfaces. Think of the pump as the pool’s mixing spoon, except much more expensive and less likely to fit in a kitchen drawer.
Step 8: Add Salt Directly to the Pool Water
Open the bags and slowly broadcast the salt across the pool surface, especially around the outer perimeter or shallow end where you can brush it easily. Do not dump all the salt into one mountain on the pool floor. Salt piles dissolve slowly and can be rough on surfaces if left sitting too long.
Never add pool salt through the skimmer, main drain, surge tank, or directly into plumbing. Concentrated salt entering equipment can clog filters, confuse sensors, or damage components. The pool itself is the correct place for salt. The skimmer is not a snack chute.
If it is windy, pour carefully and stay close to the water. Pool salt is not dangerous like some harsher chemicals, but you still do not want salt dust blowing into your eyes or all over nearby plants, furniture, or stonework.
Step 9: Brush Until the Salt Starts Dissolving
After spreading the salt, brush the pool floor to move any crystals that settled. Pay attention to corners, steps, benches, and low-circulation areas. Brushing helps the salt dissolve faster and prevents piles from sitting on the surface.
Most fine pool salt begins dissolving quickly, but full mixing can take several hours. Larger crystals may take longer. Keep the pump running and brush again if you still see salt on the floor after an hour or two.
This step is simple but important. Pool owners who skip brushing often end up staring at little white heaps on the floor, wondering why the water looks like it is storing margarita rim supplies. Move the salt around and let circulation do the rest.
Step 10: Wait, Circulate, and Retest
After adding salt, allow the water to circulate long enough for the salt to dissolve and distribute evenly. Many pool owners wait 24 hours before trusting the final salt reading. Some systems may update sooner, but patience gives you a more accurate result.
During this time, leave the pump running as recommended by your equipment manufacturer. If your manual says to keep the chlorinator off for a specific period, follow that instruction. Once the salt is fully dissolved and the reading is stable, turn the generator back on or return it to the normal output percentage.
Retest the salinity before adding more. If you added slightly less than calculated, this is where you fine-tune. Add small amounts, circulate, and retest again. Slow and steady wins the pool-care race, which is a very calm race with flip-flops.
Step 11: Monitor the Pool After the Salt Addition
Once your salt level is in range, check that the generator is producing chlorine properly. Test free chlorine and pH regularly. Saltwater pools can experience rising pH over time, so do not ignore water balance just because the system feels automatic.
Also inspect the salt cell as part of routine maintenance. Scale buildup can reduce performance and cause inaccurate readings. If your system keeps showing low salt even after testing confirms proper salinity, clean the cell according to the manufacturer’s instructions or ask a pool professional to inspect it.
You usually do not need to add salt every month. In most pools, salt remains in the water and only needs replacement after dilution, splash-out, backwashing, leaks, draining, or overflow. Monthly salt testing is a smart habit, but monthly salt dumping is not.
How Much Salt Should You Add? Simple Examples
Here are a few practical examples to make the math easier:
- 10,000-gallon pool from 0 ppm to 3,200 ppm: about 267 pounds, or roughly seven 40-pound bags.
- 10,000-gallon pool from 2,400 ppm to 3,200 ppm: about 67 pounds, or about one and two-thirds bags.
- 15,000-gallon pool from 2,600 ppm to 3,200 ppm: about 75 pounds, or almost two bags.
- 20,000-gallon pool from 2,800 ppm to 3,200 ppm: about 67 pounds, or about one and two-thirds bags.
These numbers are estimates. Always check your equipment’s ideal salt range and retest after circulation. If your pool store test, test strip, and system display disagree wildly, do not solve the mystery by adding random salt. Confirm the reading first.
Common Mistakes to Avoid When Adding Salt
Adding Salt Without Testing
This is the classic mistake. A low-salt warning may mean the salt is low, but it can also point to a dirty cell, cold water, poor flow, or sensor trouble. Always test before adding.
Using the Wrong Salt
Use pool-grade salt. Avoid products with iodine, yellow prussiate of soda, rust-colored impurities, or mystery additives. The cleaner the salt, the happier your water and equipment will be.
Pouring Salt Into the Skimmer
Salt should go into the pool water, not through the skimmer or plumbing. Broadcasting it across the pool allows it to dissolve safely and evenly.
Not Brushing the Salt
Salt piles can sit on the floor and dissolve slowly. Brush them until they disperse. It is a small job with a big payoff.
Overshooting the Target
Adding too much salt is annoying because the main fix is dilution. If you are unsure, add less than calculated, circulate, retest, and adjust.
Can You Swim Right After Adding Salt?
In many cases, swimming can resume once the salt is fully dissolved, the water is clear, and chlorine and pH are in the proper range. However, follow your salt product label and equipment manual. If salt crystals are still visible on the floor, wait and brush. Nobody wants to step into a crunchy shallow end.
If you also added acid, shock, stabilizer, or other chemicals, follow those product labels separately. Pool salt may be mild compared with some pool chemicals, but the whole water balance picture matters.
Extra Experience: Lessons From Real-Life Salt Pool Care
The easiest salt additions usually happen when the pool owner does three things well: tests first, adds slowly, and brushes thoroughly. Most problems begin when someone sees a low-salt light and immediately throws in bags without checking whether the reading is accurate. A salt system is helpful, but it is not an all-knowing pool wizard. It measures conditions through equipment that can be affected by water temperature, scale, flow, and age.
One practical habit is to keep a small pool log. Write down the date, salt reading, water temperature, how much salt you added, and the reading after 24 hours. This sounds boring until it saves you from guessing. If your pool always loses salt after heavy rain or backwashing, the log will show the pattern. If your panel starts drifting away from test-strip results, the log may help you spot a cell issue early.
Another useful lesson is to treat startup differently from routine maintenance. When converting a traditional chlorine pool to a saltwater system, you may need several full bags of salt because you are raising the pool from a low baseline. But during normal operation, you may need only a partial bag after dilution. Many beginners keep adding salt as though the generator consumes it like fuel. It does not. The salt is recycled through the chlorination process, so routine losses are usually from water leaving the pool.
Pool surface type also matters. Fresh plaster often needs curing time before salt is added, while vinyl and fiberglass pools may allow salt at startup depending on manufacturer instructions. If your pool is newly resurfaced, do not rush. Salt added too soon may interfere with surface curing or contribute to finish problems. The pool may look ready, but new surfaces have their own timeline.
It also helps to add salt when you have time to supervise the pool for a while. Choose a calm day, turn on the pump, spread the salt evenly, brush it around, and check again later. Do not add salt five minutes before leaving for a weekend trip. The pool might be fine, but pool ownership has a sense of humor, and it is not always kind.
Finally, remember that saltwater pools are easier in many ways, but they are not maintenance-free. You still need to test chlorine, pH, alkalinity, stabilizer, and calcium hardness. You still need to clean the pool, empty baskets, inspect equipment, and watch for scale. The reward is steady chlorination, pleasant-feeling water, and fewer manual chlorine additions. The price is paying attention before small issues become expensive ones.
Conclusion
Adding salt to a pool is one of the simplest saltwater pool maintenance tasks, but doing it correctly protects your chlorine generator, pool surfaces, plumbing, and water quality. Start with your owner’s manual, test the current salinity, calculate the amount based on pool volume, and use high-purity pool salt. Add it directly to the pool with the pump running, spread it around the perimeter, brush until dissolved, and retest after circulation.
The big rule is simple: do not guess. Salt is easy to add but harder to remove. Add less if you are uncertain, give the water time to mix, and fine-tune from there. Your pool will reward you with cleaner water, fewer warning lights, and a much lower chance of standing at the equipment pad muttering, “What now?”