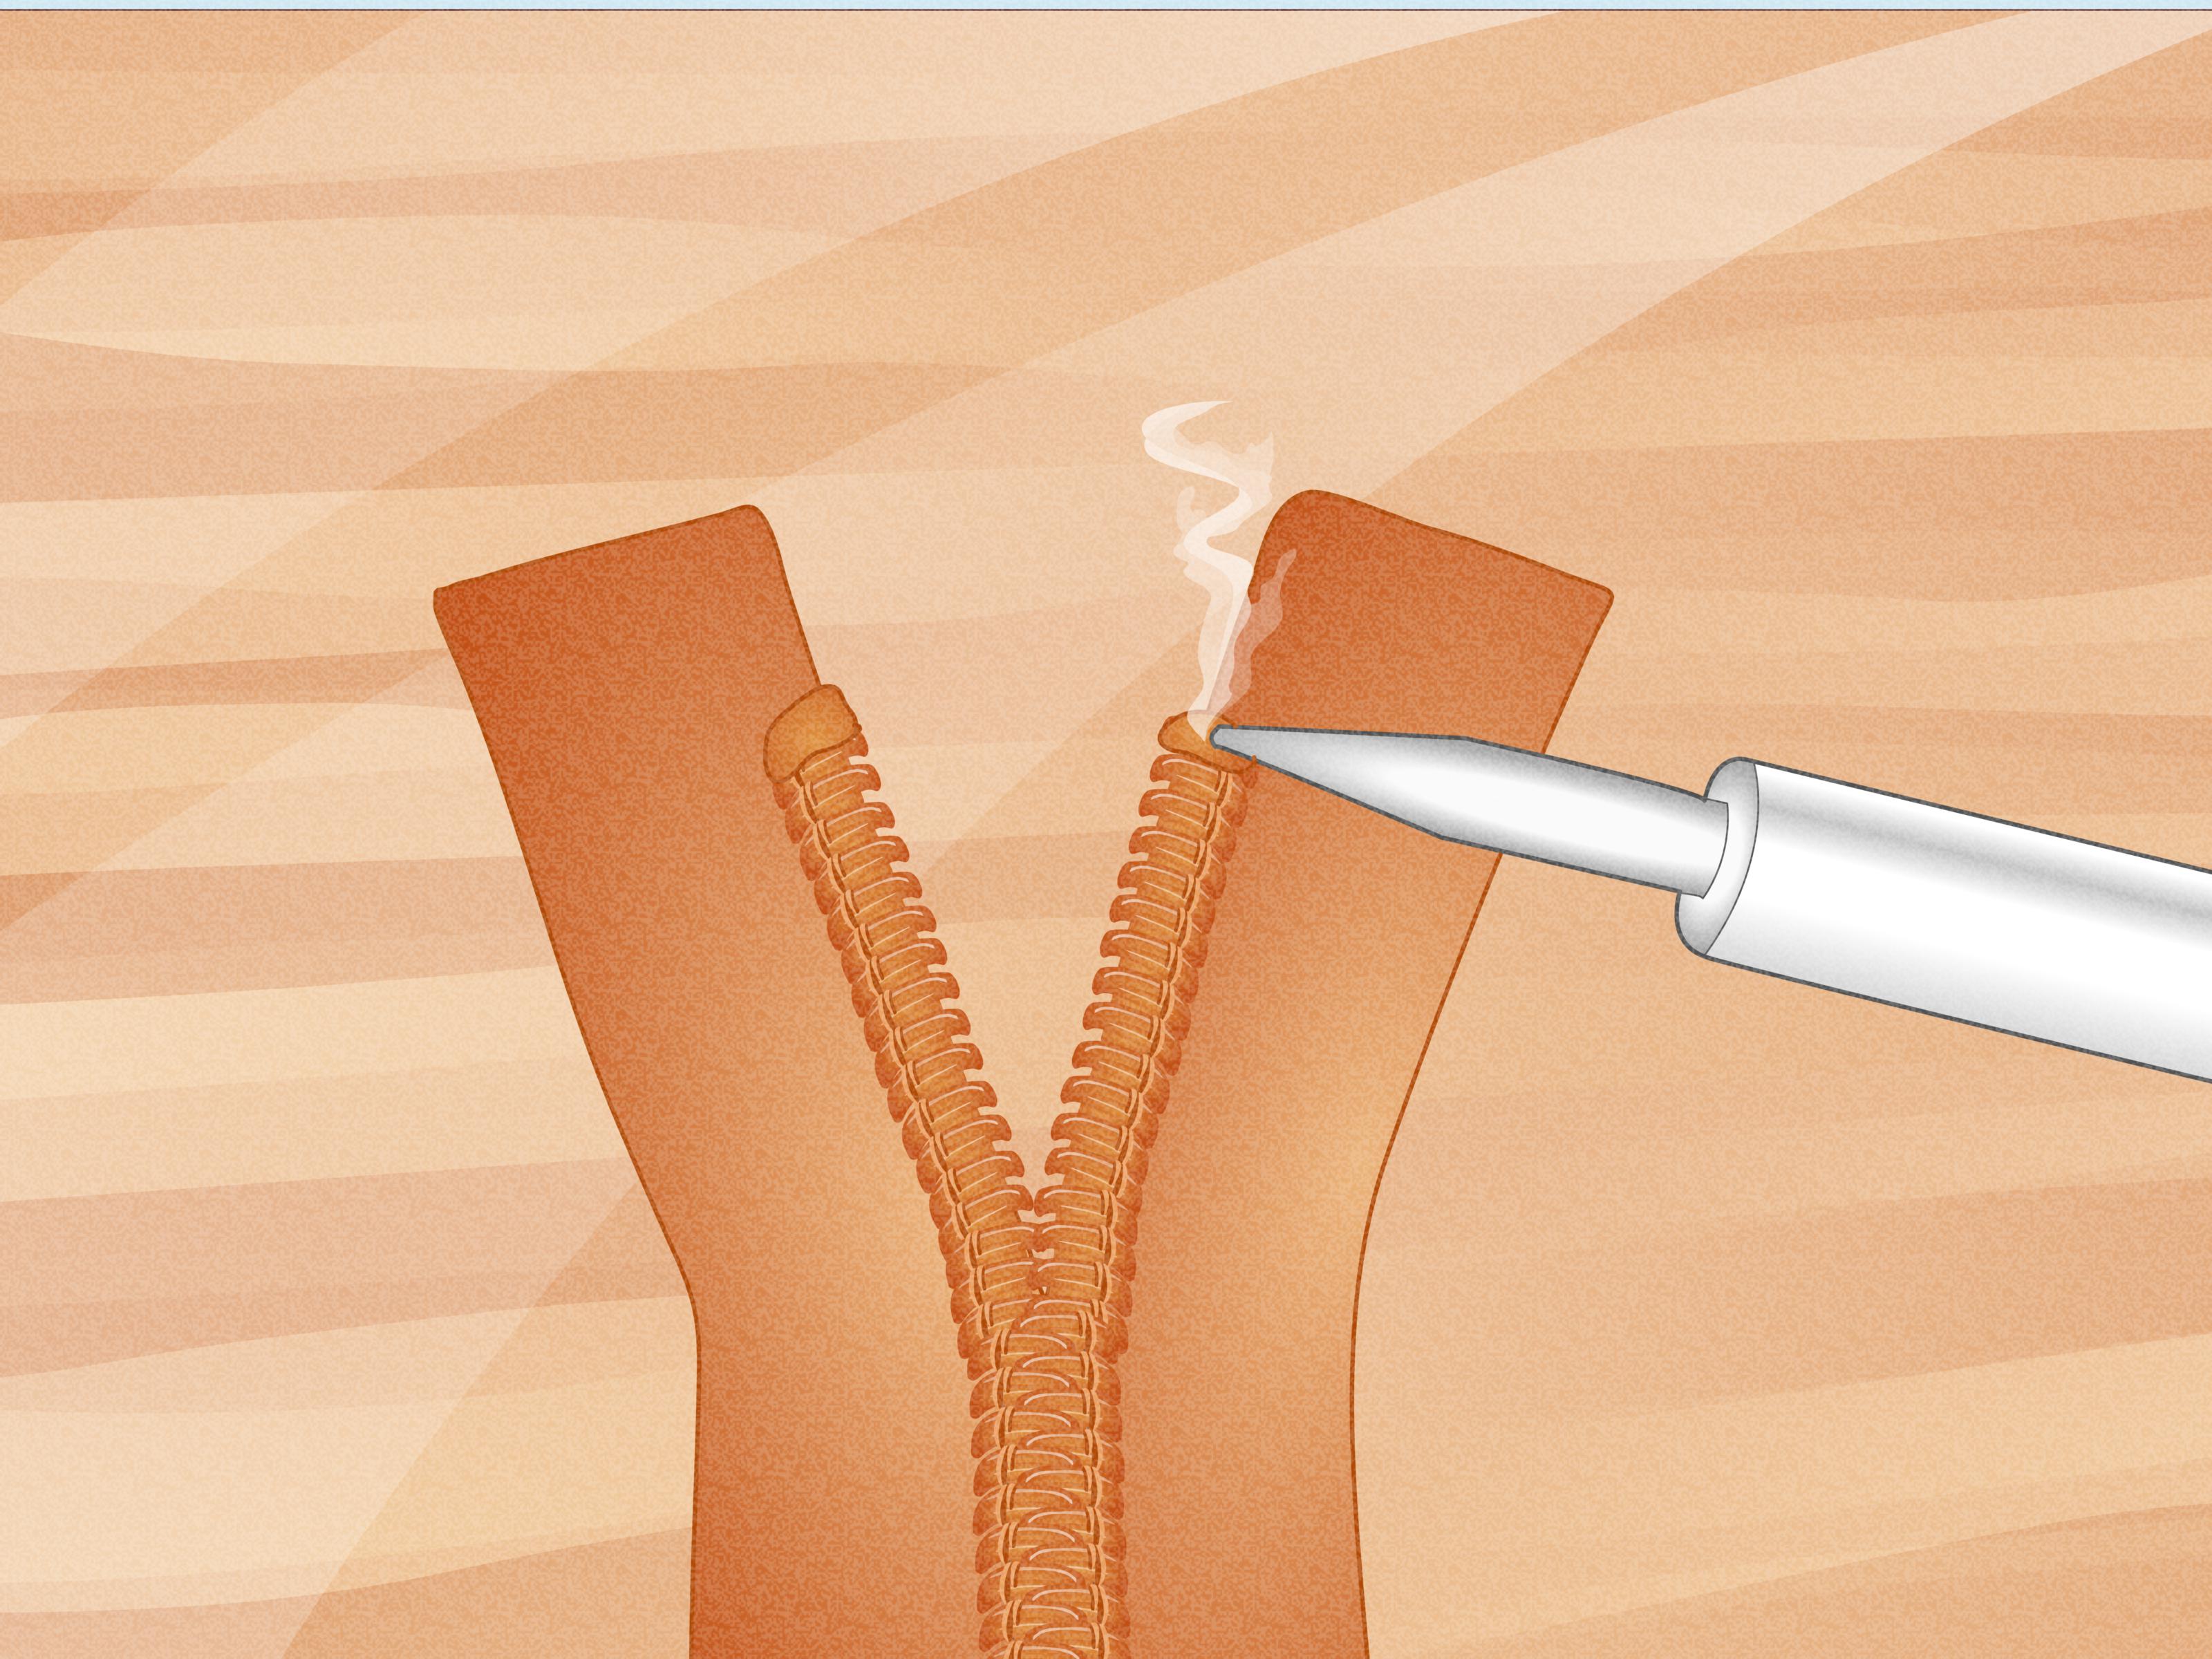
Soldering wires looks intimidating the first time you see a hot iron, a tiny roll of shiny metal, and two loose wires waiting for surgery. The good news? Learning how to solder wires is not wizardry. It is a practical skill built on three simple ideas: clean metal, controlled heat, and patience. The bad news? Your first joint may look like a silver potato. That is normal. Even electronics pros have made blobs that looked like they escaped from a sci-fi movie.
Whether you are repairing a broken headphone cable, building a custom LED strip, fixing a toy, wiring a model train, or assembling a small electronics project, a good solder joint creates a strong electrical connection that can last for years. A bad solder joint, however, can cause flickering lights, intermittent power, weak signals, mystery failures, and the deeply annoying phrase, “It worked five minutes ago.”
This guide explains how to solder wires step by step, what tools you need, how to avoid common mistakes, and how to make your solder joints cleaner, safer, and more reliable. We will focus on electronics and low-voltage wiring, not plumbing, jewelry, or household mains wiring. If you are working with high voltage, automotive safety systems, lithium batteries, or anything that could start a fire, take extra care and follow the device manufacturer’s instructions.
What Soldering Actually Does
Soldering joins metal surfaces using a filler metal called solder. In electronics, the solder melts at a lower temperature than the wires themselves. When the wire is heated properly, the solder flows around the copper strands, bonds to the surface, and cools into a conductive joint.
The key phrase is “heated properly.” You are not supposed to melt solder onto a cold wire like frosting on a cupcake. Instead, heat the wire first, then let the wire melt the solder. When solder flows because the metal is hot enough, it creates a much better bond. When solder only melts on the iron and gets smeared onto the wire, it often forms a weak, dull, unreliable cold solder joint.
Tools and Materials You Need
Soldering Iron or Soldering Station
A basic soldering iron can work, but a temperature-controlled soldering station makes learning much easier. For most wire soldering projects, an iron in the 25- to 60-watt range is enough. A temperature-controlled station lets you set the heat instead of guessing whether the iron is too cool, too hot, or simply having a dramatic day.
For electronics soldering, many people work around 650°F to 750°F. Leaded solder generally melts and flows at lower temperatures than lead-free solder. Lead-free solder often needs more heat and slightly more patience. Always check the solder manufacturer’s recommendation and avoid turning the iron to maximum just because you are in a hurry. Too much heat can melt insulation, damage components, and cook flux into crusty sadness.
Rosin-Core Electronics Solder
Use rosin-core solder for electronics. The flux inside the solder helps clean oxidation from the metal and helps the solder flow. For hobby electronics, thin solder wire is easier to control than thick solder. A common diameter such as 0.6 mm to 1.0 mm works well for many wire jobs.
Avoid acid-core solder for electronics. Acid flux is used for certain plumbing and metalwork tasks, but it can corrode electrical connections over time. In other words, it may seem helpful today and become a tiny villain later.
Wire Strippers, Cutters, and Helping Hands
Wire strippers remove insulation cleanly without cutting into the copper strands. Side cutters trim excess wire. Helping hands, a soldering vise, tweezers, or a silicone soldering mat can hold the wires steady while you work. This matters because molten solder does not appreciate being jiggled. If the joint moves while cooling, it can become grainy and weak.
Heat-Shrink Tubing or Electrical Tape
Heat-shrink tubing is the cleaner and more durable choice for insulating soldered wires. Slide it onto one wire before soldering. Yes, before. Every soldering beginner eventually creates one perfect joint and then realizes the heat-shrink tubing is still sitting on the table, watching silently. Do not join that club twice.
Ventilation and Safety Gear
Soldering creates fumes from heated flux, so work in a well-ventilated area. A small fume extractor, fan, or local exhaust setup can help move fumes away from your breathing zone. Wear eye protection because solder can occasionally spit. Keep the hot iron in its stand, never on the bench, and wash your hands after soldering, especially if you use leaded solder.
Before You Start: Prepare the Wires
Step 1: Choose the Right Wire and Solder
Match the wire size to the current and project requirements. Thin signal wires are fine for sensors, small LEDs, and low-current circuits. Motors, heaters, battery leads, and power connections may need heavier wire. Solder is not a substitute for proper wire size. It is a connector, not a superhero cape.
Step 2: Cut and Strip the Wire
Cut the damaged or uneven wire ends cleanly. Strip about 1/4 inch to 1/2 inch of insulation, depending on the wire gauge and the type of splice. Use the correct notch on your wire stripper. If you nick or break too many strands, cut the end off and try again. Missing strands reduce strength and can increase resistance.
Step 3: Twist the Strands
For stranded wire, gently twist the exposed copper so the strands stay together. Do not twist so aggressively that the wire becomes stiff and brittle. The goal is neatness, not a rope-making competition.
Step 4: Add Heat-Shrink Tubing
Slide a piece of heat-shrink tubing onto one side of the wire before joining the wires. Move it far enough away from the soldering area so it does not shrink early from the iron’s heat. Choose tubing that fits over the finished joint but shrinks tightly around the insulation.
How To Solder Two Wires Together
Step 1: Make a Mechanical Connection
Before adding solder, connect the wires mechanically. A good soldered wire splice should not depend only on solder for strength. For inline splices, overlap the stripped ends and twist them together. For a stronger joint, use a lineman splice, also called a Western Union splice: cross the exposed wire ends, wrap each end around the other wire several times, and keep the splice compact.
For small electronics projects, you can also use a simple hook splice. Bend each stripped end into a small hook, link the hooks together, squeeze gently, and solder the connection. The best method depends on space, wire gauge, and how much strain the joint will experience.
Step 2: Tin the Soldering Iron Tip
Turn on the soldering iron and let it reach temperature. Clean the tip on a damp sponge or brass wool, then apply a tiny amount of solder to the tip. This is called tinning. A tinned tip transfers heat better than a dry, oxidized tip. If your iron tip is black, crusty, and refusing to melt solder, clean and re-tin it before blaming the universe.
Step 3: Heat the Wire, Not Just the Solder
Place the soldering iron tip under or against the wire joint. Touch the iron so it contacts as much metal as possible. For larger wires, use a tip with enough surface area to transfer heat efficiently. A tiny needle tip may be excellent for micro work but frustrating for heavier wire.
Give the joint a second or two to heat. Then touch the solder to the opposite side of the wire, not directly to the iron tip. If the wire is hot enough, the solder will melt and wick into the strands. This is the magic moment. It should look smooth and controlled, not like you are feeding spaghetti to a dragon.
Step 4: Use Enough Solder, But Not Too Much
Add enough solder to wet the copper and fill the joint without creating a huge blob. You should still be able to see the shape of the wire strands under the solder. If the joint becomes a shiny ball, you probably used too much solder or did not heat the wire evenly.
Step 5: Remove the Solder, Then the Iron
Once the solder has flowed through the joint, remove the solder wire first. Then remove the iron. Keep the wires still while the solder cools. This only takes a few seconds, but those seconds matter. Movement during cooling can create a dull, cracked, unreliable joint.
Step 6: Inspect the Joint
A good solder joint should look smooth, secure, and fully wetted. With many solders, especially traditional tin-lead solder, the joint often appears shiny. Some lead-free solders may look slightly less shiny even when good, so do not judge by shine alone. Look for full coverage, no loose strands, no cracks, and no giant lump of solder hiding the wire shape.
Step 7: Insulate the Joint
Slide the heat-shrink tubing over the cooled joint. Use a heat gun to shrink it evenly. Do not use the side of the soldering iron unless you enjoy melted plastic fumes and regret. In a pinch, electrical tape can work for temporary insulation, but heat-shrink tubing is neater and usually more reliable.
How To Solder a Wire to a Terminal or Pad
Soldering a wire to a terminal, switch lug, LED strip pad, or circuit board pad follows the same basic principle: heat both surfaces, then apply solder so it flows between them.
Tin the Wire First
Strip the wire, twist the strands, and apply a small amount of solder to the exposed copper. This is called tinning the wire. It keeps the strands together and helps the wire bond quickly to the terminal or pad.
Tin the Terminal or Pad
If appropriate, apply a small amount of solder to the terminal or pad as well. Be careful with delicate circuit board pads and LED strips because too much heat can lift the copper from the surface.
Join the Two Tinned Surfaces
Place the tinned wire on the tinned terminal. Touch the iron to the joint until the solder on both surfaces melts together. Remove the iron and hold everything still until the solder solidifies. The finished connection should be compact and secure.
Common Soldering Mistakes and How To Fix Them
Cold Solder Joint
A cold solder joint happens when the metal surfaces were not hot enough or the joint moved while cooling. It may look dull, rough, cracked, or lumpy. To fix it, reheat the joint until the solder flows smoothly. Add a tiny bit of fresh solder if needed because fresh flux helps the solder reflow.
Solder Will Not Stick
If solder beads up and refuses to stick, the wire may be dirty, oxidized, coated, or not hot enough. Clean the copper, apply flux if necessary, and make sure the iron tip is clean and tinned. Some wires, such as enamel-coated magnet wire, need the coating removed before soldering.
Melted Insulation
Melted insulation usually means too much heat for too long. Use a hotter iron briefly instead of a cooler iron for a long time. That may sound backwards, but a properly heated joint solders quickly. Also use heat sinks, clips, or more distance when working near delicate insulation.
Too Much Solder
Too much solder can hide problems and make the joint bulky. Remove excess solder with solder wick or a desoldering pump. Then reflow the joint neatly. A good solder joint is not judged by weight. This is not a fishing contest.
Weak Mechanical Joint
If the wires pull apart easily, the splice may not have had enough mechanical strength before soldering. Re-strip the wires and make a better twist, hook, or lineman splice. Solder should lock the joint in place and improve conductivity, but the wires should already be physically connected.
Best Practices for Stronger Wire Soldering
Keep your soldering iron tip clean. Clean it before making each joint and keep it lightly tinned. Use the right tip size for the job. A small conical tip may struggle with thick wire because it cannot transfer enough heat. A chisel tip often works better for wire splices because it has more contact area.
Use flux when needed. Rosin-core solder already contains flux, but old wire, oxidized terminals, or difficult surfaces may benefit from extra electronics-safe flux. Use only the amount needed and clean residue if your flux requires cleaning.
Support the joint after soldering. If the wire will move, vibrate, or be pulled, add strain relief. Heat-shrink tubing helps, but cable ties, clamps, adhesive-lined heat-shrink, or proper connectors may be better for high-movement areas. Soldered joints can become stiff, and repeated bending right next to the solder can eventually break copper strands.
Practice on scrap wire before touching the real project. Soldering is partly muscle memory. After ten practice joints, your hands calm down. After twenty, you start to recognize the moment solder flows correctly. After fifty, you may become the person who says, “Let me fix that,” at family gatherings. Use this power responsibly.
Safety Tips You Should Not Skip
Always place the soldering iron in its stand when not in use. The metal tip can reach temperatures that burn skin instantly and damage furniture impressively fast. Keep cords organized so the iron cannot be pulled off the bench. Work on a heat-resistant surface, not directly on your kitchen table unless you want a permanent reminder of your electronics phase.
Use ventilation. Flux fumes rise from the joint and can drift directly into your face if you lean over the work. A small fume extractor or fan positioned to pull fumes away from you makes soldering more comfortable and safer. Avoid breathing the smoke, even if it smells oddly nostalgic.
Do not eat, drink, or smoke while soldering. Wash your hands afterward. If you use leaded solder, treat cleanliness seriously. Lead exposure from hobby soldering is mainly a hand-to-mouth concern, so keeping your work area clean and washing your hands are simple but important habits.
Unplug or power down the iron when finished. Many modern soldering stations have standby features, but you should still build the habit of turning off the station. A forgotten iron is bad for the tip and worse for fire safety.
When Not To Solder Wires
Soldering is useful, but it is not always the best choice. For automotive wiring exposed to vibration, properly crimped connectors are often preferred. For mains wiring in walls, follow electrical code and use approved connectors. For high-current battery systems, use connectors and wire sizes rated for the load. For wires that must be disconnected later, consider terminal blocks, crimp connectors, plug connectors, or screw terminals.
Soldered joints are excellent for many electronics repairs and low-voltage projects, but they can become rigid. If a wire flexes repeatedly at the edge of the solder, it may eventually fail. The solution is not to avoid solder forever; it is to design the connection with strain relief and insulation.
Real-World Experiences: What Actually Helps When Learning How To Solder Wires
The first practical lesson about soldering wires is that setup matters more than confidence. Many beginners think the problem is their hands, when the real issue is that the wires are rolling around, the solder is too thick, the iron tip is dirty, and the heat-shrink tubing has already been forgotten. A stable work area makes soldering feel dramatically easier. Clamp the wires, arrange the solder where your hand can reach it, keep the iron stand close, and make sure your lighting is good. Soldering in a dim corner is how you accidentally create modern art.
Another experience-based tip: practice with the same type of wire you plan to use. Thin stranded silicone wire behaves differently from stiff hookup wire. Old speaker wire behaves differently from fresh copper wire. LED strip pads are delicate and heat-sensitive. Battery leads can absorb heat like tiny copper radiators. If your real project matters, make two or three practice joints first. You will quickly learn how long the joint takes to heat and how much solder it wants.
One common beginner mistake is using the iron like a paintbrush. People melt solder onto the tip and smear it onto the wire. Sometimes this appears to work, but the solder may sit on top instead of bonding properly. The better habit is to heat the wire and feed solder into the joint. When the wire reaches the right temperature, solder suddenly flows into the strands. That moment is easy to see once you have watched it a few times. It looks less like dripping glue and more like water soaking into a paper towel.
Heat control is another lesson learned through small failures. If the insulation melts before the solder flows, the joint is taking too long to heat. That can happen because the iron is too cool, the tip is too small, the tip is dirty, or the wire is too large for the tool. A clean chisel tip can often solder a wire faster and with less insulation damage than a tiny pointed tip. Bigger is not always clumsy; sometimes bigger transfers heat better and finishes the job sooner.
It also helps to learn what a good joint feels like. After the solder cools, give the wires a gentle tug. Do not yank like you are starting a lawn mower, but apply enough force to confirm the joint is secure. If it separates, that is useful feedback, not failure. Cut it off and make another. Scrap wire is the tuition fee for soldering school, and fortunately it is cheaper than most schools.
For repair work, take photos before you remove wires. Label wires with masking tape if there are several colors or similar connections. Many soldering disasters are not caused by bad soldering; they are caused by forgetting which wire went where. A clean solder joint connected to the wrong terminal is still wrong, just more professionally wrong.
Finally, do not chase perfection so hard that you overheat the joint. Beginners sometimes rework the same connection again and again because it is not beautiful enough. Function comes first: clean, secure, insulated, and electrically sound. With practice, beauty follows. Your early solder joints may not belong in a NASA inspection manual, but if they are strong, properly wetted, and protected with heat-shrink tubing, they can serve perfectly well in everyday electronics projects.
Conclusion
Learning how to solder wires is one of the most useful skills in electronics repair and DIY projects. The process is simple in theory: strip the wires, make a mechanical connection, heat the joint, feed in rosin-core solder, let it flow, cool it without movement, inspect it, and insulate it. The improvement comes from practice. Each joint teaches your hands how heat moves, how solder behaves, and how much patience is enough.
Start with scrap wire, use the right tools, keep your soldering iron tip clean, work with ventilation, and protect every finished joint with heat-shrink tubing. Before long, soldering wires will stop feeling like a risky operation and start feeling like a satisfying little repair ritual. There is something deeply pleasing about turning two loose copper ends into one clean, reliable connection. It is practical, it is empowering, and yes, it makes you feel just a little bit like a garage-lab wizard.