Note: This guide covers pencil and artist erasers, including vinyl, rubber, gum, kneaded, and pencil-top erasers. It does not refer to melamine foam “Magic Eraser” household cleaning sponges.
An eraser is supposed to rescue your homework, sketchbook, or business notes from pencil-related embarrassment. But after enough use, even a once-pristine white eraser can turn gray, smudgy, and suspiciously like it has been living under a couch.
The good news is that a dirty eraser is not automatically a useless eraser. Most of the time, it is simply carrying graphite, colored-pencil pigment, paper fibers, dust, and tiny crumbs from past mistakes. Cleaning it can help it erase more neatly, reduce smudging, and make your page look less like it survived a tiny charcoal explosion.
Below are three simple ways to clean an eraser, along with tips for choosing the right method, avoiding damage, and knowing when your eraser has officially reached retirement age.
Why Do Erasers Get Dirty?
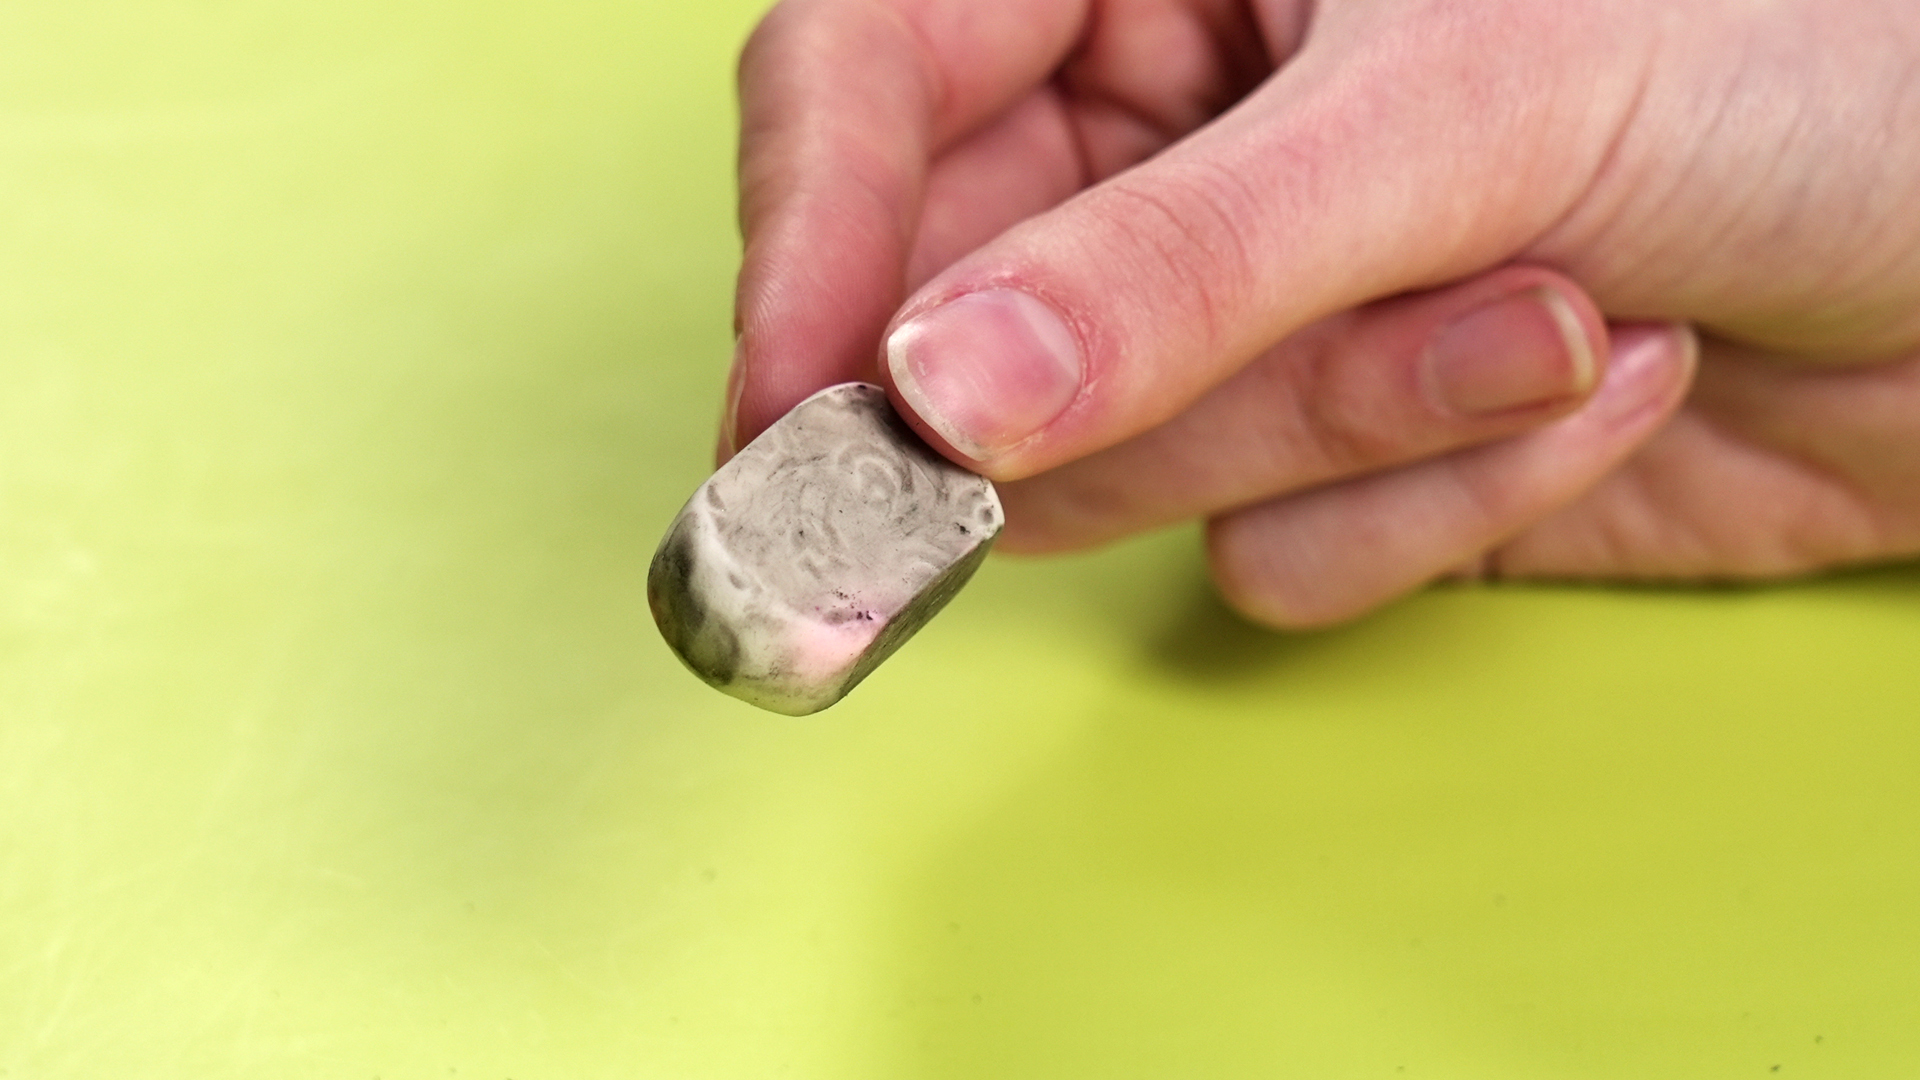
Before cleaning an eraser, it helps to understand what is actually happening. When you erase pencil marks, friction helps the eraser lift graphite from paper. Some graphite and paper fibers cling to the eraser’s surface. Over time, that buildup can make the eraser look dark, streaky, or greasy.
Different eraser materials behave differently. A white vinyl or plastic eraser often collects dark graphite marks on its outer layer. A pink rubber eraser may become dull and stained. A gum eraser naturally crumbles as it works, while a kneaded eraser absorbs drawing material and slowly becomes darker throughout its surface.
This is why there is no single best method for cleaning every eraser. The right approach depends on whether your eraser is firm, soft, crumbly, moldable, attached to a pencil, or wearing a cardboard sleeve like it has an important office job.
Before You Clean: Identify Your Eraser Type
Vinyl and Plastic Erasers
These are usually white, firm, smooth, and common in school supplies and art kits. Vinyl erasers are popular because they can remove graphite cleanly with light pressure and are often suitable for detailed work.
Pink Rubber Erasers
The classic pink eraser is a familiar sight on yellow pencils and classroom desks. It can handle everyday pencil marks, but it may leave crumbs, smear soft graphite, or become stained more quickly than a higher-quality plastic eraser.
Gum Erasers
Gum erasers, sometimes called art gum erasers, are soft and crumbly. Their crumbs are part of the design, not a sign that the eraser is having a dramatic breakdown. They are often used for graphite, charcoal, and delicate paper because they tend to lift material while crumbling away.
Kneaded Erasers
Kneaded erasers are soft, moldable, and especially useful for charcoal, graphite, and pastel drawing. Instead of rubbing aggressively, they are often pressed, dabbed, shaped, and lifted from the paper. Think of them as tiny gray yoga instructors for your sketchbook.
Pencil-Top and Mechanical Pencil Erasers
These smaller erasers can be cleaned, but they require more caution. They may be fragile, attached to wood, surrounded by a metal ferrule, or held inside a mechanical pencil barrel. Water is usually not the first choice for these little guys.
Method 1: Rub the Eraser on Clean Paper
The easiest way to clean an eraser is also the least glamorous: use the eraser itself on a clean sheet of paper. This method works best for white vinyl erasers, plastic block erasers, pink rubber erasers, and many pencil-top erasers.
What You Need
- A clean sheet of plain white paper
- Your dirty eraser
- A flat surface
How to Clean an Eraser With Paper
- Place a clean sheet of plain white paper on a desk or table.
- Hold the eraser flat against the paper.
- Rub it gently back and forth in short strokes.
- Rotate the eraser as you work so you do not wear down only one spot.
- Continue until the dark surface marks begin to disappear.
- Brush away the eraser crumbs and test the eraser on another clean area of paper.
The goal is not to erase the paper into another dimension. You are simply rubbing away the stained outer layer of the eraser. Most dirty marks sit near the surface, so a few gentle passes are often enough to make a noticeable difference.
Best Tips for This Method
Use plain white printer paper, sketch paper, or a scrap sheet from an old notebook. Avoid colored paper, heavily printed pages, glossy magazines, and paper covered in ink. Dark dyes or ink can transfer to the eraser and create a brand-new problem, which is not the kind of plot twist anyone needs on a Tuesday.
This method is especially useful before working on clean artwork. If you are about to erase pencil guidelines from a drawing, spending 20 seconds cleaning your eraser first can help prevent unwanted gray streaks on the page.
When Not to Use the Paper Method
Do not aggressively rub a kneaded eraser across paper. Kneaded erasers are designed to lift material through pressing and dabbing, not through intense back-and-forth scrubbing. Also avoid heavy pressure on delicate watercolor paper, thin notebook pages, or old documents, because paper damage is much harder to erase than a pencil mark.
Method 2: Use Fine Sandpaper or an Emery Board
When an eraser has stubborn dark stains, a fine abrasive surface can remove the dirty outer layer more efficiently than paper alone. This method is useful for firm block erasers, pencil-top erasers, pink rubber erasers, and some white vinyl erasers.
Think of it as giving your eraser a tiny, very controlled haircut. The goal is to remove a thin layer, not turn the eraser into a sad rubber potato chip.
What You Need
- Fine-grit sandpaper or a clean emery board
- A paper towel or scrap paper
- A soft brush or dry cloth
How to Clean an Eraser With Sandpaper
- Choose fine-grit sandpaper or a clean nail file with a gentle surface.
- Place the sandpaper on a flat table.
- Hold the eraser lightly and move it across the abrasive surface once or twice.
- Check the eraser after each pass.
- Repeat only as needed until the stained layer is gone.
- Wipe away loose dust with a dry cloth or soft brush.
Fine sandpaper works because it removes a very thin layer of eraser material. This can expose a cleaner surface when graphite or pigment has become embedded in the outer edge.
Use a Light Touch
The biggest mistake people make with this method is getting enthusiastic. Sandpaper is more powerful than it looks. A few light strokes can refresh an eraser, but too much pressure can create rough edges, uneven surfaces, or a shape that feels awkward in your hand.
For a rectangular eraser, try to keep the surface level. For a pencil-top eraser, lightly clean the rounded end without flattening it too aggressively. For an artist’s detail eraser, preserve the sharp edge or narrow point you use for precise lines.
Do Not Sand These Erasers
Skip sandpaper for kneaded erasers, gum erasers, soft crumbly art erasers, and erasers that are already cracked or sticky. A kneaded eraser should be cleaned by kneading and folding it. A gum eraser is naturally crumbly, so sanding it may simply create more crumbs and fewer useful eraser points.
Also avoid sanding an eraser while it is attached to a pencil if the pencil is loose, cracked, or decorated with paint that could rub off onto your work surface.
Method 3: Wipe It With a Damp Cloth and Mild Soap
A damp cloth can work well for solid vinyl or plastic erasers that have surface grime, dust, or sticky residue. This method is best for removable block erasers, especially white plastic or vinyl erasers with smooth surfaces.
The important word here is damp. Your eraser does not need a spa day, a bubble bath, or a dramatic underwater adventure.
What You Need
- A soft microfiber cloth or clean cotton cloth
- Warm water
- A tiny drop of mild dish soap
- A dry towel
How to Clean an Eraser With Soap and Water
- Mix a tiny drop of mild dish soap into a small bowl of warm water.
- Dip a soft cloth into the water and wring it out thoroughly.
- Wipe the eraser gently, focusing on dark or sticky areas.
- Use a second cloth lightly dampened with plain water to remove any soap residue.
- Pat the eraser dry with a towel.
- Let it air-dry completely before using it on paper.
This method is useful when your eraser has collected dust from a desk drawer, picked up a little adhesive residue, or feels grimy from being handled with dirty hands. It can refresh the outside of a solid eraser without removing much material.
Important Water Warnings
Do not soak an eraser in water. Long exposure to water can affect the texture of some eraser materials, loosen a cardboard sleeve, damage the wooden body of a pencil, or create moisture problems inside a mechanical pencil.
Avoid washing pencil-top erasers, eraser caps, and mechanical pencil eraser refills unless they can be safely removed. In most cases, cleaning these smaller erasers with paper or fine sandpaper is safer and easier.
Do not use bleach, acetone, paint thinner, harsh solvents, or strong alcohol-based cleaners on an eraser. These products may dry out, discolor, soften, crack, or permanently damage the material. An eraser is not a kitchen counter, and it does not need industrial-strength chemistry to do its job.
How to Clean a Kneaded Eraser
Kneaded erasers need their own routine because they are designed to absorb graphite, charcoal, and pastel dust. They are not meant to be washed, sanded, or rubbed aggressively across paper.
To clean a kneaded eraser, stretch it, fold it, twist it, and knead it repeatedly. The darker material becomes distributed throughout the eraser, revealing cleaner sections. You can then shape a fresh point, wedge, or rounded dabber for your drawing.
Use clean hands before handling it. Oils, lotion, food residue, and dust can transfer to the kneaded eraser and then onto your artwork. A kneaded eraser can be a brilliant drawing tool, but it is also a tiny magnet for whatever was on your fingers five minutes ago.
Once a kneaded eraser becomes very dark, sticky, brittle, or unable to lift graphite cleanly, it is time to replace it. Trying to force an exhausted kneaded eraser back into service is like asking a used paper towel to become a luxury hotel bathrobe. It has done enough.
How to Keep an Eraser Clean Longer
Store It in a Clean Case
Keep erasers in a pencil case, drawer organizer, or small container rather than loose in the bottom of a backpack. Loose erasers collect lint, crumbs, graphite dust, and mystery particles that may be older than the backpack itself.
Use a Sleeve for Block Erasers
Many block erasers come with paper sleeves. Keep the sleeve on when possible. It helps protect the eraser from hand oils and gives you a better grip while erasing.
Clean Before Important Work
Before erasing pencil lines from a final drawing, a formal worksheet, or a handwritten card, test the eraser on scrap paper. If it leaves gray marks, clean it first. This small habit can save a surprising amount of frustration.
Use the Right Eraser for the Job
A good eraser is not always the toughest eraser. Vinyl erasers are useful for clean, controlled graphite removal. Gum erasers work well for light cleanup and delicate surfaces. Kneaded erasers are excellent for lifting graphite and charcoal without heavy rubbing. Detail erasers help artists erase tiny sections without disturbing nearby lines.
Using the right type reduces the pressure needed to erase, which helps protect your paper and keeps the eraser cleaner for longer.
When Should You Replace an Eraser?
Cleaning can help, but not every eraser is worth saving. Replace an eraser when it becomes cracked, sticky, hardened, severely stained, crumbly in an unusual way, or unable to erase without smearing.
You should also replace it if it starts tearing paper, leaving colored marks, or shedding large chunks. A worn eraser can turn a simple correction into a paper emergency faster than you can say, “I should have used pencil lighter.”
Fortunately, erasers are inexpensive, easy to store, and available in many forms. Keeping a few clean replacements in your pencil case is one of the easiest upgrades you can make to your writing or drawing routine.
Practical Experiences: What Actually Works When Cleaning an Eraser
In real life, the fastest cleaning method is usually the paper method. A white vinyl eraser that looks gray after a long homework session can often be refreshed in less than a minute by rubbing it on blank paper. The first few strokes may leave dark crumbs, but that is usually a good sign. It means the dirty outer layer is coming off instead of being transferred to your next page.
A common experience is discovering that a dirty eraser behaves differently depending on the pencil used. Soft graphite, such as 2B or 4B pencil lead, tends to leave more visible dark buildup than a standard No. 2 pencil. Colored pencils can also leave pigment on an eraser, especially darker shades like navy, black, maroon, and deep green. In these cases, cleaning before switching from sketching to final artwork can make a big difference.
Fine sandpaper is most helpful when an eraser has one stubborn dark side that refuses to become clean. For example, a small pencil-top eraser may develop a black ring around its edge after weeks of use. A light pass over a fine emery board can reveal a cleaner surface quickly. The key is checking after every pass. It is easy to remove enough material to clean the eraser; it is also easy to accidentally reshape it into something that looks like a tiny pink mushroom.
Soap and water can be useful for solid block erasers that have been sitting in a dusty drawer or rolling around in a backpack. A lightly damp microfiber cloth can remove surface grime without making a mess. However, this method is slower because the eraser needs time to dry completely. Using a damp eraser on paper is not ideal, especially for notebooks, thin paper, or artwork where moisture could cause warping.
Kneaded erasers are often misunderstood because they do not look clean after a while. That does not always mean they are unusable. Since they absorb graphite and charcoal, they naturally become gray or dark. Stretching and folding them can expose a cleaner working area. Many artists use a kneaded eraser for a long time by shaping fresh points and dabbing rather than rubbing. Still, once it becomes sticky or leaves marks, replacement is usually more practical than trying to revive it.
Another useful lesson is that clean hands matter more than people expect. Lotion, snack residue, pencil shavings, and skin oils can transfer onto an eraser. Then the eraser transfers those marks to paper. Washing and drying your hands before working on a drawing may sound obvious, but it prevents a lot of annoying smudges.
Testing the eraser on scrap paper is perhaps the most reliable habit of all. It takes only a few seconds and prevents you from dragging a dirty eraser across a final illustration, a school assignment, or a handwritten note. A small test stroke can tell you whether the eraser is clean, too worn, too hard, or simply not the right tool for the paper.
Finally, the best experience comes from treating erasers as useful tools rather than disposable afterthoughts. A clean eraser helps pencil lines disappear more neatly, protects paper from unnecessary damage, and makes drawing feel less stressful. It may not be the flashiest item in your pencil case, but neither is a seat beltand both are very appreciated when things go wrong.
Conclusion
Cleaning an eraser is simple, inexpensive, and surprisingly helpful. For most solid erasers, rubbing on clean paper is the quickest solution. Fine sandpaper or an emery board can remove stubborn stains from firm erasers, while a lightly damp cloth with mild soap works for washable vinyl or plastic blocks.
Remember to match the cleaning method to the eraser type. Kneaded erasers should be stretched and folded, gum erasers should be allowed to crumble naturally, and pencil-top erasers should be cleaned gently to avoid damaging the pencil. With a little care, your eraser can keep doing what it does best: making mistakes look like they never happened.