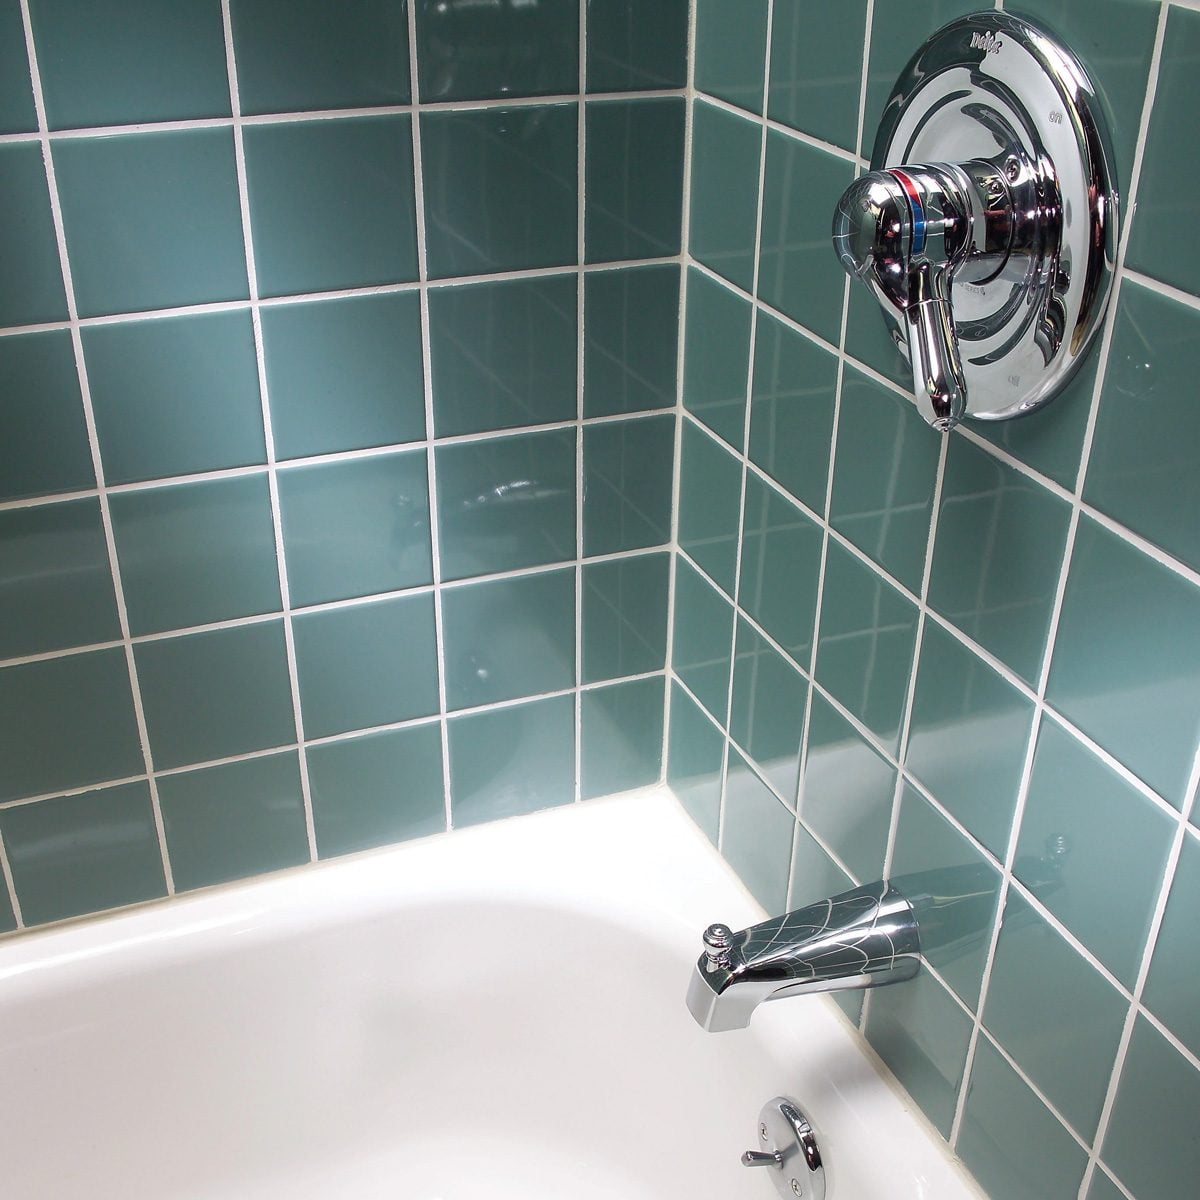
A shower can look surprisingly dramatic for a room that mostly exists so people can stand around being damp. One day the tile looks clean and classic. The next day the grout is cracked, stained, crumbly, and giving “abandoned motel spa” energy. The good news is that regrouting a shower is one of those home-improvement projects that can make the whole bathroom feel newer without the budget shock of a full remodel.
If you are wondering how to regrout a shower without turning your bathroom into a dust-filled regret chamber, this guide walks through the process step by step. You will learn how to remove old grout, choose the right replacement grout, avoid rookie mistakes, and finish the job so it actually lasts. In other words, this is the practical version of the project, not the fantasy where everything takes 14 minutes and your sponge never gets dirty.
What Regrouting a Shower Actually Means
Regrouting a shower means removing damaged or stained grout from between the tiles and replacing it with fresh grout. It is usually the right fix when the grout is cracking, crumbling, discolored, or missing in spots, but the tile itself is still in decent shape. Regrouting improves appearance, helps reduce moisture intrusion, and can extend the life of the tile installation.
That said, regrouting is not a magic cure for every shower problem. If tiles are loose, walls feel soft, water is getting behind the assembly, or there is major hidden mold damage, you may be looking at a repair that goes beyond grout. Fresh grout cannot fix a failing substrate any more than a new toothbrush can fix a broken sink.
Signs Your Shower Needs New Grout
- Grout is cracked, chipped, or falling out of the joints
- Stains remain even after thorough cleaning
- Mildew keeps coming back in the same areas
- There are gaps where water can collect
- The shower looks tired even after you scrub it like it owes you money
Tools and Materials You Will Need
Basic tools
- Grout saw or oscillating multi-tool with grout-removal blade
- Utility knife
- Shop vacuum
- Rubber grout float
- Grout sponge
- Microfiber cloths
- Mixing bucket
- Margin trowel or mixing tool
- Safety glasses, gloves, and dust mask
Materials
- Replacement grout
- Painter’s tape if needed for trim protection
- Mild tile cleaner
- Silicone caulk for inside corners and change-of-plane joints
- Grout sealer if using a cement-based grout that requires sealing
Choose the Right Grout Before You Start
Picking the right grout matters because shower walls deal with moisture, soap residue, and regular cleaning. In general, unsanded grout is used for narrower joints, while sanded grout works better for wider joints. Some newer single-component and epoxy grouts offer better stain and water resistance, but they also have different application and cleanup rules.
If your tile has narrow joints, glossy surfaces, or softer finishes, unsanded grout is often the safer choice. If your grout joints are wider, sanded grout typically offers better stability. For showers, many homeowners also consider high-performance or epoxy-style products because they resist staining and water better than standard cement grout. The tradeoff is that premium grout can be more expensive and less forgiving during installation.
Color matters too. Matching the old grout makes repairs blend in more naturally, while a new contrasting color can make the whole shower look updated. Always test the color against a cleaned section of existing tile first. “Close enough” is not always close enough once the grout cures.
Step 1: Clean the Shower First
Before you remove anything, clean the tile and grout thoroughly. Soap scum, residue, and surface mildew can hide the true condition of the joints. Use a cleaner appropriate for your tile type, rinse well, and let the shower dry. This step helps you see what really needs repair and gives you a cleaner working surface.
Avoid harsh acidic cleaners unless the tile manufacturer specifically says they are safe. Acid can damage grout and some tile finishes, which is not the kind of “deep clean” you want.
Step 2: Remove the Old Grout
This is the dusty part, and it is where patience earns its paycheck. Use a grout saw for a small job or an oscillating tool for faster removal on larger areas. Work carefully and keep the blade centered in the joint so you do not chip the tile edges. The goal is to remove enough grout for the new material to bond properly.
As a general rule, remove at least the damaged grout and create a consistent depth throughout the joint. Many DIY guides recommend taking out at least about 1/8 inch of grout or about half the tile depth where possible. Consistency matters more than drama. You do not need to attack the wall like you are auditioning for a demolition show.
If you see silicone caulk in corners or where the wall meets the tub or shower pan, remove that too. Those change-of-plane joints should usually be recaulked, not filled with grout, because they need flexibility.
Step 3: Vacuum and Wipe the Joints
Once the old grout is out, vacuum the joints thoroughly. Dust left behind can interfere with adhesion and weaken the finished job. After vacuuming, wipe the area with a barely damp sponge or cloth to collect fine particles. Then let it dry before applying new grout.
This step is not glamorous, which is exactly why people rush it and regret it later. Fresh grout needs a clean joint, not a trench full of powder.
Step 4: Mix the New Grout Correctly
If you are using powdered grout, mix only as much as you can apply within the working time listed by the manufacturer. Follow the package ratios closely. Grout that is too wet can weaken, shrink, or discolor. Grout that is too dry is miserable to spread and may not pack the joints properly.
The texture should be smooth and workable, similar to a thick paste. Let it slake if the instructions require it, then remix. If you are using pre-mixed or single-component grout, you can skip the mixing drama, but you still need to follow the product’s timing and cleanup instructions carefully.
Step 5: Pack the Grout Into the Joints
Use a rubber grout float held at about a 45-degree angle and work diagonally across the tile. Press the grout firmly into the joints so they are fully packed. Work in small sections rather than covering the entire shower at once. This gives you more control and reduces cleanup stress.
Do not just skim grout over the surface and hope for the best. The joints should be full, compact, and even. Think “pack and press,” not “smear and pray.”
Step 6: Wipe Off Excess Grout
Let the grout begin to firm up according to the product instructions, then wipe the tile surface with a damp grout sponge. The sponge should be damp, not dripping. Too much water can wash grout out of the joints, weaken the mix, and create color inconsistency.
Use light, smooth passes and rinse the sponge often in clean water. Many experienced installers use two buckets so the rinse water stays cleaner longer. Shape the joints as you wipe, but do not overwork them. Overwashing is one of the fastest ways to turn a nice regrouting job into a patchy mess.
Step 7: Buff Off the Haze
After the initial cleaning, let the grout set further. A light grout haze may appear on the tile surface. This is normal. Once the tile is ready, buff the haze off with a dry microfiber cloth. If needed, use a manufacturer-approved haze remover later, but only after the grout has cured enough for that product to be safe.
This is usually the moment when the shower starts looking dramatically better and you begin acting like you personally invented tile restoration.
Step 8: Caulk the Corners and Joints That Move
Inside corners, wall-to-floor joints, and transitions around fixtures often need silicone caulk rather than grout. These areas move slightly with normal building expansion and daily use, so flexible sealant is usually the better choice. Use a color-matched bathroom silicone caulk for a cleaner finished look.
This step matters. Many cracked shower corners happen because grout was used where movement should have been handled by caulk.
Step 9: Let the Grout Cure Fully
Curing time varies by grout type. Some cement-based grouts may be ready for light exposure sooner, while certain shower-rated single-component products call for several days before regular water use. Always follow the product label exactly. A shower that looks dry is not necessarily cured.
If you rush this stage and start using the shower too soon, you can weaken the grout, encourage discoloration, or shorten the life of the repair. Fresh grout likes patience more than pep talks.
Step 10: Seal the Grout if Needed
Not every grout needs sealer. Many cement-based grouts benefit from sealing after cure, while epoxy grout generally does not require it. If your grout calls for a penetrating sealer, apply it only after the grout has fully cured and the joints are clean and dry.
Sealing helps reduce staining and makes routine maintenance easier. It is not an invincibility cloak, but it does give your hard work a better chance of surviving shampoo, soap scum, and the general chaos of bathroom life.
Common Regrouting Mistakes to Avoid
- Not removing enough old grout: New grout needs depth to bond well.
- Using the wrong grout type: Joint width and tile finish matter.
- Leaving dust in the joints: Clean joints are essential for adhesion.
- Adding too much water: Wet grout is weaker and harder to finish well.
- Overwashing: This can pull grout out of the joints and cause uneven color.
- Grouting corners instead of caulking them: Corners usually need flexibility.
- Using the shower too soon: Cure time is not a suggestion.
How Long Does It Take to Regrout a Shower?
For a standard shower, the active labor may take a weekend for a careful DIYer, especially if grout removal is extensive. The actual project timeline is longer because cleaning, removal, grouting, caulking, curing, and sealing all happen on their own schedules. In practical terms, expect the shower to be out of service for several days, and sometimes longer depending on the product.
When You Should Call a Pro
DIY shower regrouting makes sense when the tile is sound and the problem is mostly cosmetic or localized to the grout. You may want a pro if the shower has loose tiles, recurring leaks, widespread mold issues, crumbling backer material, or natural stone tile that needs special handling. Also call in help if you know yourself well enough to admit that power tools plus vertical tile plus impatience is not your best combo.
Maintenance Tips After Regrouting
- Use a pH-neutral cleaner for routine cleaning
- Dry or squeegee the shower after use when possible
- Keep ventilation strong to reduce moisture buildup
- Inspect caulked corners periodically
- Reseal cement-based grout as recommended by the manufacturer
Real-World Experience and Practical Lessons From Regrouting a Shower
One of the most useful things people learn after regrouting a shower is that the hardest part is rarely spreading the new grout. It is the prep. On paper, the project sounds simple: remove old grout, add new grout, admire your refreshed bathroom like a home-improvement wizard. In real life, the success of the job depends on all the not-very-photogenic steps you take before the first fresh batch ever touches the wall.
A common experience is discovering that the shower looked worse before it looked better. Once the old grout starts coming out, the walls can look rough, dusty, and oddly dramatic. That is normal. People often think they are ruining the shower midway through the job, when in fact they are just in the awkward middle stage that every repair project seems to enjoy. The key is not to panic and not to rush because the bathroom suddenly looks like a tiny construction zone.
Another real-world lesson is that grout color can be sneakier than expected. Many homeowners buy a new grout color based on memory, only to realize their “matching gray” is actually “surprisingly silver” once it dries. The smarter move is to clean a sample area thoroughly and compare the new color against that cleaned section, not against the dirty grout you have been staring at for three years. Bathroom lighting also plays tricks, especially in small showers where shadows and glossy tile can change how the color reads.
People also learn quickly that less water during cleanup usually leads to better results. The temptation is strong to use a soaking sponge and scrub away every last trace immediately. That urge should be resisted. A damp sponge, gentle passes, and a little restraint do more for smooth grout joints than aggressive wiping ever will. Many DIYers say the moment they started treating the sponge like a finishing tool instead of a mop was the moment their results improved.
There is also the famous corner-joint revelation. Plenty of first-time DIYers assume grout belongs everywhere between tiles, then later discover that corners and transitions are where grout likes to crack first. Replacing those areas with color-matched silicone caulk often makes the finished shower look cleaner and perform better over time. It is one of those details that separates a decent cosmetic fix from a more durable repair.
Perhaps the biggest experience-based takeaway is that regrouting a shower is extremely satisfying when the tile is still solid underneath. It is not the mess-free miracle some tutorials pretend it is, but it can absolutely rescue a bathroom that feels dingy, dated, or borderline grumpy. When done carefully, the finished shower looks brighter, cleaner, and far more intentional. And unlike some home projects, this one gives you a very obvious before-and-after payoff. That is always nice, especially after spending quality time with grout dust in your eyebrows.
Conclusion
If your shower tile is still in good shape, regrouting can be one of the smartest bathroom refresh projects you can do. It improves appearance, helps protect the installation, and costs far less than a full replacement. The real secret is not speed. It is careful grout removal, clean joints, the right grout choice, gentle cleanup, proper caulking, and enough curing time.
Done right, regrouting a shower is the kind of project that makes the whole bathroom feel cleaner and newer without tearing everything out. Done wrong, it becomes a very educational weekend. Choose the first option.