Pot liners are the unsung heroes of container gardening. They do not get the applause of a blooming orchid, the drama of a trailing pothos, or the Instagram attention of a tomato plant pretending your balcony is a farm. But without a good pot liner, your planter can leak soil, trap water, stain furniture, rot baskets, or turn a lovely decorative pot into a tiny swamp with leaves.
The good news? Learning how to make pot liners for plants is simple, affordable, and surprisingly satisfying. A liner can help hold potting mix in place, protect porous or decorative containers, make repotting easier, and reduce mess. The trick is making a liner that supports healthy roots instead of suffocating them. Plants like moisture, yes, but most do not want to sit in soggy soil like they are relaxing in a muddy spa.
This guide walks you through seven practical steps for making DIY pot liners using materials such as landscape fabric, burlap, coco fiber, coffee filters, nursery pots, plastic sheets, and breathable fabric. You will also learn when not to use a liner, how to keep drainage working, and how to match the liner to the plant, pot, and location.
What Is a Pot Liner?
A pot liner is a layer placed inside a plant container before adding potting mix and plants. It can be soft and flexible, like burlap or landscape fabric, or firm and removable, like a plastic nursery pot placed inside a decorative cachepot. Some liners cover only the drainage holes to stop soil from washing out. Others line the full inside of a basket, wooden box, ceramic pot, or metal planter.
The best planter liners do three things well: they hold soil, allow excess water to escape, and protect the container. The worst liners do the opposite: they block drainage, hold stagnant water, and invite root rot to move in like an unwanted roommate with too many suitcases.
Why Make Your Own Pot Liners?
Store-bought liners are useful, especially for hanging baskets and wire planters, but homemade pot liners give you more control. You can fit odd-shaped containers, reuse household materials, and choose a liner that matches the plant’s needs. A succulent in a clay pot needs a different setup from a fern in a hanging basket or basil in a patio planter.
DIY pot liners are especially helpful when you are using decorative containers without built-in drainage, vintage pots, woven baskets, wooden boxes, metal tubs, or large planters that are difficult to clean. A liner can also make seasonal planting easier because you can lift out the whole root ball with less mess.
Best Materials for DIY Pot Liners
Landscape Fabric
Landscape fabric is one of the best all-purpose materials for homemade pot liners. It is durable, breathable, and lets water pass through while keeping potting mix inside. It works well for wooden planters, wire baskets, large pots, and balcony containers.
Burlap
Burlap has a rustic look and works nicely for short-term seasonal containers. It breathes well and drains easily, but it breaks down faster than synthetic fabric. Think of burlap as the charming guest who brings pie but does not stay forever.
Coco Fiber
Coco fiber liners are popular for hanging baskets because they hold moisture while still allowing airflow. They are attractive, natural-looking, and excellent for flowering annuals. However, they can dry out quickly in hot weather, so they may need extra attention.
Coffee Filters or Mesh
For small pots, coffee filters, mesh screens, or pieces of breathable fabric can cover drainage holes and prevent soil loss. These are not full liners, but they are perfect for keeping potting mix from sneaking out every time you water.
Plastic Nursery Pots
A plastic nursery pot with drainage holes can serve as a removable liner inside a decorative pot. This method is especially useful for indoor plants. The plant grows in the draining inner pot, while the outer pot provides style. It is basically a practical outfit hiding inside a fancy jacket.
Plastic Sheeting
Plastic sheeting can protect wooden or metal containers, but it must be used carefully. Plastic does not breathe and can trap water. If you use it, add drainage holes or slits that align with the container’s drainage points. Never create a sealed plastic bathtub unless you are planting aquatic plants on purpose.
How to Make Pot Liners for Plants: 7 Steps
Step 1: Choose the Right Liner Material
Start by matching the liner to the container and plant. For most outdoor planters, landscape fabric is a reliable choice because it holds soil while allowing drainage. For hanging baskets, coco fiber or burlap creates a natural look and provides good airflow. For indoor decorative pots, a plastic nursery pot placed inside the outer container is often the safest option.
If you are growing herbs, vegetables, or edible flowers, choose clean, food-safe materials. Avoid unknown painted containers, treated wood scraps, rusty metal with flaking surfaces, or plastic that may not be suitable for planting. Your basil should not have to wonder what mystery chemicals are attending dinner.
Step 2: Clean and Inspect the Container
Before making the liner, clean the pot. Remove old soil, dead roots, mineral crust, and debris. If the container was used before, wash it with mild soapy water and rinse it well. This helps reduce disease problems and gives your new plant a cleaner start.
Next, inspect the drainage. A healthy container needs a way for excess water to escape. If the pot has no drainage holes, consider drilling holes if the material allows it. If you cannot add holes, use the double-pot method: keep the plant in a separate inner pot with drainage, then place that pot inside the decorative container. After watering, empty any collected water from the outer pot.
Step 3: Measure the Inside of the Pot
Place your liner material over or inside the container and measure generously. For round pots, cut a piece large enough to cover the bottom and sides with a little extra at the rim. For rectangular planters, measure the length, width, and depth, then add several inches to each side so the liner can fold neatly into corners.
You do not need laboratory-level precision. This is gardening, not building a spaceship. Still, a little extra material is helpful because you can trim it later. Too small, and the liner will slide down while you add potting mix. Too large, and it may bunch up like a bad bedsheet. Aim for “comfortably oversized.”
Step 4: Cut and Shape the Liner
Use scissors to cut landscape fabric, burlap, coco mat, or mesh to size. Press the material into the pot, shaping it along the bottom and sides. For square or rectangular planters, fold the corners like wrapping paper. For round pots, make small overlapping pleats around the sides.
If you are lining a wire basket, press the liner firmly against the basket walls and let the edges rise slightly above the rim. Once the soil and plants are added, you can trim the extra. For a wooden planter, let the liner cover the inside walls but keep drainage openings clear.
Step 5: Create Drainage Openings
This is the step that separates a helpful pot liner from a plant prison. If your liner covers the bottom of the pot, make sure water can still flow through. Landscape fabric and burlap usually drain naturally, but thicker plastic liners need holes or slits. These openings should line up with the pot’s drainage holes.
For small pots, you can place a coffee filter, mesh square, or small piece of fabric over the drainage hole. This prevents potting mix from falling out while still allowing water to drain. Avoid packing the bottom with rocks or gravel as a “drainage layer.” In many containers, this can actually reduce the usable root space and keep water sitting higher in the potting mix. Drainage holes and a good potting mix are the real heroes here.
Step 6: Add the Right Potting Mix
Once the liner is shaped and drainage is clear, add potting mix. Use a high-quality mix designed for containers, not dense garden soil. Garden soil can compact in pots, slowing drainage and reducing air around the roots. Container plants need a mix that holds moisture but still lets excess water move out.
For most houseplants and ornamentals, an all-purpose potting mix works well. Succulents and cacti need a faster-draining mix. Herbs such as thyme, rosemary, oregano, and lavender prefer a looser medium that does not stay wet for long. Vegetables in containers often benefit from a potting mix blended with compost, as long as the mix remains light and drains well.
Fill the lined pot partway, set the plant in place, then add more mix around the root ball. Leave about an inch of space below the rim so water does not immediately run over the edge. Plants enjoy a drink; your floor does not.
Step 7: Plant, Water, and Monitor
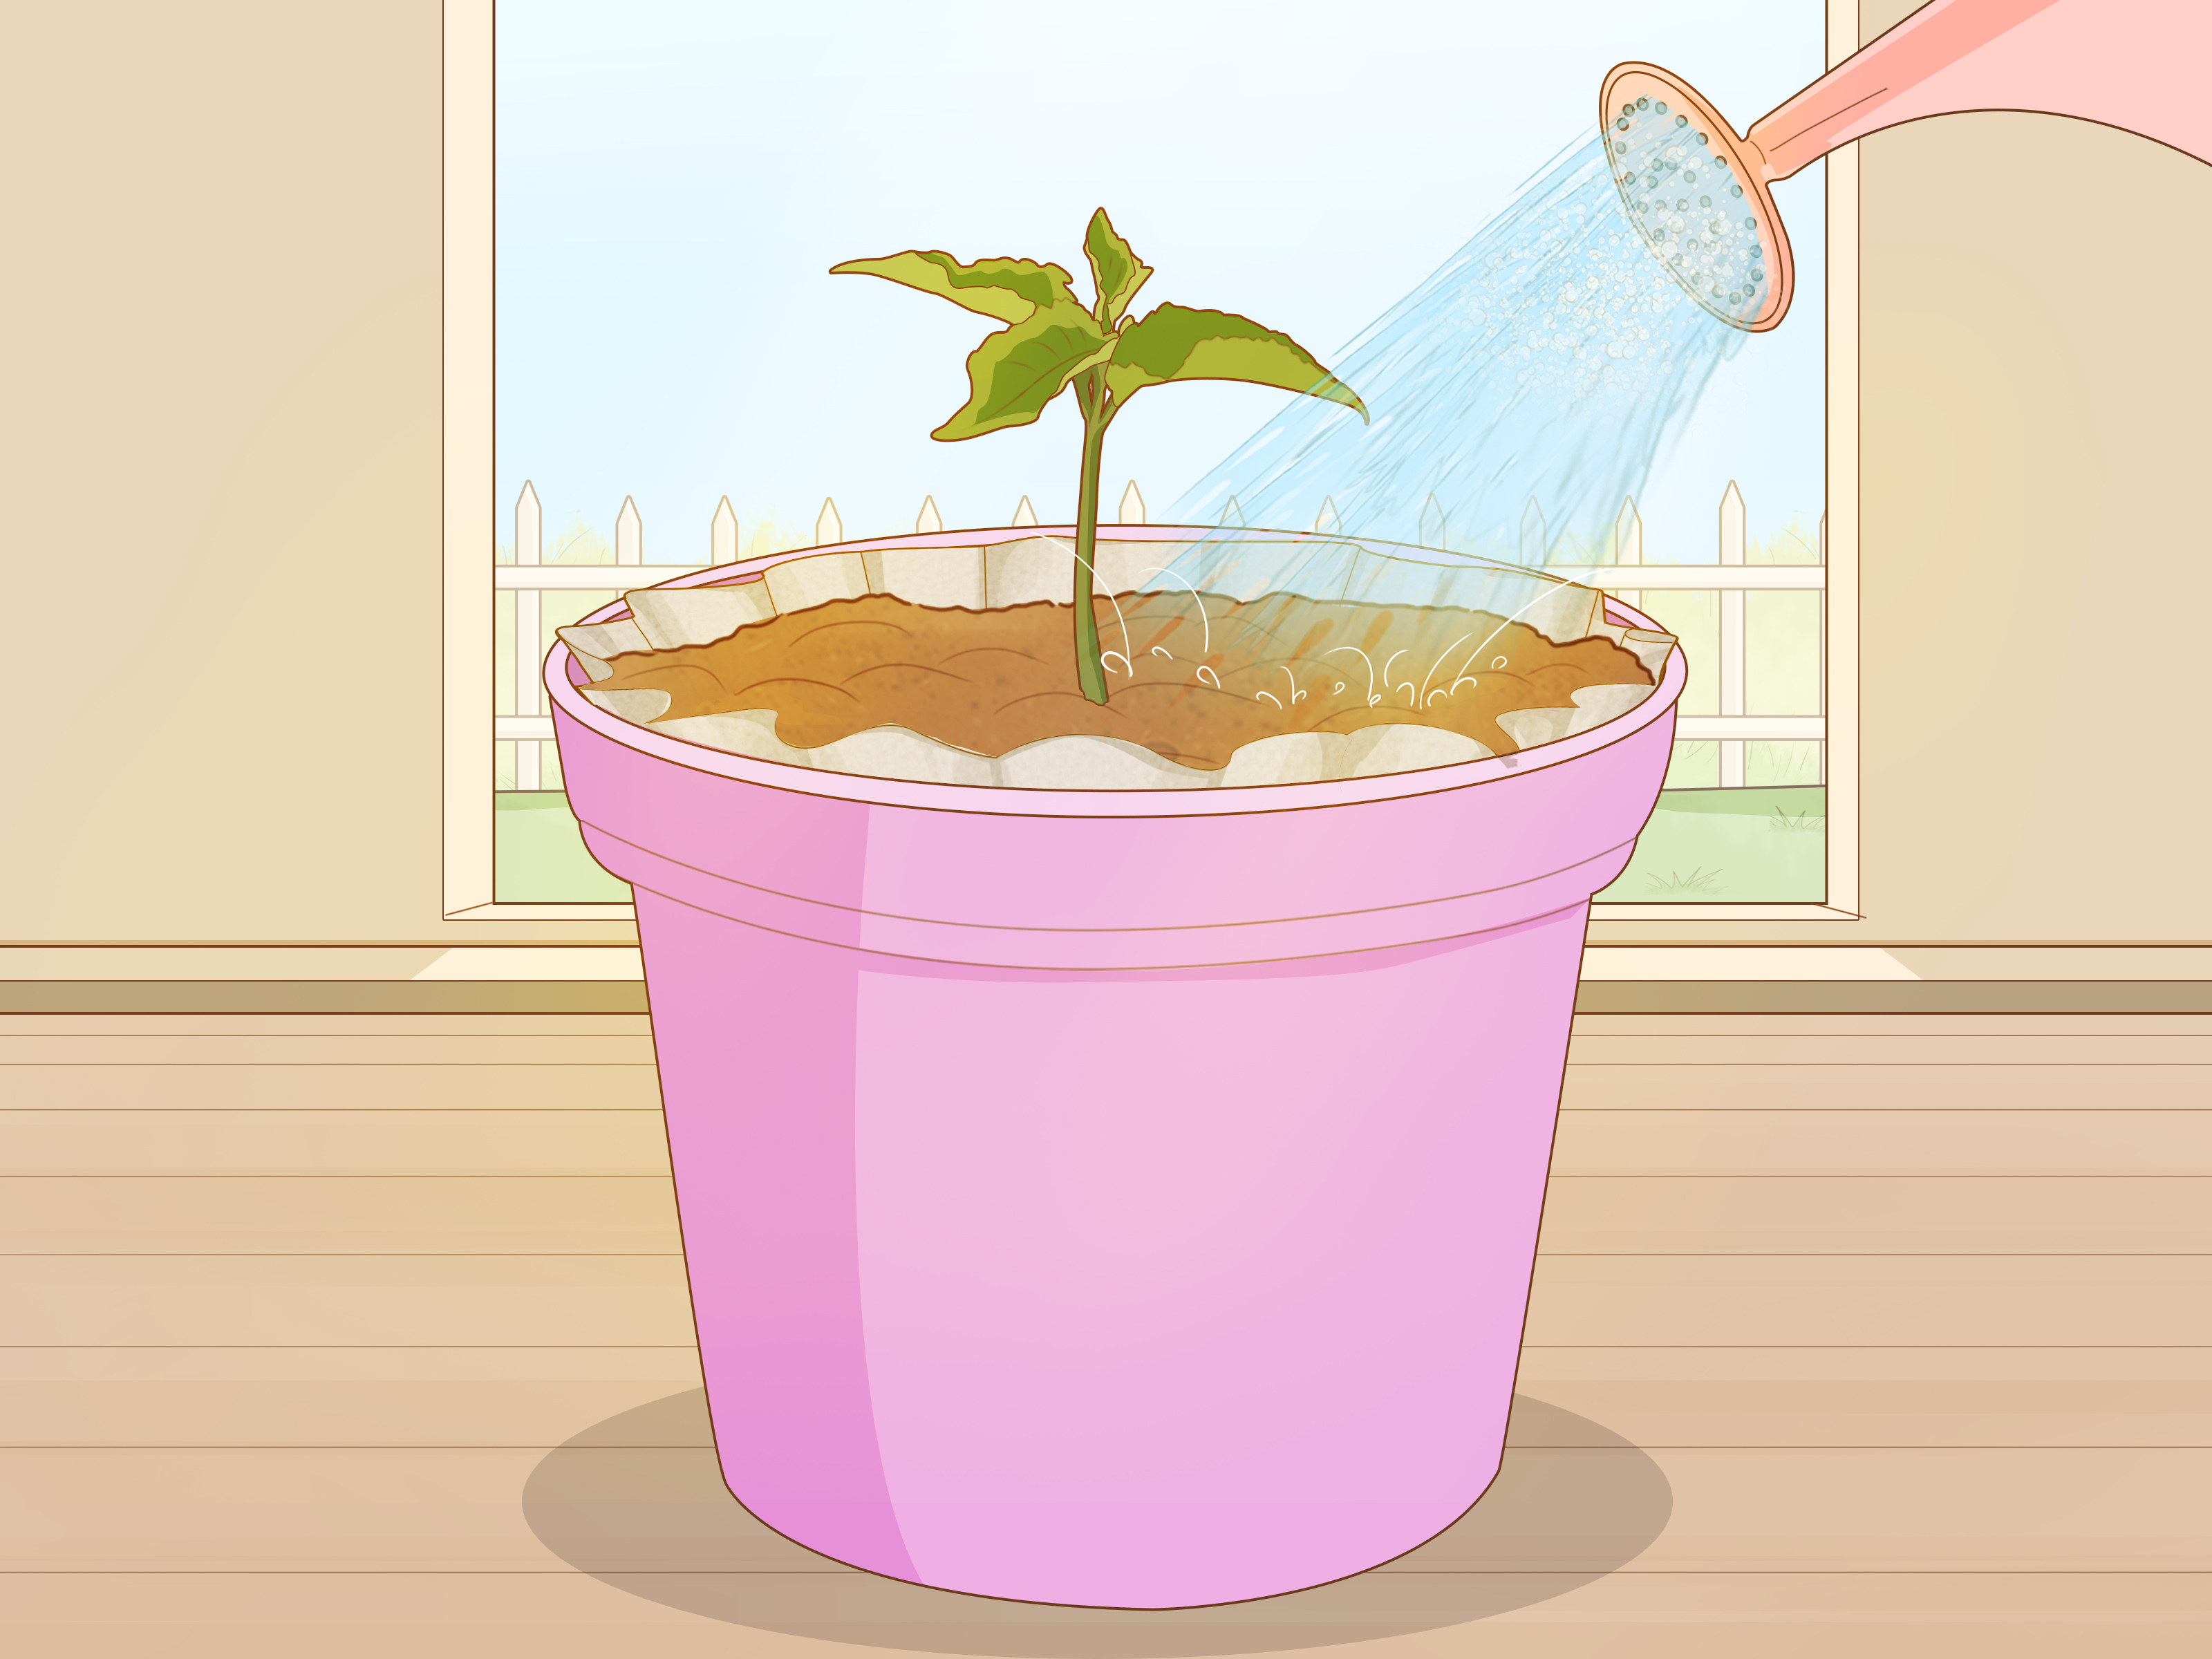
After planting, water thoroughly until excess moisture drains from the bottom. This settles the potting mix and confirms that your liner is not blocking water flow. If water pools on top or drains too slowly, the liner may be too dense, the drainage holes may be covered, or the potting mix may be too compact.
Check the plant over the next few days. If the pot dries too fast, you may need a moisture-retaining liner such as coco fiber or a larger container. If the soil stays wet for too long, improve drainage, reduce watering frequency, or switch to a lighter potting mix. Container gardening is part science, part observation, and part asking, “Why is this plant being dramatic today?”
Simple Pot Liner Ideas for Different Containers
For Decorative Indoor Pots
Use a plastic nursery pot with drainage holes as the inner liner. Place it inside the decorative container. Water the plant in a sink if possible, let it drain, then return it to the outer pot. If you water in place, check the bottom afterward and empty standing water.
For Hanging Baskets
Use coco fiber, burlap, or pre-cut basket liner material. These liners look natural and support trailing flowers beautifully. Because hanging baskets dry out quickly, check moisture often during warm weather.
For Wooden Planters
Line the inside with landscape fabric to reduce soil loss and slow direct contact between damp soil and wood. Keep drainage holes open. If you use plastic to protect the wood, cut enough drainage openings so the planter does not trap water.
For Metal Containers
Metal containers can heat up quickly in full sun. A liner can help separate roots from hot metal surfaces, but drainage is still essential. Use light-colored outer containers when possible and avoid placing heat-sensitive plants in dark metal pots during intense summer sun.
For Small Clay Pots
A coffee filter or small mesh square over the drainage hole is usually enough. Clay pots are porous and dry out faster than plastic pots, so choose plants that like good airflow and monitor watering closely.
Common Mistakes to Avoid
Blocking Drainage Holes
The most common mistake is covering drainage holes with a liner that does not let water through. If water cannot leave, oxygen cannot reach the roots properly, and root rot becomes much more likely.
Using Dense Garden Soil
Garden soil may work beautifully in the ground but behave badly in containers. It can compact, drain poorly, and become heavy. Use potting mix designed for container plants.
Letting Plants Sit in Water
Decorative pots and saucers are useful for protecting furniture, but they should not become permanent puddles. After watering, empty excess water so roots are not sitting in it.
Choosing the Wrong Liner for the Plant
A moisture-loving fern may appreciate a liner that helps slow drying. A succulent will not. Match the liner and potting mix to the plant’s natural preferences.
Forgetting That Liners Age
Burlap, coco fiber, and paper liners break down over time. That is normal. Replace them when they become thin, torn, or unable to hold soil.
How Often Should You Replace Pot Liners?
Replace biodegradable liners, such as burlap or coco fiber, every season or whenever they weaken. Landscape fabric can last much longer, especially in protected planters. Coffee filters usually break down and are best for short-term use or small pots. Plastic liners can last for years, but they should be cleaned between plantings and checked for cracks, clogged holes, or algae buildup.
When repotting, take a moment to inspect the liner. If roots have grown through it, remove it gently or cut it away in sections. If the liner smells sour, holds slime, or looks like it has hosted a swamp convention, replace it.
Real-World Experiences: What Actually Works When Making Pot Liners
After making pot liners for many different containers, one lesson becomes clear: the liner is only successful if the plant still drains well afterward. The prettiest liner in the world is not helpful if the soil stays wet for a week. A good test is simple. Before planting, place the liner in the pot, pour in a little water, and watch what happens. If water runs through smoothly, you are on the right track. If it sits there like it is waiting for a bus, change the material or add more openings.
For indoor plants, the easiest and cleanest method is usually double-potting. Keep the plant in its nursery pot or another plastic pot with drainage holes, then set that pot inside a decorative container. This makes watering less stressful because you can remove the inner pot, water it thoroughly, let it drain, and place it back. It also makes repotting easier. Instead of wrestling with soil inside a ceramic pot that cost more than your lunch budget for the week, you simply lift out the inner pot.
For outdoor planters, landscape fabric is the most dependable liner material. It is flexible, easy to cut, and forgiving if your measurements are not perfect. In long wooden planters, it helps keep soil from washing out through cracks while still allowing water to escape. The key is not stretching it too tightly over drainage holes. A little slack helps water move and prevents the fabric from acting like a plug.
For hanging baskets, coco liners look beautiful but need attention in hot weather. They can dry out faster than expected, especially in wind. A practical trick is to choose plants with similar water needs and check the basket every day during summer heat. Petunias, calibrachoa, trailing verbena, and sweet potato vine can look fantastic in lined baskets, but they are thirsty performers. They want applause and water.
Burlap is lovely for rustic containers, but it is best for seasonal displays rather than long-term planting. It breaks down, which can be a benefit if you like natural materials, but not if you expect it to hold a heavy root ball for years. If you use burlap in a large planter, consider doubling the layer and checking it when the season ends.
One of the simplest liner fixes is also one of the most useful: placing a coffee filter over the drainage hole of a small pot. It prevents the first watering from carrying potting mix onto the table, patio, or windowsill. It does not replace drainage. It just keeps soil where soil belongs. Mesh screen works even better for long-term pots because it lasts longer and does not break down as quickly.
The biggest mistake people make is assuming a liner can solve every container problem. It cannot. If the pot is too small, the plant will dry out quickly. If the pot has no drainage and the plant is watered heavily, the roots may suffer. If the potting mix is dense, the liner will not magically turn it into fluffy container media. The liner is part of the system: container, drainage, potting mix, plant choice, light, and watering habits all work together.
A final experience-based tip: make liners removable whenever possible. A removable liner makes it easier to refresh soil, inspect roots, clean the pot, and move plants around. Container gardening is much more enjoyable when you are not trying to scoop soggy soil out of a narrow decorative pot with a spoon like you are performing emergency surgery on a lasagna.
Conclusion
Making pot liners for plants is a small project with big benefits. A good liner keeps potting mix contained, protects decorative containers, improves cleanup, and makes repotting easier. The secret is to keep drainage at the center of every decision. Use breathable materials when possible, keep drainage holes open, choose quality potting mix, and match the liner to the plant’s moisture needs.
Whether you use landscape fabric for a patio planter, coco fiber for a hanging basket, a coffee filter for a small clay pot, or a nursery pot inside a decorative cachepot, the goal is the same: happy roots, tidy containers, and fewer mysterious puddles under your favorite plant. Your plants may never thank you out loud, but they will show it with stronger growth, healthier leaves, and fewer dramatic collapses after watering day.