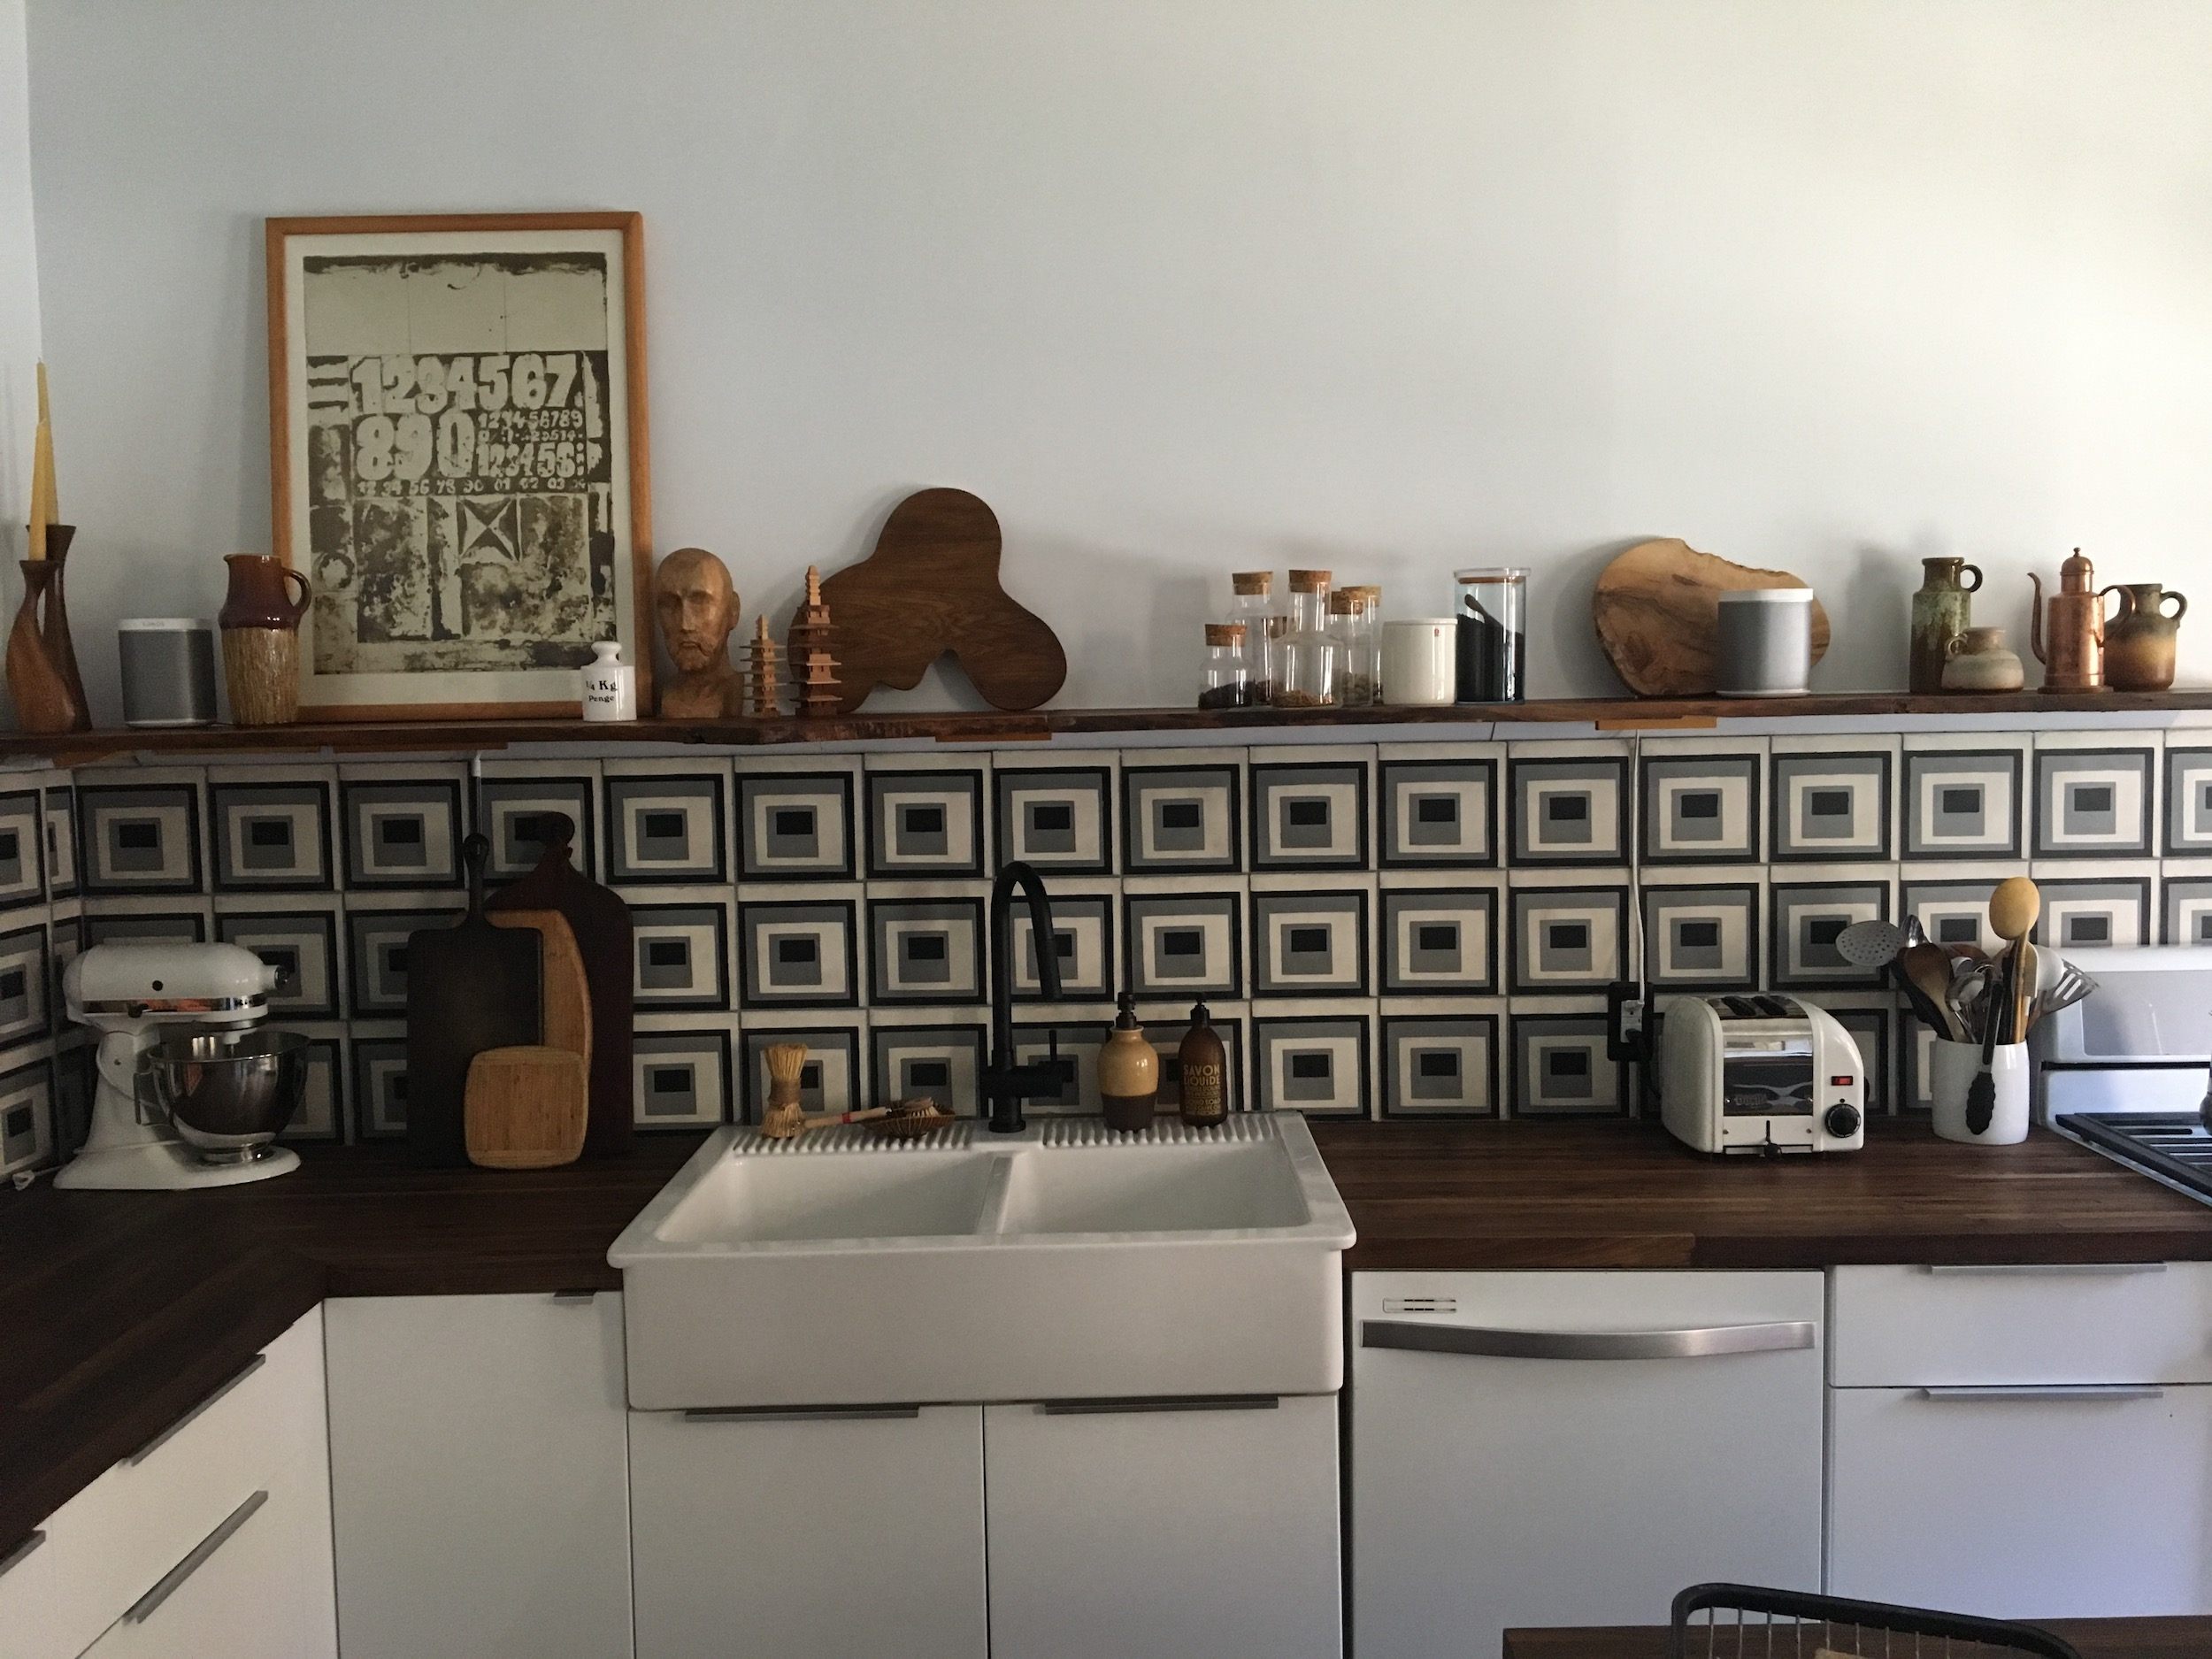
Some kitchen islands arrive in a truck, wrapped in foam and looking like every other island in the neighborhood. Others arrive with a few scratches, old brass pulls, a mysterious drawer that smells faintly of cloves, and a backstory worthy of a small-town novel. That second option is why turning an antique sideboard into a kitchen island has become such a charming, practical, and personality-packed home project.
A kitchen island from an antique sideboard is exactly what it sounds like: a vintage buffet, dresser, cabinet, or dining-room sideboard transformed into a hardworking kitchen centerpiece. It can add storage, prep space, character, warmth, and a little “Where did you get that?” magic without requiring a full kitchen remodel. It is part DIY kitchen island, part furniture restoration, part treasure hunt, and part excuse to finally buy that beautiful old piece you saw at the antique mall and couldn’t stop thinking about.
The best part? This project can work in farmhouse kitchens, cottage kitchens, traditional homes, eclectic apartments, and even sleek modern spaces that need one soulful piece to keep the room from feeling like a stainless-steel spaceship. Done well, an antique sideboard island feels collected, custom, and useful. Done poorly, it wobbles like a nervous deer and becomes a very fancy place to store takeout menus. Let’s aim for the first one.
Why Use an Antique Sideboard as a Kitchen Island?
An antique sideboard already has several things a kitchen island needs: a sturdy base, useful storage, attractive proportions, and a finished furniture look. Unlike many new freestanding islands, an old sideboard brings architectural detail with carved legs, raised panels, original hardware, dovetail drawers, fluted trim, and patina that cannot be ordered overnight with free shipping.
It also supports a more sustainable approach to home design. Instead of buying something newly manufactured, you are upcycling antique furniture and giving it a second life. Older sideboards were often built from solid wood or high-quality veneers, which means many can handle years of use when properly reinforced and protected. Plus, the budget can be friendlier than a custom island, especially if you find a sideboard at an estate sale, flea market, thrift shop, architectural salvage store, or your grandmother’s dining room after she says, “Take it, I’m tired of dusting it.”
Choosing the Right Antique Sideboard
Not every antique sideboard is ready to become the Beyoncé of your kitchen. Before falling in love with curvy legs and cute little keyholes, look at the bones of the piece. A good candidate should be solid, level, and structurally sound. Open every drawer. Close every door. Wiggle the legs gently. If the whole thing shakes like a shopping cart with one bad wheel, it may need more repair than the project is worth.
Ideal Size and Height
Most kitchen counters are around 36 inches high, so your antique sideboard should land near that height once the new countertop is added. Many dining sideboards are naturally lower, often around 32 to 34 inches. That can still work if you add a thicker butcher block top, adjustable feet, a plinth base, or casters. If the sideboard is much too low, it may feel awkward for food prep unless you intentionally want a baking station or serving island.
Depth matters too. A piece around 20 to 28 inches deep usually works well in smaller kitchens. Wider pieces can be fantastic in open kitchens, but they need breathing room. A kitchen island should improve movement, not turn breakfast into an obstacle course.
Storage Layout
Look for drawers, cabinets, shelves, and doors that match your kitchen habits. Deep drawers are great for linens, utensils, baking pans, cutting boards, and food wrap. Cabinets can hold mixing bowls, small appliances, cookbooks, or serving pieces. If the sideboard has shallow drawers, use them for measuring spoons, napkins, tea towels, corkscrews, and those tiny corn-on-the-cob holders nobody can find when corn season arrives.
Plan the Kitchen Layout Before You Start
A beautiful antique sideboard island is only successful if it fits the room. Kitchen design is not just about looking good in photos; it is about whether you can open the dishwasher without performing a side-step ballet.
As a practical rule, leave generous clearance around the island. Many kitchen planning guides recommend roughly 36 to 42 inches of walkway space around an island, with more room preferred in busy kitchens or two-cook households. If appliances open into that walkway, aim for extra clearance. Before buying anything, tape the island footprint on the floor with painter’s tape and live with it for a day. Walk around it. Open the refrigerator. Pretend to unload groceries. If you bump into the tape before the project even begins, the real island will not become more polite later.
How to Prepare an Antique Sideboard for Kitchen Use
Furniture that lived in a dining room has different responsibilities than furniture that lives in a kitchen. A kitchen island faces spills, steam, sticky fingers, dropped spoons, and the occasional aggressive pizza box. Proper prep is what turns “cute old cabinet” into “functional antique kitchen island.”
Clean It Thoroughly
Start with a deep cleaning. Remove drawers and hardware. Vacuum inside corners. Use a gentle degreaser or mild soap solution to remove dust, wax, old polish, and grime. Antique furniture sometimes carries layers of furniture oil, smoke residue, or mystery gunk from 1957. Do not paint or seal over that. It will come back to haunt your finish like a tiny decorative ghost.
Check for Lead Paint
If the sideboard has old painted layers, especially if it may predate 1978, test for lead before sanding, scraping, or stripping. Lead dust is dangerous, and kitchen furniture requires extra caution because food will be nearby. Use a lead test kit or consult a professional if you are unsure. If lead is present, avoid dry sanding and follow lead-safe renovation practices. This is not the moment for “I saw a guy do it on the internet.” Safety first, charming patina second.
Repair and Reinforce
Tighten loose joints, glue wobbly parts, replace missing screws, and reinforce weak corners with wood blocks or metal brackets where needed. If you plan to add a heavy stone top, get professional advice. Antique furniture was not always built to support hundreds of pounds of marble, quartz, or granite. Butcher block, sealed wood, stainless steel, or laminate can be lighter and more forgiving options.
Choosing the Best Countertop
The countertop is where your antique sideboard becomes a true kitchen island. It protects the original furniture, increases prep space, and visually ties the piece into the kitchen.
Butcher Block
Butcher block is a favorite for a sideboard kitchen island because it feels warm, classic, and natural. It pairs beautifully with antique wood, painted finishes, brass hardware, and farmhouse sinks. It can be cut to size, sanded, refinished, and maintained with food-safe oil or conditioner. If you plan to prep food directly on the surface, choose a finish designed for food contact and maintain it regularly.
Stone or Quartz
Stone and quartz add durability and a high-end look. A marble top can make an old sideboard look like it belongs in a Paris apartment where nobody ever spills coffee. However, stone is heavy, so make sure the sideboard can support it. You may need internal bracing or a professional fabricator.
Stainless Steel
Stainless steel creates a professional kitchen feel and is easy to clean. It works especially well if your antique sideboard has simple lines or if your kitchen mixes vintage and industrial style. The contrast can be gorgeous: old wood below, sleek metal above, and you in the middle pretending you are on a cooking show.
Overhang and Seating
If you want seating, add a countertop overhang on one side. For comfortable counter-height seating, 12 to 15 inches of overhang is usually a practical target, depending on the support system and counter material. Use brackets, corbels, or hidden supports when needed. Never assume a heavy slab can float dramatically in space just because it looks confident.
Paint, Stain, or Keep the Original Finish?
This is the design crossroads. Do you paint the antique sideboard, stain it, strip it, or preserve the original finish? The answer depends on the piece and your kitchen style.
If the sideboard has beautiful wood grain, consider cleaning and sealing rather than painting. A rich walnut, oak, mahogany, or maple finish can become the warm focal point of the kitchen. If the finish is damaged beyond reasonable repair, paint may be the better choice. Classic colors like creamy white, sage green, navy blue, charcoal, muted black, and warm gray can modernize the piece while keeping its vintage soul intact.
For a durable painted finish, prep is everything. Clean, scuff sand, prime, and apply multiple thin coats of quality cabinet paint or furniture enamel. Thick paint coats are tempting because they look like progress, but they often cure poorly and chip faster. Thin coats are the quiet overachievers of furniture painting.
Smart Storage Upgrades
An antique sideboard already has storage, but a few thoughtful upgrades can make it work harder in the kitchen.
Add Pull-Out Bins or Baskets
Inside cabinet doors, add pull-out baskets for onions, potatoes, towels, reusable bags, or baking supplies. Wire baskets keep contents visible and easy to grab. Wood crates add rustic charm and hide clutter beautifully.
Install Hooks and Rails
A towel bar on one side is almost always useful. Hooks can hold measuring cups, oven mitts, aprons, or small utensils. A brass rail can look elegant and intentional, while black iron hardware can lean farmhouse or industrial.
Use Drawer Dividers
Vintage drawers were not designed for today’s heroic collection of peelers, whisks, thermometers, microplanes, and mystery gadgets. Drawer dividers prevent chaos. They also stop your can opener from hiding under the pastry brush like it owes money.
Should You Add Casters?
Casters can turn an antique sideboard into a mobile kitchen island, which is excellent for smaller kitchens or flexible layouts. Locking casters are essential. Without locks, the island may roll away while you are kneading dough, which is both inconvenient and deeply rude.
Choose casters rated for the total weight of the piece plus the countertop and anything stored inside. Large rubber or polyurethane wheels move more smoothly and are gentler on floors. If your kitchen has uneven tile or old wood floors, test the movement before committing. Sometimes fixed legs feel more stable and refined, especially for a heavier sideboard.
Design Styles That Work Beautifully
A kitchen island from an antique sideboard can shift style depending on the finish, top, and accessories.
Farmhouse Kitchen
Use a painted sideboard in white, cream, blue-gray, or soft green with a butcher block top. Add cup pulls, a towel rail, open baskets, and maybe a few ceramic mixing bowls. Congratulations, your kitchen now looks like it bakes pies even when you only make toast.
Modern Vintage Kitchen
Keep the sideboard’s original wood finish and pair it with quartz, stone, or stainless steel. Add simple hardware and modern pendant lights above it. This approach works well when the rest of the kitchen is clean-lined and needs warmth.
Cottage or English Country Kitchen
Choose a slightly worn finish, aged brass hardware, a stone or wood top, and practical accessories like crocks, baskets, and linen towels. The look should feel layered, not staged. A little imperfection is part of the charm.
Eclectic Kitchen
Paint the sideboard a bold color such as deep teal, oxblood, mustard, forest green, or black. Pair it with patterned tile, vintage lighting, or mismatched stools. This style says, “Yes, I know the rules. I invited them over and served them snacks.”
Common Mistakes to Avoid
The biggest mistake is choosing a piece that is too large for the kitchen. A giant antique sideboard may look impressive in the store, but in your kitchen it can feel like a wooden cruise ship. Measure carefully.
The second mistake is ignoring height. If the finished island is too low, daily prep becomes uncomfortable. If it is too high, it feels like cooking on a reception desk. Adjust the base or top thickness before final installation.
The third mistake is skipping protective finish. Kitchens are wet, greasy, and busy. Seal painted surfaces, protect wood tops, wipe spills quickly, and avoid harsh cleaners that can damage the finish.
The fourth mistake is overloading the countertop. Heavy stone needs proper support. Long overhangs need brackets. Casters need weight ratings. Antique furniture has survived decades; do not betray it with engineering optimism.
Maintenance Tips for a Long-Lasting Sideboard Island
Care depends on the materials you choose. For butcher block, wipe spills immediately, clean with mild soap, avoid soaking the wood, and refresh the surface with food-safe oil or conditioner as needed. For painted bases, use gentle cleaners and avoid abrasive pads. For stone tops, follow the care instructions for that specific material, especially if it is marble or another porous stone.
Check hardware and casters every few months. Tighten screws, inspect brackets, and make sure drawer slides still work smoothly. A little maintenance prevents bigger problems later. Think of it as taking your island out for a tiny furniture spa day.
Cost and Value
The cost of turning an antique sideboard into a kitchen island varies widely. A thrifted sideboard might cost under a few hundred dollars, while a high-quality antique can cost much more. Add expenses for cleaning supplies, paint, primer, hardware, countertop material, casters, brackets, sealers, and possibly professional help.
Even when the project is not dirt cheap, it can offer strong value because it creates a custom-looking kitchen island with more character than many mass-produced options. It also adds storage and prep space without tearing out cabinets or remodeling the entire kitchen. For homeowners who love design with history, that combination is hard to beat.
Real-Life Experience: What It Feels Like to Live With an Antique Sideboard Island
The first thing you notice after converting an antique sideboard into a kitchen island is not the storage. It is the mood. A normal island says, “Here is a surface.” An antique sideboard island says, “Someone once served holiday ham from me, and now I hold your coffee grinder.” That may sound dramatic, but kitchens are emotional rooms. They collect routines, conversations, snacks, crumbs, and suspiciously strong opinions about where the spatulas belong.
In daily use, the island quickly becomes a command center. The top is where grocery bags land, herbs get chopped, lunch boxes are packed, and friends lean while pretending not to steal olives from the serving bowl. The drawers become surprisingly valuable. One drawer might hold dish towels, another baking tools, another candles and matches for dinners that were supposed to be casual but somehow became “Let’s use the nice plates.”
The best experience comes when the island is planned around actual habits. For example, if you bake often, a slightly lower sideboard can be wonderful for rolling dough. Store flour, sugar, measuring cups, and parchment in the drawers, and suddenly the island becomes a baking station. If you entertain, use one cabinet for serving boards, cocktail napkins, bottle openers, and small bowls. When guests arrive, you are not digging through three cabinets while smiling like everything is under control. It actually is under control, which is suspiciously adult.
Another lesson: hardware matters more than expected. Original knobs and pulls are beautiful, but they may be uncomfortable, loose, or too delicate for heavy kitchen use. Swapping them for sturdy brass, iron, ceramic, or wood hardware can make the piece easier to use while still honoring its age. Keep the original hardware in a labeled bag if it has historical or sentimental value. Future-you will appreciate not having to ask, “Where did I put those tiny screws?” while staring into the void.
Lighting also changes the experience. A pendant above the island can make the antique sideboard feel intentional rather than randomly parked in the kitchen. Warm lighting highlights old wood grain, carved details, and painted texture. Under bright, cold lighting, even beautiful furniture can look like it is waiting for a dental exam.
Living with an antique sideboard island also teaches respect for imperfection. A nick on the corner, a slightly uneven drawer, a small stain in the woodthese are not flaws in the same way they might be on a brand-new cabinet. They are part of the story. That said, charm should not become an excuse for inconvenience. If a drawer sticks every morning, fix it. If the top stains too easily, reseal it. If the island shifts when you chop vegetables, stabilize it immediately. Character is wonderful; wobbling is not a design style.
The biggest surprise is how often people comment on it. Guests may not notice new upper cabinets or the exact shade of white on the walls, but they will notice an antique sideboard in the middle of the kitchen. It becomes a conversation starter because it looks personal. It tells people the kitchen was assembled with thought, not just purchased from a catalog. That is the real beauty of this project: it gives your kitchen a working piece of furniture with memory, usefulness, and personality.
Conclusion
A kitchen island from an antique sideboard is one of the most rewarding ways to blend function, style, sustainability, and storytelling. It gives you extra prep space, hidden storage, and a focal point that feels collected rather than copied. The key is choosing a sturdy piece, planning clearances carefully, protecting surfaces properly, and making upgrades that match how you actually cook and live.
Whether you finish it with butcher block, stone, stainless steel, paint, stain, brass hardware, casters, baskets, or open shelving, the goal is the same: create a kitchen island that works hard and looks like it has been loved for generations. In a world full of flat-packed furniture and identical kitchen trends, an antique sideboard island brings back something wonderfully human. It has history. It has storage. It may even have one drawer that sticks a little. Honestly, that is how you know it has personality.
Note: This original article synthesizes current U.S. home-design, kitchen-planning, furniture-restoration, and DIY guidance without inserting source links, as requested.