There is a special kind of frustration reserved for dull pruning shears. You squeeze the handles, the branch refuses to cooperate, and suddenly your “quick trim” feels like an arm-wrestling match with a shrub. Worse, dull blades crush stems instead of slicing them cleanly, leaving ragged wounds that are harder on plants and harder on your hands.
The good news: learning how to sharpen pruning shears is not a mysterious blacksmith ritual involving smoke, anvils, and a beard. With a little cleaning, the right sharpener, and about 10 minutes of patience, you can restore your pruners so they make crisp, smooth cuts again.
This guide covers how to sharpen bypass pruners, anvil pruning shears, hedge shears, and small garden snips. You will also learn how to remove rust, clean sticky sap, avoid common sharpening mistakes, and keep your tools working like they are eager to get back outside.
Why Sharp Pruning Shears Matter
Sharp pruning shears do more than make gardening easier. They create clean cuts that cause less crushing, tearing, and bark damage. A smooth cut gives a plant a better chance to seal the wound naturally, while a jagged, mashed stem can become an open invitation for stress, decay, and disease problems.
Sharp tools are also safer. That sounds backward at first, because nobody wants to celebrate sharp metal. But dull pruners require extra force, which increases the chance that your hand slips, the branch snaps unexpectedly, or you decide to use your knee as a vise. Your knee did not sign up for that job.
A well-maintained pair of pruning shears should cut through an appropriate-size stem with steady pressure, not heroic determination. If the shears leave crushed fibers, peel bark, stick halfway through a branch, or require two hands for a task that once took one, it is time for sharpening and maintenance.
Know Your Pruning Shears Before You Sharpen Them
Not every garden cutting tool has the same blade design. Before filing anything, identify what type of pruning shears you own.
Bypass Pruners
Bypass pruners work like scissors. One curved cutting blade passes closely by a thicker lower blade called a counterblade. They are usually the best choice for green stems, flowers, live branches, and precise cuts near buds.
Most bypass pruners have a single beveled cutting edge. That means you sharpen the angled side of the cutting blade and leave the flat side mostly alone, except for a very light pass to remove the burr created during sharpening.
Anvil Pruners
Anvil pruners have one straight cutting blade that closes against a flat metal or plastic surface. They are useful for dry, dead, or tougher woody stems. Their cutting blade may have a bevel on both sides, depending on the design, so inspect it carefully before sharpening.
Hedge Shears
Hedge shears have two long blades that work like oversized scissors. They are designed for trimming hedges, shaping shrubs, and cutting lots of small growth quickly. Their blades are sharpened along the existing angled edges, usually with a file or diamond sharpener.
Floral Snips and Garden Scissors
Small snips often have delicate blades. They can be sharpened, but use a fine sharpening stone or compact diamond hone rather than a heavy file. Think “gentle spa treatment,” not “industrial metal workshop.”
Tools You Need to Sharpen Pruning Shears
You do not need a garage full of machinery. A basic pruning-shear sharpening kit can be simple and inexpensive.
- A diamond-coated blade sharpener, whetstone, or fine mill file
- A clean rag or microfiber cloth
- Warm water and mild dish soap
- Rubbing alcohol or a tool-cleaning solvent for sticky sap
- Steel wool or a wire brush for light rust
- Light machine oil, tool oil, or mineral oil
- A wrench or screwdriver if your pruners can be disassembled
- Work gloves and eye protection
A small diamond sharpener is especially handy because it works well on curved pruner blades and fits easily into a gardening tote. A fine file also works, but it removes metal more aggressively, so use it with a lighter touch.
How to Sharpen Pruning Shears Step by Step
Step 1: Clean the Pruning Shears First
Never sharpen dirty pruning shears. Sap, soil, rust, and plant residue can hide the real edge of the blade and make your sharpening job uneven.
Start by wiping away loose dirt with a dry cloth. Wash the blades with warm soapy water, then dry them thoroughly. For sticky sap, apply rubbing alcohol or a small amount of tool-safe solvent to a rag and wipe the blades carefully. Pay attention to the pivot, spring area, and crevices where sticky plant residue likes to build a tiny apartment complex.
If you see surface rust, rub it gently with steel wool or a wire brush. Do not attack the blade like you are sanding a boat. The goal is to remove rust without changing the blade shape.
Step 2: Disassemble the Shears Only When It Makes Sense
Many pruning shears can be taken apart by removing the center nut, bolt, or screw. Disassembly makes it easier to clean both blades, inspect the spring, remove rust, and sharpen the cutting edge properly.
However, not every tool needs to be dismantled. If your shears are riveted, sealed, or difficult to reassemble, sharpen them while assembled. If you do take them apart, place the small parts in a dish or tray and take a quick photo before removing anything. Tiny washers have a remarkable ability to disappear the moment they touch a garage floor.
Step 3: Find the Factory Bevel
Look closely at the cutting blade. The bevel is the sloping, angled portion that forms the cutting edge. Your goal is not to invent a new angle. Your goal is to follow the original bevel already built into the blade.
Place the sharpening stone or file flat against that existing slope. If the tool rocks back and forth, adjust your angle slightly until the sharpener lies smoothly against the bevel.
For most bypass pruning shears, sharpen only the beveled side of the cutting blade. Do not grind the flat inner side of a bypass blade, because that can create a gap between the blade and counterblade. Once that happens, your pruners may chew branches instead of slicing them.
Step 4: Sharpen From the Pivot Toward the Tip
Hold the pruning shears securely on a workbench or in your non-dominant hand, keeping fingers well away from the blade. Move the sharpening tool in one smooth direction along the bevel, usually from the pivot end toward the tip.
Use long, controlled strokes. Three to five passes are often enough for routine maintenance. If the edge has visible nicks, keep working gradually until the damage is reduced, but do not remove more metal than necessary.
Do not saw the sharpener back and forth across the blade. One-direction strokes are easier to control and help preserve a smooth edge. Think of it as brushing a long-haired dog, not scrubbing a skillet.
Step 5: Remove the Burr Carefully
Sharpening creates a tiny curl of metal called a burr on the opposite side of the blade. You may feel it with a gloved fingertip, but do not test sharpness by running bare skin along the edge. Your fingers are not a laboratory instrument.
To remove the burr on bypass pruners, lay the flat side of the blade against a fine stone or sharpener and make one very light pass. The purpose is not to sharpen that side. It is only to knock off the burr.
For anvil pruners or hedge shears, follow the bevel configuration already present on the blade. If both sides are beveled, sharpen each angled edge lightly and evenly.
Step 6: Clean, Oil, and Reassemble
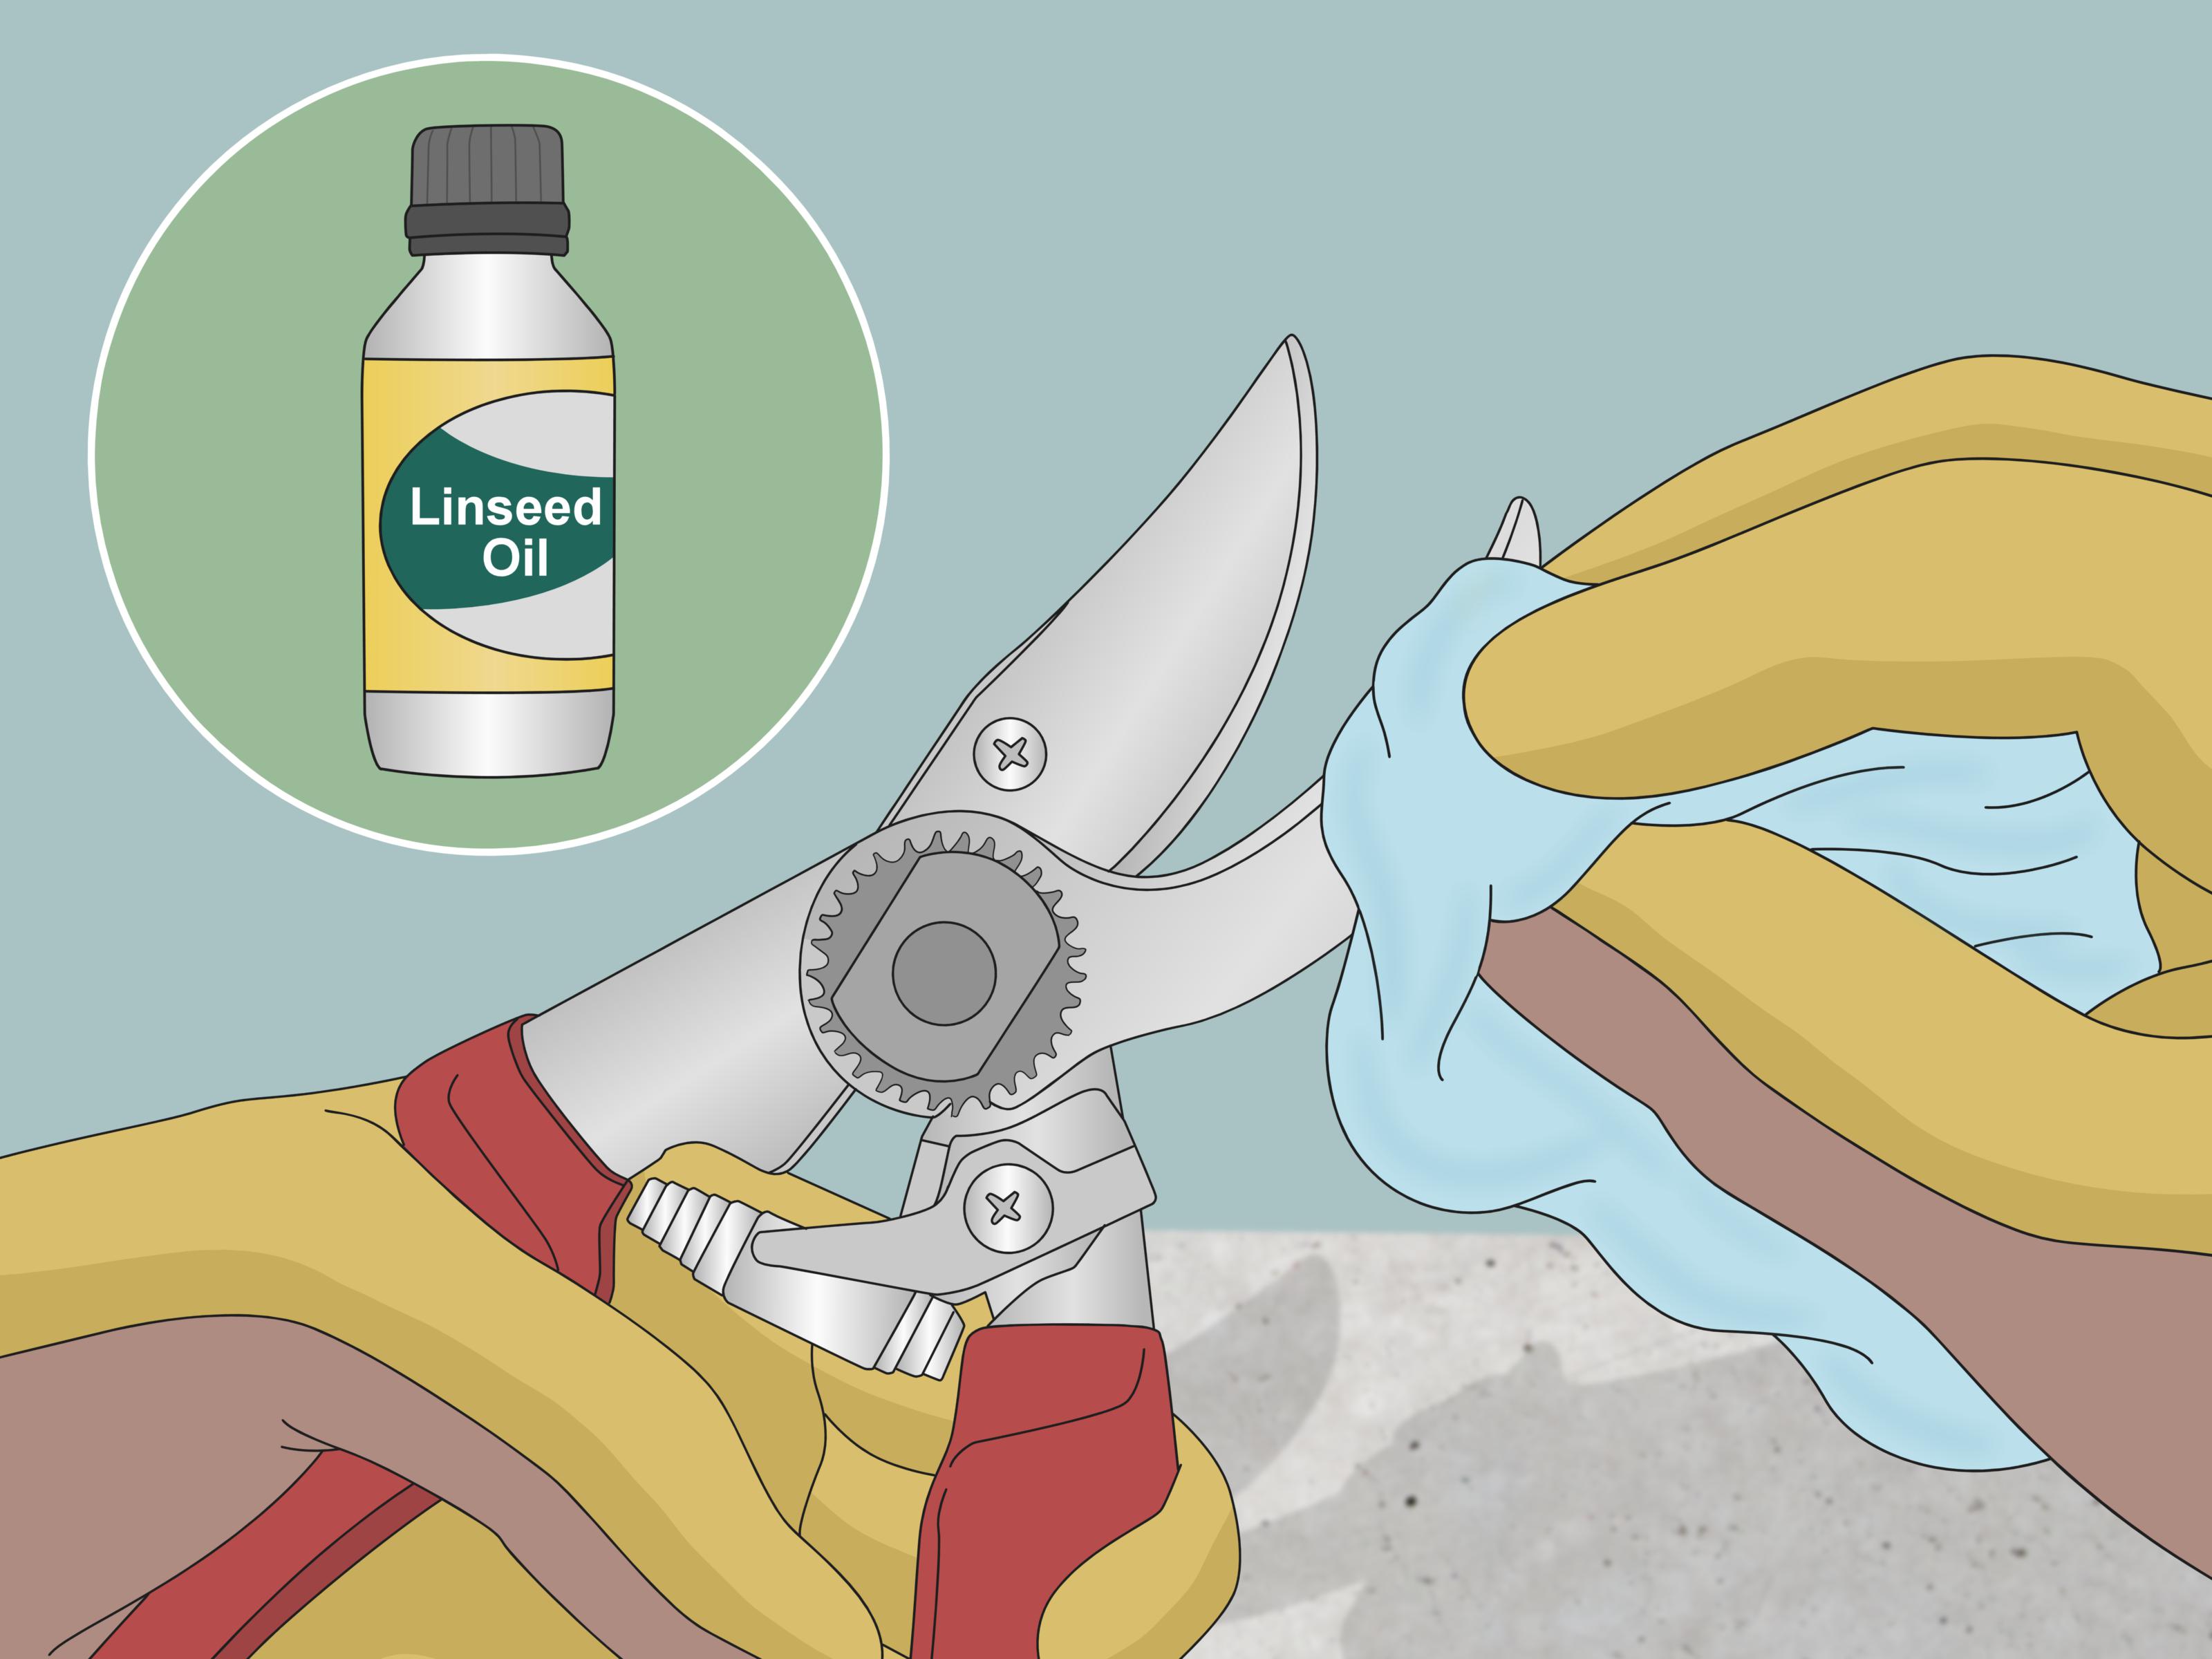
Wipe away all metal filings with a clean cloth. If you took the tool apart, reassemble it in the same order. Add a few drops of light machine oil to the pivot, spring, locking mechanism, and moving joints.
Open and close the shears several times to spread the lubricant. Then wipe away excess oil. You want a thin protective film, not a slippery puddle that turns your tool into a garden-themed escape artist.
Step 7: Adjust Blade Tension
Good pruning shears should open and close smoothly without wobbling. If the center nut is too loose, the blades may separate and leave rough cuts. If it is too tight, the handles will feel stiff and tiring.
Adjust the center bolt little by little until the blades move smoothly but stay aligned. On bypass pruners, the cutting blade should pass closely by the counterblade without a visible gap.
How to Test Whether Your Pruning Shears Are Sharp
Test your sharpened pruning shears on a small, healthy stem within the tool’s recommended cutting capacity. The cut should be clean, smooth, and quick. You should not see crushed tissue, torn bark, or a stringy half-cut hanging on for dear life.
A simple test is to cut a green stem from a soft shrub or an unwanted pruning offcut. If the shears slice through with steady pressure and leave a neat cut surface, congratulations: your pruners are back in business.
If the cut is still rough, inspect the tool before sharpening again. The problem may be dirty blades, loose pivot hardware, a bent counterblade, a damaged spring, or a branch that is simply too thick for hand pruners.
Common Mistakes to Avoid When Sharpening Pruning Shears
Sharpening the Wrong Side of a Bypass Blade
The flat side of a bypass blade needs to remain flat so it can glide closely against the counterblade. Filing it heavily can ruin the cutting action. Focus on the existing bevel and use only a delicate pass on the flat side to remove a burr.
Changing the Blade Angle
Trying to create a dramatically sharper-looking angle can weaken the edge or make it dull faster. Follow the factory bevel. Your pruning shears were designed with a blade geometry that works; they do not need an identity crisis.
Using a Power Grinder on Small Pruners
Power grinders remove metal quickly and can overheat a blade, affecting its temper and durability. For hand pruners, a manual diamond sharpener, whetstone, or fine file gives you much better control.
Sharpening Over Sap and Rust
Sap buildup can make a sharp blade feel dull, while rust can hide nicks and irregularities. Always clean before sharpening. Sometimes a pair of shears does not need major sharpening at all; it simply needs a proper bath and a little oil.
Cutting Branches That Are Too Thick
Even perfectly sharpened pruning shears have limits. For thick branches, use loppers or a pruning saw. Forcing hand pruners through oversized wood can dull blades, strain the pivot, bend the cutting edge, and make you question every landscaping decision that led to this moment.
How Often Should You Sharpen Pruning Shears?
How often you sharpen pruning shears depends on how much you use them. A home gardener may need only a few touch-ups during the growing season and one deeper cleaning before winter storage. Frequent gardeners, rose growers, orchard hobbyists, and people who own shrubs with ambitious growth plans may sharpen more often.
Sharpen your shears whenever cuts start to feel difficult, branches become crushed instead of sliced, or the blades show visible nicks. A quick touch-up before a big pruning session is usually easier than waiting until your favorite pruners are dull enough to qualify as decorative hardware.
How to Clean and Store Pruning Shears After Sharpening
Sharpening is only half the maintenance story. Proper cleaning and storage help your edge last longer.
- Wipe blades clean after every pruning session.
- Remove sap before it hardens around the pivot.
- Disinfect tools when moving from diseased plants to healthy plants.
- Dry the shears completely before storage.
- Apply a light coat of oil to metal surfaces and moving parts.
- Store pruning shears indoors in a dry shed, garage, or tool box.
- Keep blades closed or use a protective cover when possible.
For plant disease concerns, clean off visible debris first, then disinfect the blades with 70% rubbing alcohol or another garden-tool-safe disinfectant. If you use a bleach solution, rinse and dry the tool thoroughly afterward because bleach can be corrosive to metal.
When to Replace Instead of Sharpening
Most quality pruning shears can be sharpened many times. Some models also have replaceable blades, springs, locks, and counterblades. That is good news for your budget and for the drawer full of “almost useful” garden tools that every homeowner somehow collects.
Still, replacement may be smarter when the blade is deeply chipped, badly bent, cracked, severely pitted with rust, or no longer aligns with the counterblade after adjustment. A damaged spring or loose pivot can sometimes be repaired, but a compromised cutting blade may not be worth the trouble.
Before buying new pruning shears, check whether replacement parts are available. A good pair of bypass pruners can last for years when cleaned, sharpened, lubricated, and used within its intended cutting capacity.
Final Thoughts on Sharpening Pruning Shears
Knowing how to sharpen pruning shears is one of those small garden skills that pays off every time you trim roses, deadhead flowers, shape shrubs, harvest herbs, or remove damaged stems. Clean, sharp blades make gardening quicker, easier, and kinder to your plants.
The routine is simple: clean the blades, follow the original bevel, sharpen in one direction, remove the burr lightly, oil the moving parts, and store the tool somewhere dry. Give your pruners a few minutes of care, and they will stop acting like rusty crab claws and start cutting the way they were meant to.
Garden Experience: What I Learned From Sharpening Pruning Shears
The first time I sharpened pruning shears, I expected a dramatic transformation worthy of a gardening commercial. In my imagination, I would make three elegant passes with a sharpening stone, sunlight would beam through the clouds, and every rose cane in the yard would politely line up for a haircut.
Reality was less cinematic. My old bypass pruners were sticky with dried sap, lightly rusted near the pivot, and so stiff that opening them felt like trying to operate a medieval trap. Before I even touched the blade with a sharpener, I spent several minutes cleaning the tool. That was the moment I learned an important lesson: dirty pruning shears can pretend to be dull.
After wiping away the sap and working on the pivot, the shears already moved better. They were not sharp yet, but they were no longer fighting me. Once I found the bevel on the cutting blade, I used a small diamond sharpener and made slow strokes from the pivot toward the tip. The key was not speed. The key was consistency.
I made the beginner mistake of wanting to sharpen more aggressively. It is tempting to keep filing because the blade begins to look shiny and productive. But a shiny blade is not automatically a better blade. I stopped after several controlled passes, removed the tiny burr from the flat side, added a drop of oil, and reassembled the pruners.
The test cut was surprisingly satisfying. I clipped a thin rose stem, and instead of crushing it, the blade made a clean slice with almost no effort. It was one of those tiny household victories that feels disproportionally rewarding. Nobody throws a parade for sharpened pruners, but perhaps they should.
Since then, I have learned to sharpen before a major pruning day instead of waiting until the shears become nearly unusable. A quick touch-up is easier than rescuing a battered edge. I also keep a rag nearby when I garden, because wiping sap from the blades after use takes less than a minute and prevents a lot of future annoyance.
The biggest improvement was not actually the sharp edge. It was understanding the whole maintenance routine: clean first, sharpen gently, lubricate the pivot, and store the tool dry. Once that became a habit, pruning stopped feeling like a chore with a stubborn tool and started feeling more precise. Plants got cleaner cuts, my hands got less tired, and my pruning shears finally stopped sounding like they needed their own physical therapist.