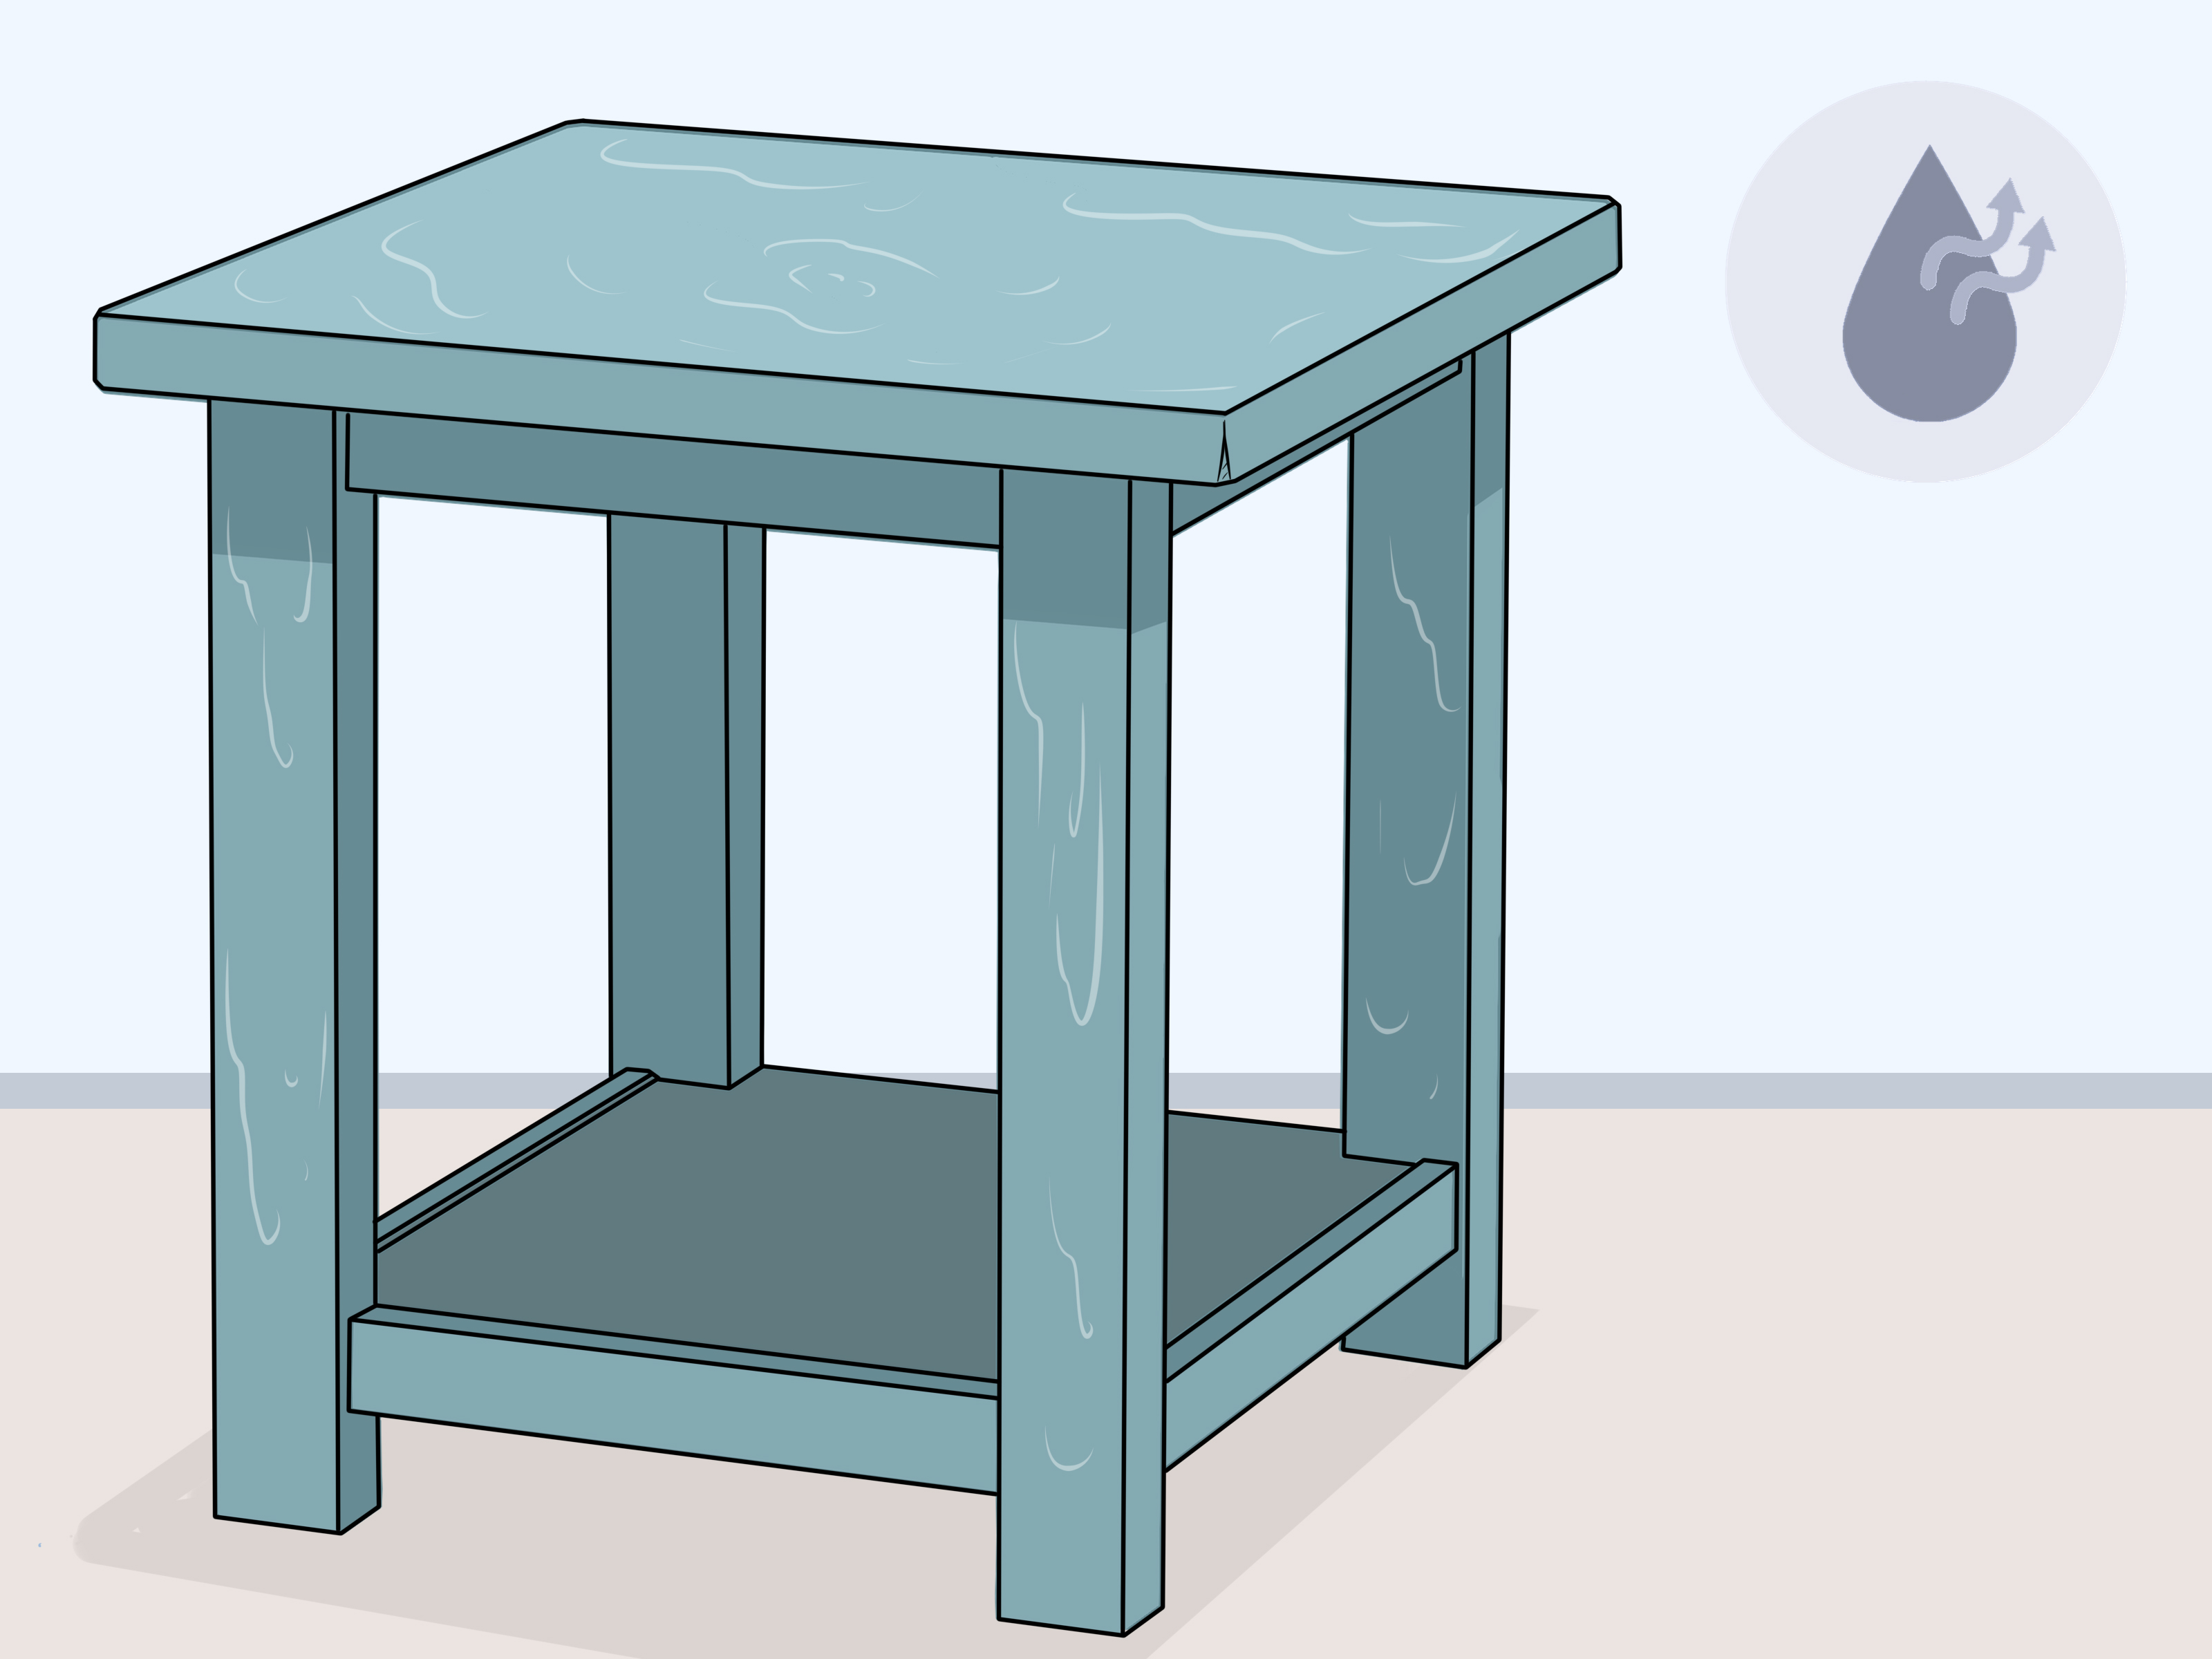
That glossy polyurethane finish may be excellent at protecting wood, but it is considerably less enthusiastic about holding onto a fresh coat of paint. Apply paint directly to the slick surface, and the result may peel, scratch, or slide off with all the commitment of a temporary tattoo.
Fortunately, you usually do not need to strip a sound polyurethane coating down to bare wood. The real goal is to remove dirt, dull the shine, create a dependable bonding surface, and apply products in the correct order. With careful preparation, you can paint over polyurethane on furniture, cabinets, doors, trim, paneling, and many other finished wood surfaces.
This guide explains how to paint over polyurethane in 15 manageable steps, including when to sand, when to use liquid deglosser, which primer to choose, and how long to let the finished surface cure.
Can You Paint Directly over Polyurethane?
Technically, paint can be placed directly on polyurethane. Whether it stays there is another matter. Polyurethane creates a hard, smooth, nonporous film, and ordinary paint has difficulty gripping a glossy surface. Coating manufacturers consistently recommend cleaning and dulling slick finishes or applying a high-adhesion bonding primer before painting.
You can normally paint over polyurethane without completely removing it when the existing coating is firmly attached, dry, and free of widespread cracking or peeling. If the finish is badly damaged, contaminated with wax, or separating from the wood, stripping or more aggressive sanding may be necessary.
Supplies You May Need
- Protective gloves, safety glasses, and a suitable dust mask or respirator
- Drop cloths or plastic sheeting
- Screwdriver and labeled containers for hardware
- Mild detergent, degreasing cleaner, or manufacturer-approved surface cleaner
- Clean sponges, microfiber cloths, and lint-free rags
- Wood filler and a putty knife
- 120-, 150-, 180-, and 220-grit sandpaper or sanding sponges
- Liquid deglosser, if appropriate
- Vacuum with a brush attachment
- Bonding or stain-blocking primer
- Durable furniture, cabinet, trim, or enamel paint
- Quality synthetic brush, foam roller, or paint sprayer
- Painter’s tape and paint tray
How to Paint over Polyurethane in 15 Steps
Step 1: Identify the Surface and Existing Finish
Begin by confirming what you are painting. Solid wood, veneer, laminate, MDF, and previously painted surfaces may look similar but require different treatment. Inspect a hidden area, the back of a drawer, or the underside of the furniture for clues.
Polyurethane usually forms a clear protective layer over stained or natural wood. It may be water-based or oil-based, glossy or satin, and recently applied or decades old. You do not always need to identify the exact formula, but you should recognize that a shiny clear film requires adhesion-focused preparation.
Step 2: Examine the Polyurethane for Damage
Run your hand across the surface and look for flaking, bubbling, deep scratches, cloudy patches, sticky areas, or sections lifting from the wood. A stable finish can become a useful foundation. A failing finish is not a foundation; it is a future paint chip waiting for an inconvenient moment.
Scrape away loose material and feather the surrounding edges with sandpaper. If large sections are peeling, consider stripping the coating or sanding it back to a consistently sound layer before proceeding.
Step 3: Prepare a Safe Work Area
Work in a well-ventilated location with good lighting. Protect the floor and nearby objects from cleaner, sanding dust, primer, and paint. Wear eye protection while sanding and gloves when using cleaners or liquid deglossers. Follow the safety instructions printed on every product label.
Use extra caution when working on older painted surfaces. Sanding painted components in a home built before 1978 can create hazardous lead-contaminated dust. The EPA recommends containment, dust-minimizing methods, careful cleanup, and lead-safe practices when older coatings may be disturbed.
Step 4: Remove Hardware and Detachable Parts
Take off knobs, hinges, handles, drawer pulls, doors, shelves, and other removable components. Painting around hardware usually produces thick edges, missed spots, and at least one mysterious brush hair preserved forever like a tiny archaeological specimen.
Place screws and fittings in labeled bags or containers. Number cabinet doors and drawers with painter’s tape so that everything returns to its original location. This small organizational step can prevent a surprisingly dramatic reassembly session.
Step 5: Clean Away Grease, Wax, and Dirt
Cleaning is essential because sanding a dirty surface can grind grease, furniture polish, cooking residue, and skin oils deeper into the finish. Wash the polyurethane with a mild detergent or a degreasing cleaner appropriate for the surface. Kitchen cabinets may require more cleaning than a decorative bookshelf because airborne cooking grease is remarkably ambitious.
Rinse away cleaner residue with a separate damp cloth when the product instructions require it. Let the surface dry completely. Paint and primer bond to clean, dry materialnot to a thin layer of lemon-scented furniture polish.
Step 6: Repair Holes, Dents, and Damaged Areas
Fill unwanted holes, chips, and dents with a paintable wood filler. Allow it to dry according to the label, then sand it level with the surrounding surface. Re-glue loose joints and tighten structural connections before painting.
Minor imperfections tend to become more visible under solid-color paint, especially when using satin, semi-gloss, or gloss finishes. Repairing them now is much easier than discovering them after the final coat has dried.
Step 7: Scuff-Sand the Polyurethane
For most projects, you do not need to remove every trace of polyurethane. You need to eliminate the shine and create a uniformly dull surface. Sand broad, sound areas with approximately 150- to 220-grit sandpaper. Use lighter pressure on thin veneer and detailed edges.
Sand in the direction of the wood grain when it remains visible. The surface should look evenly hazy rather than deeply scratched. Manufacturers commonly recommend light sanding to improve adhesion on hard, glossy finishes, and fine sanding is also used between coating layers to improve smoothness and bonding.
Avoid over-sanding corners, decorative profiles, and veneer. These areas lose their finish quickly because pressure is concentrated along the edges.
Step 8: Consider Liquid Deglosser for Detailed Areas
Liquid sandpaper, also called liquid deglosser, chemically dulls an existing finish. It can be useful on carvings, spindles, grooves, and other areas that are awkward to reach with ordinary sandpaper.
Deglosser is not a universal excuse to skip preparation. It will not repair peeling polyurethane, flatten dents, remove heavy wax buildup, or smooth damaged wood. Use it only on compatible, clean surfaces and follow its ventilation, application, and recoating instructions precisely. Some products require primer or paint to be applied within a limited time.
Step 9: Remove Every Trace of Sanding Dust
Vacuum the project thoroughly with a soft brush attachment, paying attention to corners, joints, molding, and hardware holes. Follow with a clean, slightly damp microfiber cloth or another dust-removal method approved for your coating system.
Do not leave dust hiding in crevices. The first brushstroke will find it, collect it, and distribute it across the most visible section of the project. Allow the surface to dry fully before priming.
Step 10: Perform a Small Adhesion Test
Before coating the entire piece, test the planned primer and paint system in an inconspicuous location. Apply a small amount of primer, let it dry for the full recommended period, and gently scratch or press tape against the test area.
If the primer lifts easily, the surface may still be contaminated or too glossy. Clean and sand the test area again, or select a primer specifically formulated for difficult, nonporous surfaces. Testing is especially valuable when the old finish, cleaning history, or wood species is unknown.
Step 11: Apply a High-Adhesion Primer
Use a bonding primer intended for glossy or difficult-to-paint surfaces. A quality adhesion primer creates a bridge between the slick polyurethane and the decorative topcoat. Water-based bonding primers are convenient for many projects, while shellac-based or oil-based stain-blocking primers may be preferable when dealing with severe tannin bleed, smoke residue, odors, or stubborn discoloration.
Apply a thin, even coat rather than trying to create complete color coverage in one pass. Avoid heavy ridges and puddles in corners. Product guidance from Benjamin Moore, KILZ, Sherwin-Williams, Valspar, and PPG emphasizes proper surface preparation and the use of suitable bonding primers on slick or glossy coatings.
Dark stained woods and tannin-rich species may need a second primer coat. If brown or yellow marks appear through the first coat, do not keep feeding them ordinary paint. Switch to a compatible stain-blocking primer.
Step 12: Let the Primer Dry and Sand It Lightly
Respect the primer’s stated drying and recoating times. “Dry to the touch” does not always mean ready to sand or topcoat. Cool temperatures, high humidity, thick application, and limited airflow can slow the process.
Once the primer is ready, sand lightly with 220-grit sandpaper or a fine sanding sponge to remove dust nibs, roller texture, and small brush marks. Do not sand aggressively enough to expose large areas of polyurethane. Vacuum and wipe away the dust before painting.
Step 13: Choose Paint Designed for the Job
Select a durable coating suited to the object’s use. Acrylic enamel, urethane-reinforced trim paint, cabinet paint, furniture paint, and waterborne alkyd enamel are common choices. A decorative picture frame does not need the same abrasion resistance as a kitchen cabinet or dining table.
Water-based products generally offer easier cleanup, lower odor, and better resistance to yellowing. Traditional oil-based enamel can level smoothly and cure hard, but it often dries more slowly and may yellow over time. Compatibility depends on the complete system, so verify that your chosen paint can be applied over the primer.
Step 14: Apply Two Thin Coats of Paint
Stir the paint thoroughly without whipping air into it. Apply the first coat with a high-quality synthetic brush, a fine-finish foam or microfiber roller, or a properly configured sprayer. Work in manageable sections and maintain a wet edge.
Thin coats usually level and cure more reliably than one heavy coat. Heavy paint can sag around molding, collect in corners, and remain soft beneath a dry-looking surface. Let the first coat dry for the full recommended period, sand lightly if the product permits, remove the dust, and apply the second coat.
The Home Depot, Lowe’s, Minwax, and major paint manufacturers similarly stress proper cleaning, controlled sanding, dust removal, thin application, and compliance with product-specific drying instructions.
Step 15: Allow the Paint to Cure before Heavy Use
Paint may feel dry within hours while remaining vulnerable to dents, sticking, scratches, and fingerprints for days or even weeks. Drying is the evaporation stage; curing is the longer process through which the coating develops its intended hardness and durability.
Keep cabinet doors and drawers slightly open when possible, avoid placing heavy objects on newly painted shelves, and delay vigorous cleaning. Reinstall hardware carefully after the paint has hardened enough to resist pressure.
A clear topcoat is optional rather than automatic. Many cabinet and trim enamels are designed to serve as the final finish. If additional protection is genuinely needed, confirm that the clear coat is compatible with the paint and fully observe the paint manufacturer’s cure-time requirements. Oil-based polyurethane can add an amber cast, particularly over white or pale colors, while water-based clear finishes are typically less prone to yellowing.
Common Mistakes When Painting over Polyurethane
Skipping the Cleaning Stage
Furniture polish, grease, hand oils, and cleaning residue can cause primer failure even after sanding. Clean first, sand second, and remove the dust afterward.
Sanding Only the Flat, Convenient Areas
Paint often starts peeling around edges, handles, corners, grooves, and decorative details because those areas were not fully cleaned or dulled. Use sanding sponges, folded sandpaper, or an appropriate deglosser to prepare them.
Using Ordinary Wall Primer
A basic drywall primer is not necessarily designed to grip a nonporous polyurethane coating. Look for language such as “bonding,” “high adhesion,” or “for glossy surfaces.”
Applying Paint Too Thickly
A thick coat may appear efficient, but it dries slowly, develops roller texture, sags along edges, and remains soft underneath. Two or three controlled coats are safer than one paint avalanche.
Confusing Dry Time with Cure Time
Putting books on a shelf the morning after painting can leave permanent impressions. Closing newly painted cabinet doors too soon may cause them to stick. Give the coating time to become durable, not merely touchable.
Frequently Asked Questions
Can You Paint over Polyurethane without Sanding?
Sometimes. A compatible liquid deglosser or a primer formulated for dense, glossy surfaces may reduce the need for conventional sanding. However, the surface must still be clean, dry, stable, and prepared according to the product label. Light scuff-sanding generally provides inexpensive insurance against peeling.
What Is the Best Primer for Painting over Polyurethane?
A high-adhesion bonding primer is the usual choice. For severe wood tannins, odors, or stains, use a compatible stain-blocking oil- or shellac-based primer. The best product depends on the existing finish, the wood species, the topcoat, and whether the project is indoors or outdoors.
Can Latex Paint Go over Oil-Based Polyurethane?
Yes, provided the polyurethane is fully cured, cleaned, dulled, and covered with a suitable bonding primer. The primernot wishful thinkingis what makes the transition dependable.
What Grit Sandpaper Should You Use?
For a sound polyurethane coating, approximately 150- to 220-grit paper is commonly suitable for scuff-sanding. Coarser paper may be useful for damaged areas, but it can leave scratches that show through the final paint. Use 220-grit for lightly smoothing dried primer or paint when the manufacturer allows sanding between coats.
Should You Put Polyurethane over the New Paint?
Not necessarily. Durable cabinet, furniture, and trim enamels usually do not require an additional clear finish. A topcoat may be useful on certain high-wear decorative projects, but only when it is compatible with the paint. Test first, especially over pale colors.
Experience-Based Lessons from Painting over Polyurethane
The following practical observations summarize common DIY outcomes rather than one individual project. The pattern is remarkably consistent: preparation feels slow while you are doing it, but skipping preparation makes the project much slower later.
Experience 1: The “It Looks Clean” Cabinet
A kitchen cabinet door may look perfectly clean until a degreasing cloth turns brown. Airborne oil settles gradually, especially near a stove, and it can remain almost invisible on dark polyurethane. Projects that begin with a quick dusting often develop weak primer adhesion around handles and upper cabinet edgesthe exact locations touched most frequently.
The better approach is to clean twice when necessary: one pass to loosen grease and another to remove the remaining residue. Rinsing and drying the surface may add an hour, but repainting a peeling cabinet door adds several far less enjoyable hours.
Experience 2: The Aggressive Sanding Surprise
DIY painters sometimes assume that more sanding automatically produces more adhesion. On solid wood, aggressive sanding may simply create unnecessary work. On veneer, it can remove the thin decorative layer and expose the substrate beneath it.
A safer strategy is to begin with fine or medium-fine paper and moderate pressure. The goal is an evenly dull surface, not a dramatic excavation. Hand-sand edges and profiles, where an electric sander can cut through the finish before you have time to say, “That grain pattern looks different.”
Experience 3: The Primer That Reveals Hidden Stains
An old dresser can look flawless after the first white primer coat and then develop yellow-brown patches several hours later. This is often stain or tannin bleed rather than dirt appearing from another dimension.
Applying more ordinary water-based paint rarely solves the underlying problem. A targeted stain-blocking primer is usually more effective. Testing the primer on the top, sides, and repaired areas can reveal whether the wood or old finish contains discoloration that will migrate through lighter colors.
Experience 4: The Thick-Coat Temptation
When the first paint coat looks streaky, the natural temptation is to load the brush heavily and force complete coverage. This often creates sags, ridges, and soft paint around corners. The cure is patience: apply a controlled first coat, accept that it looks unfinished, and let the second coat perform its actual job.
Fine-finish rollers work well on broad, flat surfaces, while a quality brush is useful for corners and profiles. Rolling large areas and immediately smoothing difficult edges can create a cleaner result than brushing the entire project.
Experience 5: The Shelf That Was Used Too Soon
Freshly painted furniture can feel dry and still be far from ready for daily use. Books, lamps, storage bins, and decorative objects may press into partially cured paint. Rubber or plastic feet can stick to it, leaving marks when moved.
Allowing generous cure time is one of the least exciting steps and one of the most valuable. Keep heavy objects off horizontal surfaces, avoid abrasive cleaning, and use the furniture gently during the early curing period. A little restraint protects all the cleaning, sanding, priming, and painting that came before it.
The Most Reliable Overall Lesson
The easiest way to paint over polyurethane is not the method with the fewest actions. It is the method that avoids doing the job twice. Clean thoroughly, dull every glossy area, test the primer, apply thin coats, and respect the curing process. Those steps may not produce dramatic before-and-after photographs on their own, but they are the reason the “after” photograph still looks good months later.
Conclusion
Painting over polyurethane is entirely practical when the old finish remains sound. You usually do not need to strip the surface to bare wood, but you do need to remove contamination, reduce the gloss, repair damage, and create a reliable bond with the correct primer.
Approach the project as a coating system rather than a single can of paint. Each layer depends on the one beneath it. Careful preparation, compatible products, thin coats, and adequate curing time will produce a smoother finish that resists scratching and peeling.
Note: Product formulas, application windows, ventilation requirements, and drying times vary. Always follow the current instructions on the cleaner, deglosser, primer, paint, and optional topcoat used for your specific project.