Covering shelves with fabric is one of those delightful DIY projects that looks fancy, costs less than dinner out, and does not require you to own a garage full of power tools. Whether you are hiding scuffed pantry shelves, softening a bookcase, disguising wire shelving, or adding personality to open storage, fabric can turn “well, that shelf exists” into “wait, did you hire someone?”
The beauty of fabric covered shelves is flexibility. You can permanently decoupage fabric onto wood shelves, use removable fabric panels for rentals, add a simple fabric curtain to open shelving, or create a cushioned shelf liner that protects surfaces from scratches. The method you choose depends on the shelf material, how much wear the shelf gets, whether you need the cover to be washable, and how committed you are to the pattern. Choosing tiny lemons may feel adorable today; choosing tiny lemons forever is a larger emotional decision.
This guide walks through 13 practical steps for covering shelves with fabric, including measuring, cutting, applying adhesive, smoothing bubbles, finishing edges, and maintaining your new surface. It is written for beginners, renters, homeowners, craft lovers, and anyone who has ever looked at a sad shelf and thought, “You, my friend, need pants.”
Why Cover Shelves with Fabric?
Fabric does more than add color. It can protect shelves from light scratches, reduce the clatter of dishes or bins, hide stains, soften hard storage areas, and make inexpensive shelving look custom. In kitchens and pantries, fabric can act as a decorative shelf liner if properly sealed or paired with a wipeable layer. In closets, it can make wire shelves easier on sweaters, towels, and linens. In living rooms, fabric-backed shelves create a designer look without the price tag of built-ins.
Fabric is also wonderfully forgiving. If your cutting line is not perfect, a folded edge can rescue it. If your shelf has a ding, a bold print can distract from it. If your open shelves look cluttered, a small curtain panel can hide everything faster than you can say, “Those holiday mugs are seasonal décor.”
Materials You Will Need
Before you start, gather your supplies so you do not end up holding wet adhesive while hunting for scissors. You will need fabric, a measuring tape, pencil, ruler or straightedge, sharp scissors or a rotary cutter, adhesive, a smoothing tool, and a clean cloth. Depending on your method, you may also need Mod Podge or another decoupage medium, spray adhesive, fabric glue, double-sided tape, staple gun, tension rod, hook-and-loop tape, clear acrylic sealer, or a removable shelf liner base.
For fabric, cotton, canvas, duck cloth, linen blends, and lightweight upholstery fabric are excellent choices. Cotton is easy to cut and smooth. Canvas is sturdier for closets or utility shelves. Linen blends look refined but may fray more easily. Avoid stretchy knits, very thick fleece, loose-weave burlap, and high-pile fabrics unless you are making a removable cover rather than gluing fabric flat. Stretchy fabric loves to distort patterns, and burlap sheds like it is auditioning for a confetti cannon.
Easy Ways to Cover Shelves with Fabric: 13 Steps
Step 1: Decide Whether You Want Permanent or Removable Fabric
Start by choosing your commitment level. Permanent fabric covered shelves are best for wood, MDF, plywood, or laminate shelves you own and do not mind altering. This method usually involves decoupage medium, spray adhesive, or glue. It gives a smooth, built-in look and works beautifully on bookcases, cabinet interiors, and display shelves.
Removable fabric covers are better for rentals, dorm rooms, antiques, or surfaces you may want to change later. For a removable option, attach fabric to a thin foam board, cardboard panel, non-adhesive shelf liner, or fabric-wrapped insert. You can also use a curtain panel across open shelves. Removable methods are less risky and easier to wash or replace.
Step 2: Empty and Clean the Shelves
Remove every item from the shelf. Yes, even the mysterious box in the back that has not moved since 2019. Dust the shelf, then wipe it with a damp cloth and mild soap if needed. Kitchen shelves may need extra cleaning because grease and crumbs can prevent adhesive from bonding properly. Dry the shelf completely before applying fabric.
If the shelf is painted, check for peeling paint. If it is wood, look for splinters. If it is laminate, make sure there is no oily residue. Adhesive bonds best to a clean, dry, smooth surface. Skipping this step is the DIY version of building a house on pudding.
Step 3: Lightly Sand Rough or Glossy Surfaces
If you are covering unfinished wood, rough plywood, or a glossy painted shelf, lightly sand the surface with fine-grit sandpaper. The goal is not to remove the finish; it is to create a slightly grippy surface. Wipe away sanding dust with a tack cloth or damp microfiber cloth, then let the shelf dry.
For laminate shelves, sanding is optional and should be gentle. If you are renting or working with a delicate surface, skip sanding and use a removable fabric panel instead. When in doubt, test in a hidden area. The shelf will not be offended; it prefers honesty.
Step 4: Measure the Shelf Carefully
Measure the shelf width, depth, and front edge. If you plan to wrap fabric around the front lip, add enough extra fabric to fold around the edge and secure underneath or at the back. A good rule is to add 1 to 2 inches on each side for wrapping and trimming.
For cabinet shelves, measure each shelf separately. Shelves may look identical but often differ by a fraction of an inch. That tiny difference becomes very dramatic when your fabric is already glued down. Write down each measurement and label the fabric pieces if you are covering multiple shelves.
Step 5: Prewash, Dry, and Iron the Fabric
If the fabric is washable, prewash and dry it before cutting. This removes sizing, reduces shrinkage, and helps the fabric lie flat. Do not use fabric softener if you plan to decoupage, because it can interfere with adhesion. Once dry, iron the fabric until it is smooth.
Wrinkles may look charming on linen shirts, but on shelves they create bumps, bubbles, and shadows. Ironing takes a few minutes and saves you from staring at one stubborn crease every time you open the pantry.
Step 6: Cut the Fabric Slightly Larger Than Needed
Lay the fabric face down on a clean work surface. Use your measurements to mark cutting lines on the back of the fabric. A ruler and rotary cutter give the cleanest edges, but sharp scissors also work. Cut the fabric slightly larger than the shelf so you can trim it perfectly after placement.
If your fabric has stripes, checks, or a directional pattern, align the design before cutting. A crooked floral print may not matter much, but crooked stripes will announce themselves from across the room like a tiny marching band.
Step 7: Dry-Fit the Fabric
Place the fabric on the shelf before adding adhesive. Smooth it into position and check the front, sides, and corners. Make sure the pattern is straight and that you have enough fabric to wrap the edges if desired. If the fabric bunches in corners, make small relief cuts where needed.
Dry-fitting gives you a low-pressure rehearsal. You can trim, adjust, and rethink your life choices before glue gets involved. For removable panels, this is also the time to check whether the insert slides in and out easily.
Step 8: Choose the Right Adhesive Method
For a classic fabric covered shelf, decoupage medium works well because it acts as glue, sealer, and finish. Brush a medium layer onto the shelf, position the fabric, smooth it down, then apply protective coats over the top. This is ideal for decorative shelves and bookcases.
Spray adhesive is faster and useful for large flat areas. Use it in a well-ventilated area, protect nearby surfaces from overspray, and follow the product instructions. Fabric glue can work for edges and small shelves, while double-sided tape or hook-and-loop tape is best for temporary covers.
For high-moisture areas, such as under-sink cabinets, fabric alone is not the most practical surface unless sealed well or paired with a wipeable liner. In kitchens, consider using fabric for decorative vertical backs, cabinet interiors, or low-spill shelves, and choose waterproof or washable liners for heavy-use areas.
Step 9: Apply Fabric from Back to Front
When using glue or decoupage, start at the back of the shelf and work forward. Place one edge of the fabric down first, then slowly smooth the fabric toward the front. Use your hand, a brayer, a plastic scraper, or an old gift card to push out air bubbles. Work gently so you do not stretch the fabric.
If using decoupage medium, apply enough product so the fabric bonds evenly, but not so much that it becomes soggy. If the fabric is very thin, test first to make sure the glue does not bleed through in a way you dislike. Some fabrics darken slightly when sealed, which can be beautiful or surprising depending on your expectations.
Step 10: Wrap or Finish the Front Edge
The front edge is the part everyone sees, so give it extra attention. For a polished look, apply adhesive to the front lip of the shelf, fold the fabric over it, and smooth it snugly. Trim excess fabric underneath or at the back. If the shelf is removable, you can wrap the fabric around the shelf and secure it underneath with staples or tape.
Another option is to add a separate fabric trim, ribbon, or lace along the front edge. This works especially well for cottage-style kitchens, linen closets, nurseries, and craft rooms. A little trim can make a basic shelf look intentionally designed rather than accidentally covered during a craft storm.
Step 11: Seal the Fabric for Durability
If you used decoupage medium, add two or three thin topcoats over the fabric, allowing each coat to dry before applying the next. Thin coats dry more evenly than one heavy coat. For shelves that will hold books, bins, or décor, a hard-coat formula or clear protective sealer can improve durability.
Remember that many craft sealers are water-resistant rather than fully waterproof. Do not treat fabric covered shelves like cutting boards, countertops, or dish-drying racks. For pantry shelves, wipe spills quickly. For bathroom shelves, use sealed fabric only in areas that stay relatively dry.
Step 12: Let the Shelves Dry and Cure
Drying time depends on the adhesive and finish. Many decoupage projects feel dry within hours, but shelves should rest longer before heavy use. Let the covered shelf dry at least overnight, and wait longer before loading it with books, dishes, appliances, or storage bins. Furniture-grade finishes may need several days before regular use and longer to fully cure.
This is the hardest step because the shelf looks done. Resist the urge to reload it immediately. Placing heavy objects too soon can leave marks, dents, or tacky spots. Patience is cheaper than redoing the project while muttering at a cereal box.
Step 13: Reload, Style, and Maintain the Shelf
Once the shelf is dry, return items carefully. Use baskets, bins, or trays to reduce friction on fabric surfaces. Avoid dragging heavy objects across the shelf. For cleaning, dust regularly and spot-clean gently with a barely damp cloth if the fabric is sealed. Removable fabric liners can often be shaken out, vacuumed, or washed depending on the materials used.
Style the shelves with contrast in mind. If your fabric is busy, use simple containers. If your fabric is subtle, add colorful objects or labels. The goal is balance, not visual jazz hands on every inch of storage space.
Alternative Fabric Shelf Cover Ideas
Fabric Curtains for Open Shelving
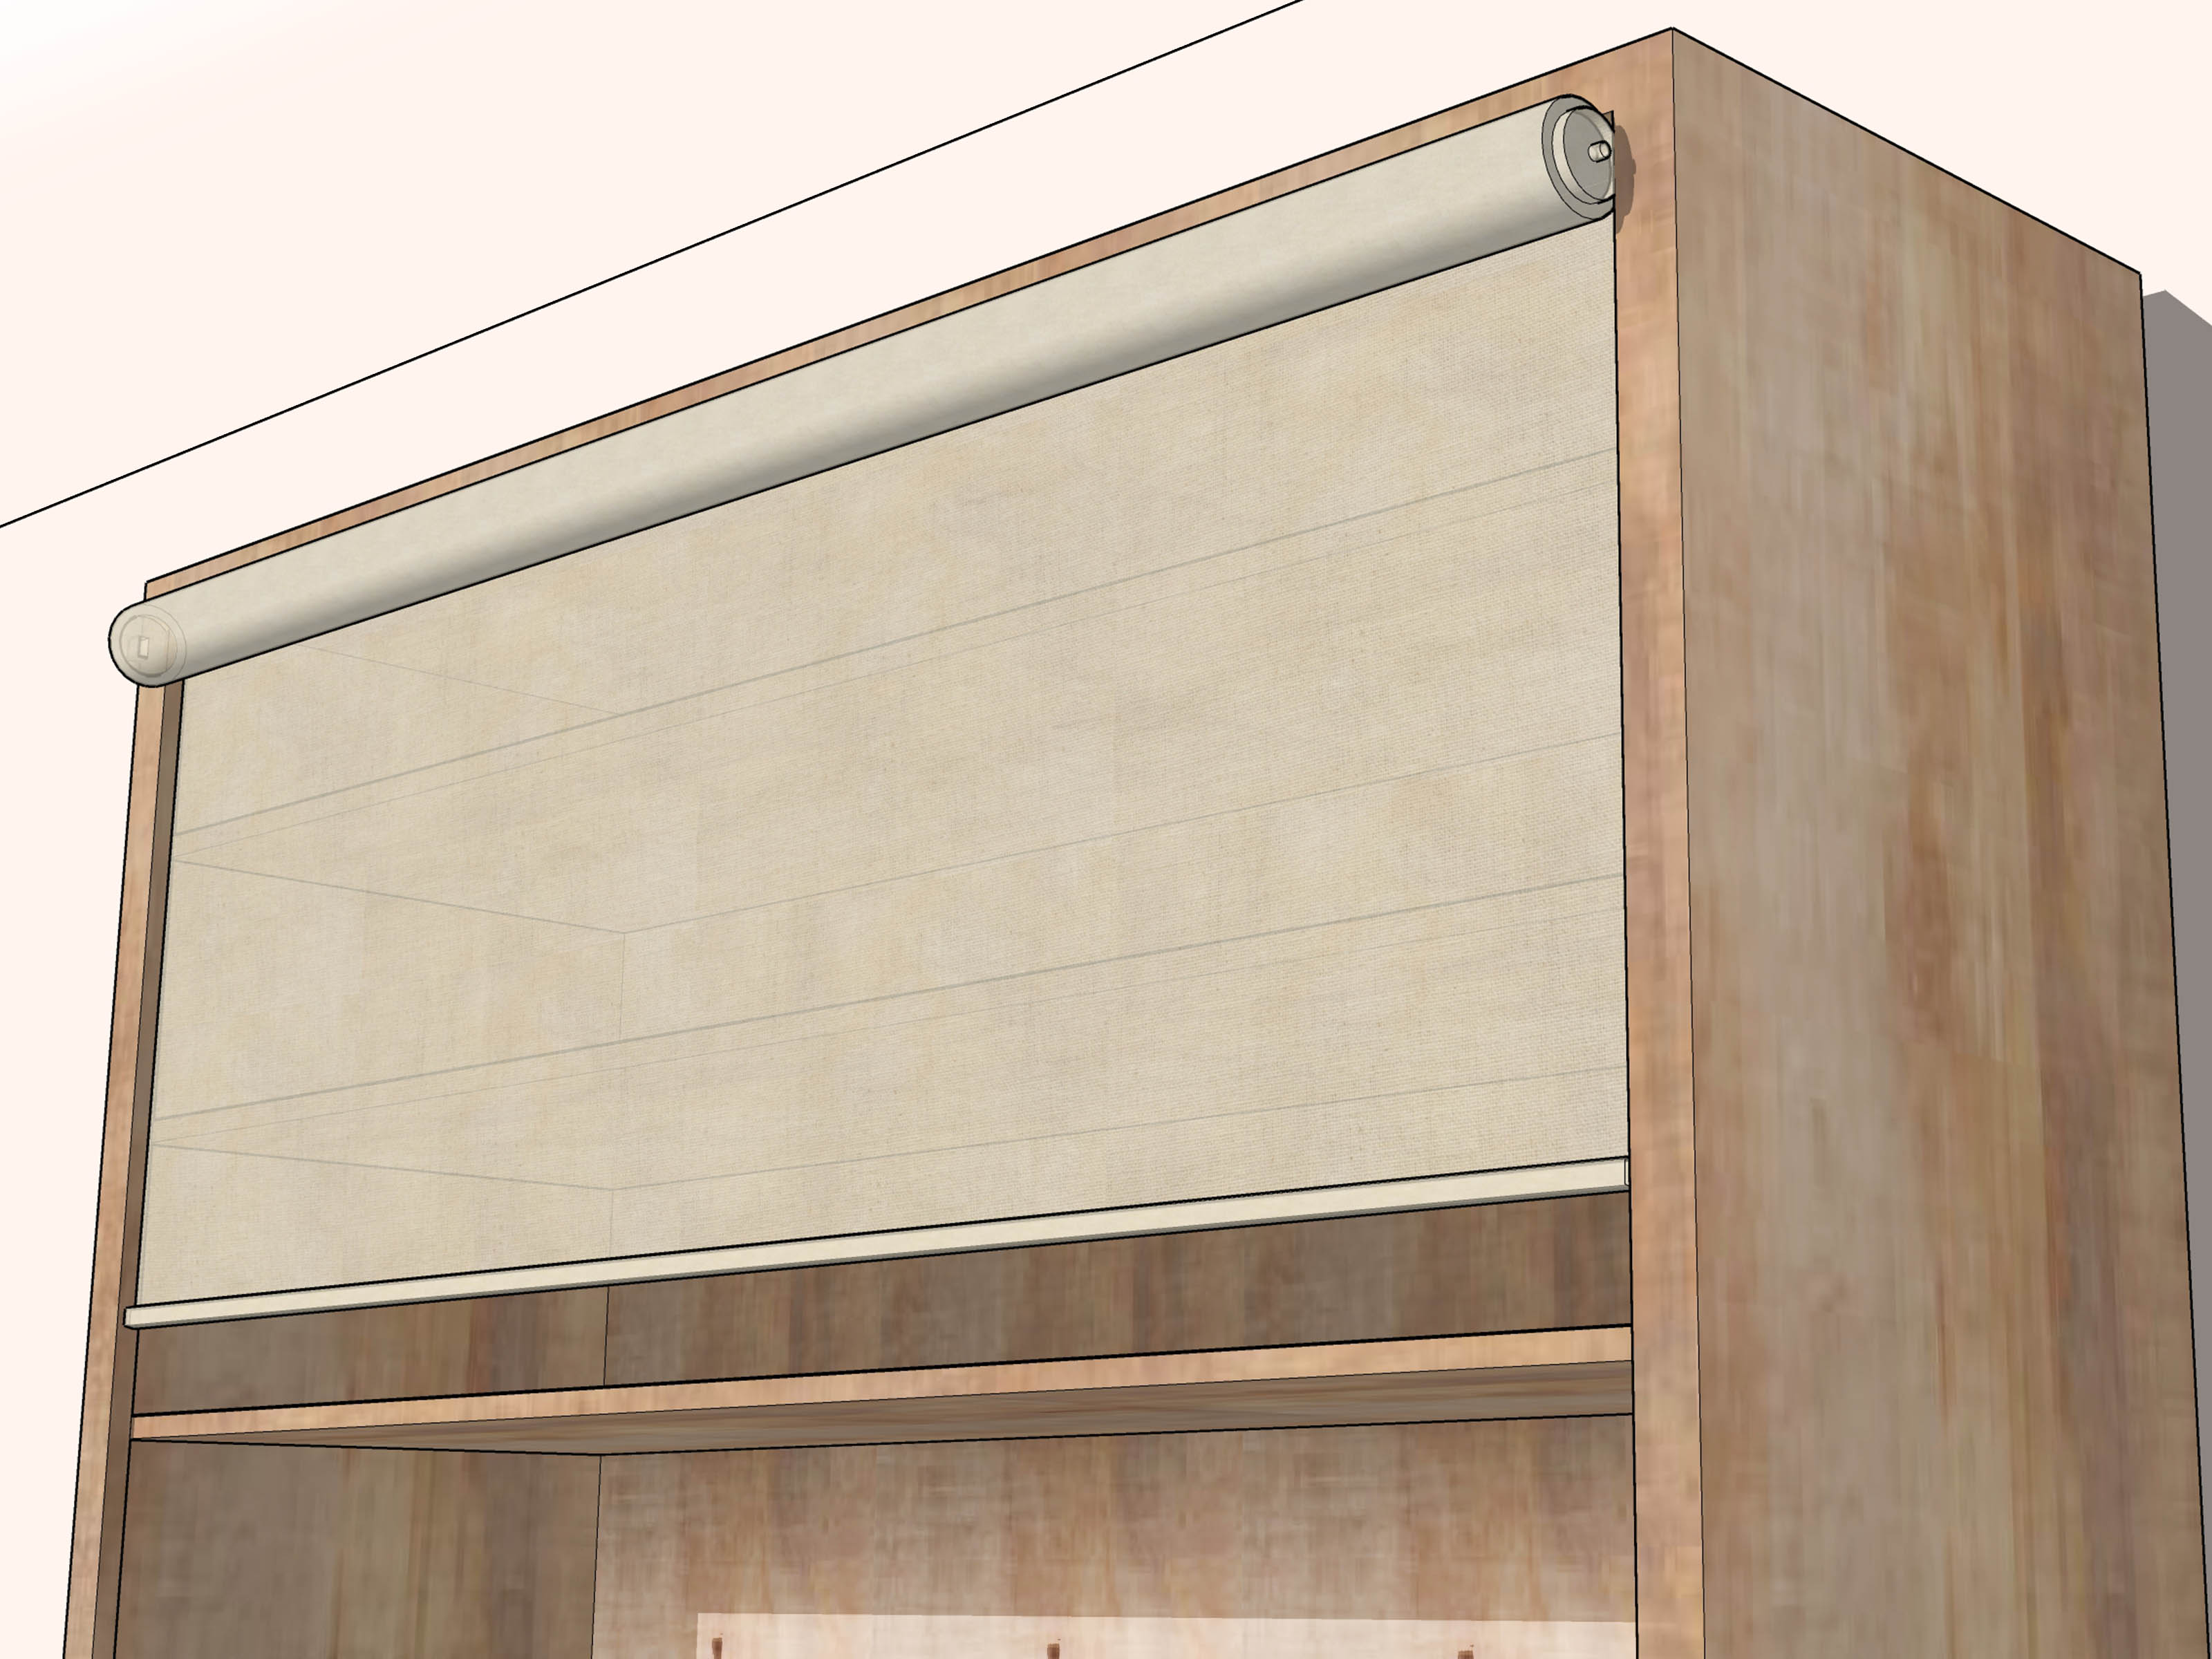
If you want to cover open shelves without gluing anything, hang a fabric curtain. Use a small tension rod, adhesive curtain rod brackets, cafe curtain hardware, or hook-and-loop tape. This method is ideal for laundry rooms, utility shelves, playrooms, and apartments. It hides clutter instantly and can be changed seasonally.
Fabric-Wrapped Foam Board Panels
For bookcases, cut foam board to fit the shelf back or surface, wrap it with fabric, and secure the fabric on the back with tape or glue. Slide the panel into place. This gives the look of fabric covered shelves without altering the furniture. It is also great for renters and commitment-phobes with excellent taste.
Fabric Over Wire Shelving
Wire shelves can leave ridges on folded clothes and allow small items to tip or fall through. To soften them, place a rigid liner, foam board, thin plywood, or heavy non-adhesive shelf liner on top, then wrap or cover that insert with fabric. This creates a smoother surface while keeping the original shelf intact.
Common Mistakes to Avoid
The first mistake is using the wrong fabric. Stretchy, slippery, or thick fabric can be difficult to glue smoothly. The second mistake is applying too much adhesive, which can create wet patches or wrinkles. The third mistake is skipping dry-fitting, especially with patterned fabric. The fourth mistake is reloading shelves too quickly before the finish has dried.
Also avoid using fabric in places where constant water exposure is likely. Under a sink, near pet bowls, or beside a coffee station, fabric may stain or absorb moisture unless it is protected. If you love the fabric look in a messy area, use fabric behind clear vinyl, under a wipeable liner, or on a removable panel that can be replaced.
Best Rooms for Fabric Covered Shelves
Fabric covered shelves work beautifully in craft rooms, bedrooms, linen closets, nurseries, home offices, pantries, and living rooms. In a craft room, fabric can coordinate with storage bins and sewing supplies. In a nursery, soft prints can warm up cube shelves. In a home office, a fabric-backed bookcase can make video-call backgrounds look more intentional. In a pantry, washable or sealed fabric can add charm to shelves that usually only get to socialize with pasta boxes.
For high-traffic kitchens and bathrooms, use fabric strategically. Cover the back panel of a cabinet, the front edge of a shelf, or a removable insert rather than the entire surface if spills are common. That way, you still get style without turning every spaghetti sauce incident into a restoration project.
Experience Notes: What Actually Happens When You Cover Shelves with Fabric
After doing this type of project, one lesson becomes obvious: the fabric choice matters more than almost anything else. A medium-weight cotton is usually the easiest fabric for beginners because it cuts cleanly, accepts adhesive well, and does not fight back. Lightweight fabric can work, but it may show glue marks or wrinkles. Heavy upholstery fabric looks expensive, but it can be bulky around corners. If this is your first time, choose a print that is forgiving. Tiny florals, abstract patterns, gingham, or textured solids hide small mistakes better than perfect stripes.
Another real-world tip is to start with one shelf, not the entire bookcase. It is tempting to cut everything at once, especially when you are feeling productive and possibly over-caffeinated. But one test shelf teaches you how the fabric reacts to adhesive, how much trimming you need, and whether the pattern looks good in the room. Sometimes a fabric that looks calm on a folded yard becomes extremely loud when spread across six shelves. The shelf is not being dramatic; scale changes everything.
Working slowly also improves the final result. When smoothing fabric onto adhesive, use steady pressure and move from the center outward or from back to front. If a bubble appears, lift the fabric gently while the adhesive is still wet and smooth it again. Once the finish starts drying, stop fussing. Overworking wet fabric can stretch the weave, smear glue, or create cloudy areas. DIY confidence is wonderful, but there is a fine line between “careful adjustment” and “I have angered the craft gods.”
In everyday use, fabric covered shelves feel warmer and quieter than bare wood or laminate. Bins slide less aggressively, dishes make less noise, and display shelves look more finished. However, fabric is not magic armor. Heavy objects can leave impressions, and sharp basket corners can snag the surface. The simplest fix is to use trays or smooth-bottomed containers. For bookshelves, make sure the bottom of bookends is clean before placing them on sealed fabric.
Maintenance is easiest when you plan for it before you glue. If the shelf will hold craft paint, snacks, toiletries, or cleaning products, choose a removable fabric liner or add a protective clear layer. If the shelf is mostly decorative, decoupage is usually fine. Keep leftover fabric in a labeled bag so you can patch a corner or recover one shelf later. Future you will be grateful, and future you is already dealing with enough.
The best part of covering shelves with fabric is that it gives a room personality without a major renovation. A plain white bookcase can become cheerful with blue ticking stripe. A linen closet can look boutique-level with soft beige canvas. A child’s room can get playful shelves with animal prints. A pantry can look charming with gingham edges. The project is small, but the visual reward is big. It is the home décor equivalent of putting on a great jacket: same structure underneath, completely different attitude.
Conclusion
Covering shelves with fabric is an easy, affordable way to refresh storage, protect surfaces, and add charm to spaces that often get ignored. With the right fabric, careful measuring, clean prep, and patient drying time, you can create fabric covered shelves that look polished instead of homemade in the “I found glue in my hair” sense. Choose permanent decoupage for a smooth custom finish, removable panels for flexibility, or fabric curtains when you want to hide open shelving fast.
The key is matching the method to the shelf. Decorative bookcase? Go bold with decoupage. Rental pantry? Try removable liners. Wire closet shelf? Use a fabric-covered insert. Open utility shelf? Hang a curtain and enjoy the miracle of not seeing the mess. However you approach it, this project proves that shelves do not have to be boring. Sometimes they just need a little fabric and a second chance.
Note: Always test adhesive, sealer, and fabric on a hidden area before covering valuable furniture, antique shelves, rental fixtures, or surfaces exposed to moisture.