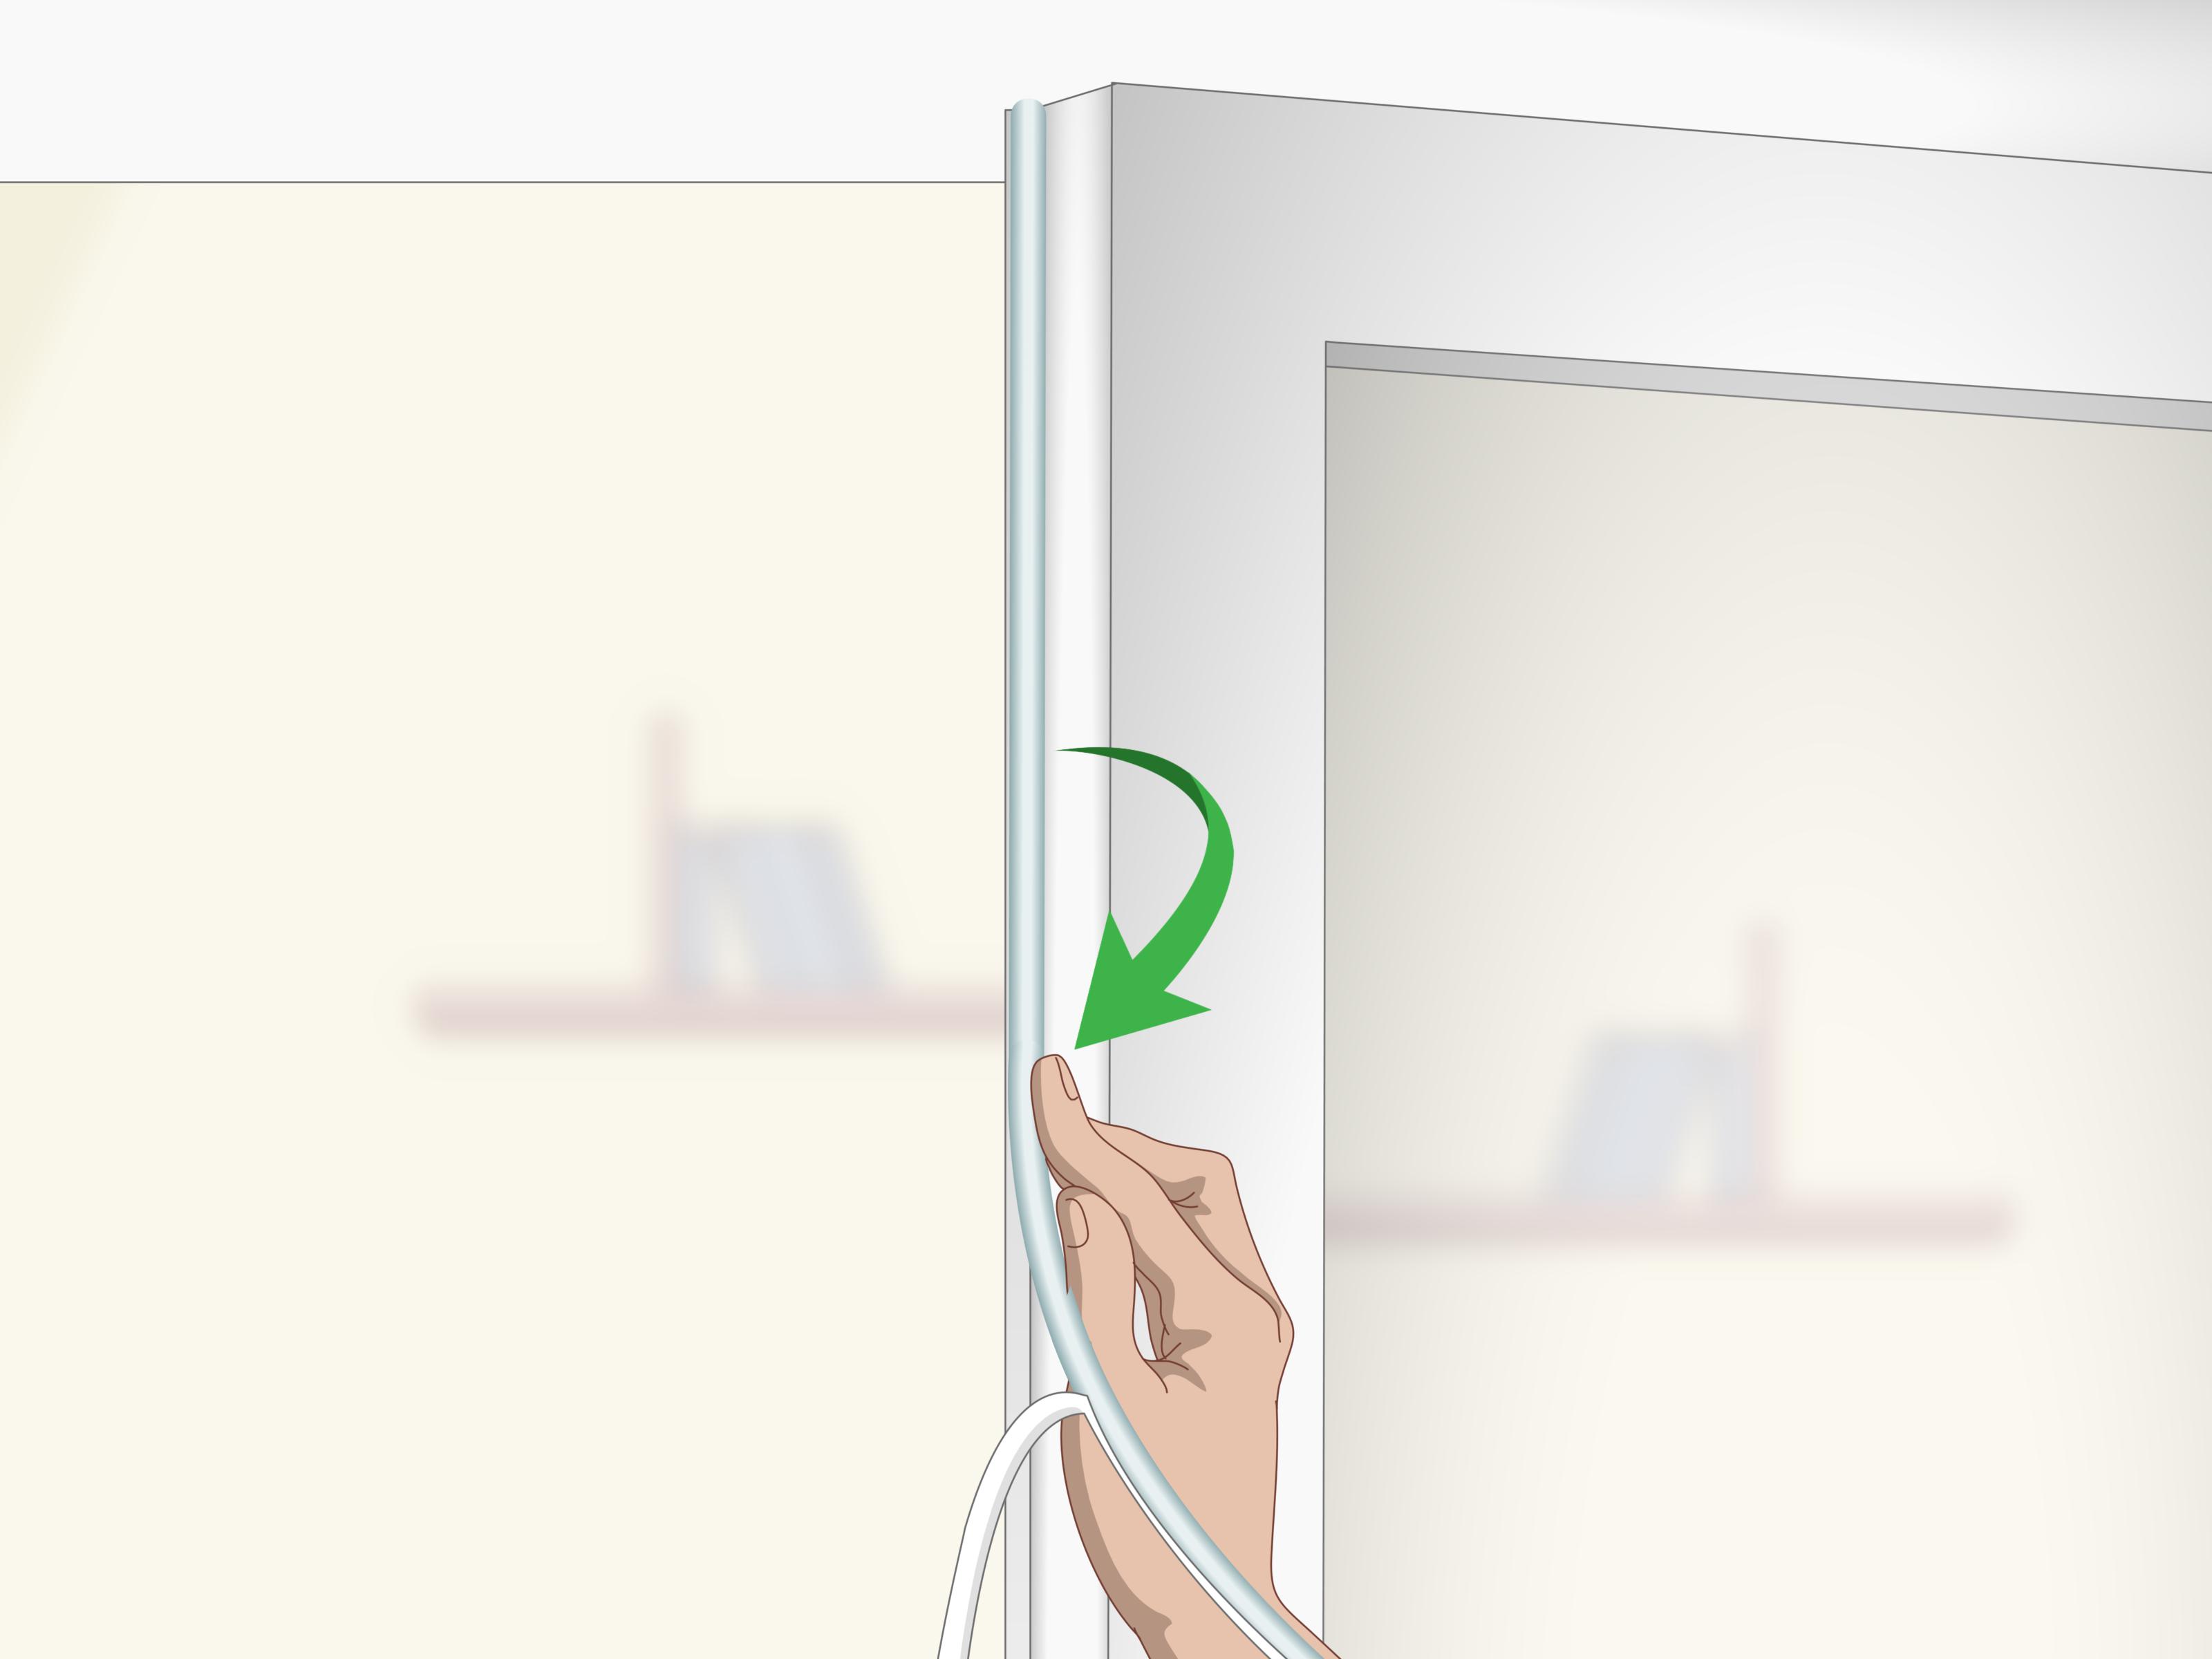
French doors are beautiful, dramatic, and just a little bit needy. They bring in light, make rooms feel larger, and give your patio or dining room that “I definitely have my life together” look. But when they stop closing evenly, drag across the threshold, or refuse to latch, they can turn from elegant to mildly theatrical in about four seconds.
The good news? Learning how to adjust French doors is usually a very doable DIY project. Most alignment problems come from loose hinge screws, slight frame movement, uneven gaps, a shifted strike plate, worn weatherstripping, or seasonal wood expansion. In many cases, you do not need to replace the door. You just need to slow down, inspect the gaps, make small adjustments, and resist the urge to attack everything with a power drill like you are remodeling a castle gate.
This step-by-step guide explains how to adjust French doors safely and correctly, whether they are interior French doors, exterior French patio doors, or double doors leading to a deck. You will learn how to diagnose the problem, tighten hinges, correct sagging, adjust the strike plate, improve the seal, and know when it is time to call a professional.
Why French Doors Get Out of Alignment
French doors depend on balance. Two door panels must meet in the middle, line up with the frame, latch properly, and clear the floor or threshold. That gives them more places to misbehave than a single swing door.
Common reasons French doors become difficult to open or close include loose hinge screws, house settling, seasonal humidity, worn hinges, a shifted frame, damaged weatherstripping, a misaligned strike plate, or an uneven threshold. Exterior French doors face extra stress from temperature changes, rain, sun exposure, and constant expansion and contraction. Wood doors may swell during humid months and shrink slightly in dry seasons, while fiberglass or steel doors can still shift if the frame or hinges move.
Before adjusting anything, remember this simple rule: the gap tells the story. Look at the reveal, which is the narrow space around the door panel. If the gap is wider at the top than the bottom, the door may be sagging. If the panels rub in the middle, one or both doors may need hinge adjustment. If the latch misses the strike plate, the strike plate or door height may be off.
Tools You May Need
You do not need a professional workshop to adjust French doors. Most fixes require basic tools you may already own.
- Phillips screwdriver
- Flathead screwdriver
- Allen wrench or hex key set
- Level
- Tape measure
- Pencil or painter’s tape
- Wood shims or plastic hinge shims
- Replacement screws, including 2-1/2-inch or 3-inch screws
- Utility knife
- Chisel
- Silicone-based lubricant
- Fine sandpaper or a hand plane for last-resort trimming
One quick tip before you begin: use a manual screwdriver for hinge screws whenever possible. A drill can strip old screw holes quickly, especially in softer wood jambs. French doors reward patience. They do not reward “maximum torque mode.”
Step 1: Inspect the Door Gaps
Start by closing both French door panels slowly. Look at the top gap, side gaps, center gap, and bottom clearance. The reveal should be fairly even. It does not have to look like it was measured by a NASA engineer, but it should not pinch at one corner or look like one door is trying to escape the frame.
Check these areas carefully:
- Top gap: Is one side tighter than the other?
- Center meeting gap: Do the two panels rub together?
- Bottom clearance: Is either door dragging on the sill, floor, or threshold?
- Latch area: Does the latch line up with the strike plate?
- Weatherstripping: Is it compressed, torn, folded, or blocking the door?
Open and close each door panel separately if possible. On many French door sets, one panel is active and the other is passive. The active panel is the one used most often; the passive panel may have flush bolts at the top and bottom. Make sure the passive door is fully seated before judging the active door’s latch alignment.
Step 2: Tighten the Hinge Screws
Loose hinges are one of the most common causes of sagging French doors. Open the door and inspect each hinge. If the hinge leaf moves when you lift gently on the handle side of the door, the screws are loose or the screw holes are stripped.
Tighten all hinge screws on both the door side and jamb side. Work from the top hinge down. Do not over-tighten; snug is the goal. If a screw spins without grabbing, the hole is stripped. You can repair it by inserting wood toothpicks or a small wood sliver coated with wood glue into the hole, letting it dry, trimming it flush, and reinstalling the screw.
For a sagging exterior French door, replacing one screw in the top hinge with a longer 2-1/2-inch or 3-inch screw can help pull the jamb closer to the wall framing. This is often enough to lift the latch side slightly and restore a cleaner reveal. Use this carefully. If you drive a long screw too aggressively, you can pull the frame out of alignment instead of fixing it.
Step 3: Check Whether the Frame Is Level, Plumb, and Square
If tightening the hinges does not solve the issue, check the frame. Place a level along the hinge jamb, latch jamb, and head jamb. Then check whether the threshold is level. French doors depend heavily on a square frame. If the frame is twisted, bowed, or poorly shimmed, hinge adjustments may only hide the problem temporarily.
Look for signs such as uneven gaps on both panels, doors that swing open or closed by themselves, or latches that line up one day and miss the next. These symptoms may mean the door unit was not installed squarely, the house has settled, or the frame has shifted over time.
Minor movement can often be corrected with hinge and strike-plate adjustments. Major frame movement may require removing trim, adding shims, or reinstalling part of the door unit. That is where the DIY project can become a “maybe I should call someone with a truck full of tools” situation.
Step 4: Adjust Standard Hinges to Correct Sagging
If your French doors have standard butt hinges, you may not see obvious adjustment screws. That does not mean you are out of options. You can still adjust the door by tightening screws, adding longer screws, or placing thin shims behind specific hinge leaves.
If the Door Drags at the Bottom Latch Side
This usually means the door is sagging away from the top hinge. Start by tightening the top hinge screws. Then replace one jamb-side screw in the top hinge with a longer screw that reaches the wall stud. This can pull the top of the door slightly inward and raise the latch side.
If the Gap Is Too Tight on the Hinge Side
Add a thin shim behind the hinge leaf on the jamb side. A 1/16-inch shim can change the reveal noticeably, so go small. Cardboard can work for interior doors, but plastic hinge shims are cleaner and more durable, especially for exterior French doors.
If the Door Rubs at the Top
Check whether the bottom hinge is loose or recessed too deeply. A shim behind the lower hinge may shift the panel slightly. Make small changes, then test the door. Adjusting French doors is like seasoning soup: add a little, taste, and repeat. Dumping in the whole salt shaker is how regrets are made.
Step 5: Adjust French Doors with Adjustable Hinges
Many modern French patio doors have adjustable hinges. These hinges may allow vertical, horizontal, or compression adjustment using an Allen wrench or screwdriver. Some systems let you raise or lower the panel, move it toward or away from the hinge jamb, or adjust how tightly it seals against the weatherstripping.
Look for small adjustment screws on the hinge body. Your door brand may have a specific adjustment pattern, so check the owner’s manual if available. In general, turn the adjustment screw in small increments, usually a quarter turn at a time. Then close the door and inspect the reveal.
For vertical adjustment, the goal is to raise or lower the panel until it clears the threshold and lines up with the other door. For horizontal adjustment, the goal is to create an even side gap and prevent rubbing at the center. For compression adjustment, the goal is to improve the weather seal without making the door hard to latch.
Always support the door while making hinge adjustments. French door panels can be heavy, especially exterior glass units. A helper, wedge, or temporary shim under the door can prevent the panel from dropping unexpectedly.
Step 6: Adjust the Passive Door Panel
On double French doors, the passive panel matters just as much as the active one. If the passive panel is not fully locked into place, the active door may never latch correctly. Check the flush bolts at the top and bottom of the passive panel. They should slide smoothly into the head jamb and threshold.
If a flush bolt does not enter its hole, inspect the bolt guide and receiver. Dirt, paint buildup, or a slightly shifted panel can block the bolt. Clean the area first. If the receiver is slightly off, you may need to adjust its position. Mark the current location before moving anything so you can return to it if needed.
Also check the astragal, which is the vertical strip where the two door panels meet. If it is loose, damaged, or misaligned, the doors may rub, leak air, or fail to latch. Tighten loose screws and make sure the astragal sits straight from top to bottom.
Step 7: Adjust the Strike Plate
If the door closes smoothly but will not latch, focus on the strike plate. The strike plate is the metal plate on the frame that receives the latch. A latch that hits too high, too low, or too far to one side will keep the door from closing securely.
To diagnose the problem, apply painter’s tape around the strike plate and gently close the door. You can also use a pencil mark or a small amount of lipstick on the latch to see where it contacts the plate. If the latch is only slightly off, you may be able to file the strike opening a little. If it is more noticeably misaligned, move the strike plate.
Remove the strike plate screws, shift the plate into the correct position, mark the new outline, and use a chisel to adjust the mortise if needed. Drill pilot holes before reinstalling the screws. Test the latch several times. The door should close with a confident click, not a shoulder-check.
Step 8: Adjust the Threshold and Weatherstripping
Exterior French doors often have an adjustable threshold. If the bottom of the door leaks air or light, the threshold may be too low. If the door scrapes the bottom, the threshold may be too high or the door may be sagging.
Look for adjustment screws along the threshold cap. Turn them in small increments and check the seal. A dollar bill test can help: close the door on a dollar bill and pull it out. You should feel light resistance. If it slides out with no resistance, the seal may be too loose. If you can barely pull it out, the threshold may be too tight.
Inspect weatherstripping around the top, sides, and center meeting point. Torn or compressed weatherstripping can make a door drafty. Folded or misplaced weatherstripping can also stop the door from closing properly. Replace damaged weatherstripping rather than forcing the door against it.
Step 9: Fix Minor Sticking from Paint or Humidity
If your French doors are wood, seasonal humidity can cause swelling. First, identify exactly where the door sticks. Look for shiny rub marks, paint transfer, or scuffed edges. Do not sand the entire door edge just because one tiny spot is causing trouble.
Start with hinge and frame adjustments before removing material. If the frame is square and the hinges are tight, lightly sand the sticking area. For more serious rubbing, a hand plane may be needed. Seal any exposed wood afterward with primer or finish, especially on exterior doors. Bare wood absorbs moisture, which means the same problem can come back wearing a fake mustache.
Step 10: Lubricate Hinges and Moving Hardware
If the doors squeak, resist, or feel stiff, lubricate the hinges and moving hardware. Use a silicone-based lubricant or a product recommended by the door manufacturer. Open and close the door several times to work the lubricant into the hinge. Wipe away excess so it does not attract dust.
Also lubricate flush bolts, multipoint lock components, and latch mechanisms if they feel stiff. Do not spray lubricant all over painted surfaces, glass, or weatherstripping. A little precision goes a long way.
Common French Door Problems and Quick Fixes
The Doors Rub in the Middle
Check whether one panel is sagging. Tighten the top hinges, inspect the passive panel, and adjust the hinges horizontally if your door has adjustable hinges.
The Door Drags on the Threshold
Tighten the top hinge, use a longer screw in the top hinge jamb, or raise the panel with the vertical hinge adjustment if available. Also confirm the threshold is not set too high.
The Latch Misses the Strike Plate
First correct hinge sag. Then adjust the strike plate. Do not move the strike plate before checking the door alignment, or you may fix the symptom while ignoring the cause.
The Door Leaks Air
Check weatherstripping, astragal alignment, threshold height, and compression adjustment. Replace worn seals when needed.
The Doors Swing Open or Closed by Themselves
The frame may be out of plumb. Minor hinge adjustments can help, but a badly out-of-plumb frame may need professional correction.
When to Call a Professional
DIY adjustment is great for loose screws, small hinge changes, minor strike-plate movement, and simple weatherstripping replacement. However, call a professional if the frame is badly out of square, the glass panel is cracked, the door unit is extremely heavy, the threshold is rotted, water damage is visible, or the multipoint lock no longer engages properly.
Exterior French doors also affect home security and energy efficiency. If your adjustment makes the door latch worse, creates a larger air gap, or prevents the deadbolt from fully extending, stop and reassess. A door that looks aligned but does not lock securely is not properly adjusted.
Maintenance Tips to Keep French Doors Aligned
Once your French doors are working smoothly, keep them that way with light maintenance. Tighten hinge screws every few months, especially on frequently used exterior doors. Clean dirt from the threshold. Keep the tracks, sill, and weatherstripping free of debris. Lubricate hinges and locking hardware once or twice a year. Inspect caulk and exterior finishes so moisture does not sneak into the frame.
Also avoid hanging heavy items on French door handles. Children swinging on handles, pets pushing through half-closed doors, and adults using the door like a shoulder-powered battering ram can all knock things out of alignment. Doors are sturdy, but they are not gym equipment.
Real-World Experience: What Adjusting French Doors Teaches You
One of the biggest lessons from adjusting French doors is that the obvious problem is not always the real problem. A door that will not latch may look like a strike-plate issue, but the true cause might be a loose top hinge. A door that drags at the bottom may seem like a threshold problem, but the panel may simply be sagging. That is why the best first move is always observation, not action.
In real homes, French doors rarely fail overnight. They slowly drift out of alignment. At first, you notice a tiny rub near the center. Then the handle needs a little extra lift. A month later, the latch clicks only when you pull the door toward you. Eventually, someone in the house develops a secret closing technique involving one knee, two hands, and a whispered negotiation with the door. That is your sign to adjust the hardware before the problem gets worse.
Another practical experience: small adjustments matter. A quarter turn on an adjustable hinge can make a visible difference. A thin shim behind one hinge can change the way the entire panel sits. A single long screw in the top hinge can lift the latch side enough to save you from moving the strike plate. The trick is to test after every change. If you make five changes at once, you will not know which one helped or which one made the door worse.
It also helps to think of French doors as a complete system. The hinges, frame, threshold, astragal, flush bolts, weatherstripping, latch, and strike plate all work together. Adjusting only one part without checking the others can create a new problem. For example, raising the threshold may stop a draft, but if you raise it too much, the door may scrape. Moving the strike plate may help the latch catch, but if the door is still sagging, the misalignment may return.
Patience is the difference between a clean adjustment and a frustrating afternoon. Put a pencil mark where hardware started. Take photos before removing parts. Keep screws organized. Use shims gently. Close the door slowly after each adjustment. If something suddenly feels worse, back up one step instead of forcing it.
For exterior French doors, weather adds another layer of experience. A door may behave differently in July than in January. Wood can swell during humid weather, while seals may stiffen in cold weather. If the door only sticks during one season, avoid aggressive trimming unless you are sure the problem is not temporary swelling. Removing too much wood in summer can leave an oversized gap in winter.
Finally, do not underestimate the satisfaction of a properly adjusted French door. When both panels meet evenly, the latch clicks cleanly, the reveal looks balanced, and the door closes without drama, it feels like the house just took a deep breath. You did not replace the doors. You did not rebuild the wall. You simply listened to the clues, made careful adjustments, and restored the smooth swing those doors were meant to have.
Conclusion
Adjusting French doors is not about brute force. It is about reading the gaps, correcting hinge movement, aligning the panels, checking the strike plate, and making small, careful changes. Start with the easiest fixes: inspect the reveal, tighten hinge screws, support the door, and test the latch. Then move on to hinge shims, adjustable hinge screws, threshold tuning, weatherstripping, and strike-plate alignment.
Most French door problems can be solved with basic tools and a methodical approach. The key is to fix the cause, not just the symptom. When your doors close smoothly, latch securely, and seal properly, they do more than look good. They improve comfort, energy efficiency, security, and the everyday joy of not wrestling with your own house.