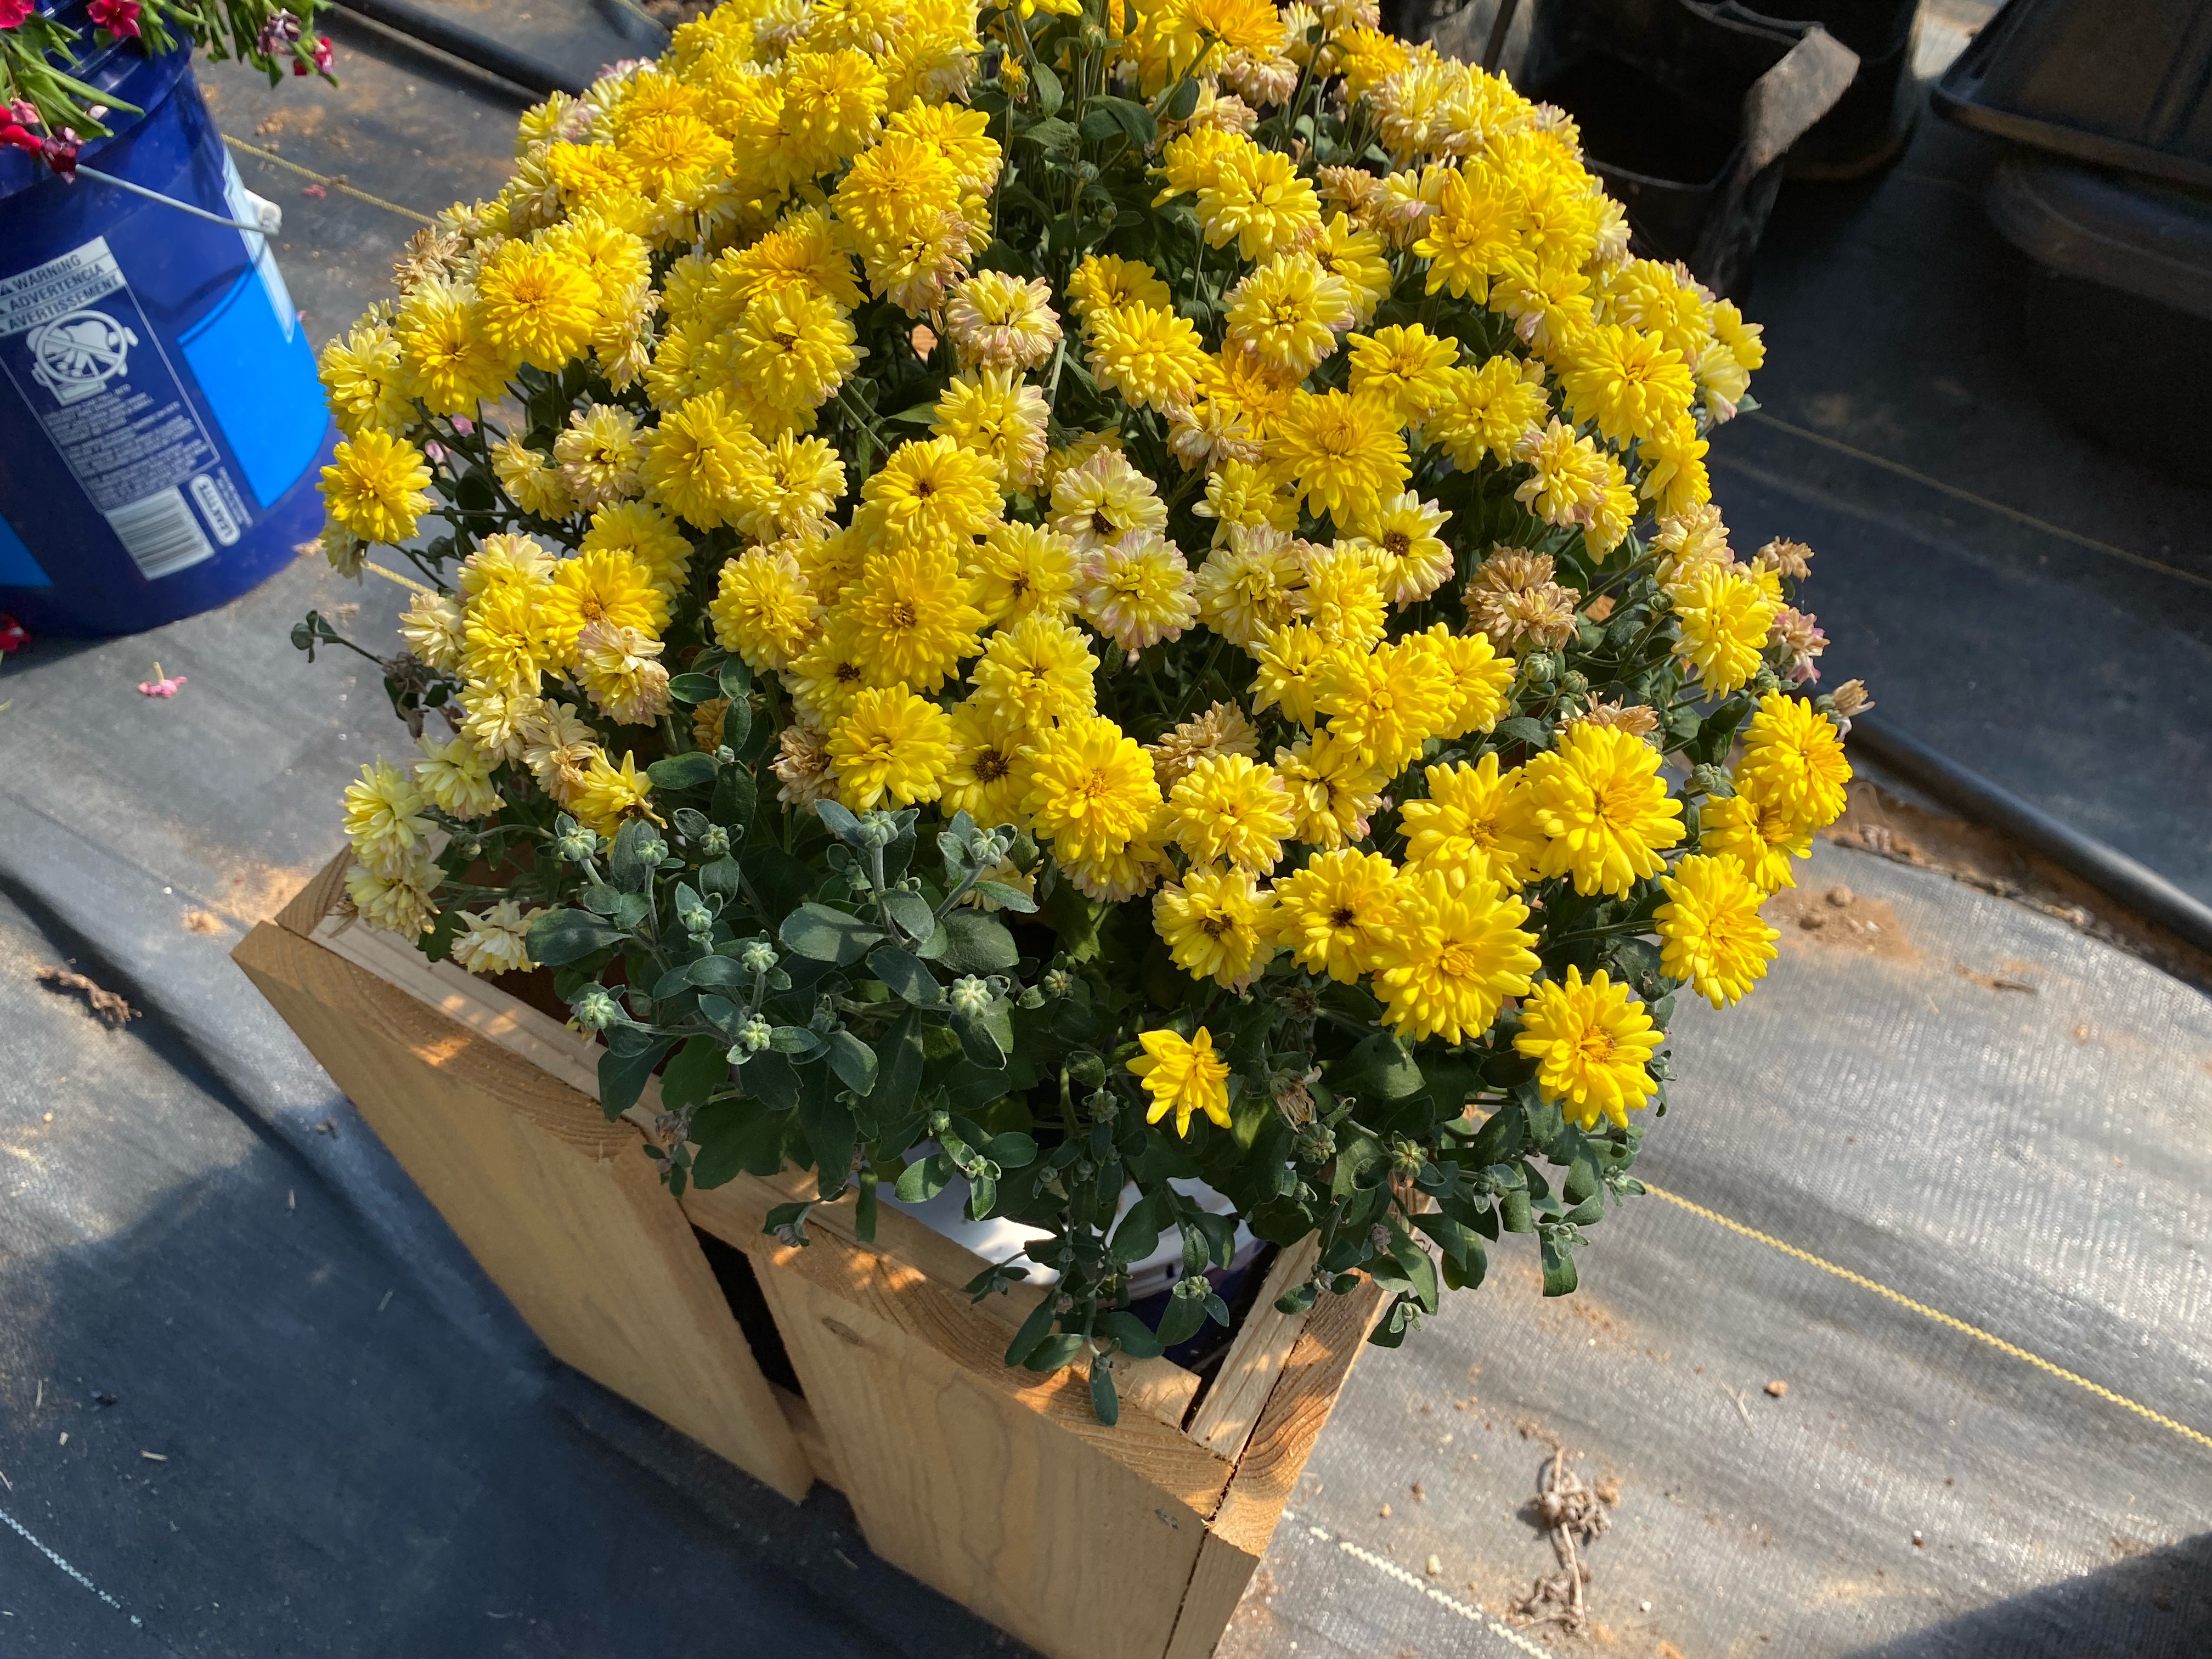
Garden mums are the superstars of fall: bright, cheerful, and somehow able to make a porch look like you have your life together even when you absolutely do not. Put them in a self-watering pot, and they get even better. Instead of the usual container drama of “too dry by lunch, too soggy by dinner,” a self-watering planter gives mums a steadier supply of moisture. That matters, because chrysanthemums love consistent care but tend to get cranky when their roots swing from desert to swamp.
This guide breaks the process into 13 practical steps, from choosing the right mum to managing the reservoir like a responsible adult with a watering can and a tiny bit of patience. You will also learn how to keep blooms coming, avoid common mistakes, and improve your chances of keeping garden mums healthy long after the first photo-worthy weekend of autumn.
Why a Self-Watering Pot Works So Well for Garden Mums
Garden mums like evenly moist soil, good drainage, and plenty of sun. A self-watering pot helps by storing water in a reservoir below the potting mix and moving moisture upward as the plant needs it. In other words, the plant gets a more consistent drink without sitting in a muddy mess. That is the dream. The trick is using the planter correctly, because “self-watering” does not mean “ignore me until Thanksgiving.” It means lower maintenance, not zero maintenance.
13 Steps to Care for Garden Mums with a Self-Watering Pot
Step 1: Start with true garden mums, not just any pretty chrysanthemum
If your goal is outdoor color and stronger performance in a pot, buy garden mums rather than florist mums. Garden mums are bred for outdoor use and generally handle fall conditions better. Look for plants with lots of buds just starting to show color, not plants already at peak bloom and headed toward retirement. A plant with many tight buds will usually give you a longer show, which is exactly what you want when your porch is trying to impress the neighborhood.
Step 2: Pick a self-watering pot with an overflow hole and enough room
A good self-watering container should have a visible overflow hole, a water reservoir, and enough soil volume to support roots. Tiny decorative pots may look adorable, but mums have no use for cute if their roots are cramped. Choose a pot large enough to hold the root ball comfortably with extra room for fresh potting mix around it. More mix means steadier moisture, better root insulation, and fewer emergency watering sprints.
Step 3: Use quality potting mix, never garden soil
This is not the moment to scoop random dirt from the yard like a gardening outlaw. Use a lightweight, well-draining container mix. Garden soil is too dense for pots, and it can reduce airflow around roots, slow drainage, and turn a smart self-watering setup into a root-rot spa. A good potting mix keeps enough moisture for consistent uptake while still allowing oxygen around the roots.
Step 4: Check the reservoir system before planting
Before the mum goes in, inspect the planter. Make sure the wick, platform, or soil column that pulls moisture upward is properly in place. Confirm that the overflow hole is not blocked. If the system cannot release excess water, your self-watering pot becomes a self-sabotaging pot. Fill the reservoir once and observe how the container behaves. If everything looks normal, proceed. If not, fix the setup now before your mum sends a silent but dramatic protest through yellowing leaves.
Step 5: Plant at the same depth the mum was growing before
When transplanting, keep the crown of the plant at the same level it had in its nursery container. Do not bury it too deeply, and do not leave the root ball perched above the soil like it is trying to escape. Gently loosen circling roots if the plant is root-bound, then settle it into the potting mix and firm the soil lightly around it. You want good root contact, not concrete.
Step 6: Give your mum full sun, but transition it if needed
Garden mums perform best in full sun, ideally at least six hours a day. More light usually means a fuller plant, stronger stems, and better flowering. If your plant came from a sheltered display area or a shaded sales bench, ease it into brighter conditions over a few days. Moving a mum from dim retail life to blazing afternoon sun in one leap can stress the plant. Think of it as introducing someone to a treadmill: start gentle, then build confidence.
Step 7: Water from the top once after planting, then use the reservoir correctly
Right after transplanting, water the potting mix from above to settle the soil around the roots. After that first thorough watering, let the self-watering system do more of the routine work. Refill the reservoir as needed, but do not assume the reservoir should stay constantly brim-full in cool weather. Check the moisture in the upper root zone with your finger. The mix should feel evenly moist, not soaked. Consistent moisture is great; soggy roots are not.
Step 8: Monitor moisture like a calm detective, not a panicked firefighter
Even with a self-watering planter, you still need to pay attention. Temperature, wind, sun exposure, pot size, and plant size all affect how fast water is used. Early in the season, check the pot daily until you learn its rhythm. In warm, sunny weather, mums may drink faster than you expect. In cool, cloudy stretches, they may need less. A lighter container, slightly dry top layer, or dropping water level in the reservoir are all clues. You are not guessing; you are gathering evidence.
Step 9: Keep blooms and foliage dry when possible
One quiet advantage of self-watering pots is that they deliver moisture from below, which can help keep flowers and leaves drier than frequent overhead watering. That matters because wet foliage can invite leaf spots and other disease problems. If you do water from the top occasionally, direct the water to the soil instead of showering the blooms. Mums wear flowers like formalwear; no one wants them soggy.
Step 10: Deadhead spent flowers to keep the plant tidy and productive
Remove fading blooms regularly. Deadheading improves appearance, encourages the plant to focus energy on healthy growth and remaining buds, and keeps the whole container from looking like it has entered its “before” photo era. Pinch or snip spent flowers back to the next healthy leaf set. Make this a quick weekly habit. Five minutes of grooming can save you from a pot full of crispy confetti later.
Step 11: Feed lightly and at the right time
Garden mums do not need a fertilizer buffet every weekend. If you are growing them mainly for fall display, a quality potting mix may carry much of the load for the season. If the plant is being kept longer term, use a balanced fertilizer according to label directions and avoid overfeeding, which can cause weak, floppy growth. For mums you plan to keep beyond one season, fertilizer is more useful during active growth than when the plant is already deep into flowering.
Step 12: Shape next year’s plant by pinching at the right season
If you plan to keep your garden mum as more than a seasonal decoration, remember this important trick for the next growing season: pinch soft new growth in spring and early summer to encourage a fuller, bushier plant. Stop by mid-July so you do not interfere with fall bloom development. Skip this timing rule and your mum may reward you with lanky stems and a suspiciously uneven haircut.
Step 13: Plan for frost, end-of-season care, and realistic overwintering
Mums in containers are more exposed to cold than mums planted in the ground. If a light frost is forecast, move the pot to a protected spot or cover it temporarily. If you want the plant to survive winter, know that late-season container mums often have a lower survival rate than mums planted into the ground earlier in the year. Once blooming winds down, you can keep the plant tidy, maintain moderate moisture, and either overwinter it in a sheltered location or plant it in the ground if conditions and timing allow. Hope is allowed. Guarantees are not.
Common Mistakes to Avoid
Overfilling the reservoir: A self-watering pot has an overflow system for a reason. If the hole is blocked or the pot is constantly saturated, roots can struggle.
Using the wrong mix: Heavy soil ruins the balance of moisture and air that container mums need.
Assuming “self-watering” means “self-raising”: The pot helps, but it does not deadhead, check sun exposure, or protect from frost. Technology has limits.
Keeping mums in decorative foil or non-draining wraps: If the original nursery pot came wrapped, remove that covering before long-term care. Extra water needs a way out.
Too little light: Shady spots often produce weaker stems and fewer blooms.
Ignoring sanitation: Remove spent blooms and fallen debris to reduce disease pressure and keep the plant looking sharp.
Extra Care Tips for Better-Looking Container Mums
A thin layer of mulch on top of the potting mix can reduce evaporation and help moderate root temperature. Place the planter where air can move around the plant, because crowded corners can trap humidity. Rotate the pot every few days if one side gets more light than the other. This keeps the shape more balanced and prevents the classic “leaning dramatically toward the driveway” look.
If your self-watering pot has a water-level window or easy-fill tube, use it. That feature is not decoration. It is your shortcut to keeping the reservoir in the sweet spot. During hot spells, check more often. During cool weather, refill more conservatively. Good mum care is less about rigid schedules and more about reading the plant and the container together.
What Gardeners Often Experience with Garden Mums in Self-Watering Pots
One of the most common experiences gardeners report is surprise at how much easier mums become once moisture is more stable. In a standard pot, the soil can dry out fast, especially in sun and wind. The plant may wilt one afternoon, recover after watering, then droop again the next day like it is starring in a tiny soap opera. With a self-watering planter, that emotional roller coaster tends to calm down. The blooms usually stay fresher longer, and the foliage often looks less stressed because the roots are not swinging between extremes.
Another frequent lesson is that self-watering containers do not eliminate observation; they improve it. Gardeners quickly learn to notice patterns: how fast the reservoir empties in sunny weather, how much slower it drops after a cool front, and how a larger mum in peak bloom can drink more than expected. Many people discover that once they understand their container’s rhythm, care becomes easier and more intuitive. The pot stops feeling mysterious and starts feeling like a reliable system.
There is also a learning curve with placement. A mum on a front porch under an overhang behaves differently from a mum at the edge of a sunny patio. Some gardeners find that the brightest spot produces the best flowers but also speeds up water use. Others learn that a place with morning sun and afternoon protection works beautifully in warmer climates. This is where experience becomes valuable: not because gardening turns into advanced math, but because plants are excellent teachers when you actually pay attention.
Many gardeners also notice that deadheading becomes more rewarding in a self-watering setup. Because the plant is not constantly recovering from drought stress, it has more energy to keep the display attractive. A quick cleanup every few days makes a visible difference. Remove the tired flowers, straighten a stem or two, and suddenly the planter looks ready for guests again. It is one of the rare chores that offers nearly instant cosmetic results, which is probably why people tolerate it with such unusual grace.
Then there is the great fall reality check: weather changes everything. A gorgeous September container can turn into a high-maintenance diva during an early cold snap. Gardeners who keep mums in self-watering pots often become more alert to forecast details, especially when frost is predicted. They move pots closer to the house, into a garage overnight, or under temporary cover. That extra attention can stretch the display and protect the plant, but it also teaches the larger truth of container gardening: potted beauty is portable, and portability is power.
Finally, many people come away from the season with a healthier respect for roots. Flowers get all the compliments, but roots are doing the real work. A self-watering pot succeeds when it keeps that underground environment steady: moist but breathable, supported but not suffocated. Once gardeners understand that principle, they usually become better at caring for other container plants too. Mums are just the gateway. Today it is a cheerful chrysanthemum on the porch. Tomorrow it is a whole patio full of plants and a suspicious number of empty nursery pots you swear you might reuse.
Conclusion
Caring for garden mums with a self-watering pot is not complicated, but it does reward good habits. Give the plant full sun, a roomy container, quality potting mix, and an intelligently managed reservoir. Keep the blooms groomed, avoid soggy soil, and remember that “consistent moisture” is the golden rule. Follow these 13 steps, and your mums can stay colorful, healthy, and much easier to manage through the best weeks of fall.
And that is really the beauty of the whole setup: less guesswork, fewer watering emergencies, and a better chance of enjoying your mums without treating them like a part-time job. Your porch gets the glory. Your plant gets the care. Everybody wins.