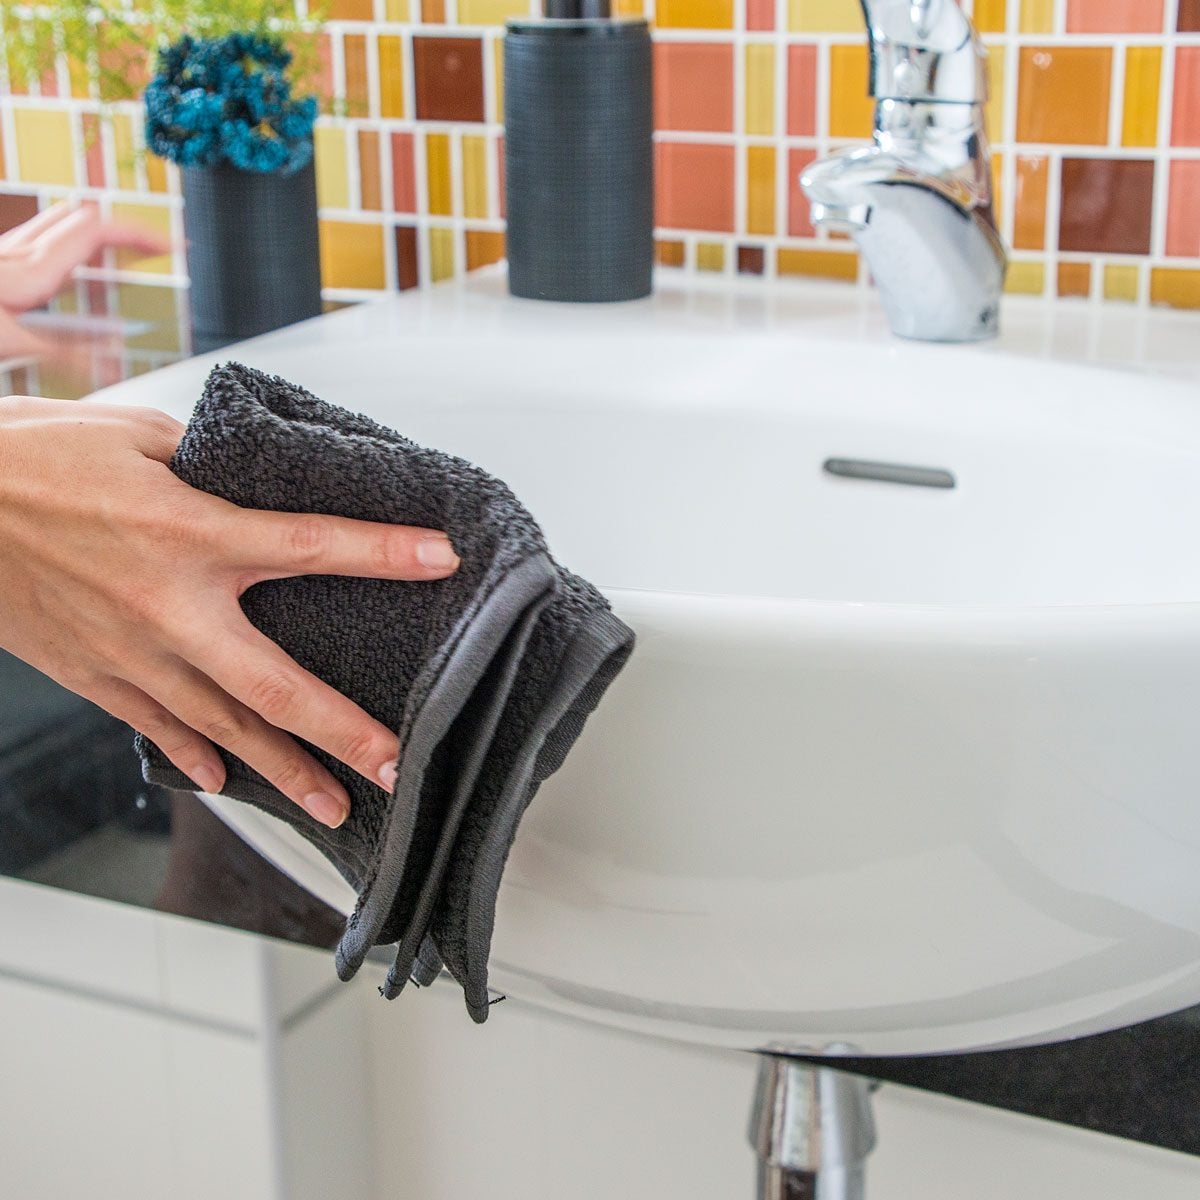
Bleach is the bathroom cleaner people reach for when the situation has officially crossed from “a little dusty” to “this shower may be developing its own government.” Used correctly, bleach can help disinfect hard, nonporous bathroom surfaces, brighten certain stains, and tackle germy zones like toilets, sinks, tubs, and tile. Used incorrectly, it can damage surfaces, irritate your lungs, ruin towels, and turn a simple Saturday cleaning session into a science experiment nobody asked for.
This guide explains how to clean with bleach in a bathroom safely, effectively, and without creating a chemical fog monster. The big idea is simple: clean first, disinfect second, ventilate always, and never mix bleach with anything except plain water unless the product label specifically says otherwise.
What Bleach Actually Does in the Bathroom
Household bleach usually contains sodium hypochlorite, a disinfecting ingredient that can kill many germs when used at the right strength and left on the surface for the proper amount of time. That last part matters. Bleach is not magic perfume in a bottle. Spraying it, wiping it away immediately, and declaring victory is like putting sunscreen on and jumping into a pool two seconds later. You technically did something, but not enough.
It is also important to understand the difference between cleaning and disinfecting. Cleaning removes dirt, soap scum, toothpaste blobs, hair, grime, and the mysterious sticky spot near the sink. Disinfecting reduces germs on a surface after the grime is gone. Bleach works best as a disinfectant on hard, nonporous surfaces such as glazed tile, porcelain, some plastic surfaces, and toilet bowls. It is not the best choice for every material in your bathroom.
Before You Begin: Bathroom Bleach Safety Rules
Before bleach touches your bathroom, set yourself up like a responsible adult with functioning survival instincts. Open a window if you have one, turn on the exhaust fan, and keep the bathroom door open when possible. Bleach fumes can be irritating, especially in small bathrooms where air moves about as quickly as a sloth on vacation.
Wear rubber, nitrile, or other cleaning gloves, and consider eye protection if you are working overhead, scrubbing tile walls, or dealing with a splash-prone toilet. Use old clothes you do not love. Bleach is very talented at creating accidental polka dots on black leggings.
Never Mix Bleach with Other Cleaners
This is the most important rule in the entire article: never mix bleach with ammonia, vinegar, rubbing alcohol, hydrogen peroxide, toilet bowl cleaners, drain cleaners, mildew removers, or any other household cleaner. Bleach should not be part of a “cleaning cocktail.” This is not brunch.
Mixing bleach with acids such as vinegar or some toilet bowl cleaners can release chlorine gas. Mixing bleach with ammonia can create chloramine vapors. These fumes can irritate the eyes, throat, and lungs and may cause serious breathing problems. When in doubt, use one product, rinse the surface, and wait before switching to a different product.
Where Bleach Works Best in a Bathroom
Bleach is most useful on hard, nonporous bathroom surfaces where germs and stains are common. Good candidates include porcelain toilets, white or color-safe glazed tile, some tubs and showers, plastic shower liners, and certain sink surfaces. Always check the product label and the manufacturer’s care instructions for your specific surface.
Bleach is not ideal for natural stone such as marble, granite, limestone, or travertine. It can damage sealants, dull finishes, or cause discoloration. Avoid using bleach on wood, painted surfaces, colored fabrics, unsealed grout, metal fixtures, and stainless steel unless the manufacturer specifically approves it. Bleach can corrode metal and weaken some materials over time.
Supplies You Need
For a safe bathroom bleach cleaning session, gather everything before you start. You will need regular unscented household bleach, room-temperature water, a clean bucket or container, measuring spoons or a measuring cup, gloves, microfiber cloths or sponges, a toilet brush, paper towels or washable cleaning rags, and a trash bag. A small scrub brush or old toothbrush can help with tight corners, but label it clearly so nobody mistakes it for an actual toothbrush. That is a family meeting waiting to happen.
Use regular unscented household bleach with a sodium hypochlorite concentration in the common household range. Avoid splashless bleach, scented bleach, laundry bleach with additives, or products without clear disinfecting instructions if your goal is disinfection. Product labels matter because disinfectants are designed, tested, and approved for specific uses.
How to Dilute Bleach for Bathroom Cleaning
For general household disinfection when the bleach label does not provide specific directions, a common safety-based dilution is 5 tablespoons, or 1/3 cup, of regular unscented household bleach per gallon of room-temperature water. For a smaller batch, use 4 teaspoons of bleach per quart of room-temperature water. Mix only what you need for the cleaning session, because diluted bleach solutions lose strength over time.
Always add bleach to water, not water to a container of bleach. Mix slowly to avoid splashing. Do not use hot water, because it can increase fumes and reduce stability. Label the container if you must set it down, and keep it away from children, pets, and anyone who thinks “mystery liquid” is an acceptable thing to investigate.
Step-by-Step: How To Clean with Bleach in a Bathroom
Step 1: Remove Clutter and Dry Debris
Start by clearing the bathroom. Remove towels, bath mats, toothbrushes, cosmetics, razors, candles, plants, and anything else sitting on surfaces. Bleach does not need to be near your skincare routine, your fluffy towels, or your favorite bathrobe.
Next, remove loose dust, hair, and debris. Sweep or vacuum the floor. Wipe counters with a dry cloth. Cleaning dry debris first prevents you from creating a damp paste of lint and hair, which is exactly as unpleasant as it sounds.
Step 2: Clean with Soap or Detergent First
Before disinfecting with bleach, wash visibly dirty surfaces with soap, detergent, or a regular bathroom cleaner that is safe for the surface. Then rinse thoroughly with water. This step is essential because grime can reduce how well disinfectants work.
For example, soap scum in a shower is often a mix of body oils, minerals, and soap residue. Bleach may lighten some staining, but it does not dissolve mineral buildup as effectively as cleaners designed for soap scum. Clean first, rinse well, then use bleach only where appropriate.
Step 3: Ventilate and Put On Gloves
Once the bathroom is clean and rinsed, prepare for the bleach step. Open the window, turn on the fan, and put on gloves. If the bathroom is tiny, take breaks. Your nose should not be the official alarm system for poor ventilation.
Step 4: Apply Bleach Solution to Hard, Nonporous Surfaces
Apply the diluted bleach solution with a cloth, sponge, or low-splash method. Avoid creating a fine mist, especially in small bathrooms. The goal is to wet the surface, not season the air.
Use the solution on appropriate hard, nonporous surfaces such as glazed tile, porcelain, and certain plastic surfaces. Keep the surface visibly wet for the contact time listed on the product label. If the label is unavailable, a general minimum contact time is at least one minute for a properly diluted household bleach solution. Some products require longer, so the label wins every argument.
Step 5: Rinse Surfaces That Touch Skin
After the contact time, rinse surfaces that may touch skin, bare feet, bath products, or personal items. This includes tubs, shower floors, sink areas, and countertops. Rinsing helps reduce residue that could irritate skin or damage surfaces over time.
Let everything air-dry, or dry with a clean towel reserved for cleaning. Do not use your good hand towels unless you enjoy explaining mysterious bleach marks to guests.
How to Clean a Toilet with Bleach
The toilet is the bathroom’s main character, even if nobody wants to admit it. To clean the bowl, flush first. Apply a bleach-based toilet bowl cleaner according to the product label, or use a properly diluted bleach solution if appropriate. Scrub under the rim and around the bowl with a toilet brush. Let the product sit for the required contact time, then flush.
For the exterior, clean first with soap or a bathroom cleaner, then rinse if needed. Apply disinfectant to the handle, seat, lid, rim, base, and nearby floor area. The flush handle deserves special attention because it gets touched before hands are washed. That handle has seen things.
Do not pour bleach into a toilet immediately after using another toilet bowl cleaner, especially an acidic cleaner. If you already used a different product, flush several times, rinse the bowl, and give the area plenty of fresh air before using anything else.
How to Clean a Shower or Bathtub with Bleach
First remove shampoo bottles, razors, loofahs, toys, and mats. Rinse the tub or shower with water. Scrub away soap scum with a suitable bathroom cleaner, then rinse thoroughly. Once the surface is free of grime and cleaner residue, apply diluted bleach to appropriate surfaces such as white glazed tile, porcelain, or compatible plastic.
Keep the surface wet for the required contact time. Then rinse well, especially the tub floor, shower floor, and anywhere bare skin may touch. If your shower has natural stone, colored grout, metal trim, or specialty coatings, skip bleach unless the manufacturer approves it.
For mildew stains on caulk, bleach may lighten the surface, but it may not fix mold that has grown deep into damaged caulk. If caulk remains stained, cracked, or soft after cleaning, replacement may be the better solution. Bleach is powerful, but it is not a time machine for old caulk.
How to Clean Bathroom Tile and Grout with Bleach
Glazed ceramic tile can often tolerate diluted bleach, but grout is trickier. Sealed grout is more resistant than unsealed grout, while old or damaged grout can absorb liquid and discolor. Test a small hidden area first. If the grout changes color, crumbles, or looks worse, stop using bleach on it.
To clean tile walls or floors, wash first with a mild cleaner, rinse, then apply diluted bleach to compatible surfaces. Use a brush for grout lines only if the grout is in good condition. After the contact time, rinse thoroughly. Avoid flooding the floor because bleach solution can seep into edges, baseboards, or nearby materials.
How to Clean Bathroom Sinks and Counters with Bleach
Bathroom sinks collect toothpaste, makeup, soap residue, hair products, and small puddles that somehow appear five minutes after you wipe them. For porcelain or compatible nonporous sinks, clean with soap first, rinse, then disinfect with diluted bleach. Pay attention to faucet handles, drain edges, and the area where the sink meets the counter.
Be careful with countertops. Laminate may tolerate diluted bleach in some cases, but natural stone, wood, painted vanities, and some engineered materials may not. When the surface is expensive, delicate, or mysterious, use a manufacturer-approved cleaner instead. “I thought it would be fine” is not a warranty plan.
What Not to Clean with Bleach in a Bathroom
Do not use bleach on natural stone, unsealed grout, wood vanities, colored towels, bath mats, brass fixtures, stainless steel, chrome finishes not approved for bleach, painted walls, wallpaper, or electronic bathroom gadgets. Also avoid using bleach on rust stains. Bleach can make some rust discoloration worse or harder to remove.
Do not use bleach as an air freshener. A clean bathroom should smell like very little, not like a public pool having a dramatic moment. If odor remains after cleaning, check for hidden sources such as a dirty trash can, clogged drain, damp bath mat, moldy caulk, or poor ventilation.
Common Bleach Cleaning Mistakes
Mistake 1: Using Too Much Bleach
More bleach does not mean more clean. Stronger solutions can create stronger fumes, increase surface damage, and raise the risk of irritation. Follow the label or a trusted dilution guideline.
Mistake 2: Skipping the Pre-Clean
Bleach disinfects best after dirt and grime are removed. If you spray bleach onto soap scum and walk away, you may disinfect the top layer of gunk while the bathroom still looks like it needs counseling.
Mistake 3: Not Allowing Contact Time
Disinfectants need time to work. Keep the surface visibly wet for the required contact time. If it dries too quickly, reapply carefully.
Mistake 4: Forgetting to Rinse
Rinsing helps protect skin, pets, and surfaces. It is especially important in tubs, showers, sinks, and floors.
Mistake 5: Mixing Products
This mistake is dangerous and completely unnecessary. Use one cleaner at a time. Rinse between products. Let ventilation do its job.
How Often Should You Use Bleach in a Bathroom?
Most bathrooms do not need bleach every day. Regular cleaning with soap, water, and a suitable bathroom cleaner is enough for routine maintenance. Bleach is most useful when you need to disinfect after illness, clean up bodily fluids, tackle certain mildew stains, or sanitize high-touch hard surfaces during a germ-heavy season.
For a typical home, clean the bathroom weekly and use bleach only when there is a clear reason. If someone in the household is sick, disinfect high-touch surfaces more often, including faucet handles, toilet handles, doorknobs, light switches, and sink areas. Always follow product labels and keep the room ventilated.
Bleach Storage and Disposal Tips
Store bleach in its original container with the label intact. Keep it tightly closed, upright, and away from heat, sunlight, children, and pets. Do not transfer bleach into drink bottles, decorative jars, or unlabeled containers. A bathroom shelf is not a boutique cleaning laboratory.
Make fresh diluted bleach solution only as needed. Do not store mixed solution for long periods. If you have leftover diluted solution, dispose of it according to the product label and local guidance. Rinse cleaning tools thoroughly and let them dry before storing.
Real-Life Experience: What Cleaning with Bleach in a Bathroom Actually Teaches You
Anyone who has cleaned a bathroom with bleach more than once learns a few practical lessons that do not always appear on the label. The first lesson is that preparation matters more than muscle. When you remove the clutter, pre-clean the grime, open the window, and mix the solution correctly, the actual disinfecting step feels calm and controlled. When you skip preparation, the job becomes a sweaty obstacle course featuring shampoo bottles, wet socks, and a sponge you no longer trust.
One common experience is realizing that bleach does not solve every bathroom problem. The first time you use it on a shower with heavy soap scum, you may expect a sparkling miracle. Instead, the soap scum often stays put, looking slightly offended. That is when you learn the cleaning-before-disinfecting rule. A detergent-based cleaner or soap-scum remover handles buildup first. Bleach comes later if the surface needs disinfecting or if light mildew staining is appropriate to treat.
Another lesson is that ventilation is not optional. A bathroom can look innocent, but once the door is closed and the fan is off, fumes can build quickly. People who clean bathrooms regularly often develop a routine: fan on, window open, door cracked, gloves on, and breaks when needed. It is not dramatic. It is just smart. The goal is to finish with a clean bathroom, not watery eyes and a headache.
Rinsing is another habit that comes from experience. After using diluted bleach in a tub or shower, rinsing thoroughly makes the room feel fresher and safer. It also prevents that slippery, chemical-residue feeling under bare feet. A final rinse and dry wipe can make tile and porcelain look cleaner, not just disinfected.
People also learn to respect surfaces. Bleach may be fine on a white porcelain toilet, but that does not mean it belongs on a natural stone vanity, decorative metal hardware, or a colored bath mat. A good bathroom cleaning routine is not about attacking everything with the strongest product available. It is about matching the cleaner to the surface. That is the difference between “sparkling clean” and “why is the faucet finish weird now?”
Perhaps the most useful experience is learning when not to use bleach. If the bathroom simply needs weekly maintenance, soap, water, microfiber cloths, and a regular bathroom cleaner may be enough. Bleach earns its place when disinfection is needed, but it should not be treated like an everyday perfume. A truly clean bathroom smells neutral, feels dry, and has no hidden damp towels plotting mildew in the corner.
Finally, cleaning with bleach teaches patience. Contact time matters. Letting the solution sit while the surface stays wet is part of the process. Rushing the job can leave germs behind and make the effort less effective. A good trick is to work from one area to another: apply disinfectant to the toilet exterior, move to the sink handles, then return after the required time to rinse or wipe. The bathroom gets cleaner, and you get to feel like a highly organized person for at least twelve minutes.
Conclusion
Cleaning with bleach in a bathroom can be safe and effective when you use it with respect. Start by removing clutter and cleaning away visible dirt. Dilute regular unscented household bleach properly, apply it only to compatible hard, nonporous surfaces, allow the required contact time, and rinse surfaces that touch skin. Most importantly, never mix bleach with other cleaning products.
Bleach is not the answer to every bathroom mess, but it is a useful disinfecting tool when used correctly. Treat it like a serious cleaner, not a casual splash-and-dash shortcut. Your bathroom will be cleaner, your surfaces will last longer, and your lungs will thank you for not turning the room into a chemistry lesson.