Note: This guide shows how to make homemade slime without borax powder or liquid starch. The main recipe uses school glue, baking soda, and saline/contact lens solution. Many contact lens solutions contain boric acid or sodium borate, so if your goal is to avoid all boron-based ingredients completely, use the cornstarch oobleck variation included below.
Introduction: Slime Without the “Uh-Oh” Ingredients
Slime is the rare craft that can make kids whisper “science” and “gross” in the same delighted breath. It stretches. It squishes. It makes deeply questionable noises. Best of all, it turns a few ordinary supplies into a hands-on lesson about polymers, measurement, patience, and why stirring too aggressively can make a kitchen table look like a tiny alien sneezed on it.
But many classic slime recipes call for borax powder or liquid starch. Those ingredients can work, but they are not ideal for every home, classroom, or parent who would rather not explain why the laundry shelf is suddenly part of arts and crafts. The good news is that you can still make a satisfying, stretchy slime without using borax powder or liquid starch. The trick is choosing the right glue, adding baking soda for body, and activating the mixture slowly.
This article walks you through a simple 10-step slime recipe, explains why it works, shares troubleshooting tips, and gives you safer play and cleanup advice. You will also find a borate-free cornstarch option for younger children or families who want a more food-adjacent sensory activity. No lab coat required. Goggles are optional, unless your child likes to stir like they are starting a lawn mower.
What “Without Borax or Liquid Starch” Really Means
Before we get gloriously gooey, let’s clear up a common slime confusion. Many “borax-free” recipes do not use powdered borax, but they may still use contact lens solution or slime activator that contains boric acid or sodium borate. These ingredients help transform glue from a puddle into slime by connecting polymer chains. In other words, the slime becomes stretchy because tiny chemical bridges form between long glue molecules.
For many families, avoiding borax powder and liquid starch is the goal because those products can be messy, concentrated, or easy to mismeasure. A contact solution recipe is usually easier to control because you add the activator in small spoonfuls. However, it is still smart to read labels, supervise kids, keep slime away from mouths and eyes, and wash hands after play.
If you want a recipe with no glue, no borax powder, no liquid starch, and no contact solution, skip ahead to the oobleck variation. It behaves more like a strange science goo than classic stretchy slime, but it is wonderfully dramatic: hit it and it feels solid, hold it gently and it drips like a sleepy pancake.
Supplies You Need for the Main Slime Recipe
This recipe makes one medium batch of soft, stretchy slime. It is best for supervised kids ages 5 and up.
Ingredients
- 1/2 cup washable white school glue or clear school glue
- 1/2 teaspoon baking soda
- 1 to 2 tablespoons saline/contact lens solution
- Food coloring, washable paint, or glitter, optional
- 1 teaspoon water, optional for softer slime
- A small amount of lotion, optional for stretchier slime
Tools
- Mixing bowl
- Spoon or silicone spatula
- Measuring spoons
- Airtight container or resealable bag
- Paper towels or a washable placemat
How to Make Slime Without Borax or Liquid Starch: 10 Steps
Step 1: Cover Your Work Area
Lay down a washable placemat, tray, or sheet of parchment paper. Slime is fun because it is gloriously tactile; it is less fun when it bonds emotionally with your tablecloth. Avoid porous surfaces such as unfinished wood, carpet, or fabric because color and glue can cling to them.
Step 2: Pour the Glue Into a Bowl
Add 1/2 cup washable school glue to your mixing bowl. White glue makes classic opaque slime, while clear glue makes glossy, jewel-like slime. If you are making slime with younger kids, washable glue is your friend. Permanent glue is not invited to this party.
Step 3: Add Color or Sparkle
Stir in one or two drops of food coloring, washable paint, or a pinch of glitter. Start small. Slime color gets intense quickly, and there is a fine line between “mermaid lagoon” and “my hands are blue until Thursday.” Mix until the color is evenly spread through the glue.
Step 4: Stir in Baking Soda
Add 1/2 teaspoon baking soda and stir thoroughly. Baking soda helps firm the mixture and improves the final texture. If it is not mixed well, the slime can form lumps or soft spots. Think of this step as giving your slime a backbone, but a wiggly one.
Step 5: Add Activator Slowly
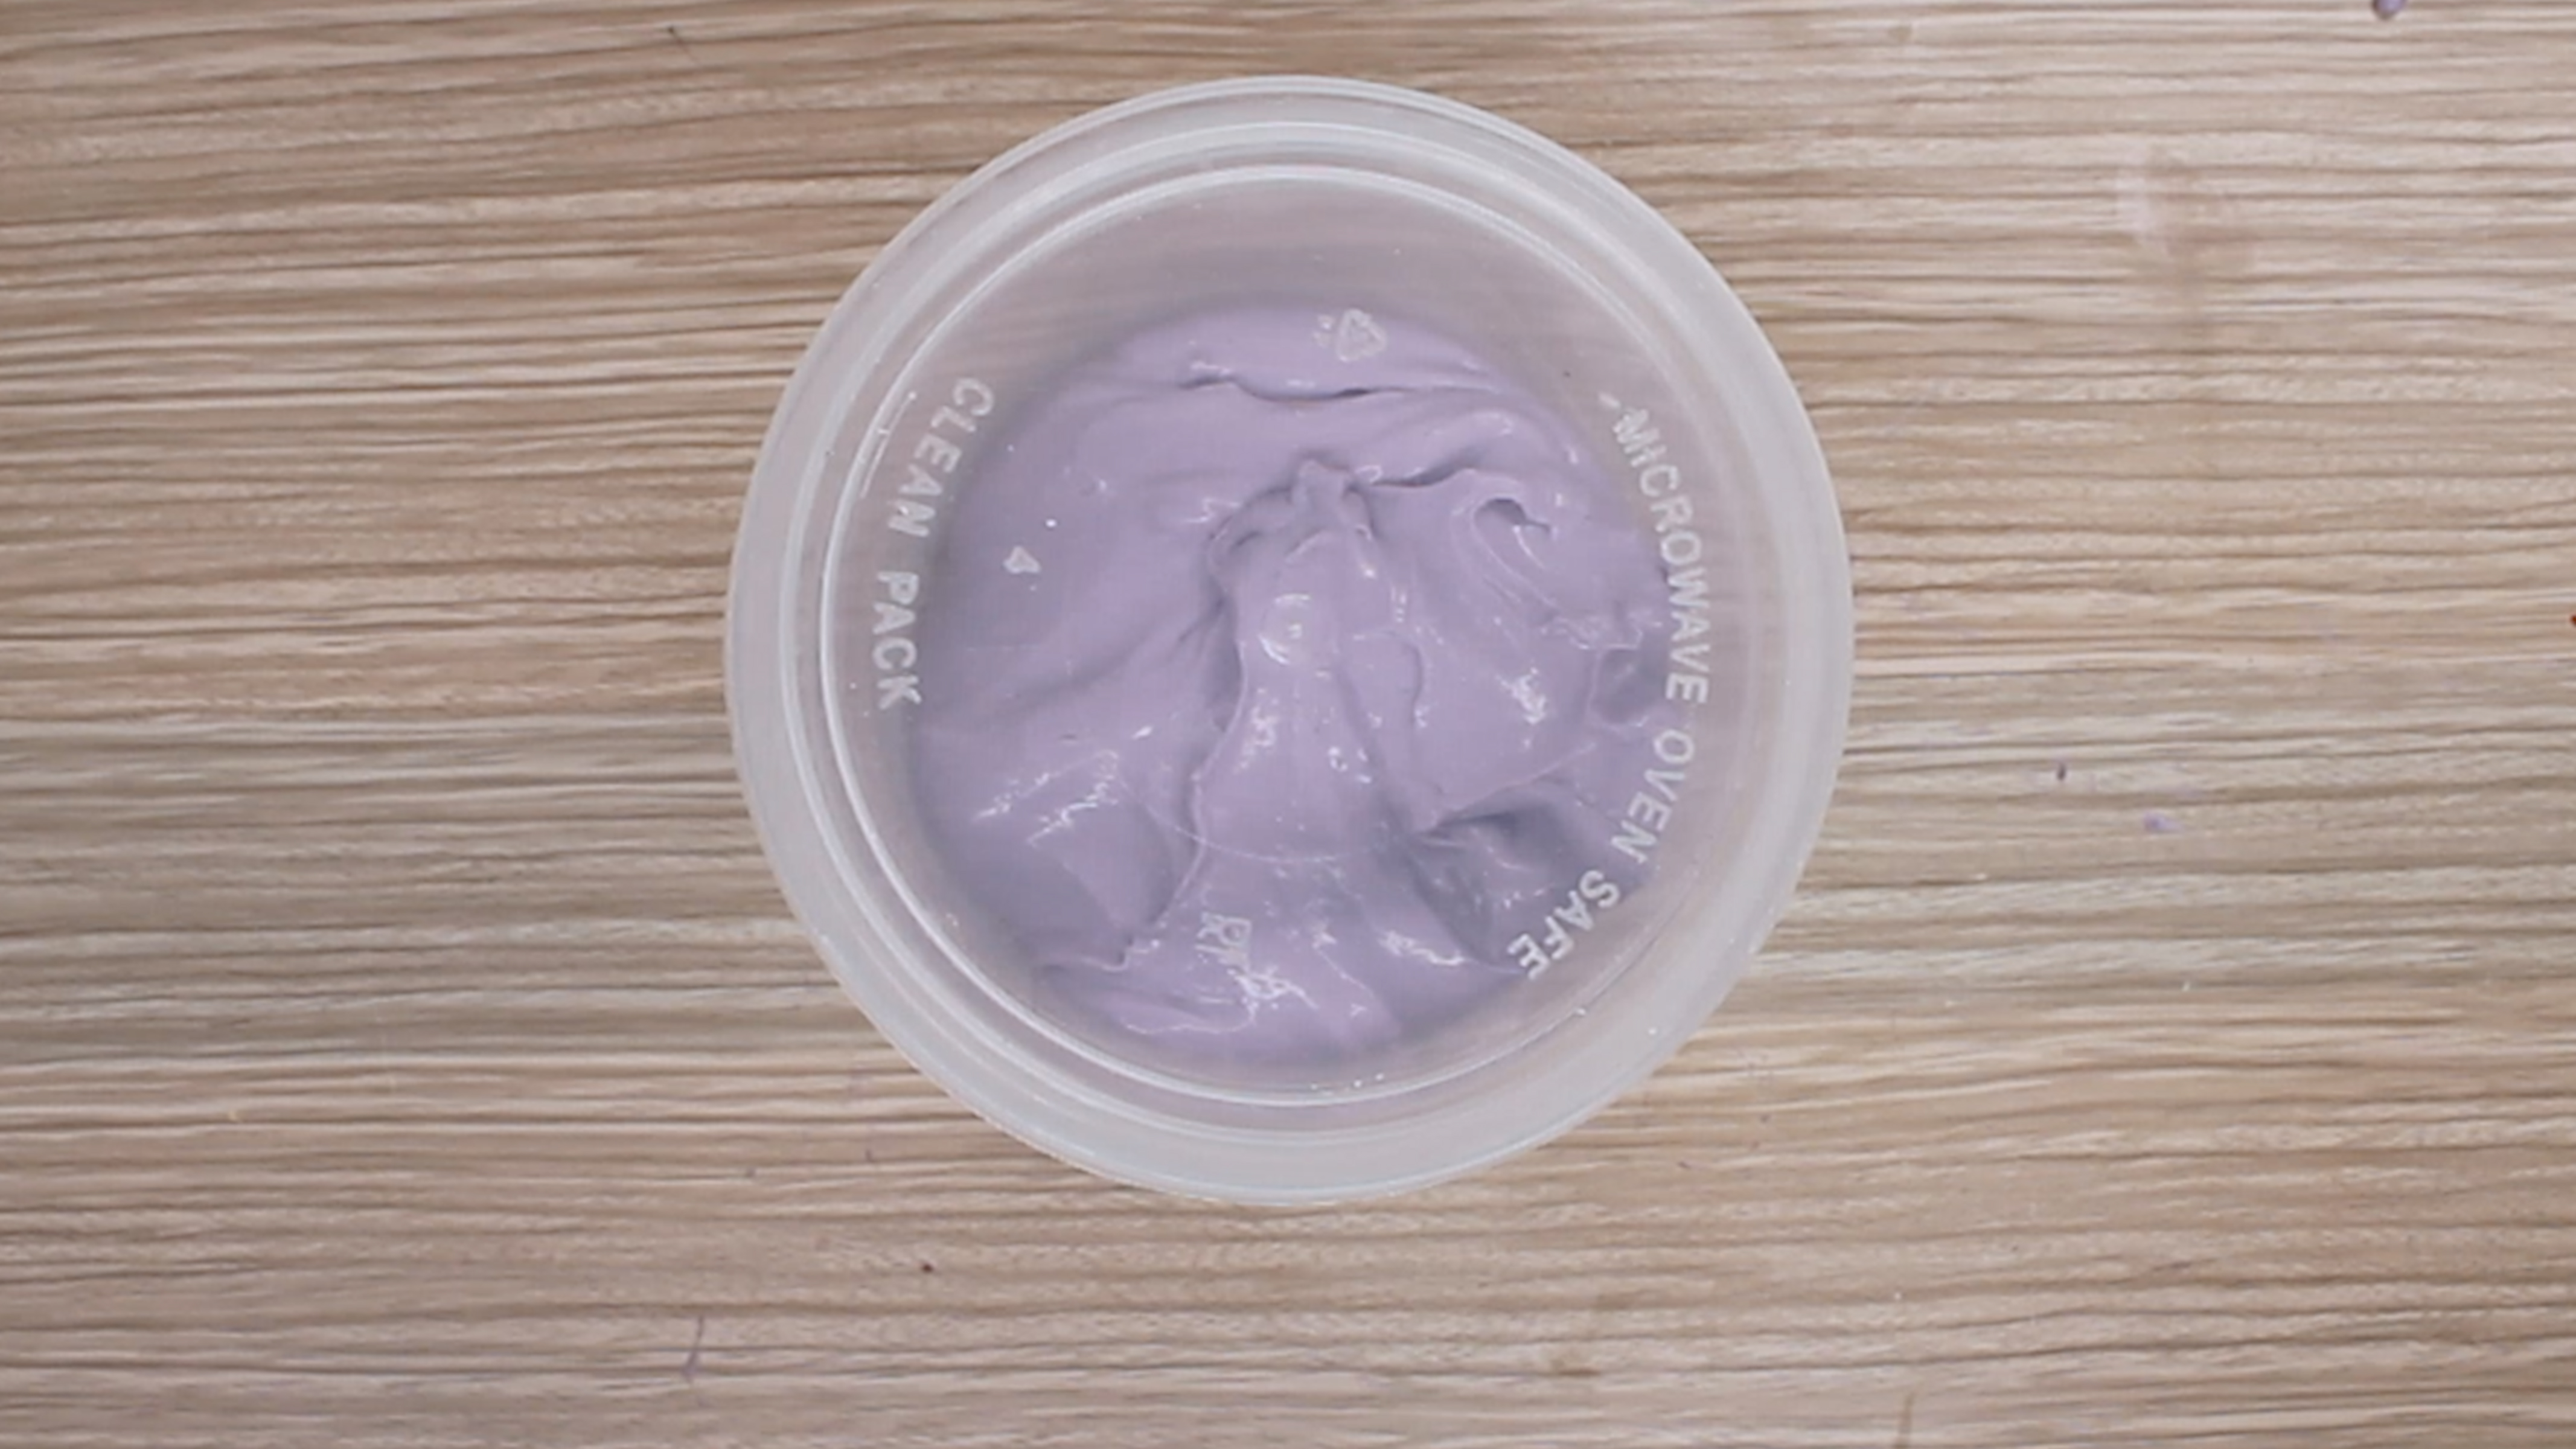
Add 1 tablespoon of saline/contact lens solution and stir. The mixture should begin to thicken and pull away from the sides of the bowl. Do not dump in a giant splash. Slime rewards patience and punishes dramatic pouring.
Step 6: Stir Until the Slime Forms
Keep stirring for 30 to 60 seconds. At first, the mixture may look stringy, sticky, or hopeless. Keep going. Slime often looks like a craft disaster right before it becomes slime. When it gathers into a soft blob, you are ready for kneading.
Step 7: Knead With Clean Hands
Pick up the slime and knead it by folding, pressing, and stretching it. It may stick to your fingers at first. That is normal. Kneading helps the ingredients finish combining and improves elasticity. If you dislike sticky hands, use disposable gloves or rub a tiny bit of lotion on your palms.
Step 8: Adjust the Texture
If the slime is too sticky after kneading for a minute or two, add contact solution 1/4 teaspoon at a time. Knead after each addition. If the slime becomes too rubbery, add a few drops of water or a tiny dab of lotion and knead again. The goal is soft and stretchy, not a bouncy eraser with trust issues.
Step 9: Test the Stretch
Slowly pull the slime between both hands. Good slime stretches without snapping immediately. If it breaks quickly, it may be overactivated. Add a few drops of warm water or lotion and work it in. If it oozes into a puddle and refuses to behave, it needs a little more activator.
Step 10: Store It Properly
Place slime in an airtight container or resealable bag when playtime is over. Store it at room temperature and throw it away if it smells odd, dries out, becomes dirty, or has been shared by too many hands. Homemade slime is not forever. It is more like a houseguest with a short, squishy lease.
Why This Slime Recipe Works
School glue contains long polymer molecules. In plain English, those molecules are like tiny spaghetti strands sliding around in liquid. When an activator is added, the strands begin to connect, making the mixture thicker, stretchier, and more elastic. That process is called cross-linking.
Baking soda helps the recipe develop structure, while the saline/contact solution helps activate the glue. This is why adding too much activator can make slime stiff. Too many connections form, and the slime loses its lovely stretch. Add too little, and the glue remains sticky. The best slime sits in the middle: flexible, smooth, and slightly ridiculous.
Troubleshooting Homemade Slime
My Slime Is Too Sticky
Sticky slime usually needs more kneading before it needs more activator. Knead it for two minutes first. If it still clings to your fingers like it has abandonment issues, add 1/4 teaspoon contact solution and knead again. Repeat only as needed.
My Slime Is Too Hard or Rubbery
Rubbery slime is usually overactivated. Add a few drops of warm water or a small dab of lotion. Knead slowly until it softens. Do not add too much water at once, or your slime may become slippery and separate.
My Slime Breaks Instead of Stretching
Slime that snaps quickly needs moisture and gentle handling. Warm it in your hands, add a little lotion, and stretch slowly. Cold slime is often less flexible, so give it time before judging its personality.
My Slime Is Runny
Runny slime may need more activator or more mixing. Add contact solution in tiny amounts and stir well. If you use clear glue, remember that it can take a bit longer to come together than white glue.
A Truly Borate-Free Option: Cornstarch Oobleck
If you want a sensory recipe with no borax powder, no liquid starch, no contact solution, and no glue, make oobleck. It is not classic stretchy slime, but it is a fantastic science activity. Oobleck is made from cornstarch and water, and it behaves like a non-Newtonian fluid. That means its texture changes depending on pressure. Press hard, and it feels solid. Let it rest, and it flows.
Oobleck Ingredients
- 1 cup cornstarch
- 1/2 cup water
- Food coloring, optional
How to Make Oobleck
Put the cornstarch in a bowl. Add food coloring to the water if desired. Slowly pour the water into the cornstarch while mixing with your fingers or a spoon. If the mixture is too powdery, add a little water. If it is too watery, add more cornstarch. When it feels solid under pressure but drips when relaxed, it is ready.
Oobleck is excellent for younger kids because the ingredients are simple, but it still requires supervision. Do not eat it, do not pour large amounts down the drain, and do not let it dry on carpet unless you enjoy archaeological cleanup projects.
Safety Tips for Slime Play
Homemade slime is usually safe when adults supervise, measurements are followed, and kids understand the rules. Still, slime is a craft material, not a snack, face mask, or hair product. Keep it away from mouths, eyes, pets, babies, and anyone likely to ask, “Can I taste it?”
Wash hands before and after making slime. Use separate craft bowls and spoons when possible. Avoid adding tiny beads, foam balls, sequins, or charms if toddlers are nearby because small pieces can become choking hazards. If a child has sensitive skin, try a short play session first and stop if redness, itching, or irritation appears.
Also, read ingredient labels. Some recipes online suggest laundry detergent, dishwasher soap, strong cleaners, or other household products. Skip those. A craft should not require you to call poison control or explain to a pediatrician that “the internet said it was fine.”
Fun Slime Variations
Fluffy Slime
Add 1/2 cup shaving cream to the glue before adding baking soda. Fluffy slime is airy, soft, and fun to poke. It may deflate over time, which is normal.
Clear Slime
Use clear school glue and skip heavy coloring. Clear slime often looks cloudy at first but may become clearer after resting in a sealed container for a day or two.
Glitter Slime
Use glitter glue or add a small amount of fine glitter. A little goes a long way. Unless your life goal is to find glitter on your socks in July, measure with restraint.
Scented Slime
Add one drop of kid-safe fragrance oil or use scented washable paint. Avoid essential oils for young children unless you have confirmed they are appropriate and properly diluted.
Cleanup and Storage
Fresh slime usually peels off smooth surfaces in pieces. For sticky residue, use warm soapy water and a sponge. For dried slime, gently loosen it with warm water before wiping. Avoid using slime on carpet, upholstery, blankets, or hair. If slime gets into hair, try conditioner and warm water before reaching for scissors. Scissors are a dramatic finale, not step one.
Store slime in an airtight container. If it dries out, add a few drops of water and knead. If it smells strange, grows spots, or has collected crumbs, pet hair, or mystery fuzz, throw it away. Homemade slime is inexpensive to remake, and no one needs heirloom slime.
Common Mistakes to Avoid
The biggest slime mistake is adding too much activator too quickly. Slime changes as you stir and knead, so give it time. Another common mistake is using the wrong glue. Some specialty glues do not contain the right polymers for slime. Washable school glue or slime-friendly glue is the safest bet.
Finally, do not treat slime like a permanent toy. It is a temporary sensory craft. Keep sessions short, supervise closely, and make cleanup part of the activity. Children can help wipe the table, seal the container, and wash hands. That way, slime becomes not just a science experiment but also a tiny lesson in responsibility. A sticky lesson, yes, but a lesson.
Real-Life Experience: What Making Slime Without Borax or Liquid Starch Teaches You
The first time you make slime without borax or liquid starch, you may think you have failed somewhere around step six. The mixture looks stringy. The spoon gets coated. A child may announce, with courtroom-level confidence, that “this is not slime.” Then, almost magically, the blob starts pulling away from the bowl. This is the moment slime earns its applause.
In real homes and classrooms, the best slime batches are rarely perfect on the first stir. One batch may be too sticky because the activator was added cautiously. Another may be too stiff because someone got excited and poured like they were fueling a rocket. That is part of the learning. Slime teaches kids that recipes are instructions, but observation matters too. They learn to ask: What does it feel like? What changed after stirring? What happens if we add one tiny drop more?
One helpful experience is to make two mini batches side by side. In the first, add the activator slowly. In the second, add it too quickly on purpose. Kids can compare the textures and see why patience matters. The slow batch usually becomes stretchier and smoother, while the rushed batch can turn rubbery. This turns a simple craft into a mini science investigation without making it feel like homework wearing a fake mustache.
Another practical lesson is that slime works better when kids take ownership of the setup and cleanup. Give each child a tray, a spoon, and a container labeled with their name. Let them choose one color or one add-in. Too many extras can ruin texture, so this is also a sneaky lesson in restraint. “Choose glitter or foam beads” is much better than “add everything in the craft drawer and hope physics is forgiving.”
Parents often discover that slime is a surprisingly good calm-down activity. Kneading, stretching, folding, and poking give children sensory feedback that can feel soothing. It also creates a natural conversation starter. Kids talk while their hands are busy. They describe texture, color, smell, and stretch. They negotiate turns. They laugh at the sounds. They learn that messes can be managed when everyone follows the rules.
The biggest experience-based tip is simple: make slime when you are not in a rush. Slime senses panic. It knows when dinner is in 12 minutes or when guests are arriving. Choose a relaxed time, cover the table, measure carefully, and keep paper towels nearby. When slime-making is treated as an experiment instead of a performance, even imperfect slime feels like a win.
And if the batch completely fails? Congratulations. You have made data. Add a little activator, soften with water, or turn the whole thing into a “what went wrong?” discussion. The best part of homemade slime is not just the stretchy blob at the end. It is the process: measuring, mixing, adjusting, laughing, cleaning, and realizing that science can live in a bowl on your kitchen table.
Conclusion
Learning how to make slime without borax or liquid starch is all about smart substitutions, careful measuring, and patient kneading. A glue, baking soda, and saline solution recipe gives you classic stretchy slime without using powdered borax or liquid starch. For families who want to avoid borate ingredients completely, cornstarch oobleck is the better choice. Either way, the secret is supervision, label-reading, handwashing, and a sense of humor. Slime may be messy, but it is also chemistry, creativity, and sensory play rolled into one gloriously wobbly blob.