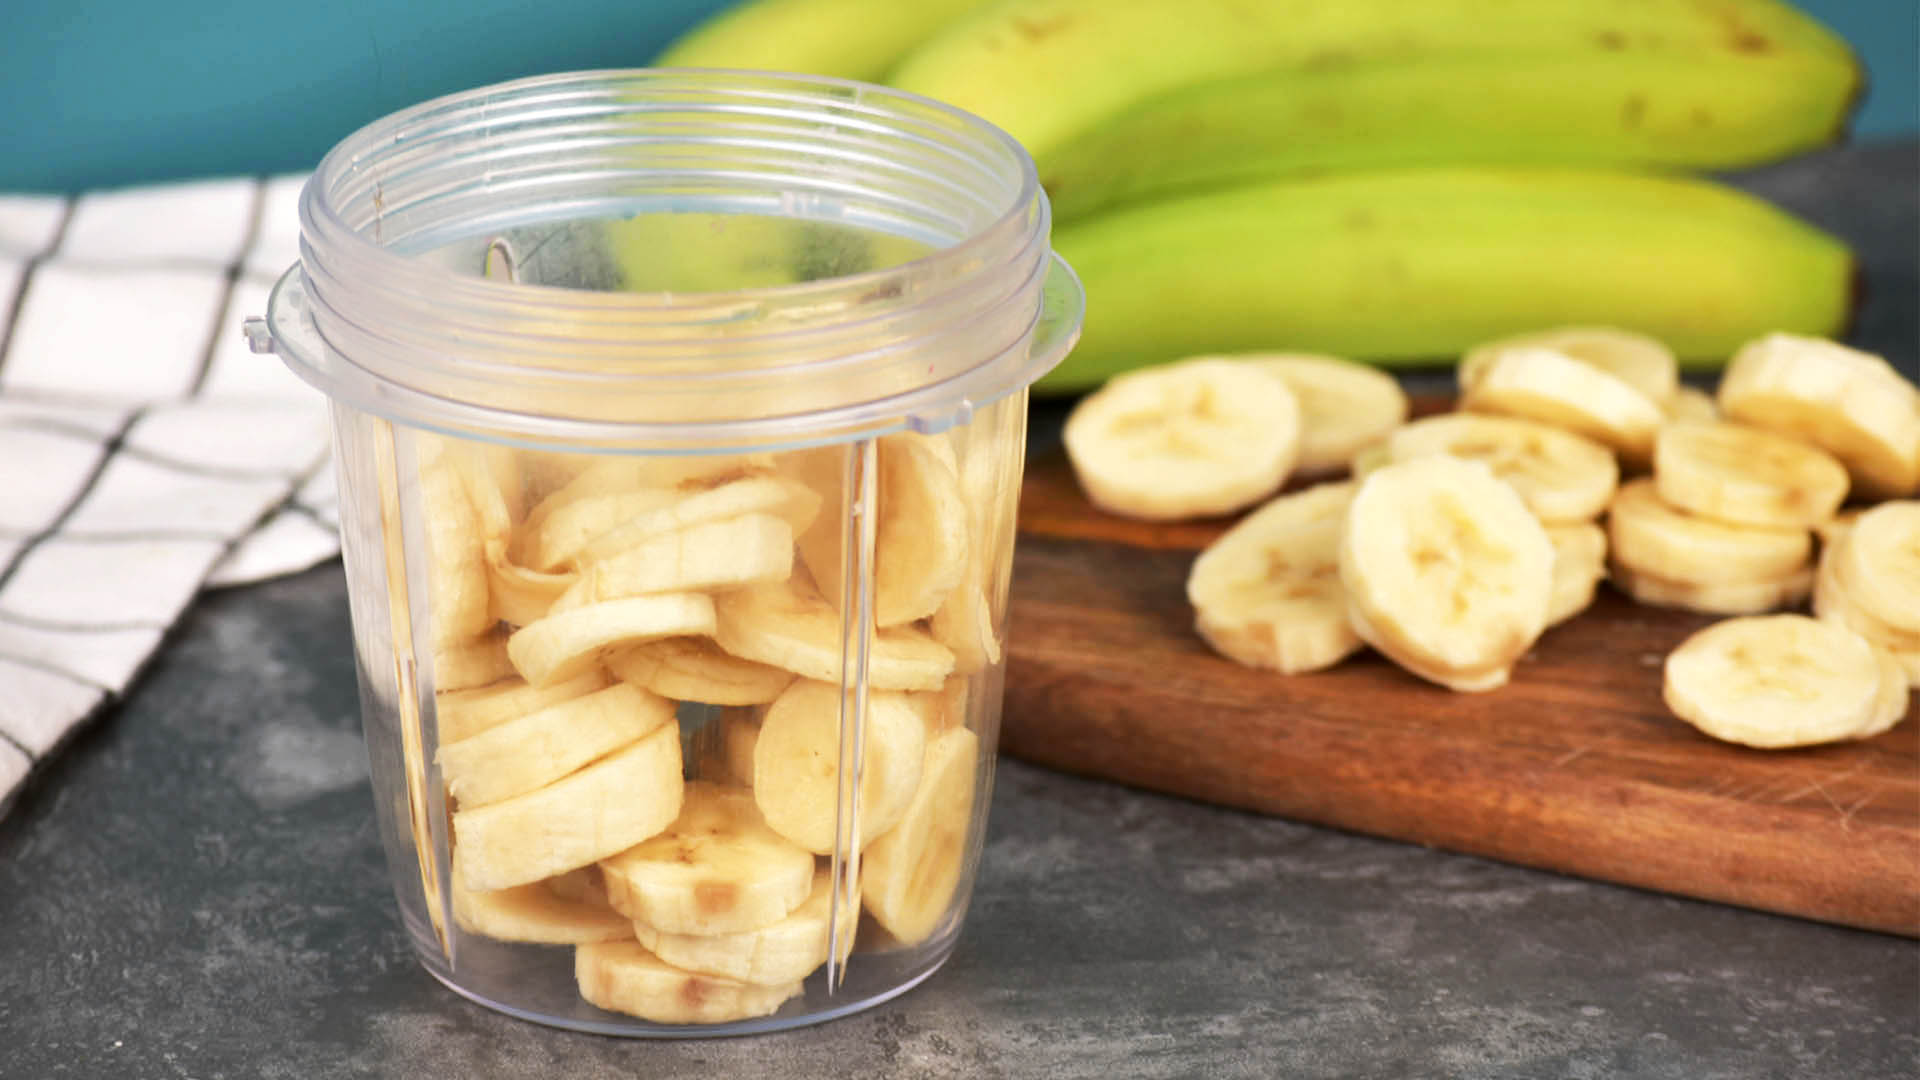
Knowing how to mash bananas sounds like one of those skills that belongs somewhere between “making toast” and “finding the TV remote.” Easy, right? Mostly. But the difference between a silky banana mash and a bowl of suspicious yellow chunks can change your banana bread, pancakes, muffins, smoothies, baby food, and late-night snack experiments.
Whether you are baking a loaf of banana bread, making two-ingredient banana pancakes, or trying to rescue a bunch of bananas before they become a countertop science project, this guide walks you through exactly how to mash bananas in eight simple steps. You will also learn which bananas work best, what tools to use, how smooth the mash should be, and how to store leftovers without creating a freezer mystery.
Why Properly Mashed Bananas Matter
Mashed bananas do more than add fruity flavor. In baking, they contribute moisture, natural sweetness, softness, and a little structure. The riper the banana, the sweeter and more flavorful it generally becomes, which is why speckled or heavily browned bananas are often prized for banana bread and muffins.
The texture of your mash matters, too. A chunky mash can create small pockets of banana in muffins and quick breads, while a very smooth mash blends more evenly into pancakes, cakes, and creamy batters. Neither choice is wrong. It is simply a question of whether you want rustic banana personality or a smoother, more polished finish.
What You Need to Mash Bananas
You do not need a culinary degree, a stand mixer, or a gadget that looks like it belongs on a spaceship. Most kitchens already have everything required.
- Ripe bananas
- A clean bowl or plate
- A fork, potato masher, whisk, or hand mixer
- A measuring cup or kitchen scale, if using a recipe
- A rubber spatula, optional but helpful
A fork is usually the best choice because it gives you control over the final texture. A potato masher works well for larger batches. A hand mixer can create a very smooth banana puree, but it can also add extra cleanup to a task that should not require a support group. Tests from recipe developers note that mixer-mashed bananas create a smoother, more cake-like texture than fork-mashed bananas.
How to Mash Bananas: 8 Easy Steps
Step 1: Wash Your Hands and the Banana Peel
Before peeling your bananas, wash your hands with soap and warm water. Then rinse the banana peel under running water and dry it with a clean towel or paper towel. Even though you will not eat the peel, washing produce before peeling helps reduce the chance that dirt or germs on the outside transfer to the fruit while you handle it. Do not use soap, detergent, or commercial produce wash on bananas.
This step may feel slightly dramatic for a banana, since its peel looks like nature’s own protective jacket. Still, a quick rinse is easy, and your future banana bread deserves a clean beginning.
Step 2: Choose the Right Ripeness Level
For most baking recipes, choose bananas with yellow peels covered in brown spots or peels that are mostly brown. These bananas are soft, sweet, and easy to mash. Bright yellow bananas work well for pancakes and smoothies, especially when you want a lighter banana flavor. Green bananas are firm, starchy, and stubborn; trying to mash them with a fork is like trying to flatten a tennis ball with a spoon.
Extra-ripe bananas are especially useful for banana bread, muffins, and cakes because their sweetness and banana flavor are more concentrated. However, discard bananas that have visible mold, a strong fermented smell, leaking liquid, or an unusually unpleasant appearance.
Step 3: Peel the Bananas Over a Bowl
Peel each banana and place the fruit directly into a medium bowl. If you are using several bananas, break them into halves or thirds as you add them. This gives you less work later and makes the mashing process more manageable.
Use a bowl with enough room for movement. A tiny cereal bowl might work for one banana, but it becomes a banana-launching device when you try to mash four at once. A wide, shallow bowl is often the easiest option because it gives your fork room to press and drag.
Step 4: Slice the Bananas Into Smaller Pieces
Use a butter knife or the edge of your fork to cut the bananas into coins or small chunks. You can also break them apart with your fingers. Smaller pieces mash more quickly and help you avoid the classic problem of one giant banana section skating around the bowl like it has somewhere important to be.
This step is optional when bananas are extremely soft, but it is useful for bananas that are ripe yet still fairly firm. It also makes mashing easier for children or anyone using a lightweight fork.
Step 5: Press With a Fork
Hold the bowl steady with one hand and press down on the banana pieces with the back of a fork. Use a pressing-and-dragging motion rather than stabbing repeatedly. Flatten the banana against the side or bottom of the bowl, then scrape it back toward the center.
Continue until the large pieces break down. At this stage, you will have a thick, soft mixture with visible lumps. That is perfectly fine for many recipes, including banana bread, muffins, oatmeal, and rustic pancakes.
Step 6: Scrape, Gather, and Mash Again
Use your fork or a rubber spatula to scrape banana from the sides of the bowl and pull it back into the center. Mash again until the mixture reaches your desired consistency. This small step matters because banana tends to cling to the bowl’s walls like it pays rent there.
For a smoother mixture, rotate the bowl as you mash. Press the fork in several directions instead of working in one spot. The result will be more even and easier to incorporate into batter.
Step 7: Choose Chunky, Smooth, or Pureed Texture
Stop mashing when the texture matches your recipe. A chunky banana mash works beautifully in banana bread, muffins, and oatmeal because small pieces add bursts of flavor. A mostly smooth mash is ideal for pancakes, waffles, cakes, and cookies. A completely smooth puree is best for baby food, frosting, creamy desserts, and recipes where you do not want visible banana pieces.
If you want a very smooth texture, switch from a fork to a whisk, potato masher, immersion blender, food processor, or hand mixer. For a low-mess option, place peeled banana pieces in a zip-top bag, leave a small opening for air to escape, and gently flatten the fruit with your hands.
Step 8: Measure, Use, or Store the Mashed Bananas
If you are following a recipe, measure the mashed banana after mashing rather than guessing based on the number of bananas. Banana sizes vary wildly. One banana may be petite and polite; another may be the size of a small submarine. Measuring after mashing gives you better consistency in baking.
Use the mashed bananas immediately, or store them in an airtight container in the refrigerator for short-term use. For longer storage, freeze measured portions in freezer-safe bags, containers, or silicone muffin cups. Freezing mashed bananas in common portions, such as one-half cup, makes future baking much easier.
How Smooth Should Mashed Bananas Be?
The right texture depends on what you are making. For banana bread, a few lumps are often welcome because they add texture and concentrated banana flavor. For pancakes, no large lumps are usually best because the batter cooks quickly and should spread evenly in the pan. For cakes and cupcakes, smoother banana mash creates a more uniform crumb.
| Recipe | Best Banana Texture | Recommended Tool |
|---|---|---|
| Banana bread | Chunky to mostly smooth | Fork |
| Muffins | Mostly smooth with tiny lumps | Fork or potato masher |
| Pancakes | Smooth | Fork or whisk |
| Smoothies | Pureed | Blender |
| Baby food | Very smooth puree | Fork, blender, or food processor |
| Banana frosting | Very smooth puree | Blender or hand mixer |
For a fluffy cake or a smooth quick bread, mash until no large pieces remain. For a more homemade, old-fashioned loaf, leave a few soft banana bits behind. Recipes for banana pancakes and smooth banana bread commonly recommend mashing until large lumps disappear, while rustic loaves can handle more texture.
Common Mistakes When Mashing Bananas
Using Underripe Bananas
Underripe bananas are harder to mash and less sweet. They can leave firm pieces in your batter and produce a more starchy flavor. If your bananas are only slightly green, let them sit at room temperature until they soften. A paper bag can help encourage more even ripening, although time remains the most reliable ingredient in the banana-ripening business.
Overmixing the Entire Batter
Mashing bananas thoroughly is fine. Overmixing flour-based batter after adding mashed bananas is not. Once flour meets liquid ingredients, mix only until combined unless your recipe says otherwise. Excessive mixing can make quick breads and cakes dense or tough instead of tender.
Ignoring Measurements
Recipes may call for one cup, one and one-half cups, or a specific weight of mashed banana. Do not assume every banana is identical. When accuracy matters, especially for baking, measure the mash in a cup or weigh it on a kitchen scale.
Using a Blender When You Want Texture
A blender can turn bananas into a perfectly smooth puree in seconds. That is excellent for smoothies and baby food, but it may remove the rustic texture you want in banana bread. Start with a fork unless your recipe specifically benefits from a silky banana mixture.
How to Store Mashed Bananas
Mashed bananas brown quickly when exposed to air, but browning does not automatically mean they are unusable. For same-day cooking or baking, cover the bowl tightly and refrigerate it. For meal prep, divide the mash into measured portions and freeze it.
Label frozen portions with the amount and date. For example, write “1 cup mashed banana” instead of “yellow stuff, probably fruit.” Future you will be deeply grateful. Better Homes & Gardens recommends freezing mashed banana portions for baking and using them within a few months for best quality.
When ready to use frozen mashed bananas, thaw them in the refrigerator or at room temperature in a sealed container. They may release some liquid after thawing. Stir that liquid back in unless your recipe specifically tells you to drain it, because it still carries banana flavor and moisture.
Easy Ways to Use Mashed Bananas
Once you know how to mash bananas, you have more options than banana bread alone. Try stirring mashed banana into oatmeal, yogurt, pancake batter, waffle batter, muffin batter, or overnight oats. Mix it with peanut butter for toast, blend it into smoothies, or freeze it for future baking.
- Banana bread and banana muffins
- Two-ingredient banana pancakes
- Banana oatmeal cookies
- Peanut butter and banana toast
- Smoothies and milkshakes
- Homemade baby food
- Banana cake, cupcakes, and frosting
- Frozen banana “nice cream”
Mashed banana also works as a partial replacement for fat or sugar in some recipes, though it can change the final texture. Start by following a tested recipe, especially for cakes and cookies. Bananas are helpful little multitaskers, but they cannot solve every baking problem. They cannot, for example, locate the missing measuring spoon.
Conclusion: A Simple Skill With Sweet Results
Mashing bananas is easy once you know what to look for: use ripe fruit, work in a roomy bowl, mash with a fork, and stop when the texture matches your recipe. Chunky mashed bananas give baked goods a cozy, homemade feel, while smooth banana puree creates a more even texture in pancakes, cakes, and creamy recipes.
The next time a bunch of bananas starts turning brown on your counter, do not panic. Those bananas are not failing at being fruit. They are volunteering for banana bread, muffins, pancakes, smoothies, and every other delicious plan that starts with a fork and a bowl.
Kitchen Experiences: What You Learn After Mashing More Than a Few Bananas
Learning how to mash bananas is one of those kitchen tasks that seems almost too simple to deserve instructions. Then you make banana bread with bananas that are not ripe enough, and suddenly your loaf has random firm pieces that taste like they are still deciding whether they want to become fruit. Or you use bananas that are so soft they practically fall out of the peel, and you realize that “ripe” can be a very broad category.
One of the most useful lessons from everyday cooking is that bananas do not need to look perfect to be useful. In fact, the bananas that look too brown for a lunchbox are often the best ones for baking. They are softer, sweeter, and much easier to mash. A banana with brown spots may not win a beauty contest, but it can make an excellent muffin. This is encouraging news for anyone who occasionally forgets groceries on the counter for three days.
Another practical experience is discovering that a fork is usually enough. Fancy equipment can make a smoother puree, but it is not always necessary. A fork gives you control. You can stop when the mash is chunky, continue until it is mostly smooth, or keep going until the mixture resembles banana baby food. That flexibility matters because different recipes want different textures. A rustic banana bread can welcome a few soft lumps, while pancake batter is happier when large chunks are gone.
It also becomes clear that measuring mashed banana is more reliable than counting bananas. Recipes may casually say “three bananas,” but bananas are unpredictable little creatures. Some are tiny, some are enormous, and some appear normal until peeled and reveal the confidence of a banana twice their size. Measuring the mash after preparing it helps keep your batter from becoming too wet, too dry, or too banana-heavy.
Freezing mashed bananas is another kitchen habit that saves time and reduces waste. Instead of waiting until you are ready to bake, mash extra-ripe bananas right away and freeze them in measured portions. A half-cup or one-cup portion can be a small gift to your future self on a busy morning. When the mood for banana muffins arrives, the prep work is already done.
Most importantly, mashing bananas teaches a broader cooking lesson: simple ingredients respond well to a little attention. You do not need complicated techniques to make something comforting and delicious. A ripe banana, a fork, and a bowl can become breakfast, dessert, a snack, or the beginning of an excellent loaf of banana bread. That is a pretty good return on investment for a fruit that comes with its own handle.