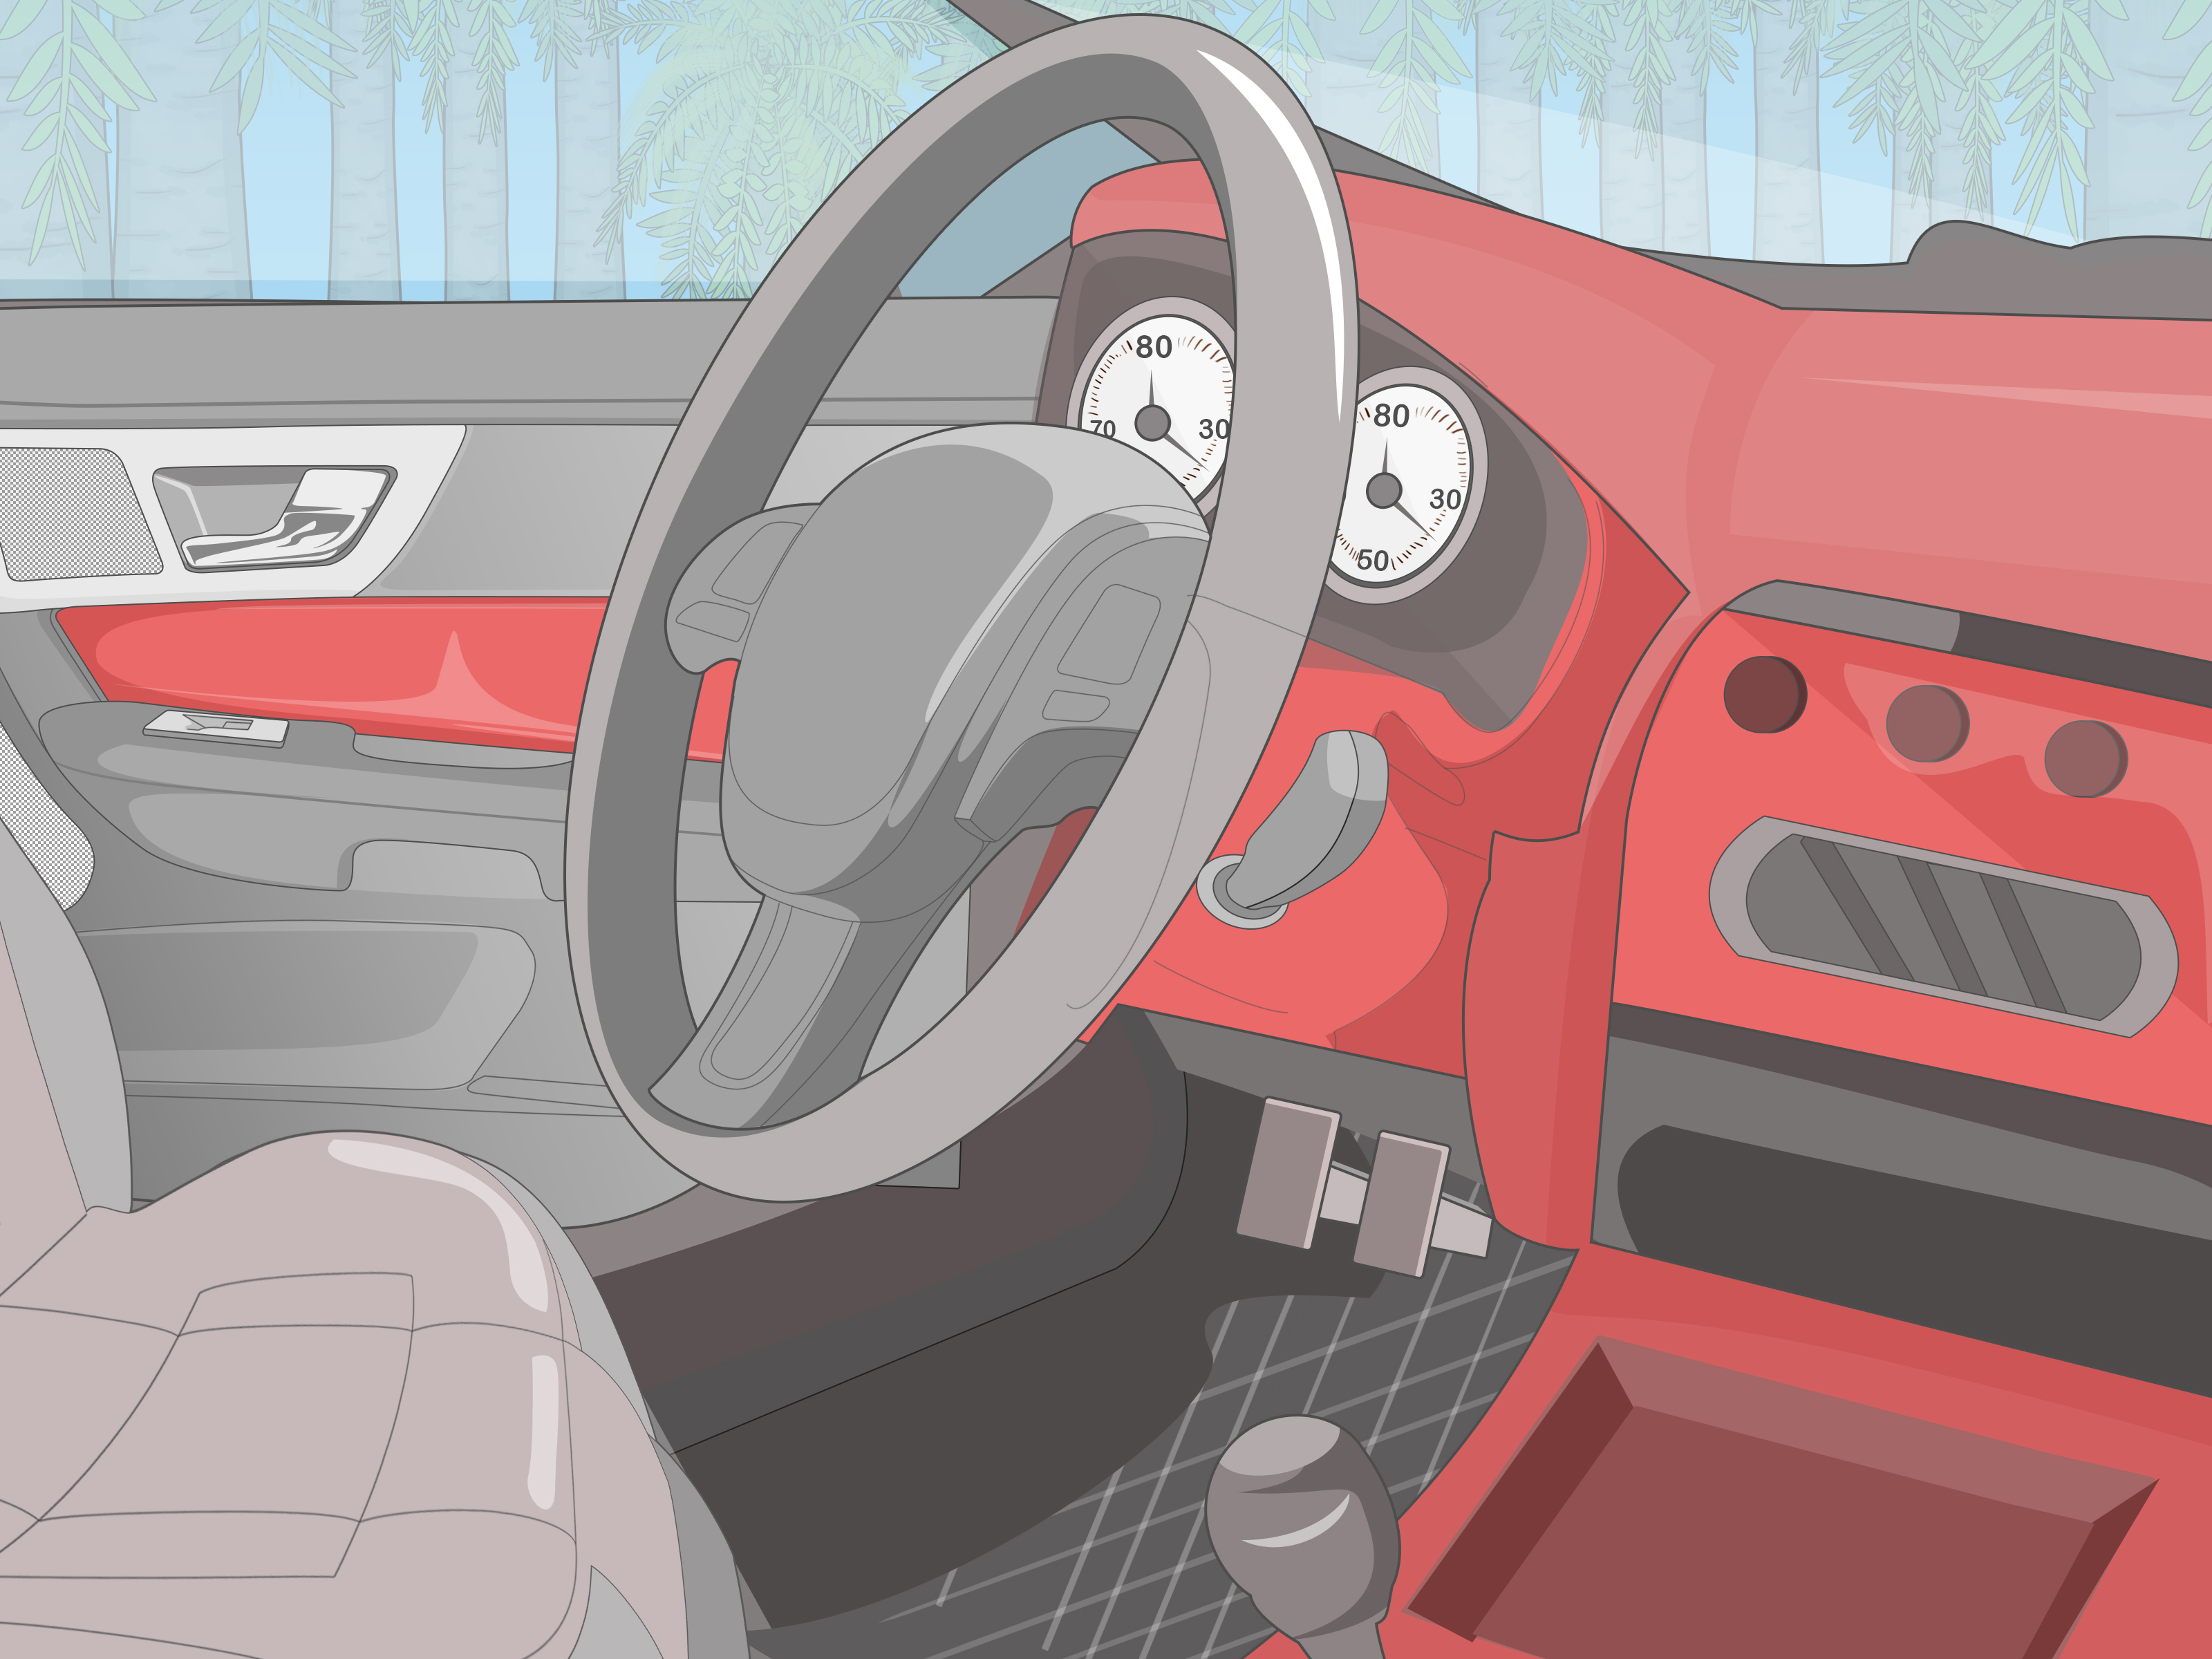
Your car’s interior is basically your second living roomexcept it has cupholders, questionable smells from 2019,
and a dashboard that’s been slowly sunbathing into a sad shade of “taxi beige.” The good news: you can absolutely
repaint (or recolor) a car interior at home and get results that look factory-fresh. The not-so-good news:
if you skip prep, your “fresh new look” can turn into “peeling confetti” faster than you can say “adhesion promoter.”
This guide walks you through what to paint, what not to touch, which products actually stick to interior plastics and
vinyl, and how to spray without turning your cabin into a modern art exhibit. We’ll keep it fun, but the process is
real-deal: clean, scuff, promote adhesion, spray light coats, and let it cure.
Before You Start: What You Can (and Shouldn’t) Paint
Most interior “painting” projects are really about refinishing surfaces that are handled constantly: trim pieces,
consoles, door panels, dash plastics, and vinyl. The trick is using coatings designed to flex and bite into those
materialsbecause interiors expand, contract, and get poked by keys, shoes, and caffeine-fueled emotions.
Great candidates
- Hard plastic trim: bezels, vent surrounds, center console pieces, door handle trim.
- Vinyl surfaces: door panels, dash pads (if vinyl), armrests (if vinyl).
- Plastic/vinyl parts you can remove: best results come from spraying off the car.
Proceed with caution
- High-wear contact points: steering wheels, shift knobs, window switchespaint can wear quickly.
- Soft-touch rubberized coatings: these often need special removal because new coatings may not bond well.
- Seats: doable, but use coatings made specifically for vinyl/fabric (and expect more prep and patience).
Do NOT paint these
- Airbag covers and airbag seams (steering wheel, dash passenger airbag areas).
- Screens, sensors, buttons with icons you need to read (unless you enjoy guessing).
- Seat belts (safety-critical).
Pick the Right Product: “Interior Paint” Isn’t Regular Spray Paint
Interiors are mostly plastic, vinyl, and flexible materials. Regular hardware-store spray paint can look fine for a week,
then crack, peel, or stay tacky. What you want instead is a flexible coating made for automotive interiorsoften labeled
as vinyl & fabric coating, interior refinishing coating, or flexible coating for plastic/vinyl.
Common product types (and when to use them)
| Surface | Best coating type | Why it works |
|---|---|---|
| Rigid plastics (ABS, some interior trim) | Interior plastic coating + adhesion promoter | Adhesion promoters help coatings grip low-energy plastics. |
| Vinyl door panels/dash pads | Vinyl coating (flexible) | Moves with the material without cracking. |
| Vinyl/fabric seat sections | Vinyl & fabric coating | Designed to flex and resist peeling on soft surfaces. |
One important language note: some brands call these products “dye,” but many are actually coatings. For example,
a well-known interior refinishing product line describes its color product as a flexible, permanent coating rather than a dye.
That’s good: coatings can be durableif you prep correctly.
Tools and Materials Checklist
You don’t need a paint booth. You do need enough prep supplies to make the coating think it’s bonding to its long-lost soulmate.
Must-haves
- Warm soap and water (first clean is not negotiable).
- Plastic/vinyl prep cleaner (final wipe before paint).
- Scuff pad (gray) and/or fine sandpaper (around 400–600 grit) for a consistent scratch pattern.
- Adhesion promoter for plastics (unless your chosen coating is truly self-priming on that surface).
- Masking tape + masking paper/plastic (your seats will thank you).
- Lint-free towels (several; assume you’ll drop one).
- Respirator, gloves, and ventilation (your lungs are not a filter).
Nice-to-haves
- Trim removal tools to pop panels without chewing up edges.
- Tack cloth for final dust pickup (use lightly).
- Heat gun or hair dryer (gentle warmth can help drying in cool conditionsdon’t cook the plastic).
Step 1: Remove Parts (If You Can) and Label Everything
The best interior paint jobs happen on parts sprayed outside the vehicle. Overspray inside a cabin is like glitter:
it shows up in places you didn’t know existed. If you’re removing trim:
- Take quick photos as you gofuture-you will be grateful.
- Bag and label screws/clips by area.
- Handle panels gently; older plastics can get brittle.
If you can’t remove a piece (like some dash areas), masking matters. Mask wider than you think you need.
Paint mist travels like it has a personal mission.
Step 2: Clean Like You’re About to Eat Off It
Interior plastics and vinyl collect silicone-based dressings, body oils, and mystery residues. Those are paint’s natural enemies.
Start with warm soap and water, scrub thoroughly, rinse, and dry completely.
The “water behavior” sanity check
A practical refinishing rule used in professional prep: if water sheets across the surface, it’s generally clean; if it beads up,
contamination is still present and you should reclean. This is especially useful after you think you’re done cleaningbecause
the interior will happily lie to your face.
Final wipe
After soap-and-water cleaning, do a final wipe with an appropriate plastic/vinyl prep cleaner using a lint-free towel.
Wipe in one direction and use fresh towel sections to avoid smearing contaminants back onto the surface.
Step 3: Scuff for Adhesion (Without Destroying Texture)
Paint sticks best to a surface with “tooth”a consistent, fine scratch pattern. For most interior plastics and vinyl:
use a gray scuff pad or fine sandpaper. Your goal is to dull the shine, not sculpt a new dashboard.
Tips to scuff smart
- Hit edges and curves thoroughly: peeling often starts where prep was lazy.
- Don’t burn through texture: heavy sanding can flatten grain and look obviously “repaired.”
- Clean again after scuffing: you just made dustdon’t paint it in place.
Step 4: Use Adhesion Promoter the Right Way
Many interior plastics (like polypropylene-based materials) are notoriously hard for coatings to bond to. Adhesion promoters
exist specifically for this problem. Some systems use a “wet-on-wet” method where you apply promoter and then apply the first
color coat while the promoter is still active, helping the coating bond as the promoter flashes off.
How to apply it (general best practice)
- Spray a light-to-medium coat of adhesion promoter.
- Respect flash time (often just a few minutes) before topcoatingfollow your product directions.
- Do not flood the part; heavy coats increase the chance of runs and solvent issues.
Some vinyl/fabric interior coatings also advertise built-in adhesion promoters, which can eliminate the need for a separate primer
on certain surfaces. That’s convenientbut it’s not magic. If you’re dealing with bare, low-energy plastic, a dedicated adhesion
promoter can still be the difference between “OEM-looking” and “shed-skin chic.”
Step 5: Spray Technique That Won’t Ruin Your Weekend
Spraying interior parts is mostly about patience and control. You’re not trying to “cover it in one coat.”
You’re building a finish in thin layers that cure properly.
Setup
- Work in a well-ventilated area (open garage with airflow is the minimum).
- Lay parts flat or mount them so you can spray edges evenly.
- Shake the can like it owes you money.
- Test spray on cardboard to confirm pattern and color.
Distance, motion, and coats
- Distance: often around 6–8 inches from the surface for many aerosols (verify your product label).
- Motion: start spraying off the part, sweep across, release after you pass the edge.
- Coats: apply multiple light coats. The first coat should be a light tack coatnot a glossy, dripping lake.
- Flash time: let each coat flash before the next to avoid runs and solvent trapping.
Temperature matters
Many interior aerosol products spray and level best around typical room temperature (often roughly ~70°F). Too cold and the finish can
look rough; too hot and it can dry mid-air and land like sand.
Step 6: Optional Clear CoatYes, But Be Strategic
Many interior coatings are designed to be the final finish (especially satin and OEM-style colors). A clear coat can change sheen,
feel, and durabilitysometimes for the better, sometimes for the worse.
When clear can help
- You’re repainting a rigid plastic piece that takes abuse (like lower console trim).
- You need a specific sheen (matte/satin) consistently across pieces.
When clear can hurt
- Flexible vinyl pieces: some clears can reduce flexibility and crack.
- Touch surfaces: high-gloss clears show fingerprints and can look “aftermarket.”
If you do clear coat, keep it compatible with the base coating system and remember: some high-performance clears can involve serious
chemical hazards. If you’re not set up for that safely, skip it and choose the right interior coating sheen instead.
Step 7: Dry, Cure, Reinstall (Don’t Rush the Reunion)
“Dry to the touch” is not the same as “ready for daily life.” Interiors get handled, bumped, and cleaned. Give the coating time to cure.
As a practical rule, wait at least overnight before gentle handling, and longer (often 24–72 hours) before reinstalling parts that rub
or clip tightly. When reinstalling:
- Wear clean gloves to avoid oils.
- Don’t drag clips across fresh edges.
- Start screws by hand to avoid slipping and gouging the finish.
Common Problems (and How to Fix Them Without Crying)
Peeling or chipping
- Likely cause: poor cleaning, not enough scuffing, missing adhesion promoter on plastic.
- Fix: strip/sand the failing area, clean thoroughly, reapply adhesion promoter if needed, repaint in light coats.
Fish-eyes (little craters)
- Likely cause: silicone contamination (common from interior shine products).
- Fix: stop, clean aggressively, and repaint. Continuing usually makes it worse.
Runs and sags
- Likely cause: heavy coats, spraying too close, not enough flash time.
- Fix: let it dry fully, lightly sand the run smooth, and respray light coats.
Sticky finish
- Likely cause: incompatible product for soft-touch materials, thick coats trapping solvent, or poor curing conditions.
- Fix: allow more cure time in warm, ventilated conditions; if it stays tacky, strip and switch to an interior-specific coating.
Quick Example: Painting a Center Console Trim Piece
Let’s say you have a glossy silver console trim that reflects sunlight directly into your eyes like it’s trying to summon a higher being.
You want a factory-looking satin black.
- Remove the trim and wash with warm soap/water. Rinse and dry.
- Final wipe with plastic/vinyl prep cleaner using lint-free towels.
- Scuff with a gray scuff pad until the shine is uniformly dulled.
- Clean again to remove dust.
- Adhesion promoter (light coat; flash per product directions).
- Color coats: 4–6 light coats, letting each flash before the next.
- Cure overnight (minimum). Reinstall carefully.
Result: a cleaner look, reduced glare, and a part that doesn’t scream “aftermarket” every time you open the door.
Safety: Don’t Turn a DIY Project Into a Lung Problem
Interior refinishing products use solvents. That means ventilation and PPE aren’t optional “nice-to-haves”they’re how you avoid headaches,
dizziness, and long-term exposure risks. Work outdoors or in an open, well-ventilated garage whenever possible, and use gloves and a proper
respirator setup for paint vapors. Tight-fitting respirators also require fit testing under OSHA respiratory protection rules in workplaces,
which underscores how seriously inhalation protection is treated in professional environments.
Real-World Experiences: The “I Wish Someone Told Me” Section (About )
Here’s the funny part about painting a car interior: the spraying is the easiest 10% of the job, and the prep is the other 190%.
(Yes, that’s mathematically illegal. So is skipping degreasing and expecting adhesion.)
One of the most common first-timer experiences goes like this: you clean the panel, it looks clean, you spray it, and it looks amazing for
exactly one evening. Then you touch it with a slightly oily hand, or the sun heats it up, and suddenly the finish behaves like a cheap
stickerlifting at corners, scratching if you look at it too hard. What happened? Usually, it’s one of three villains:
leftover silicone from interior shine products, not enough scuffing on glossy plastic, or no adhesion promoter on stubborn plastics.
The lesson most DIYers learn the hard way is that “looks clean” isn’t clean. Clean is: soap-and-water scrub, rinse, dry, and a proper
prep wipe that lifts the invisible stuff.
Another classic: the first coat panic. People want coverage fast, so they spray a heavy first coat. It looks wet and glossy, which feels like
successuntil it runs, sags, or dries weirdly because solvents got trapped under a skin that formed too soon. The “pro” move is boring:
a light tack coat, then a series of thin coats with flash time in between. It doesn’t satisfy your inner impatient goblin, but it does cure
properly and resist scratches.
Texture is also an emotional rollercoaster. Interior plastics often have grain. If you sand too aggressively, you flatten the grain and the
piece looks “off,” even if the color is perfect. If you don’t scuff enough, paint may not bond well. The sweet spot is a gentle scuff that
dulls shine without erasing texture. Many people end up practicing on a hidden piece (like a lower kick panel) firstand that’s honestly
the smartest “experience hack” out there.
Finally: curing time. The most relatable experience is reinstalling parts too soon because you’re excited, then discovering your clip edges
left permanent marks in your fresh finish. Interior coatings may feel dry quickly, but they often need longer to fully toughen up.
If you want the finish to survive real lifekeys, rings, coffee cup impactsgive it time. The weird flex of interior painting is not that you
can make it look good today; it’s that it still looks good a month from now.
Conclusion
Painting a car interior is one of the most satisfying DIY upgrades because the transformation is immediate: faded trim looks new, outdated colors
feel modern, and your cabin stops looking like it’s been aging in dog years. The winning formula is consistent across almost every successful
project: deep clean, confirm cleanliness, scuff evenly, use adhesion promoter when the substrate needs it, spray multiple light coats, and let
the finish cure before reassembly. Do that, and your interior won’t just look betterit’ll stay better.