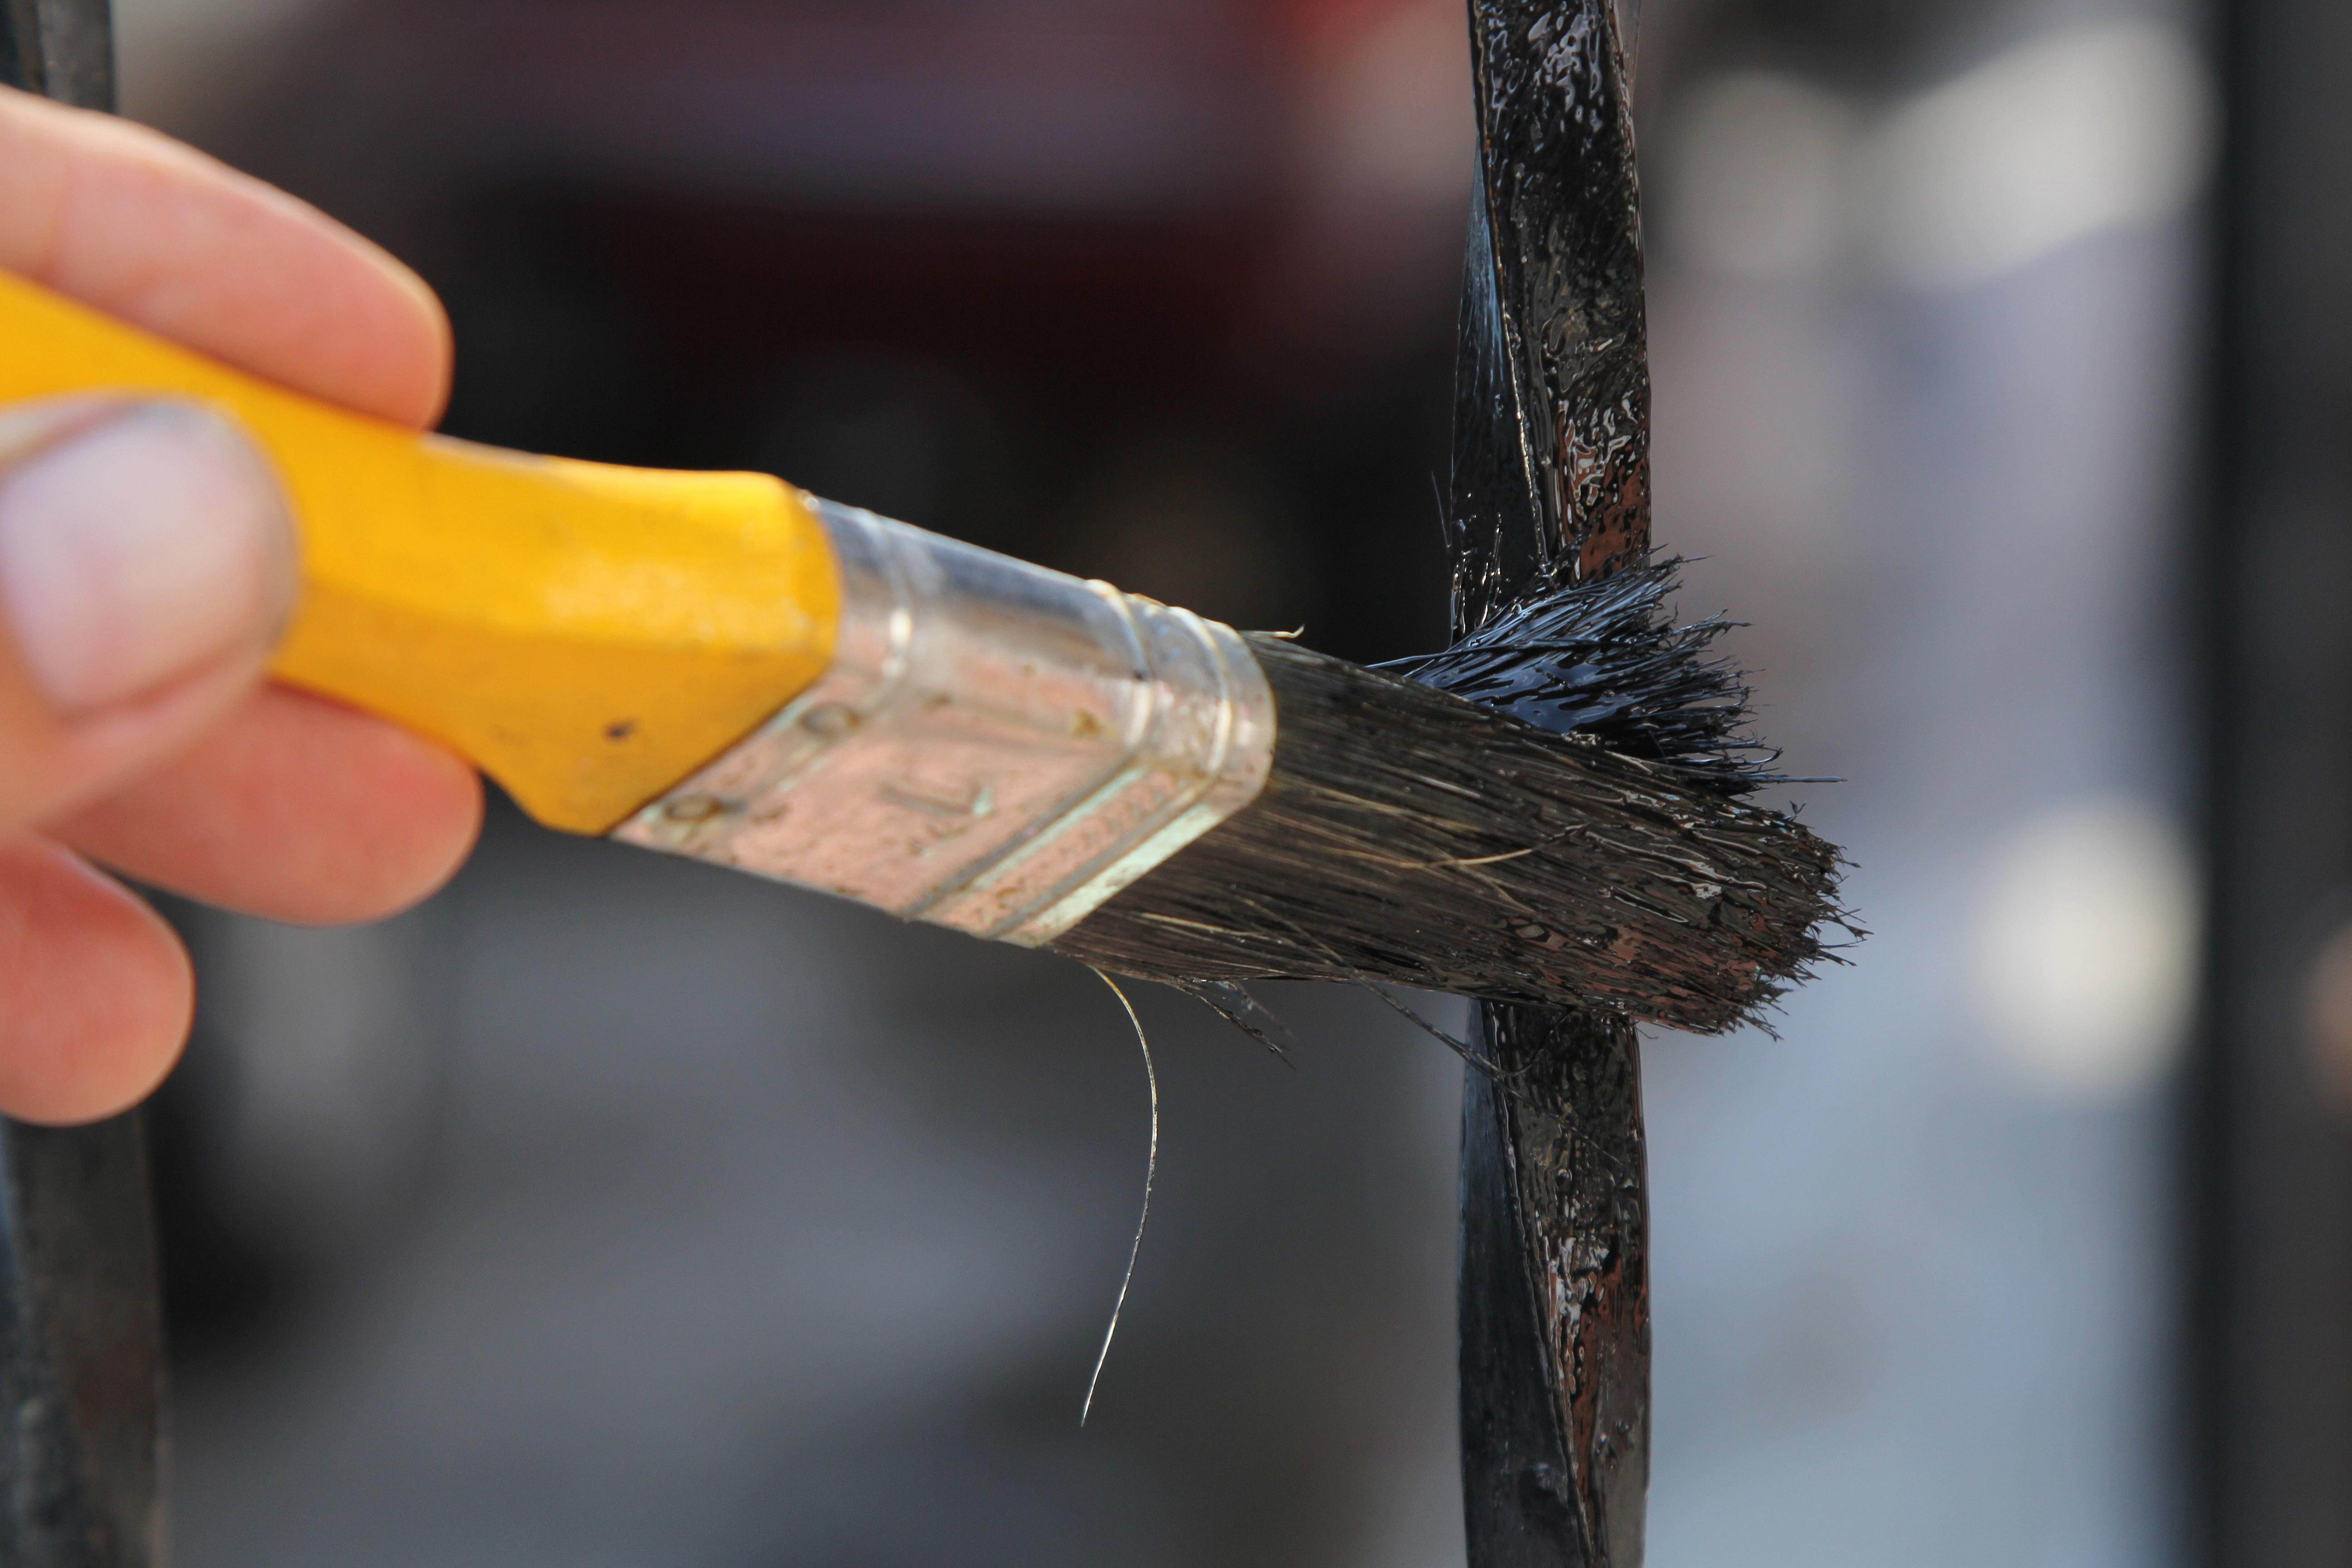
A wrought iron fence is like the tuxedo of outdoor fencing: classic, sturdy, and instantly more impressive than a tired chain-link situation. But when rust, peeling paint, and faded color show up, that tuxedo starts looking like it spent a weekend in a swamp. The good news? You do not need to replace your fence just because it looks weather-beaten. With the right prep, primer, paint, and patience, you can bring a wrought iron fence back to life and help protect it from future rust.
This guide explains how to paint a wrought iron fence in 8 practical steps, from cleaning and sanding to priming and applying a smooth finish. Whether you are refreshing a small garden fence or tackling a long driveway border, the secret is not fancy tools or magical paint. The secret is preparation. Paint sticks best to a clean, dry, stable surface, and wrought iron rewards anyone willing to evict rust before rolling out the new color.
Below, you will find a full beginner-friendly process, helpful examples, common mistakes to avoid, and real-world experience tips for making the project less messy, less frustrating, and much more satisfying.
Before You Start: What Makes Wrought Iron Different?
Wrought iron is strong, decorative, and durable, but it has one dramatic weakness: rust. Outdoor metal fences face rain, sun, humidity, sprinkler overspray, lawn chemicals, and temperature changes. Once the protective coating breaks down, exposed iron reacts with moisture and oxygen, forming rust. If rust is left alone, it can spread under old paint and weaken the fence over time.
That is why painting a wrought iron fence is not only about appearance. It is also a maintenance job. A proper paint system usually includes removing loose rust and old paint, cleaning the surface, applying a rust-inhibiting metal primer, and finishing with exterior paint made for metal. Think of it as giving your fence both a makeover and a raincoat.
Tools and Materials You Will Need
Gathering supplies before you begin saves time and prevents the classic halfway-through-the-project discovery that you own three hammers but zero wire brushes. Here is what you will likely need:
- Wire brush or wire wheel attachment
- Medium-grit and fine-grit sandpaper
- Paint scraper
- Drop cloths or plastic sheeting
- Painter’s tape
- Garden hose or bucket of water
- Mild detergent or degreasing cleaner
- Clean rags
- Rust converter or rust remover, if needed
- Rust-inhibiting metal primer
- Exterior metal paint or enamel
- Paintbrushes, small roller, or spray paint
- Gloves, safety glasses, and a dust mask
For ornate wrought iron with scrolls, curves, and narrow bars, a high-quality angled brush is often easier than a roller. Spray paint can also work well for intricate areas, but it requires careful masking and calm weather. If the wind is feeling energetic, spray paint may decorate your driveway, plants, shoes, and possibly your neighbor’s mailbox. Choose wisely.
Step 1: Choose the Right Weather Window
The best time to paint a wrought iron fence is on a dry, mild day with low wind. Avoid painting immediately after rain, during foggy weather, when the fence is damp, or when rain is expected soon. Paint and primer need time to bond and cure properly. If moisture gets trapped under the coating, rust can return like an uninvited guest who knows where you keep the snacks.
Most exterior coatings perform best within the temperature range listed on the product label. Many traditional exterior paints prefer temperatures above 50°F, although some newer formulas work in cooler conditions. Always follow the manufacturer’s directions for temperature, humidity, drying time, and recoat time.
Best conditions for painting
- Dry fence surface
- No rain in the forecast
- Low to moderate humidity
- Light wind or no wind
- Comfortable working temperature
If your fence sits in direct sun, try working in sections during the cooler part of the day. Extremely hot metal can cause paint to dry too quickly, making brush marks and uneven coverage more likely.
Step 2: Protect the Area Around the Fence
Before scraping, sanding, or painting, protect nearby surfaces. Lay drop cloths along the base of the fence to catch flakes of paint, rust dust, and drips. Use painter’s tape and plastic sheeting to cover gate hardware, stone pillars, house siding, concrete edges, plants, or anything else that should not become “accidentally black satin.”
If plants are growing through the fence, gently tie them back or trim them if appropriate. You need room to clean and paint every side of the metal. Painting around vines and shrubs may seem harmless, but hidden bare spots can become rust hotspots later.
Safety note
If your fence is old and the existing paint may contain lead, do not dry sand or scrape aggressively without proper precautions. Consider using a lead test kit and follow local safety rules. For large old fences with questionable coatings, hiring a professional may be the smarter and safer choice.
Step 3: Remove Loose Paint and Rust
This is the most important step in painting a wrought iron fence. New paint will not fix loose old paint. It will simply sit on top of it until the weak layer underneath gives up. Use a wire brush, scraper, or sandpaper to remove flaking paint, loose rust, and rough patches.
For heavy rust, a drill with a wire wheel attachment can speed up the work. Use steady pressure, not brute force. Your goal is to remove loose material and create a sound surface, not grind the fence into modern art. For small decorative areas, hand tools give you more control.
How much rust should you remove?
Remove all loose and powdery rust. If you can get down to bare metal in problem areas, that is ideal. Firmly bonded rust may be treated with a rust converter or covered with a primer designed for rusted metal, depending on the product instructions. Bare metal should be primed as soon as possible after cleaning because exposed iron can start oxidizing quickly, especially in humid weather.
Pay extra attention to joints, welds, bottoms of pickets, gate hinges, and areas where water tends to collect. These spots often rust first because moisture hangs around longer than anyone invited it to.
Step 4: Sand the Surface Smooth
After scraping and brushing, sand the fence to smooth rough edges and improve adhesion. Medium-grit sandpaper works well for feathering old paint edges, while finer grit can help smooth visible areas before priming. You do not need the entire fence to look like polished jewelry, but you do want a stable, slightly scuffed surface.
Sanding also helps dull glossy old paint. If the previous coating is still firmly attached but shiny, primer and paint may have trouble bonding. A light scuff gives the new coating something to grip. Think of it as adding a handshake between old and new layers.
Quick sanding checklist
- Smooth sharp paint edges
- Scuff glossy surfaces
- Remove remaining rust dust
- Reach corners and decorative curves
- Check both sides of the fence
Step 5: Clean and Dry the Fence
Once the scraping and sanding are done, the fence will be covered with dust, grit, and possibly small flakes of old coating. Paint hates dirt. It may tolerate bad jokes, but not dirt. Wash the fence with mild detergent and water or a degreasing cleaner if there is oily residue. Rinse thoroughly and wipe down areas where grime collects.
After washing, let the fence dry completely. This step is easy to rush, but trapped moisture is one of the fastest ways to ruin a paint job on metal. If water remains in joints or decorative curls, wait longer. A dry surface helps primer bond properly and reduces the chance of rust forming under the finish.
Do not skip cleaning
Even if the fence looks clean after sanding, fine dust can prevent primer from sticking. Run a clean rag over the surface. If the rag comes away dirty, keep wiping. A few extra minutes here can add years to the life of the finish.
Step 6: Apply a Rust-Inhibiting Metal Primer
Primer is the bridge between the prepared metal and the final paint. For wrought iron, choose a rust-inhibiting primer designed for exterior metal. If the fence is mostly clean or lightly rusted, use a clean metal primer or bonding metal primer. If some areas are heavily rusted but stable after brushing, use a primer specifically made for rusty metal, following the label instructions.
Apply primer in thin, even coats. Thick primer may sag, drip, or dry unevenly. Use a brush for detailed areas and a small roller for flat bars if the design allows. Spray primer can be helpful for ornate scrollwork, but always protect nearby surfaces and avoid spraying in windy conditions.
Primer tips for better results
- Prime bare metal the same day it is cleaned when possible.
- Cover every side, edge, joint, and weld.
- Use thin coats instead of one heavy coat.
- Let primer dry for the recommended time before painting.
- Inspect for missed spots before applying the topcoat.
If the fence has a lot of curves, crouch down and look from different angles. Wrought iron is sneaky. It hides unprimed spots on the backside of scrolls and underneath horizontal rails.
Step 7: Paint the Wrought Iron Fence
Once the primer is dry, apply exterior paint made for metal. Many homeowners choose black, charcoal, bronze, or dark green for wrought iron fences because these colors highlight the shape and hide minor dirt. Gloss and semi-gloss finishes are popular because they shed water better and are easier to clean, but satin can look softer and more modern.
Brush-on enamel is a strong choice for durability and control. Spray paint can produce a smooth finish, especially on decorative metal, but it usually requires more masking and may need multiple light coats. Whether brushing or spraying, the rule is the same: thin coats win. Heavy coats drip, wrinkle, and make your fence look like it is melting in slow motion.
Brush, roller, or spray?
A brush is best for detailed wrought iron, touch-ups, and careful work near masonry or landscaping. A small foam or microfiber roller can help on straight rails and larger flat areas. Spray paint is useful for intricate designs, but overspray control is critical. For long fences, some people use a combination: spray for detailed sections and brush for touch-ups.
Apply the first coat
Start at the top and work downward. Paint one manageable section at a time. Watch for drips under rails and around decorative joints. If you see a drip, smooth it while the paint is still wet. Once it dries, you will need to sand it before repainting.
Apply the second coat
Most wrought iron fences look better and last longer with two topcoats. The first coat builds coverage; the second improves color depth, durability, and weather resistance. Wait for the recommended recoat time. Painting too soon can trap solvents or moisture and weaken the finish.
Step 8: Let the Paint Cure and Inspect Your Work
After the final coat, allow the paint to dry and cure according to the product label. Dry-to-touch does not always mean fully cured. During the curing period, avoid bumping the fence, closing gates roughly, hanging decorations, or letting sprinklers blast it like a water park attraction.
Once the paint has cured, inspect the fence in good light. Look for thin spots, missed edges, drips, and areas around hinges or latches. Touch up as needed. A small artist’s brush can be useful for tiny missed spots in scrollwork and corners.
Common Mistakes to Avoid When Painting a Wrought Iron Fence
Painting over loose rust
Paint over loose rust is like putting a Band-Aid on a crumbling cookie. It may cover the problem briefly, but it will not hold. Remove loose rust and use the right primer.
Skipping primer
Some paints are labeled paint-and-primer, but rusty or bare wrought iron often benefits from a dedicated rust-inhibiting primer. Primer improves adhesion and adds another layer of corrosion protection.
Painting when the fence is damp
Moisture under paint can lead to bubbling, peeling, and rust. Always let the fence dry fully after washing or rain.
Using interior paint outside
Interior paint is not built for weather, UV exposure, and temperature swings. Use exterior metal paint or enamel designed for outdoor surfaces.
Applying thick coats
Heavy coats may seem faster, but they often create drips and poor curing. Multiple thin coats create a cleaner and more durable finish.
How Often Should You Repaint a Wrought Iron Fence?
A well-prepped and properly painted wrought iron fence can last several years before needing a full repaint, but timing depends on climate, sun exposure, moisture, and the quality of the coating. In humid or coastal areas, inspect the fence more often. Salt air and frequent rain can speed up corrosion.
Plan to check your fence at least once or twice a year. Look for chips, scratches, rust spots, and peeling paint. Touching up small problems early is much easier than repainting the entire fence later. A ten-minute touch-up today can save you from a weekend-long rust battle next season.
Maintenance Tips After Painting
To keep your wrought iron fence looking sharp, clean it occasionally with mild soap and water. Avoid harsh cleaners that may damage the coating. Keep sprinklers pointed away from the fence when possible, trim plants that trap moisture against the metal, and repair chips quickly.
Gate areas deserve special attention because movement can wear paint around hinges, latches, and contact points. If you notice metal-on-metal rubbing, adjust the hardware or add a protective bumper where appropriate. Paint cannot perform miracles if the gate scrapes itself every time someone opens it.
Best Paint Types for Wrought Iron Fences
The best paint for a wrought iron fence is an exterior-grade metal paint with rust-resistant properties. Oil-based enamel has traditionally been popular for metal because it creates a hard, durable finish. Water-based direct-to-metal coatings are also available and can offer easier cleanup, lower odor, and good durability when used correctly.
Always match the primer and paint system. Some products are designed to work together, while others have specific compatibility requirements. Read the label before combining brands or coating types. When in doubt, ask a paint specialist or choose primer and paint from the same product line.
Should You Hire a Professional?
Painting a small wrought iron fence is a realistic DIY project for many homeowners. However, hiring a professional may make sense if the fence is very large, severely rusted, historically significant, located on difficult terrain, or covered with old paint that may contain lead.
A professional can also use specialized equipment for surface preparation and spraying. That said, a careful DIY job can look excellent if you take your time. The fence does not know whether you own a contractor’s van. It only knows whether you cleaned, primed, and painted it properly.
Experience Notes: What Real Fence Painting Teaches You
Painting a wrought iron fence sounds simple when listed in steps, but the actual experience teaches you a few practical lessons very quickly. The first lesson is that preparation takes longer than painting. Many beginners expect the color coat to be the main event, but scraping, sanding, cleaning, and taping usually take most of the project time. That is normal. In fact, if the prep feels a little tedious, you are probably doing it right.
One helpful habit is to divide the fence into small sections. Instead of telling yourself, “Today I will paint the entire fence,” choose a gate, one panel, or a 10-foot section. This keeps the work manageable and helps you maintain quality. Long fences can be mentally sneaky. You start with enthusiasm, then by the fourth section your standards begin negotiating with your back. Smaller sections keep the project under control.
Another real-world lesson is that light changes everything. A fence may look fully covered from one angle and full of missed spots from another. After priming or painting a section, step to the left, step to the right, crouch down, and look from behind if possible. Decorative wrought iron has curves and hidden edges that are easy to miss. A small inspection routine prevents those annoying silver or rusty slivers from appearing after cleanup.
Drips are also part of the learning curve. They usually happen under horizontal rails, around decorative scrolls, and near joints where paint collects. The best time to fix a drip is immediately, while the paint is wet. Keep a small brush in your hand and lightly smooth the area before moving on. If a drip dries, resist the urge to paint over it. Let it harden, sand it smooth, and repaint that spot. Future you will appreciate the patience.
Spray paint can feel fast and satisfying, especially on ornate ironwork, but it is not always the easiest method. Overspray travels farther than expected, even in a light breeze. If you spray, protect nearby concrete, brick, siding, plants, and vehicles. A large piece of cardboard held behind the section you are spraying can act as a movable shield. Work with thin passes, keep the can moving, and do not try to achieve full coverage in one pass.
Brush painting gives more control, but brush choice matters. Cheap brushes can leave bristles in the finish, which is a tiny tragedy when you are painting black metal in bright sunlight. Use a good-quality brush that fits the fence design. A narrow angled brush works well around pickets, finials, and tight corners. For straight rails, a small roller can speed things up, followed by a brush to catch edges and missed areas.
Comfort matters more than people admit. Wear gloves, safety glasses, and clothes you do not love too deeply. Keep water nearby, take breaks, and avoid working through the hottest part of the day. Fence painting involves bending, reaching, kneeling, and standing back up repeatedly, which is basically a surprise workout with paint. Knee pads or a garden kneeling pad can make lower sections much easier.
Finally, the most satisfying part of painting a wrought iron fence is the transformation. A faded, rusty fence can make an entire yard look neglected, while a freshly painted fence sharpens the landscape almost instantly. The clean lines return. The color looks richer. The house gains curb appeal. And yes, you may find yourself casually walking outside just to admire it, which is a perfectly acceptable homeowner behavior.
Conclusion
Learning how to paint a wrought iron fence is mostly about respecting the process. Clean the metal, remove loose rust, sand rough areas, use the right primer, and apply thin coats of exterior metal paint. The work takes time, but it is one of the most rewarding outdoor DIY projects because the results are visible immediately and the protection lasts well beyond the weekend.
A wrought iron fence does not need to look tired forever. With careful preparation and a smart paint system, you can restore its classic character, protect it from rust, and give your home a cleaner, more polished look. The fence gets a second life, your curb appeal gets a boost, and you get bragging rights every time someone asks, “Did you hire someone for that?”