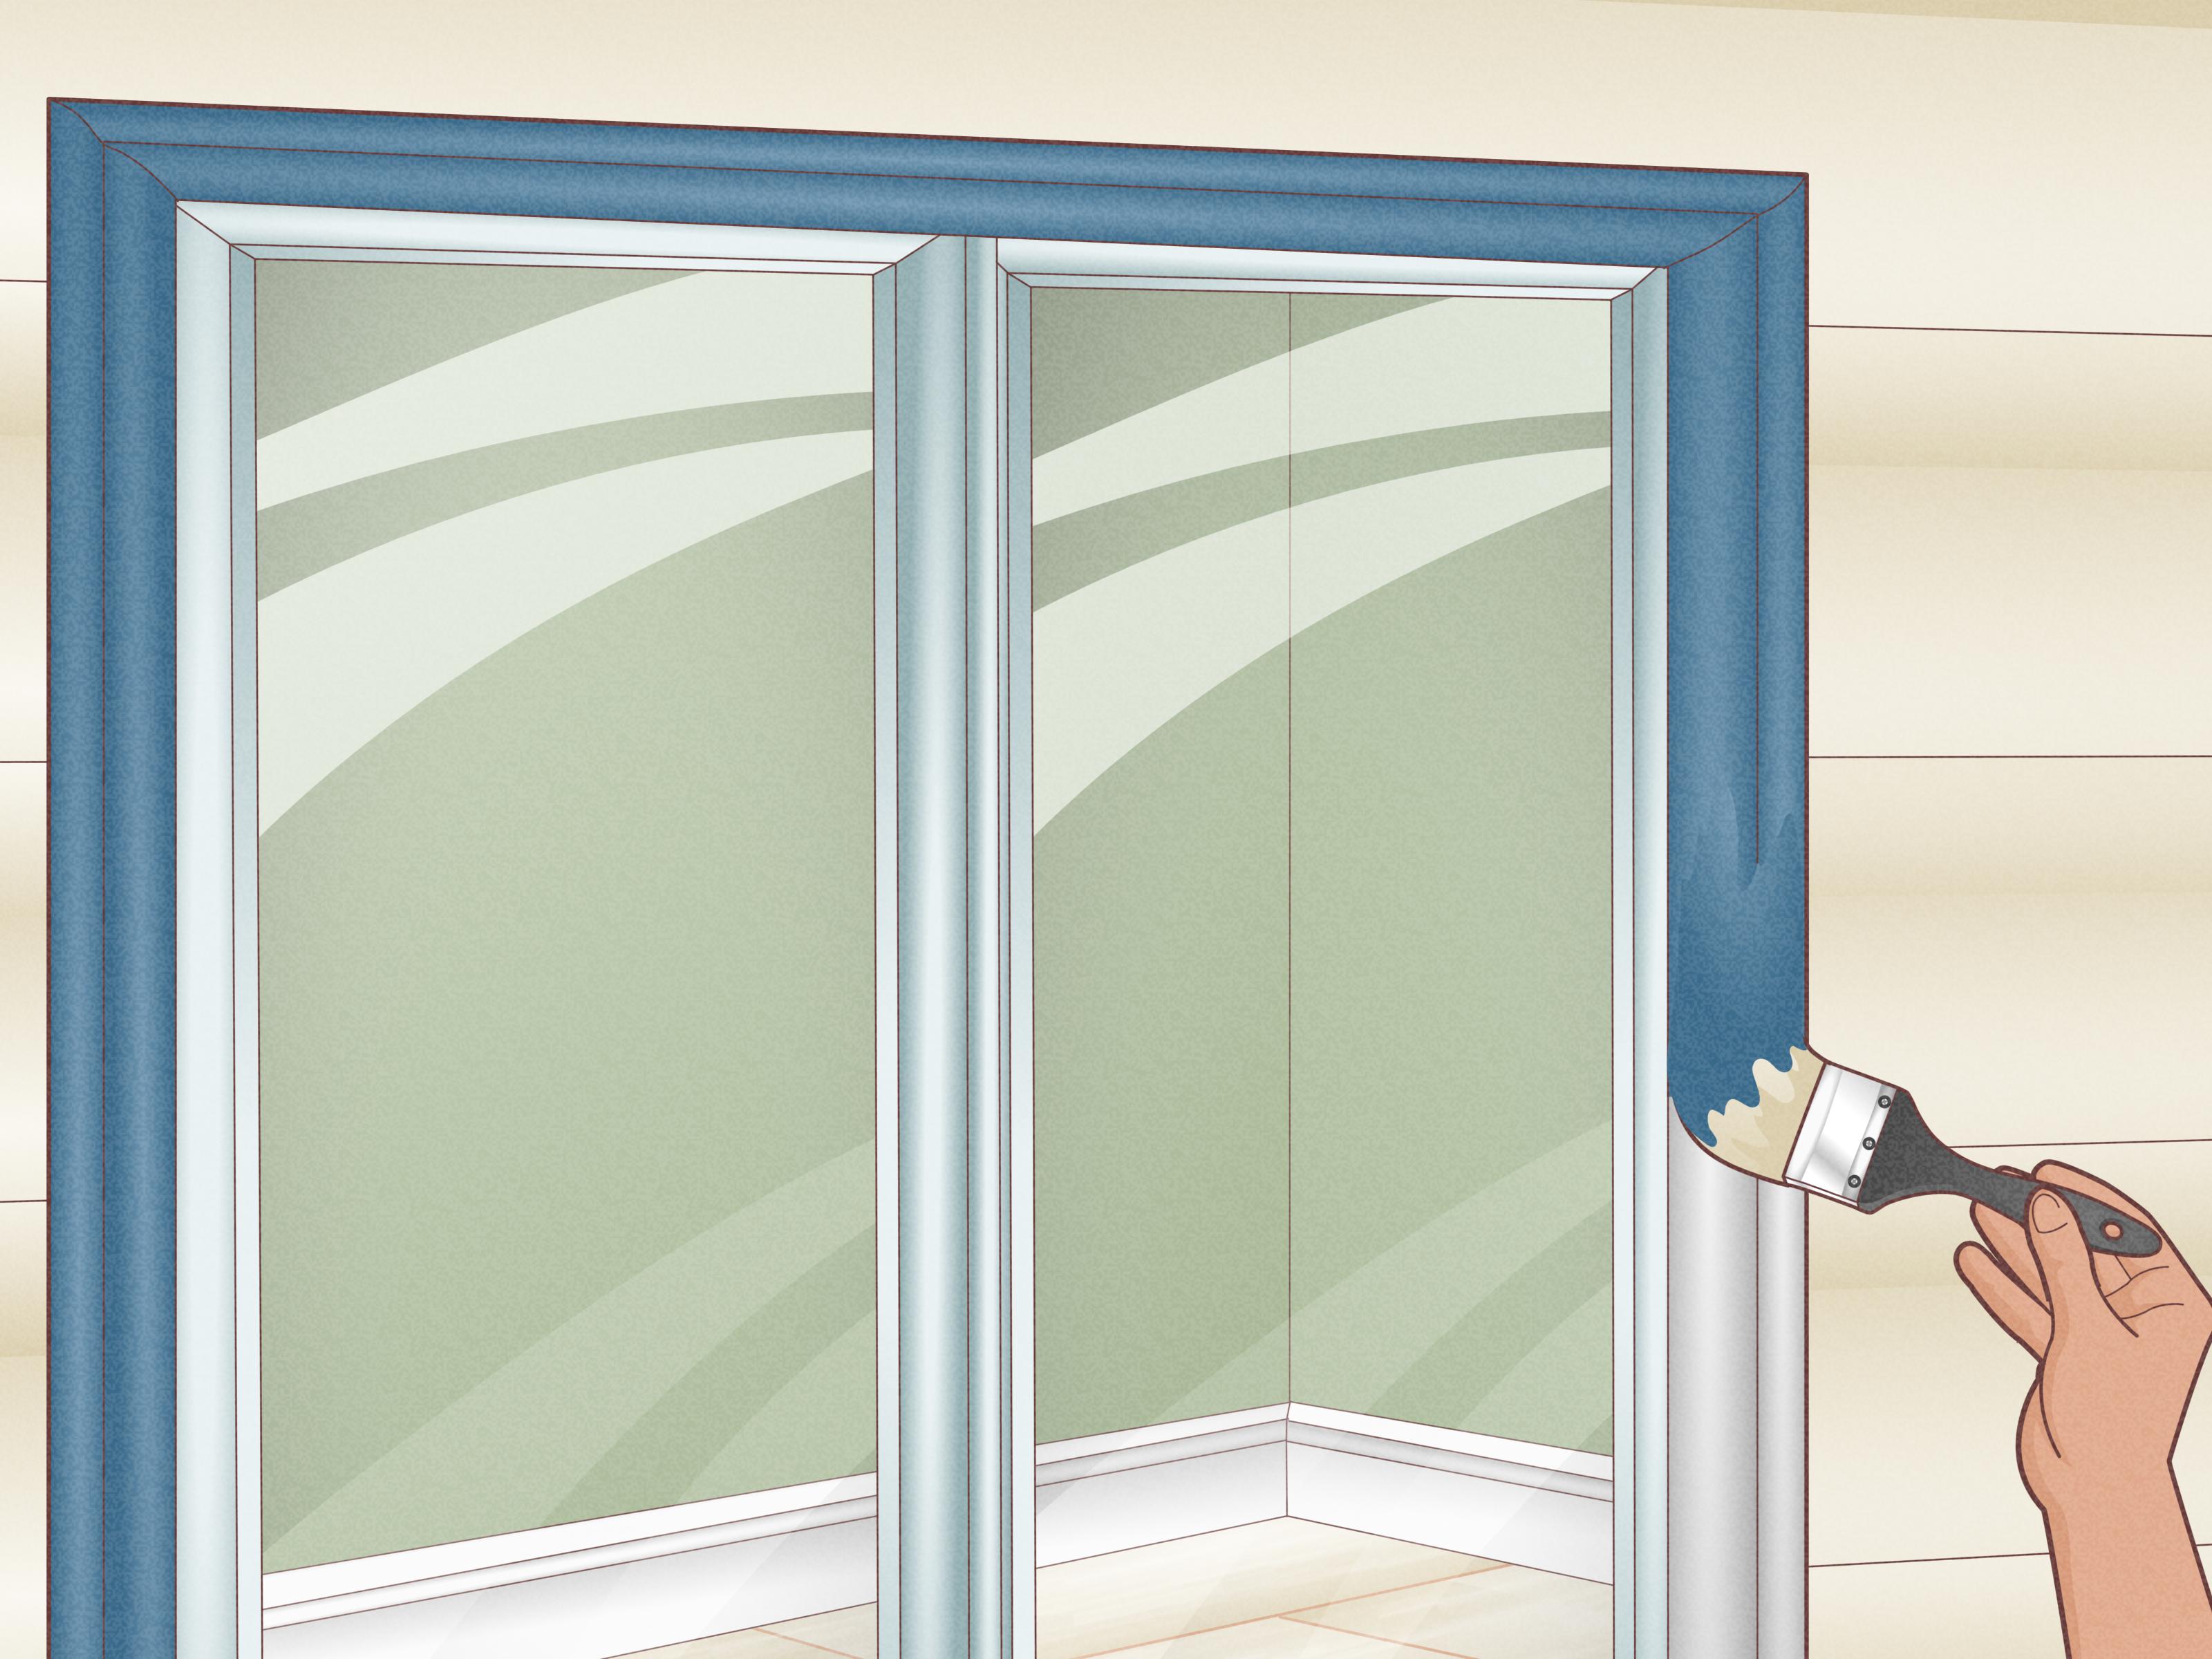
Exterior window trim has a glamorous job description: make the house look sharp, help seal out weather, and quietly survive sun, rain, bugs, and the occasional ladder bump from an overconfident DIYer. When trim starts peeling, swelling, cracking, or turning soft enough to poke with a screwdriver, it is time for a fix. The good news? Replacing exterior window trim is very doable for a careful homeowner.
The less-fun news is that bad trim is sometimes just the visible part of a bigger moisture problem. So this job is not only about popping off boards and nailing on prettier ones. It is also about checking for rot, protecting drainage paths, adding or repairing flashing, sealing the right joints, and finishing the trim so it actually lasts. In other words, this is part carpentry, part detective work, and part “why did I think one tube of caulk would be enough?”
This guide walks through how to replace exterior window trim in 11 practical steps, along with material tips, common mistakes to avoid, and a longer section on real-life DIY experiences so you can go into the project with both confidence and realistic expectations.
Before You Start: Know What You Are Really Repairing
Before you remove a single nail, figure out whether you are dealing with cosmetic trim damage, localized rot, or a window-area water-management issue. Exterior trim fails for reasons, not for entertainment. Common causes include failed caulk, missing head flashing, splash-back from roofs or hard surfaces, trapped moisture, unprimed cut ends, and paint that gave up years ago.
If your home was built before 1978, take old paint seriously. Disturbing painted trim can create lead dust and chips. Use proper containment, wear protective gear, and follow lead-safe work practices. And if you find extensive rot in the sheathing, framing, or sill, or the window itself is loose or leaking, this may be a repair-plus problem rather than a trim-only project.
Tools and Materials You May Need
- Utility knife
- Flat pry bar or molding bar
- Hammer and nail set
- Oscillating multi-tool or circular saw for stubborn sections
- Tape measure and speed square
- Miter saw or circular saw
- Exterior trim boards or brick molding
- Exterior-grade primer and paint
- Paintable exterior caulk
- Wood filler or epoxy repair product for minor damage
- Drip cap or head flashing if needed
- Flashing tape or compatible weather barrier accessories
- Stainless or corrosion-resistant finish nails or trim screws
- Safety glasses, gloves, hearing protection, and a respirator when appropriate
How to Replace an Exterior Window Trim: 11 Steps
Step 1: Inspect the Window Area and Decide Whether to Repair or Replace
Start with a close inspection. Probe suspicious areas with an awl or screwdriver, especially near the sill, bottom ends of side casing, and top trim. Soft wood, blistered paint, black staining, or algae growth often point to moisture damage. If only a tiny section is weathered, an epoxy repair might work. If the trim is significantly soft, split, swollen, or rotted through, replacement is the smarter move.
This is also the time to ask a bigger question: is the trim the problem, or is the trim reporting a problem? If water has been getting behind the trim because flashing is missing or failing, replacing boards without fixing drainage is like putting a clean shirt on a leaking pipe.
Step 2: Set Up Safely and Protect the Area
Remove screens and nearby obstacles. Lay down drop cloths or plastic to catch paint chips and debris. If the house may have lead paint, contain the area and avoid creating unnecessary dust. Wear gloves and eye protection at minimum, and use a respirator when cutting, sanding, or dealing with questionable coatings.
If you are working from a ladder, make sure it is stable and properly positioned. Exterior trim replacement is not improved by acrobatics. If the window is above the first floor or over a roof line, consider whether scaffolding or professional help would be safer.
Step 3: Score the Caulk and Paint Lines Before Removing the Old Trim
Use a sharp utility knife to cut along every seam where the trim meets siding, the window frame, or neighboring trim pieces. This step matters more than impatient people want it to. Scoring the joints helps prevent tearing paint, damaging adjacent materials, or taking a chunk of siding with the board you meant to remove gracefully.
Once the seams are cut, work a flat pry bar behind the trim. Pry gently and move gradually along the board rather than yanking from one end like you are starting a lawn mower from 1989. If the trim is worth saving as a template, take extra care removing it in one piece.
Step 4: Remove the Old Trim Carefully and Save Usable Pieces as Templates
Pull off the side casing first if that makes access easier, then remove the head trim and any sill apron or lower trim. Label the pieces if you plan to copy the exact profile or dimensions. Old trim is often the fastest pattern maker you will ever have.
If nails are stubborn, a multi-tool with a metal-cutting blade can help separate trim from fasteners without tearing up the surrounding area. Do not rush this step. The cleaner the removal, the less patching and head-scratching you will do later.
Step 5: Inspect the Sheathing, Sill, and Flashing Behind the Trim
Now the real story shows up. Check the exposed sheathing, housewrap or weather-resistant barrier, sill edges, and framing around the window. Look for stained sheathing, punky wood, gaps, or missing head flashing. Minor surface damage may be repairable. Deeper rot or structural deterioration means you need to stop and address the substrate before new trim goes on.
Pay special attention to the top of the window. Water entering from above is a classic reason trim fails. If there is no drip cap or head flashing where your cladding system needs one, this is the moment to correct it. Exterior trim should shed water, not host it.
Step 6: Repair Minor Damage and Dry the Area Thoroughly
If the backing material is sound but has shallow damaged spots, scrape away loose material, let the area dry, and use a suitable exterior wood repair product or filler for localized repairs. If rot is deeper than a small patch can handle, replace the damaged substrate instead of trying to cosmetically wish it away.
Everything behind the new trim should be dry before you continue. Painting or sealing wet material is a reliable way to create tomorrow’s repair project today. Let the area breathe, and fix the moisture path before you close it back up.
Step 7: Measure, Cut, and Pre-Finish the New Trim
Measure the opening carefully and use the old boards as templates when possible. Decide whether you are installing flat stock, brick molding, PVC trim, or another profile. Exterior wood trim still looks great, but it needs disciplined priming and paint. Cellular PVC is popular because it resists rot, though it has its own fastening and movement considerations. Fiber cement trim is durable too, but cut edges and fastener details matter.
Whatever material you choose, cut accurately and dry-fit before fastening. With wood or fiber cement, prime all raw faces and especially the end cuts before installation. That tiny exposed end grain is a moisture sponge wearing a disguise. Pre-finishing the trim, then applying a final coat after installation, usually gives better coverage and saves awkward ladder painting later.
Step 8: Dry-Fit the Pieces and Plan for Drainage
Hold each piece in place before fastening. Check the reveal, alignment, and fit at corners. Make sure the trim does not trap water against siding or the window frame. If your assembly uses a head trim board, add or reinstall a proper drip cap or head flashing above it where appropriate. Flashing should lap in a shingle-style manner so water is directed out and down, not inward and behind the trim.
This is also the time to confirm you are not covering weep paths or drainage openings. Windows are designed with water management in mind. Your trim job should support that design, not fight it.
Step 9: Fasten the Side and Head Trim Securely
Install the trim with corrosion-resistant fasteners suited to the material and exposure conditions. Start with the head piece or follow the detail appropriate to your trim profile and cladding system, then install the side pieces and any lower trim. Keep the boards tight and straight, but do not overdrive fasteners so hard that you crush material or create depressions that hold water.
If you are using PVC trim, follow the manufacturer’s recommendations for screws, plugs, and expansion allowances. If you are using wood, keep joints snug and clean, and avoid leaving unsealed gaps that invite water in for a long-term stay.
Step 10: Caulk the Right Joints, Not Every Hole You Can Find
This is where many DIY jobs turn from “promising” to “mysteriously wet two winters later.” Caulk vertical seams and trim-to-wall joints where water might enter, using a high-quality paintable exterior sealant. Smooth the bead neatly. Fill nail holes with exterior filler or the appropriate plug system for your trim material.
But do not use caulk as a substitute for flashing. And do not seal intended drainage paths or cover window weep holes. If water needs a way out, let it have one. Good exterior trim work manages water with layers, laps, and gravity first, then sealant second.
Step 11: Prime, Paint, and Inspect the Finished Job
Once filler and caulk have cured, apply primer where needed and finish with quality exterior paint. Two finish coats are often worth the effort, especially on raw or newly installed wood. Make sure all exposed surfaces, edges, and repaired spots are protected.
When the paint dries, do a final inspection. Look at the top flashing detail, the side joints, the lower edge, and the relationship between the trim and surrounding siding. Then mark your calendar to inspect the window annually. Exterior trim lasts longer when you notice failing caulk or paint before the board starts auditioning for a rot documentary.
Best Materials for Exterior Window Trim
Wood Trim
Wood is traditional, easy to mill, and visually warm. It is a solid choice when you want a classic look or need to match existing trim on an older home. The downside is obvious: wood and water are not best friends. Prime thoroughly, protect cut ends, maintain paint, and keep the trim clear of chronic wetting.
Cellular PVC Trim
PVC trim is a favorite for wet-prone areas because it will not rot. It is paintable, workable with common tools, and especially useful on sills or lower trim sections that get hammered by weather. It still needs proper fastening, good detailing, and support for drainage. Rot-proof does not mean detail-proof.
Fiber Cement Trim
Fiber cement is durable and stable, and it pairs well with fiber cement siding systems. It is heavier than wood or PVC and needs the correct fasteners and edge treatment. If you cut it, protect the cut edges as required by the manufacturer. Durable products still appreciate competent installation.
Common Mistakes to Avoid
- Replacing trim without identifying the moisture source
- Skipping head flashing or assuming caulk alone will do the job
- Failing to prime raw wood, end cuts, or cut fiber cement edges
- Blocking weep holes or drainage paths with sealant
- Painting wet material
- Using interior filler, interior caulk, or non-exterior fasteners
- Ignoring lead-safe practices in older homes
- Forcing badly warped trim to fit instead of recutting it
When to Call a Professional
Call a pro if the rot extends into framing, the window itself is leaking or loose, the flashing detail requires siding removal you are not comfortable with, or the work area is high and difficult to access safely. Historic homes are another special case. Original wood windows and trim can often be repaired rather than fully replaced, but the details matter, and preserving character is easier when done thoughtfully.
Experience Matters: What Replacing Exterior Window Trim Is Really Like
If you have never replaced exterior window trim before, the first surprise is usually that the job feels more like problem-solving than simple carpentry. On paper, it sounds straightforward: remove bad board, cut new board, nail board, paint board, admire board. In real life, the old caulk fights back, one side piece comes off in three chunks instead of one, and suddenly you are holding a board that looks less like a template and more like driftwood with opinions.
A very common homeowner experience is discovering that the worst-looking section is not always the worst damage. Sometimes the ugly peeling paint is mostly surface failure, while the trim that looked “not too bad” turns out to be soft enough to dent with a fingernail. That is why probing, checking the top corners, and inspecting behind the trim matters so much. Many people start the project thinking they are doing cosmetic work and end the day realizing they are actually fixing water management. It is a humbling but useful upgrade in perspective.
Another common lesson is that careful removal saves a huge amount of time later. Experienced DIYers will tell you that scoring every painted seam with a utility knife feels slow in the moment, but it prevents torn siding, damaged housewrap, and those annoying ragged edges that make a finished repair look slightly haunted. The same goes for saving old trim as a template. Even when the board is beat up, it can still be the fastest way to match length, angle, reveal, or profile.
Then there is the ladder factor. Exterior trim replacement has a funny way of making the ground look emotionally appealing. Measuring, dry-fitting, rechecking, climbing down for the pencil you forgot, climbing back up, deciding the board is 1/8 inch too long, climbing down again, and pretending this was your plan all along is part of the experience. Pre-finishing boards on sawhorses before installation makes life much easier. So does having more caulk, more primer, and more patience than you think you need.
People also learn quickly that “waterproof” is not the same as “sealed everywhere.” A beginner’s instinct is often to caulk every seam in sight. The more experienced approach is smarter: seal the joints that should be sealed, preserve the openings that should drain, and let flashing do the heavy lifting. That shift in thinking is one of the biggest differences between a repair that looks nice for one season and one that stays solid for years.
Perhaps the most satisfying part of the project is that the results are visible immediately. Fresh exterior window trim sharpens the whole house. The window looks cleaner, the paint line looks crisper, and the exterior reads as cared for instead of neglected. It is one of those repairs that combines function and curb appeal in a very satisfying way. You are not just making the house prettier. You are protecting it.
And finally, experienced homeowners know that the real win is not just installing new trim. It is breaking the cycle that ruined the old trim in the first place. If you repair flashing, seal correctly, protect cut ends, and inspect the window once a year, you are far less likely to repeat the job anytime soon. Which is wonderful, because exterior trim repair is rewarding, but doing the same window twice because of one skipped detail is a special kind of character-building no one asked for.
Conclusion
Replacing exterior window trim is one of those home-improvement jobs that pays you back twice: once in better curb appeal and again in better weather protection. The key is to treat it as more than a cosmetic swap. Remove the trim carefully, inspect what is behind it, correct moisture issues, install proper flashing where needed, protect drainage paths, and finish the new trim like you want it to stay put for a long time.
Do that, and your window trim will not just look good. It will do its real job: helping your home stay dry, sound, and ready for whatever the forecast dreams up next.