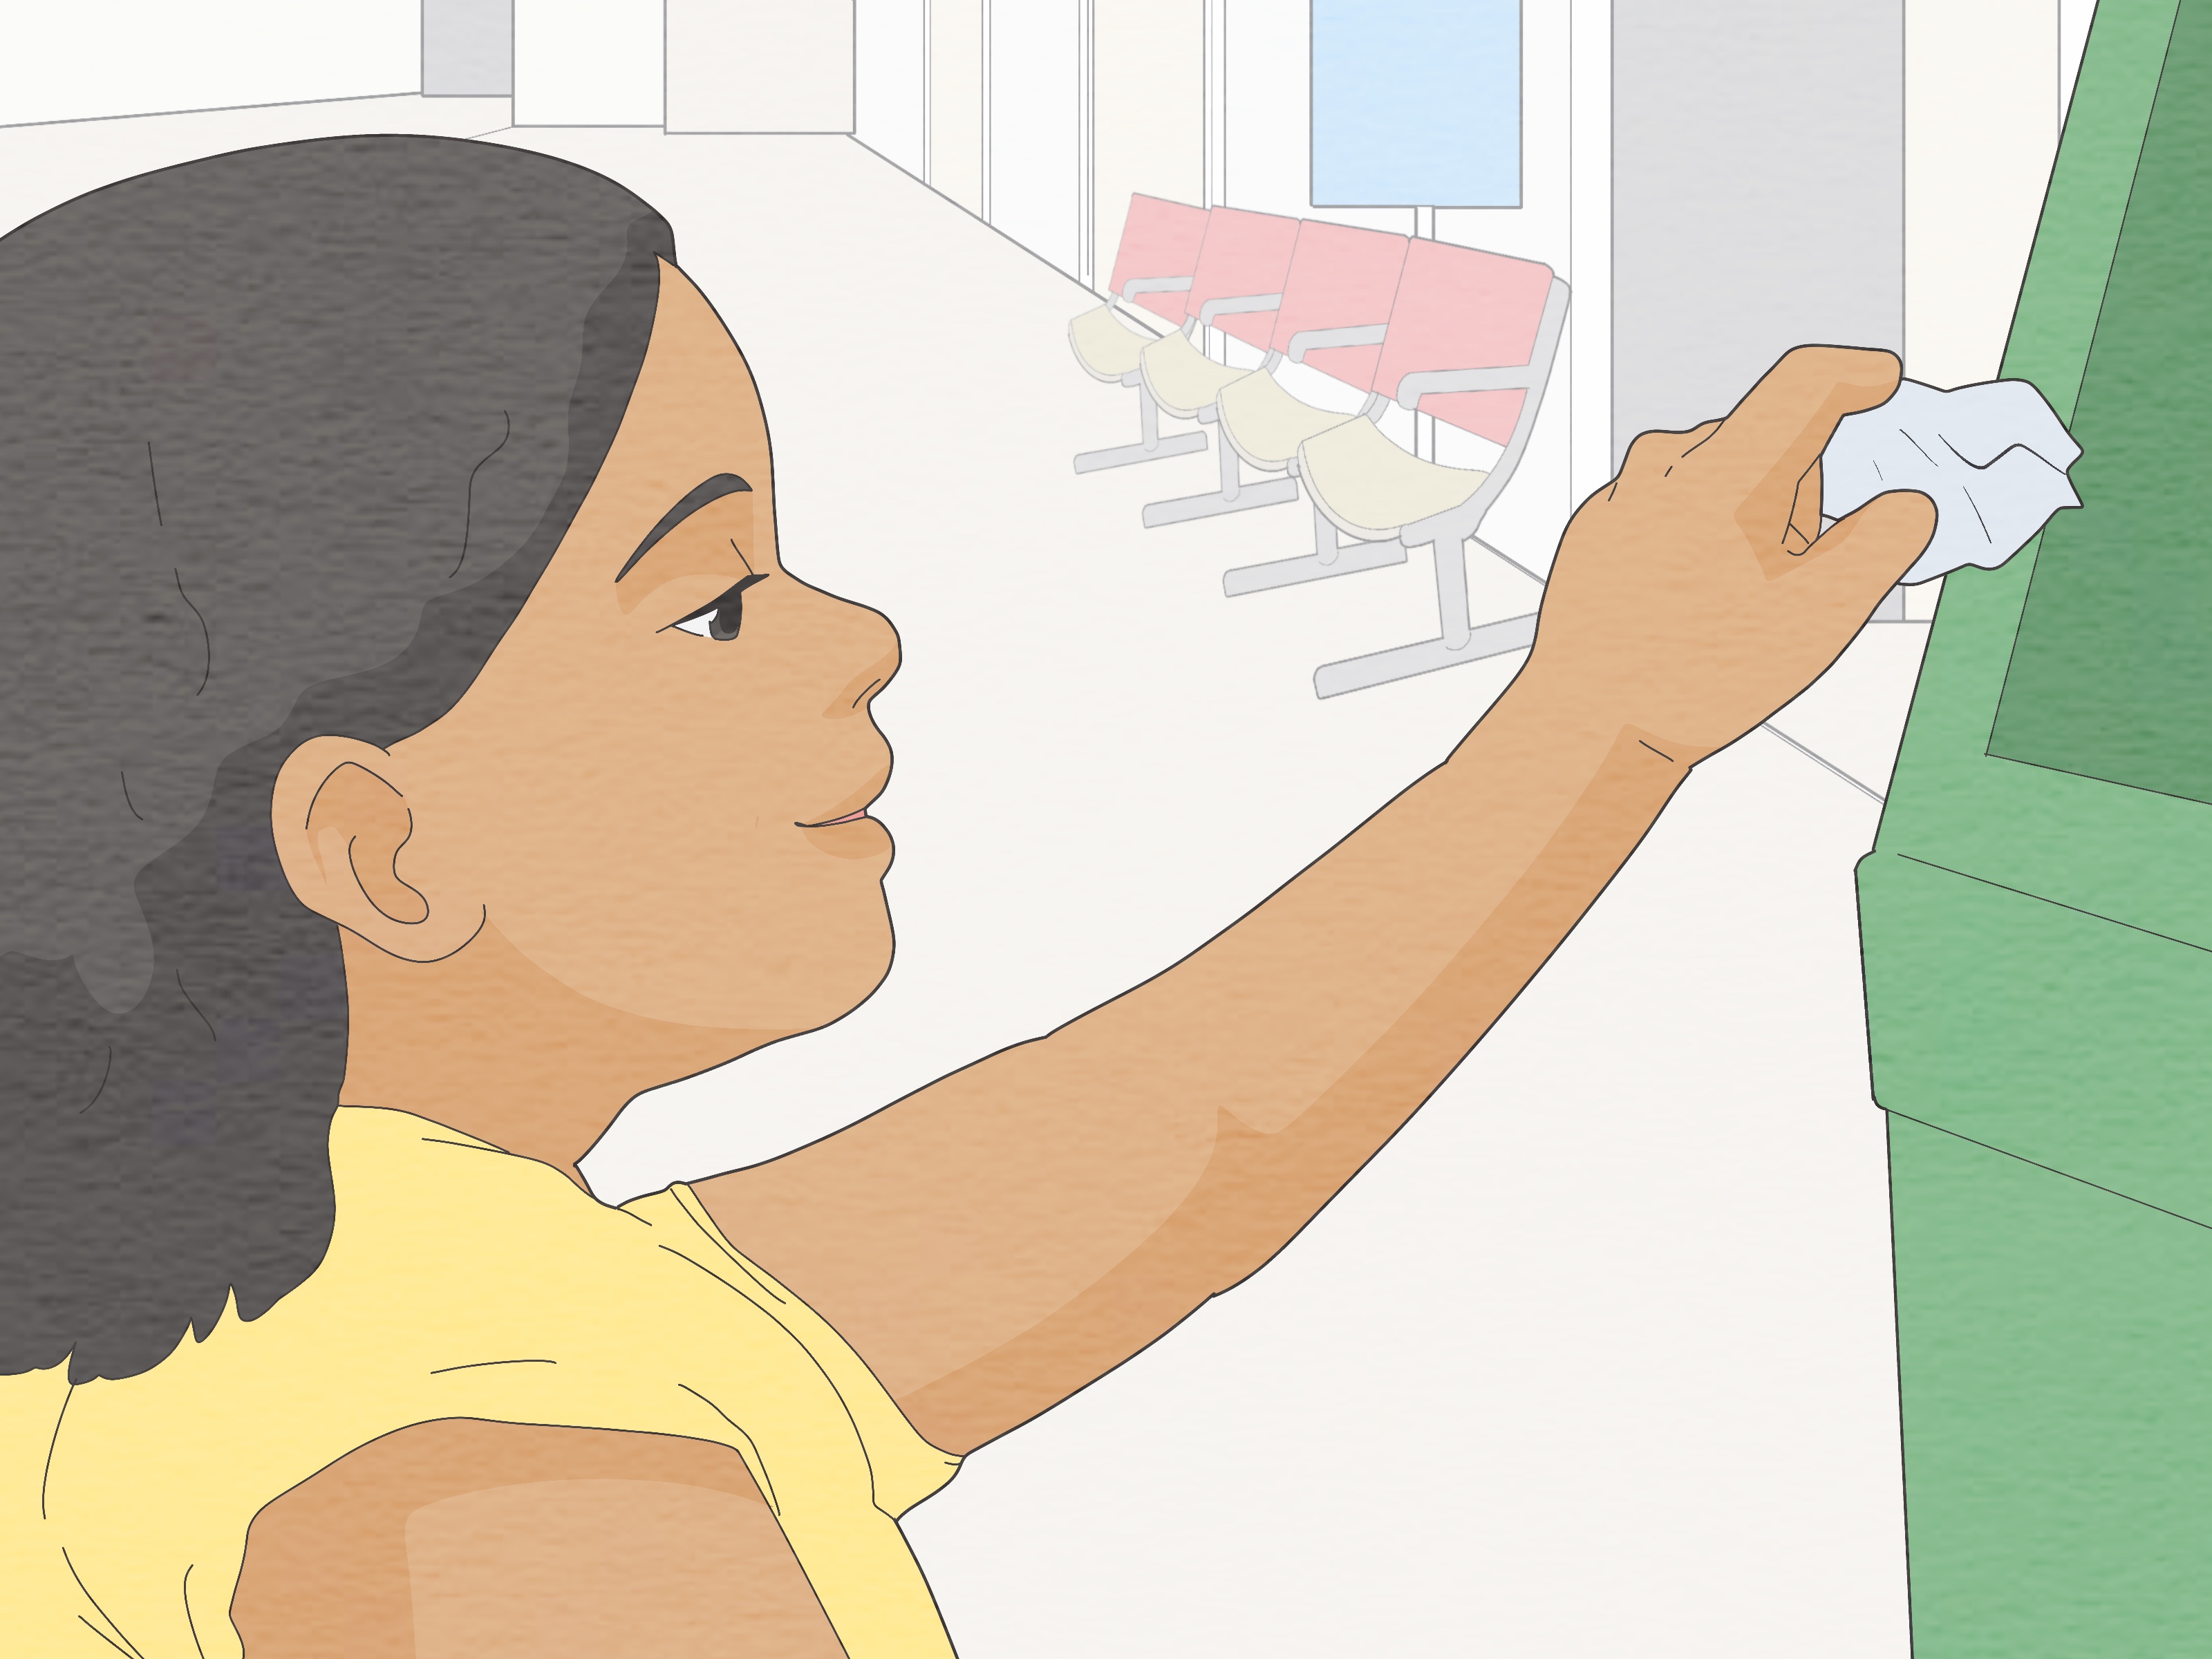
Teaching your child to blow their nose sounds like one of those tiny parenting tasks that should take thirty seconds. Then your toddler inhales dramatically into the tissue, wipes one nostril on your shirt, and looks at you like you just asked them to solve taxes. Welcome to the glamorous world of childhood hygiene.
The good news is that nose blowing is a learnable skill. Most children begin to understand the idea around ages 2 or 3, though some master it later. Like brushing teeth, washing hands, or putting shoes on the correct feet, it takes modeling, repetition, patience, and sometimes a ridiculous game involving feathers. The goal is not to create a tiny trumpet section in your living room. The goal is to help your child gently clear mucus, use tissues properly, reduce sniffles, and feel more independent when colds, allergies, or daycare germs arrive with their tiny backpacks of chaos.
This guide explains how to teach your child to blow their nose in 7 practical steps, using simple language, playful practice, and safe habits. We will also cover common mistakes, when not to push too hard, and what to do if your child just is not ready yet.
Why Learning to Blow Their Nose Matters
A runny or stuffy nose is common in childhood. Colds, allergies, dry air, irritants, and normal mucus production can all leave children sniffling like miniature detectives in a foggy movie scene. Nose blowing does not cure a cold, but it can help your child feel more comfortable, breathe more easily through the nose, and avoid constantly wiping mucus across sleeves, cheeks, furniture, and, occasionally, the family dog.
Learning this skill also builds independence. Instead of waiting for an adult to chase them with a tissue, your child starts to understand body signals: “My nose feels full,” “I need a tissue,” and “I should throw this tissue away instead of presenting it to someone like a museum artifact.” That awareness supports hygiene habits at home, preschool, daycare, and school.
Before You Start: Set Realistic Expectations
Some children learn to blow their nose in one afternoon. Others need weeks of funny demonstrations, failed attempts, and dramatic “I can’t do it!” performances worthy of a children’s theater award. Both are normal.
The best time to teach your child to blow their nose is usually when they are healthy, calm, and not already miserable from congestion. A child with a blocked nose, sore throat, or fever is not in the mood for a new life skill. They want comfort, snacks, and possibly to become one with the couch. Practice when breathing is easy, then use the skill later when mucus shows up uninvited.
How to Teach Your Child to Blow Their Nose: 7 Steps
Step 1: Teach the Difference Between Breathing In and Blowing Out
Many young children do not understand the difference between inhaling and exhaling on command. When you say, “Blow,” they may suck air in instead. This is not defiance; it is just toddler engineering still under construction.
Start with mouth-blowing games. Ask your child to blow bubbles, blow on a pinwheel, move a feather across the table, or pretend to cool hot soup. Say simple phrases like, “Blow air out,” and “Feel the air come out of your mouth.” Once they understand blowing out, you can move the same concept to the nose.
Keep the mood light. You might say, “Let’s make the feather run away!” or “Can you make the tissue dance?” Children learn faster when the lesson feels like play instead of a hygiene seminar hosted by a very tired adult.
Step 2: Show How Air Can Come Out of the Nose
Next, help your child notice that air can come out of their nose. This is the “aha” moment. Put your hand under your own nose and gently blow air out with your mouth closed. Let your child feel the air from your nose on the back of their hand if they are comfortable. Then invite them to try.
You can say, “Close your mouth. Now send the air out through your nose.” Use short, clear instructions. Avoid long explanations about nasal passages unless your child is unusually passionate about anatomy before breakfast.
A mirror can help. Have your child blow gently through their nose onto a mirror and watch it fog up. You can also hold a small tissue under their nose and ask them to make it flutter. The visual feedback helps children understand what is happening.
Step 3: Practice One Nostril at a Time
Once your child can blow air through the nose, teach them to blow gently through one nostril at a time. This is often easier and safer than asking for one huge blast from both nostrils. Press one nostril closed gently, hold a tissue over the other, and ask your child to blow softly.
Use phrases like, “Tiny dragon breath,” “Soft blow,” or “Make the tissue wiggle.” Avoid encouraging loud, forceful honking. Strong blowing can irritate the nose and may lead to discomfort or nosebleeds, especially if the inside of the nose is dry or already sore.
After one side, switch to the other. Keep it brief. One or two tries per side is plenty for a beginner. If your child gets frustrated, stop and return later. Nose-blowing practice should not become a family courtroom drama.
Step 4: Turn It Into a Game
Children often learn body skills best through games. Try a few playful methods and see what clicks:
- Feather race: Place a feather or small piece of tissue on a table and have your child move it by blowing through the nose.
- Mirror fog: Let them fog a mirror using nose air while keeping the mouth closed.
- Tissue flutter: Hold a tissue below the nostrils and ask them to make it dance.
- Dragon nose: Pretend they are a sleepy dragon breathing gently through the nose, not a fire hose with legs.
- Bath practice: Some children understand the sensation by blowing bubbles through the nose in water, but this should always be supervised and kept playful, not forced.
The key is to separate the skill from the mess at first. Practicing with air only is less overwhelming than learning during a full runny-nose situation. Once your child understands the movement, adding a tissue becomes much easier.
Step 5: Add the Tissue Routine
Now teach the complete routine: get a tissue, cover the nose, blow gently, wipe, throw the tissue away, and wash or sanitize hands. This sequence matters because children may master the blow but forget everything afterward. That is how tissues end up in toy bins, under pillows, and once, mysteriously, inside a shoe.
Demonstrate slowly. Say each step out loud:
- “Take one tissue.”
- “Put it over your nose.”
- “Close your mouth.”
- “Blow gently.”
- “Wipe your nose.”
- “Throw the tissue away.”
- “Clean your hands.”
Use soft tissues when possible, especially during colds. A sore, red nose can make children resist nose blowing. If their skin becomes irritated, a small amount of child-safe moisturizer around the nostrils may help, but avoid putting products deep inside the nose unless advised by a healthcare professional.
Step 6: Praise Progress, Not Perfection
Your child may not clear much mucus at first. That is okay. Praise the effort: “You blew air out of your nose!” or “You remembered to throw the tissue away!” Specific praise tells your child exactly what worked.
Avoid making the experience embarrassing. Some children become sensitive about mucus or body functions. Keep your tone calm and practical. You can be funny without making your child feel gross. Try, “That tissue did its job!” instead of turning the moment into a comedy roast.
For reluctant children, offer choices. “Do you want the blue tissue box or the dinosaur tissue box?” “Do you want to try one blow or two?” Small choices give children control while keeping the hygiene goal intact.
Step 7: Know When to Pause or Get Help
Do not force nose blowing if your child is upset, in pain, or has a nosebleed. If mucus is thick or dried, saline drops or spray may help loosen it, depending on your child’s age and your pediatrician’s advice. Younger children who cannot blow yet may need gentle suction, especially babies and toddlers.
Call your child’s healthcare provider if your baby has congestion that makes feeding or breathing difficult, if your child has trouble breathing, if symptoms are severe, or if a runny nose is unusual, persistent, one-sided, foul-smelling, or linked with a possible object in the nose. Also seek medical advice for frequent nosebleeds, high fever, dehydration signs, or symptoms that worry you. A parenting rule worth keeping: when breathing seems hard, do not wait around trying to win a tissue lesson.
Common Mistakes Parents Make
Using Too Much Pressure
It is tempting to say, “Blow harder!” when nothing comes out. But gentle is better. A child does not need to sound like a foghorn to clear their nose. Teach soft, steady blowing.
Teaching Only When the Child Is Sick
A stuffy, cranky child is not an ideal student. Practice during healthy moments, then apply the skill when needed.
Skipping Hand Hygiene
Nose blowing is only half the routine. Teach your child to throw away tissues and clean their hands afterward. This helps reduce germ spread, especially in shared spaces like classrooms and daycare centers.
Expecting Instant Independence
Even after your child learns, they may still need reminders. Children can know how to blow their nose and still choose the sleeve lifestyle. Repetition is part of the process.
What If Your Child Refuses?
If your child refuses to blow their nose, do not turn it into a battle. Pressure can make them dig in harder. Instead, return to playful practice later. Read a book about hygiene, let them watch you blow your nose, or give them a tissue box during pretend play with dolls or stuffed animals.
Some children dislike the texture of tissues or the sensation of air through the nose. Try softer tissues, make the first attempts very short, and praise any step toward the goal. If your child has sensory sensitivities or developmental delays, they may need more time, visual cues, occupational therapy strategies, or guidance from a pediatric professional.
Extra Tips for Cold and Allergy Season
During cold season, keep tissues within reach in your child’s bedroom, play area, backpack, and car. A small trash can nearby helps complete the routine. For allergies, talk with your pediatrician about appropriate treatment options instead of relying only on nose blowing. If your child is congested at night, a cool-mist humidifier may help keep air comfortable, but clean it regularly to prevent mold or bacteria buildup.
Hydration can also help keep mucus thinner. Offer water and age-appropriate fluids throughout the day. For dry or sticky mucus, saline may be useful, especially before blowing. Always follow age guidance and product instructions.
Real-Life Experience: What Teaching Nose Blowing Often Looks Like
In real family life, teaching a child to blow their nose rarely looks like a polished parenting video. It looks more like a parent kneeling on the bathroom floor, holding a tissue like it contains state secrets, while a preschooler insists they are “doing it” by breathing inward with the determination of a tiny vacuum cleaner.
One helpful experience many parents share is that the lesson works better when everyone stops focusing on mucus. The moment a child feels watched, corrected, or rushed, they may freeze. But when the practice becomes silly, the skill starts to click. A parent might place a tissue square on the table and say, “Can your nose wind move this?” Suddenly, the child is not being tested. They are playing. That small shift can turn resistance into curiosity.
Another common experience is that children learn in pieces. First, they learn to blow out of the mouth. Then they learn to close the mouth. Then they accidentally snort. Then they laugh. Then they fog the mirror. Then, three days later, they finally blow into a tissue and look shocked, as if their nose just performed magic. Progress may be messy, but it is still progress.
Parents also discover that timing matters more than enthusiasm. Trying to teach nose blowing during a bad cold can backfire. The child feels uncomfortable, the parent feels desperate, and the tissue becomes the enemy. Practicing when the child is healthy makes the movement less scary. Later, when congestion appears, the parent can calmly say, “Remember our tissue flutter game?” That reminder feels familiar instead of demanding.
Some children respond beautifully to praise. A big smile and “You did it! Air came out!” may be enough to make them try again. Other children prefer privacy and low drama. For them, a quiet “Nice job” works better than a celebration parade. Watch your child’s personality. The best teaching method is the one your actual child accepts, not the one that sounded perfect in a parenting article read at midnight while eating crackers over the sink.
It is also normal for children to regress. A child may blow their nose successfully one week and refuse the next. They may be tired, irritated by a sore nose, or simply testing independence. Keep tissues accessible, model the habit, and avoid turning every sniffle into a command. A gentle reminder works better than constant correction.
One practical family trick is to build a “nose station.” Put soft tissues, a small trash bin, hand sanitizer, and maybe a fun sticker chart in one place. This makes the routine visible and predictable. The goal is not bribery; it is structure. Children like knowing what comes next.
Finally, remember that nose blowing is a small skill with a surprisingly big emotional component. Your child is learning body awareness, hygiene, coordination, and independence all at once. There will be missed tissues. There will be suspicious sleeve activity. There may be one unforgettable moment when your child proudly announces the contents of the tissue to everyone in the grocery store. Smile, breathe, and keep teaching. One day, they will grab a tissue, blow gently, toss it, clean their hands, and walk away like a tiny responsible citizen. You may not get a trophy, but you will deserve one.
Conclusion
Teaching your child to blow their nose is less about one perfect technique and more about patient practice. Start with blowing games, show how air comes out of the nose, practice one nostril at a time, add tissues, and keep the routine gentle. Children learn best when the process feels safe, playful, and low-pressure.
With time, your child can move from sniffles and sleeve wipes to a cleaner, more independent habit. It may not happen overnight, but every fluttering tissue and foggy mirror is a step closer. Parenting is full of milestones, and yes, “successfully used a tissue” absolutely counts.