Note: This article is for general sleep education, not a medical diagnosis. If back sleeping makes you snore loudly, gasp, wake up choking, feel unusually tired during the day, or worsens pain or reflux, talk with a qualified healthcare professional.
Training yourself to sleep on your back sounds simple until bedtime arrives and your body immediately stages a tiny rebellion. You lie down neatly, arms at your sides, feeling like a well-behaved museum statue. Then, twenty minutes later, you wake up curled on your side like a comma, one leg outside the blanket, pillow somehow behind your knees, and no clear memory of how you got there.
The good news: learning how to sleep on your back is possible. It usually requires three things: better support, gradual habit training, and a little patience with your half-asleep self. Back sleeping, also called the supine sleeping position, may help some people keep the spine more neutral, reduce uneven pressure on shoulders or hips, and avoid the neck-twisting drama that stomach sleeping can create. However, it is not perfect for everyone. People with obstructive sleep apnea, heavy snoring, certain reflux symptoms, or late pregnancy may need a different sleep position or medical guidance.
This guide explains how to train yourself to sleep on your back using practical pillow placement, mattress adjustments, bedtime routines, and gentle “stay-put” tricks that do not make your bedroom look like a medieval restraint device. Let’s get your sleep posture working with you, not against you.
Why Sleep on Your Back?
Back sleeping is popular among people trying to improve posture, reduce pressure points, or avoid waking up with one shoulder feeling like it fought a toaster. When you lie on your back with proper support, your head, neck, shoulders, spine, hips, and legs can line up more evenly. This position may reduce twisting through the neck and lower back, especially compared with stomach sleeping.
For some people, sleeping on the back may also help distribute body weight more evenly across the mattress. Instead of loading one shoulder or hip all night, the body spreads pressure across a wider surface. That can be useful for people who wake with hip soreness, shoulder compression, or facial creases from sleeping with one cheek smashed into a pillow like a panini.
Back sleeping may also help people who use certain skincare products or want to reduce face-to-pillow friction. No, it will not magically make you wake up looking airbrushed by a skincare commercial. But it can reduce repeated rubbing and pressure on the face compared with side or stomach sleeping.
Who Should Be Careful With Back Sleeping?
Before you fully commit to becoming a professional back sleeper, pause for a safety check. Back sleeping can worsen snoring and obstructive sleep apnea in some people because gravity may allow the tongue and soft tissues to shift backward toward the airway. If someone tells you that you snore loudly, gasp, stop breathing, or wake up choking, do not simply “train harder.” That is a sign to talk to a healthcare provider.
Back sleeping may also aggravate acid reflux for some people, especially when lying completely flat. People with reflux often do better with head-of-bed elevation or side sleeping, particularly on the left side. During later pregnancy, lying flat on the back may also be uncomfortable or medically discouraged, so pregnant sleepers should follow their clinician’s advice.
In other words, the best sleep position is not a moral achievement. Your body is not handing out medals. The right position is the one that supports breathing, comfort, and quality sleep.
Step 1: Start With the Right Pillow Setup
The pillow is the steering wheel of back sleeping. If it is too tall, your chin may tuck toward your chest. If it is too flat, your head may fall backward. Either way, your neck may file a formal complaint by morning.
For most back sleepers, a medium-loft pillow works best. It should support the natural curve of the neck while keeping the head level with the spine. Your face should point toward the ceiling, not toward your knees or the wall behind you. A contoured pillow, cervical pillow, or a softer pillow with a small neck roll may help if you often wake with neck stiffness.
Try the Neck Neutrality Test
Lie on your back and ask yourself: does my throat feel open, relaxed, and easy to breathe through? Is my chin gently neutral, not jammed downward? Are my ears roughly aligned with my shoulders? If yes, your pillow is probably close. If no, adjust the pillow height before blaming your entire skeleton.
Step 2: Put a Pillow Under Your Knees
This is the classic back-sleeping move for a reason. Placing a pillow under your knees slightly bends the legs and may reduce tension in the lower back. It helps preserve the natural curve of the lumbar spine instead of forcing the lower back to flatten awkwardly against the mattress.
You do not need a fancy pillow, although a knee wedge can be helpful. A regular pillow, small bolster, or folded blanket works. The goal is comfort, not elevation worthy of a royal ceremony. Your knees should feel supported, your hips relaxed, and your lower back less tense.
What If Your Lower Back Still Arches?
If there is a large gap under your lower back and you feel strain, try a thinner pillow under the knees or a small towel under the lumbar area. Do not overstuff the lower back. Too much support can create a new pressure point, and then you have traded one problem for a fancier problem.
Step 3: Create Gentle Side Barriers
Your sleeping body loves familiar habits. If you have spent years sleeping on your side, your body may roll over automatically. To train yourself to sleep on your back, create gentle barriers that make rolling less tempting.
Place a pillow along each side of your torso. This creates a soft “sleep lane” that keeps you centered. A body pillow on one side and a regular pillow on the other can work well. Some people use a U-shaped pregnancy pillow even when they are not pregnant because it creates a cozy nest. Is it glamorous? Maybe not. Is it effective? Often, yes. Sleep does not care about aesthetics.
A weighted blanket may help some people feel more settled, but it is not required. If you use one, make sure it feels comfortable and does not restrict movement or breathing.
Step 4: Train Gradually Instead of Forcing It
Trying to switch sleep positions in one night is like deciding to become a morning person because you bought one nice mug. Admirable, but suspiciously optimistic.
Start by spending the first 15 to 30 minutes of bedtime on your back. Focus on relaxing your jaw, shoulders, hands, belly, and legs. If you fall asleep that way, great. If you wake up on your side, simply return to your back without turning it into a courtroom drama. Repetition teaches the body that this position is safe, familiar, and boring enough to sleep in.
After a few nights, increase the time. Your goal is not perfect stillness. Most people naturally shift positions during sleep. The goal is to make back sleeping your default starting position and gradually extend how long you stay there.
Step 5: Use a Mattress That Supports Alignment
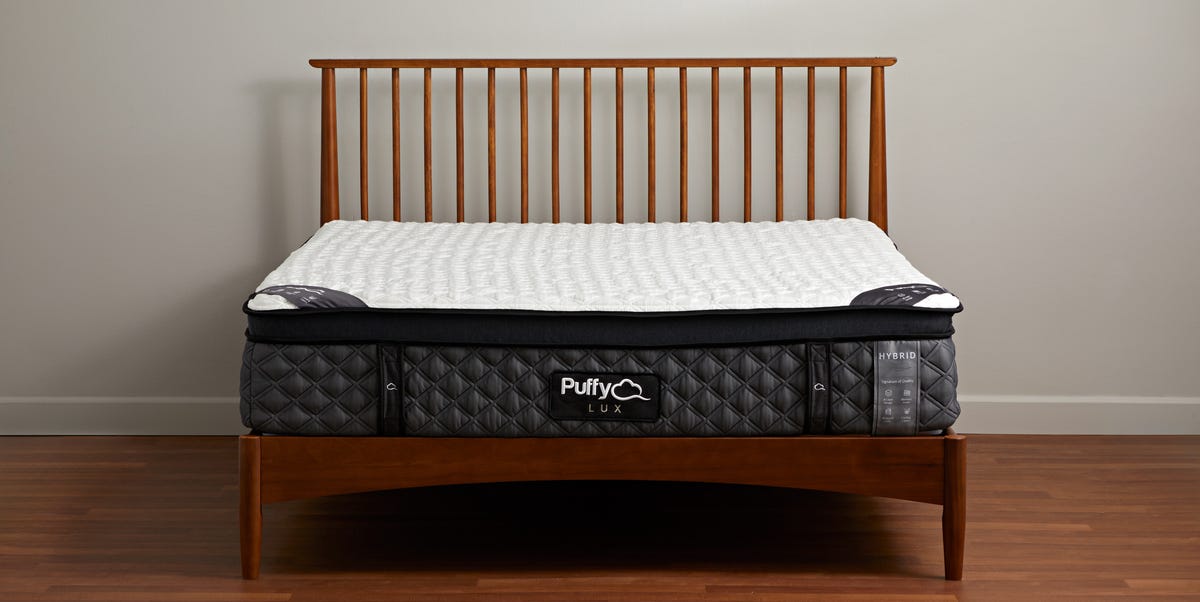
A mattress that is too soft can let the hips sink too far, pulling the lower back into an uncomfortable curve. A mattress that is too firm can create pressure around the shoulders, sacrum, and heels. Back sleepers often do well with a medium-firm surface, though body size, pain history, and personal comfort matter.
If buying a new mattress is not realistic, try smaller changes first. Add a supportive mattress topper if your bed feels too hard. If your mattress sags, rotate it if the manufacturer allows. Check whether your hips are sinking lower than your shoulders. A tired mattress can sabotage sleep posture faster than a group chat at midnight.
Step 6: Relax Your Arms on Purpose
Many new back sleepers feel awkward because they do not know what to do with their arms. Straight down at the sides can feel too stiff. Hands on the chest can feel dramatic, like you are rehearsing for a vampire movie. Arms overhead may strain the shoulders.
Try resting your arms slightly away from your body with palms down or palms up. Another option is placing a small pillow under each forearm. This can reduce shoulder tension and make the position feel more natural. Keep both arms fairly symmetrical. If one arm is above your head and the other is trapped under your ribs, your shoulders may not appreciate the creativity.
Step 7: Build a Back-Sleeper Bedtime Routine
Your body learns from cues. A consistent bedtime routine can make any sleep-position change easier because your brain starts associating the same steps with winding down.
Keep the room cool, dark, and quiet. Go to bed and wake up around the same time when possible. Avoid heavy meals, intense workouts, caffeine late in the day, and doom-scrolling under the covers. Yes, your phone insists that one more video is harmless. Your nervous system respectfully disagrees.
Before lying down, try two minutes of slow breathing or progressive muscle relaxation. Release the forehead, unclench the jaw, drop the shoulders, soften the belly, and let the legs feel heavy. When the body relaxes, back sleeping feels less like “holding a pose” and more like floating.
Step 8: Try a Slight Incline
If lying flat feels uncomfortable, a slight incline may help. You can use an adjustable bed, a wedge pillow, or a carefully arranged pillow system that supports the upper body without bending the neck sharply. Elevating the head and torso may help some people with congestion or reflux, although people with significant symptoms should get medical advice.
Avoid stacking several floppy pillows under your head. That often bends the neck forward and creates upper-back tension. A wedge should support the torso from the upper back upward, not just prop the skull like a decorative melon.
Common Problems When Learning to Sleep on Your Back
Problem: You Feel Exposed
Side sleeping feels cozy because the body curls inward. Back sleeping can feel oddly open at first. Use side pillows, a blanket tucked around the torso, or a body pillow lightly resting beside you to create a secure feeling.
Problem: Your Lower Back Hurts
Check your knee pillow first. Add support under the knees and make sure the mattress is not sagging. If pain persists, switch positions and consider speaking with a healthcare professional, especially if pain travels down the leg or affects daily activity.
Problem: You Snore More
This is important. If back sleeping increases snoring, gasping, choking, or daytime sleepiness, stop forcing the position and ask a clinician about possible sleep apnea. Side sleeping may be safer and more restful for some people.
Problem: You Roll Over Every Night
That is normal. Use side pillows, start every night on your back, and repeat the habit calmly. Training does not mean you never move. It means you make the desired position easier to return to.
A 14-Day Plan to Train Yourself to Sleep on Your Back
Days 1–3: Set Up the Sleep Zone
Choose a supportive pillow for your neck, place a pillow under your knees, and add side pillows near your torso. Spend at least 15 minutes on your back at bedtime. Do not judge the results yet. You are building familiarity.
Days 4–7: Add Relaxation
Practice slow breathing while lying on your back. Try inhaling for four counts and exhaling for six. Relax your arms and shoulders. If you roll to your side, simply reset when you notice.
Days 8–10: Adjust the Details
If your neck feels stiff, change pillow height. If your lower back feels tight, adjust the knee pillow. If your heels feel pressure, place a soft pillow under the calves so the heels are lightly relieved.
Days 11–14: Make It Automatic
Keep the same setup every night. Your body likes patterns. The repeated combination of pillow support, relaxation, and a predictable routine helps back sleeping become less strange and more normal.
Extra Experience: What It Feels Like to Train Yourself to Sleep on Your Back
The first experience most people have with back sleeping is not peaceful elegance. It is usually something closer to, “What am I supposed to do with my elbows?” That is normal. Side sleepers are used to curling, hugging a pillow, folding one knee up, and creating a cozy little human burrito. Back sleeping removes that familiar curl, so the body may feel too open, too flat, or too aware of every tiny sensation.
One helpful experience is to treat the first week like posture practice, not a pass-or-fail exam. For example, imagine someone who usually sleeps on the right side. On night one, they set up a medium pillow under the head, a soft pillow under the knees, and two pillows along the sides. They lie down, breathe slowly, and feel surprisingly comfortable for about twelve minutes. Then the brain says, “Interesting. Let us now panic about whether the front door is locked.” Eventually, they roll to the side. That is not failure. That is the first repetition.
By night four or five, the position often starts feeling less weird. The knee pillow becomes the star of the show. Many people discover that slightly bent knees reduce lower-back tension almost immediately. Others realize their head pillow was too tall all along. Once the neck is neutral, the whole position feels easier. Tiny adjustments matter. Back sleeping is less about discipline and more about engineering comfort.
Another common experience is waking up on the back for the first time and feeling confused, as if the body has successfully completed a software update overnight. You may notice less shoulder pressure or fewer pillow marks on your face. You may also notice dry mouth or louder snoring, which is a signal to reassess. The goal is better sleep, not stubborn loyalty to a position that does not serve you.
A practical trick is to give your hands a job. Rest them on small pillows, place them gently on your stomach, or keep them relaxed beside your hips. When the arms feel supported, the whole body settles faster. Without support, the shoulders may tense up, and then back sleeping feels stiff instead of restful.
The biggest lesson from training yourself to sleep on your back is patience. Your sleeping body is not being difficult on purpose. It is repeating what has felt safe for years. Make the new position comfortable, repeat it nightly, and let progress be imperfect. Some nights you will stay on your back for hours. Other nights you will wake up sideways, tangled in a blanket, with one pillow missing like it left to start a new life. Keep going. Habit change happens quietly.
Conclusion
Learning how to train yourself to sleep on your back is a practical process, not a personality makeover. Start with a supportive pillow, place a pillow under your knees, create soft side barriers, relax your arms, and give your body time to adapt. Keep your sleep environment consistent and comfortable. Most importantly, listen to your breathing and your pain signals. Back sleeping can be helpful for spinal alignment and pressure relief, but it is not ideal for everyone.
If the position helps you wake up with less stiffness and better rest, wonderful. If it worsens snoring, reflux, or discomfort, your best sleep may live on your side instead. The real goal is not to become a perfect back sleeper. The goal is to wake up feeling more human and less like you spent the night folded inside a suitcase.