A glass lamp shade can last for decades, which is admirable until its color begins reminding you of a motel lobby from 1987. Fortunately, you do not need to replace a structurally sound shade simply because its style has fallen behind. With the right paint and careful preparation, clear, frosted, or lightly colored glass can become an attractive focal point again.
This guide explains three practical ways to paint glass lamp shades: applying translucent glass paint for a stained-glass effect, using opaque enamel for bold designs, and spraying the shade for an even frosted or solid finish. Each method creates a different relationship between color and light, so the best choice depends on whether you want a gentle glow, a decorative pattern, or a dramatic transformation.
Before You Paint a Glass Lamp Shade
Glass is smooth and nonporous, which is wonderful for cleaning but less wonderful for paint adhesion. Fingerprints, cooking grease, dust, and invisible residue can prevent paint from bonding. Thorough preparation is therefore more important than owning a brush with a heroic price tag.
Choose a Shade That Is Safe to Reuse
Inspect the glass under bright light. Do not paint a shade with cracks, deep chips, loose fittings, or damage around the fitterthe portion secured to the lamp. Paint cannot repair weakened glass, and disguising a crack does not make it less interested in becoming several cracks.
Determine whether the shade is ordinary glass, tempered glass, or plastic made to resemble glass. Use only products whose labels name your exact surface. Do not sand tempered glass unless its manufacturer specifically permits it. Even with ordinary glass, sanding may turn a transparent shade permanently hazy, so it should be reserved for projects that will become opaque.
Gather the Basic Supplies
- Dish soap and warm water
- Lint-free cloths
- Isopropyl alcohol or the cleaner specified by the paint manufacturer
- Nitrile gloves
- Painter’s tape and masking paper
- Glass-compatible paint
- Soft synthetic brushes, cosmetic sponges, or stencil brushes
- Drop cloth or protective cardboard
- Respiratory and eye protection required by the product label
Clean and Degrease the Glass
- Unplug the lamp and allow the bulb and shade to become completely cool.
- Remove the shade according to the lamp manufacturer’s instructions.
- Wash it with warm water and a small amount of dish soap.
- Rinse thoroughly and dry it with a lint-free cloth.
- Wipe the painting surface with isopropyl alcohol if the paint label recommends it.
- Wear clean gloves afterward so fingerprints do not return for an encore.
Mask the fitter rim, screw holes, vents, contact points, and any area that rests against hardware. Keeping paint away from these zones helps the shade fit correctly and prevents dried coating from interfering with assembly.
Way 1: Create a Translucent Stained-Glass Effect
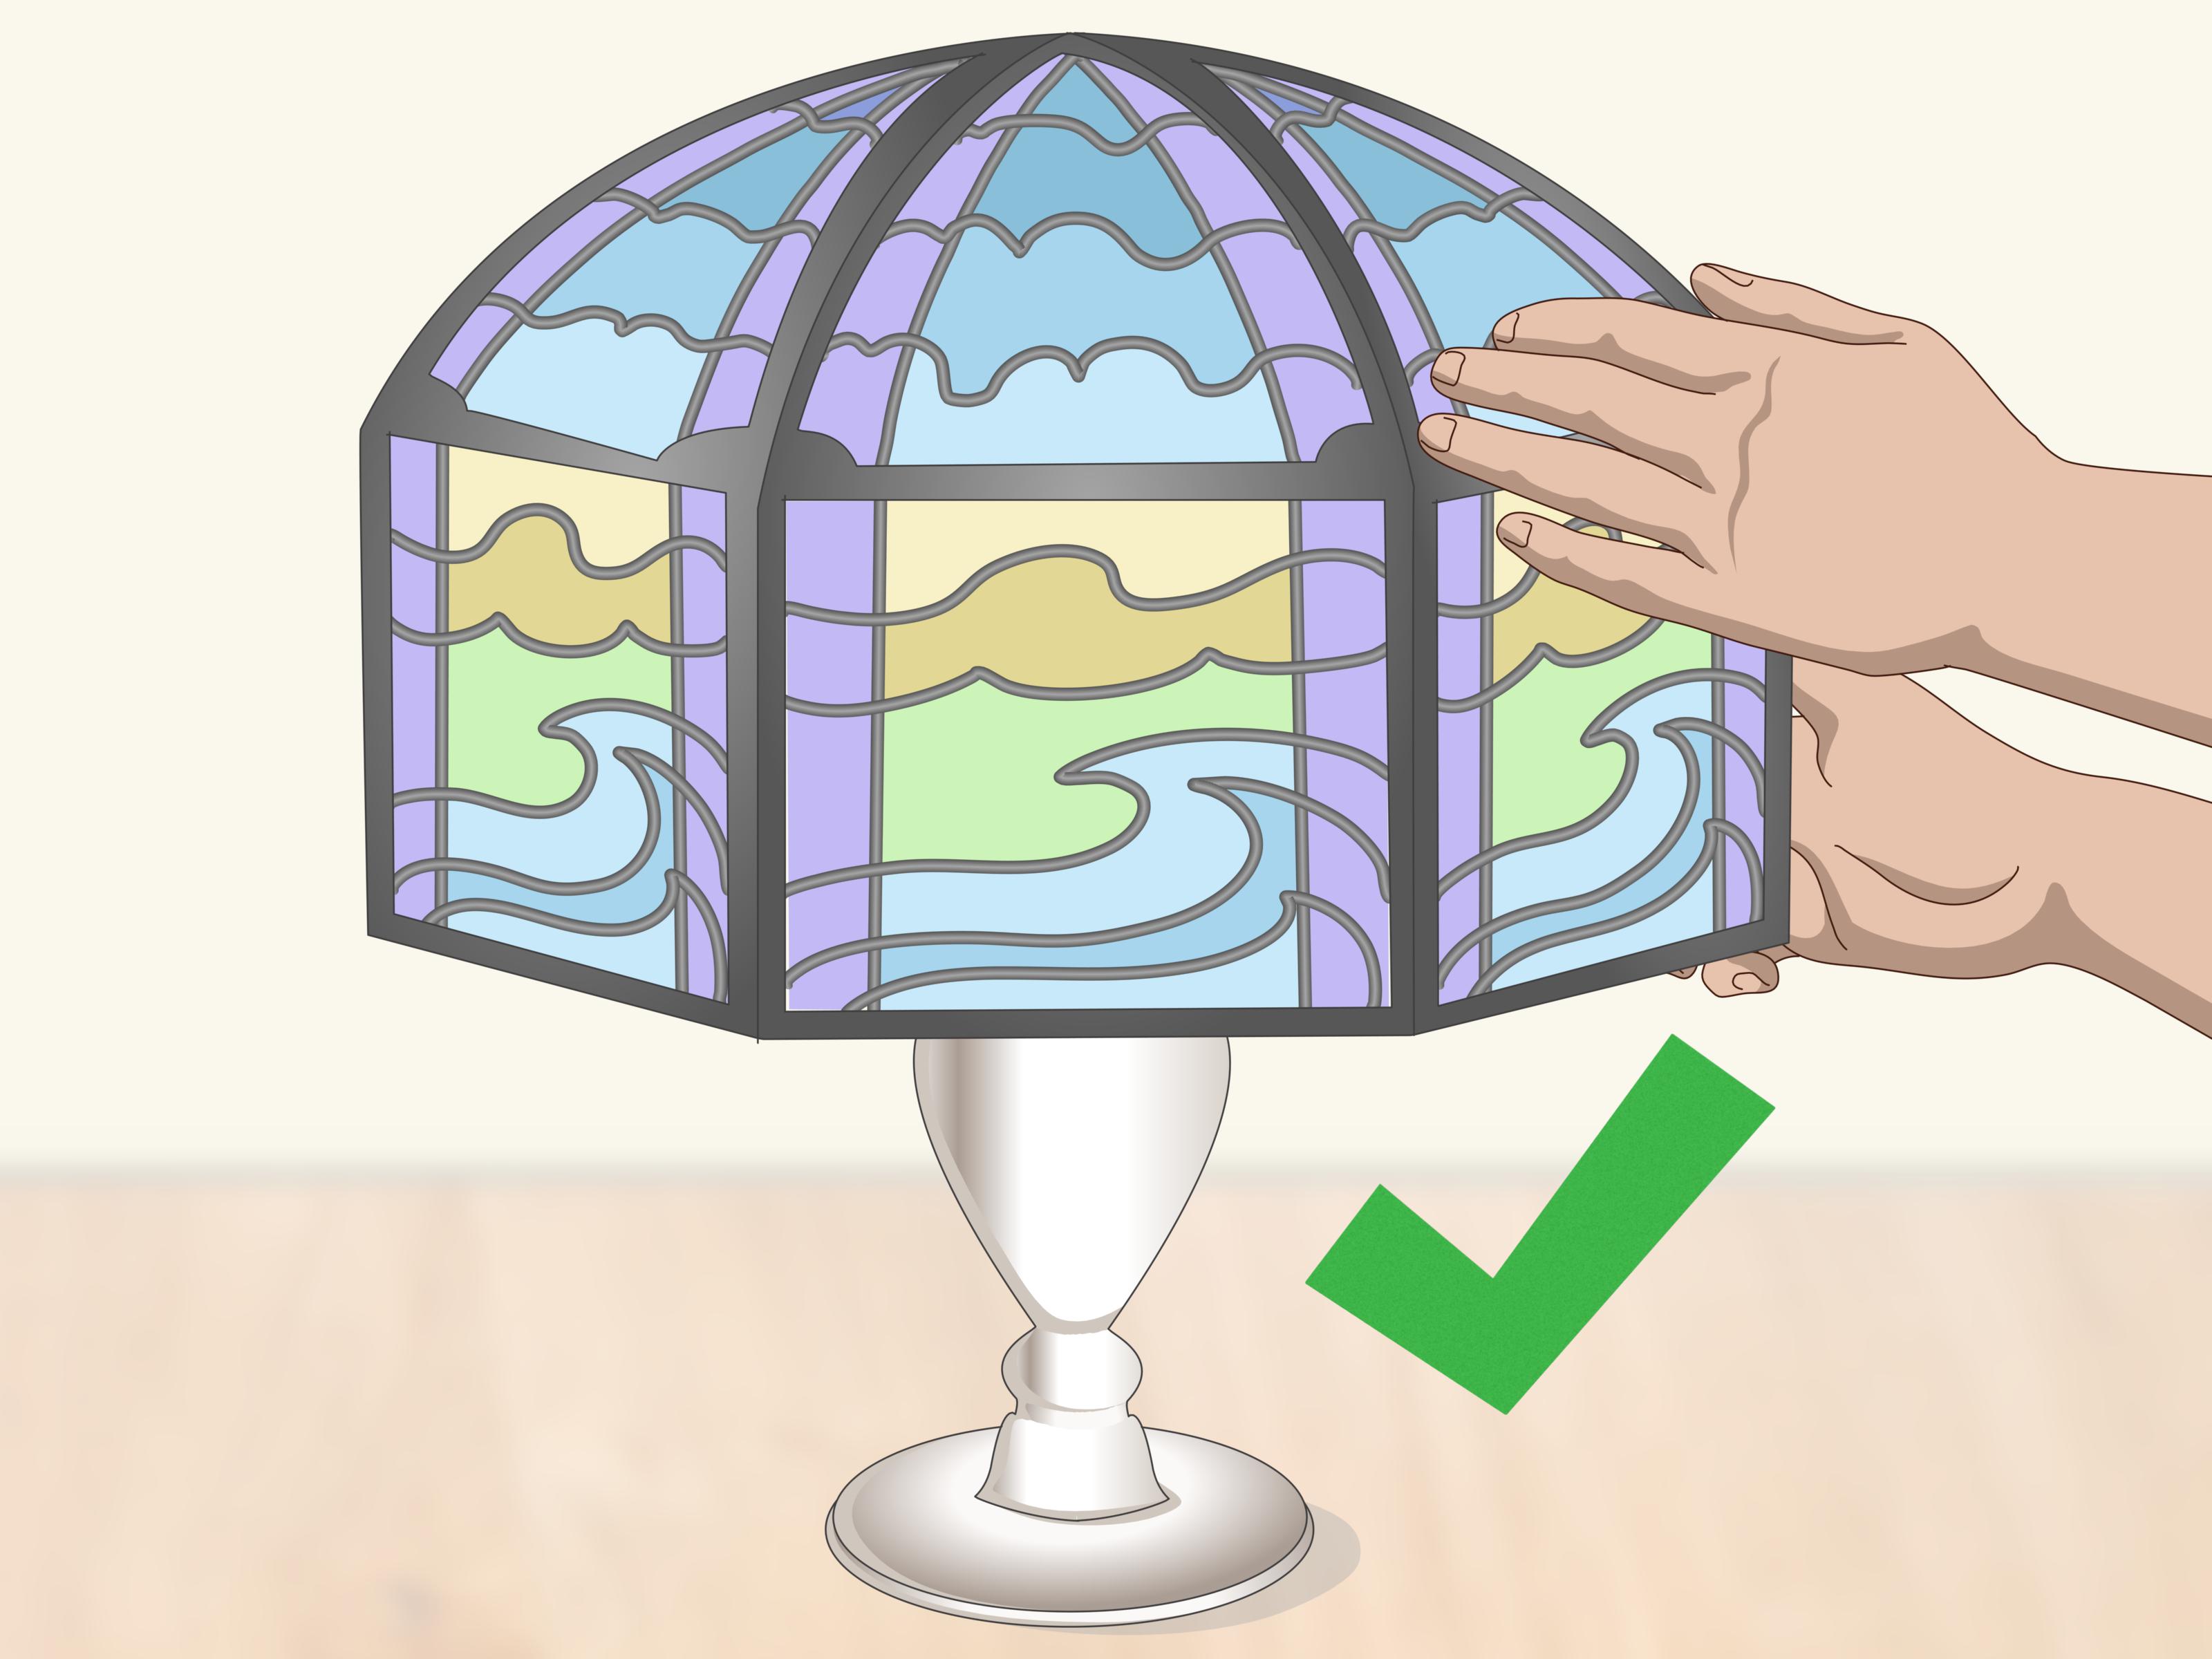
Transparent or translucent glass paint colors the shade while allowing light to pass through it. This method works well for floral motifs, jewel-tone panels, watercolor-like gradients, and vintage-inspired designs. When illuminated, the colors become richer and more atmospheric than they appear on the worktable.
Best Paint for This Method
Choose a water-based stained-glass paint or transparent enamel specifically labeled for glass. Some formulas are designed to air-cure, while others offer optional oven curing. For a lamp shade, air curing is generally the safer choice because the glass may not be oven-safe and may contain coatings or attached components that should never be heated.
Do not improvise a curing temperature. If the label requires baking and does not provide an approved air-cure alternative, select another paint. A mystery lamp shade is not the ideal cookware for a scientific experiment.
How to Apply Translucent Glass Paint
- Sketch the design on paper before touching the shade.
- Position the paper template behind clear glass or transfer simple guide marks with a removable glass pencil.
- Set the shade on a padded, stable support so it cannot roll.
- Load a soft brush with a modest amount of paint.
- Float the color onto the glass using light, deliberate strokes.
- Allow each section to level naturally instead of repeatedly brushing it.
- Apply additional thin coats only after the previous coat has dried for the time stated on the label.
Transparent paint often looks streaky while wet. Resist the urge to chase every line with the brush; overworking can create bubbles, ridges, and cloudy patches. A soft glass-paint brush or foam applicator usually leaves fewer marks than a stiff craft brush.
Control Color and Light
One thin coat produces the brightest glow. Additional layers deepen the color but reduce light transmission. Test the paint on a small glass jar or an inconspicuous portion of the shade, then place a light behind the sample. Evaluating translucent paint only under overhead room lighting is like choosing sunglasses at midnight: technically possible, strategically questionable.
For an ombré effect, apply the darkest color near the lower edge and gradually reduce the amount of pigment as you move upward. For faux stained glass, add simulated leading only after the colored sections have dried. Keep every painted line clear of mounting areas and the hot center of the fixture.
Way 2: Hand-Paint an Opaque Enamel Design
Opaque glass enamel is the best option for crisp patterns, botanical illustrations, geometric borders, lettering, polka dots, or a fully colored shade. Unlike translucent paint, opaque enamel blocks more light and creates a stronger silhouette when the lamp is turned on.
Plan for Uneven Illumination
A painted glass lamp shade has two personalities: one when the lamp is off and another when it is glowing. Thick sections appear darker, while thin brushstrokes can look brighter. Instead of treating this as a flaw, use it intentionally. A navy floral pattern over lightly frosted glass, for example, creates clear contrast without turning the lamp into a decorative eclipse.
Brush Painting Step by Step
- Clean, dry, and mask the shade carefully.
- Test the enamel for adhesion and opacity in a hidden area.
- Stir the paint gently rather than shaking it, which can introduce bubbles.
- Apply one thin coat with a soft synthetic brush or foam pouncer.
- Allow the coat to dry according to the manufacturer’s directions.
- Add a second thin coat if the color appears patchy.
- Let the shade cure fully before reassembly or regular handling.
For a smooth solid finish, use long strokes and maintain a wet edge. For texture, dab the paint with a natural sea sponge. A sponge creates a mottled surface that hides minor inconsistencies and softly diffuses light, making it a friendly technique for first-time glass painters.
Use Stencils for Clean Patterns
Flexible adhesive stencils work better on curved lamp shades than rigid plastic ones. Press the edges firmly against the clean glass. Load a stencil brush or cosmetic sponge with paint, then blot most of it onto a paper towel. The applicator should feel almost dry before it touches the stencil.
Apply the paint with gentle vertical taps rather than side-to-side strokes. Heavy paint creeps beneath stencil edges and turns a crisp leaf into something resembling an enthusiastic green potato. Remove the stencil while the paint is still slightly wet unless the product instructions say otherwise.
Add Details With Paint Markers
Glass-compatible paint markers are useful for outlines, dots, small stars, lettering, and narrow decorative borders. Shake and prime the marker on scrap material, not on the shade. Sudden paint flow can produce an impressive blob in precisely the place you least wanted one.
Test the marker because some products create removable window art rather than permanent decoration. If the design needs a clear protective coating, use only a topcoat that the paint manufacturer confirms is compatible with both the paint and glass. An incompatible sealer can wrinkle the design, cloud transparent areas, or alter the finish.
Way 3: Spray-Paint the Shade for an Even Finish
Spray paint is the fastest way to produce a uniform frosted, translucent, metallic, or opaque appearance. It is especially effective on simple globe shades, schoolhouse shades, and smooth glass cylinders. The challenge is not speed; it is resisting the belief that one heroic coat will save time. It will usually save nothing except the drips.
Select the Right Spray Paint
Choose a spray coating that explicitly lists glass as a suitable surface. Frosted-glass spray allows light through while softening glare. Stained-glass spray creates transparent color. All-surface spray paint generally produces an opaque finish, although actual coverage varies by color and number of coats.
Check the label’s permitted service temperature, indoor-use status, application range, ventilation requirements, recoat window, and curing time. Do not assume that any decorative aerosol is suitable for a lamp shade simply because it adheres to a vase.
Prepare a Safe Spray Area
Whenever possible, spray outdoors in calm, mild weather or in a properly ventilated work area that satisfies the product instructions. Protect nearby surfaces from overspray. Keep the can and wet coating away from flames, sparks, heaters, cigarettes, and other ignition sources.
Household dust masks are not designed to filter solvent vapors. Follow the paint label’s protective-equipment directions and avoid breathing spray mist. Continue ventilating the project while it dries, and allow solvent-containing finishes to off-gas fully before bringing the shade back indoors.
Spray-Painting Steps
- Place the cleaned shade on a stable stand over protective cardboard.
- Mask openings, the fitter, and surfaces that should remain clear.
- Shake the can for the complete period stated on its label.
- Test the spray pattern on cardboard.
- Hold the nozzle at the recommended distance from the glass.
- Begin spraying beside the shade, sweep across it, and release the nozzle after passing the opposite edge.
- Overlap each pass slightly while keeping the can moving.
- Rotate the shade and apply several light, even coats.
Spraying past the edges prevents concentrated spots at the beginning and end of each pass. Maintaining a consistent distance reduces stripes. If a run develops, stop spraying and let the coating dry. Trying to brush a wet aerosol drip usually upgrades a small mistake into a large abstract artwork.
How to Make a Frosted Pattern
Apply adhesive shapes or flexible stencils to the clean glass before spraying. Stars, leaves, stripes, and simple geometric forms tend to work well on curved surfaces. Burnish the edges, mask the surrounding area, and spray the exposed glass. Remove the masking material carefully at the time recommended on the label.
A frosted exterior can also be combined with small clear windows. When the lamp is switched on, the clear areas appear brighter and create an attractive projection effect. Keep the design simple enough that the shade still distributes useful light.
Drying, Curing, and Reinstalling the Shade
Drying and curing are not the same process. Paint may feel dry to the touch while its coating remains soft underneath. Reassembling too soon can leave fingerprints, dents, or paint stuck to mounting hardware.
Follow the product’s full curing time, which may range from a day to several weeks. Humidity, temperature, coating thickness, and airflow can extend that period. Keep the shade in a clean, protected area while it cures.
Do not bake a lamp shade unless both the paint manufacturer and the shade manufacturer confirm that the exact item can be oven-cured. Never place electrical parts, glued trim, plastic fittings, or an unidentified shade in an oven. Sudden heating or cooling can also stress glass, so improvisation is a poor bargain.
After curing, inspect the finish for tackiness, strong odor, peeling, or interference with the fitter. Reinstall the shade only when everything is fully dry and intact. Use an LED bulb that fits the fixture, choose brightness by lumens, and never exceed the lamp’s labeled wattage. LEDs generally release far less heat than incandescent bulbs, but they still produce heat and must be used according to the lamp and bulb instructions.
Common Glass Lamp Shade Painting Mistakes
Using Ordinary Wall Paint
Interior wall paint is designed for porous building surfaces, not slick illuminated glass. It may peel easily, produce heavy brush marks, and block more light than expected. A glass-compatible coating is a more reliable choice.
Applying One Thick Coat
Thick paint traps bubbles, sags on curved surfaces, and cures slowly. Thin coats give you more control over opacity and light transmission.
Skipping the Test Patch
Paint can change dramatically when backlit. Test the color, technique, and number of coats before committing to the entire shade.
Painting Hardware and Contact Areas
Coating the fitter or screw-contact points can change how the shade sits. Mask these areas so the original mounting surfaces remain clean.
Turning the Lamp On Too Soon
Heat should not be introduced while paint is curing. Wait for the complete manufacturer-specified cure time, not merely the dry-to-touch time.
What Experience Teaches You About Painting Glass Lamp Shades
The first useful lesson is that preparation never feels exciting, but its absence becomes very exciting later. A shade that looks clean can still hold enough skin oil to reject paint in small circles. Washing, rinsing, degreasing, and wearing gloves may add fifteen minutes to the project, yet those minutes often determine whether the finish lasts or peels when someone dusts it.
The second lesson is to judge every design with the light both on and off. A pale amber wash that appears timid in daylight may glow beautifully at night. Conversely, an elegant black pattern can merge into one dark mass if the lines are too broad. Testing a few colors on a spare jar with an LED light behind it provides more useful information than staring thoughtfully at the paint bottle.
Curved glass also changes the way tools behave. A large flat stencil may lift at the sides, allowing paint underneath. Dividing a pattern into smaller sections usually produces cleaner results. For repeated motifs, marking a few reference points with removable tape helps maintain spacing without covering the shade in complicated measuring lines.
Patience matters most between coats. Glass paint can look uneven before it levels or becomes translucent during drying. Immediate corrections often leave more visible brush marks than the original imperfection. If a coat seems questionable, step away, clean the brush, and let the paint finish what it is doing. Paint occasionally solves its own problems when nobody pokes it for twenty minutes.
Another practical lesson involves orientation. Supporting the shade securely is better than gripping it with one hand while painting with the other. A rolled towel, padded bowl, or custom cardboard cradle can keep the glass from moving, provided it does not touch wet paint. Rotate the support rather than reaching across the design, because sleeves possess an almost supernatural ability to find uncured enamel.
Color choice becomes easier when it is connected to the lamp’s purpose. A reading lamp benefits from translucent areas that preserve useful illumination. A decorative accent lamp can tolerate deeper colors and more opaque details. Frosted finishes soften glare in bedrooms, while clear geometric sections can add sparkle in living spaces. The shade should still function as lighting, not merely as a colorful hat for a bulb.
Finally, successful refinishing is often about knowing when to stop. Two even coats generally look better than five thick ones. A small handmade variation gives the shade character; endlessly correcting that variation can create ridges, cloudy layers, or damaged paint. Once the pattern is balanced, the coating is even, and enough light passes through, declare victory and put down the brush.
Conclusion
Painting a glass lamp shade is an affordable way to update old lighting without discarding a usable fixture. Translucent glass paint creates a colorful glow, opaque enamel supports detailed artwork, and spray paint delivers an even frosted or solid finish. Whichever method you choose, careful cleaning, thin coats, complete curing, and sensible heat precautions are the ingredients that separate a polished makeover from a peeling cautionary tale.
Start with a small test, follow every product label, preserve the shade’s mounting surfaces, and pair the finished piece with an appropriate LED bulb. Your formerly forgettable lamp may soon become the object everyone noticesand this time, not because its shade is avocado green.