A wobbly fence post is the yard’s way of waving a little white flag. One day your fence is standing tall and proud; the next, it’s leaning like it just heard bad news. If the post is rotted, snapped, loose, or sitting in cracked concrete, patching it may only buy you a short vacation from the real problem. The long-term fix is usually to remove the old post and concrete footing, reset a new post properly, and give your fence the sturdy backbone it deserves.
This guide explains how to replace a fence post in concrete in 15 practical steps. We’ll cover tools, safety, removal tricks, hole depth, gravel drainage, concrete setting, alignment, curing, and the small finishing details that separate a fence repair from a future Saturday regret. The process is manageable for many DIY homeowners, but it does involve digging, lifting, concrete, and a bit of stubborn-object negotiation. In other words: wear gloves, protect your eyes, and do not try to win an argument with a 90-pound chunk of concrete using only optimism.
Before You Start: What You’ll Need
Tools
- Work gloves, safety glasses, dust mask, and sturdy boots
- Shovel, digging bar, and post-hole digger
- Reciprocating saw or circular saw for cutting damaged wood
- Sledgehammer, cold chisel, or demolition bar
- Level or post level
- Tape measure and string line
- Drill or impact driver
- Wheelbarrow or tarp for soil and broken concrete
- Clamps, stakes, and scrap 2×4 boards for bracing
Materials
- Replacement fence post, usually pressure-treated wood rated for ground contact
- Fast-setting concrete or standard concrete mix
- Gravel or crushed stone for drainage
- Exterior-rated screws or galvanized fence hardware
- Wood preservative for cut ends, if needed
- Soil, sod, or mulch for final backfill
How to Replace a Fence Post in Concrete: 15 Steps
1. Inspect the Damage First
Before you start digging like you’re hunting buried treasure, inspect the fence post and surrounding panels. A post that wiggles at the base, has dark crumbly rot near the soil line, or moves inside the concrete usually needs replacement. If the post is solid but the fence rail is loose, you may only need new fasteners or a rail repair. If the concrete footing is cracked, lifted, or leaning, replacing the post and footing together is usually smarter than trying to save the old base.
2. Check Rules, Property Lines, and Utilities
Fence posts may look innocent, but they can create neighbor drama if installed on the wrong side of a property line. Confirm your fence location before you disturb the post. Also contact 811 before digging. Even a small fence post hole can hit buried utilities, irrigation lines, cable, or gas service. Utility marking is typically free and is one of those steps that feels boring until it saves your yard, wallet, and eyebrows.
3. Remove Fence Panels or Rails Around the Post
Use a drill, pry bar, or wrench to detach rails, pickets, panels, brackets, or chain-link hardware connected to the bad post. If the fence panels are heavy, ask someone to help. Support nearby panels with scrap lumber so they do not sag or twist while the post is out. Label hardware if the fence has custom brackets or unusual connectors. Future you will appreciate not playing “mystery screw puzzle” at sunset.
4. Brace the Fence Line
Brace the fence on both sides of the repair area. Drive stakes into the ground and attach temporary 2×4 supports to nearby posts or panels. Your goal is to keep everything aligned while the damaged post is removed. This is especially important for privacy fences, gate posts, and long fence runs. A fence panel can shift surprisingly fast once its support disappears, like a toddler spotting an open snack drawer.
5. Clear Soil Around the Concrete Footing
Dig around the concrete base with a shovel and post-hole digger. Expose enough of the footing so you can see its size and shape. Some footings are neat cylinders; others look like someone poured concrete during an earthquake. Remove soil from all sides and pile it on a tarp for easier cleanup. If roots are wrapped around the footing, cut them carefully with loppers or a reciprocating saw.
6. Decide Whether to Pull or Break the Concrete
There are two common ways to remove a fence post set in concrete: pull the post and footing out as one piece, or break the concrete apart in the hole. Pulling works if the footing is not enormous and you have enough leverage. Breaking works better when the concrete is bulky, mushroom-shaped, or trapped under roots. Either way, be patient. Concrete is not impressed by your schedule.
7. Cut the Old Post if Necessary
If the wood post is snapped, rotted, or in the way, cut it close to the concrete with a reciprocating saw. If you plan to use the remaining post as a handle for pulling, leave enough height to grab or attach a chain. Avoid cutting blindly near soil because hidden nails, rocks, and concrete can damage blades. Use eye protection because flying grit is not the confetti anyone asked for.
8. Loosen the Footing With Leverage
Rock the post back and forth to loosen the concrete base. A digging bar can help break the suction between soil and concrete. If the footing moves, slip a long pry bar underneath and use a block of wood as a fulcrum. Apply steady upward force rather than wild yanking. For heavy footings, a farm jack, chain, or helper can make the job easier, but use caution and keep hands away from pinch points.
9. Break Up Stubborn Concrete
If the footing refuses to budge, break it apart with a sledgehammer and cold chisel. Start near the top edge, crack off pieces, and remove them gradually. A rotary hammer can speed up the work if the concrete is thick. Do not leave large broken chunks in the bottom of the hole because they can interfere with the new post depth and drainage. Remove all loose debris before resetting the post.
10. Prepare the New Hole
After the old post and concrete are gone, reshape the hole. A good rule of thumb is to make the hole about three times the width of the post. For a standard 4×4 post, that means roughly a 12-inch-wide hole. Depth depends on fence height, soil, climate, and local code, but many fence posts are buried about one-third to one-half of the above-ground post height. In colder areas, the bottom of the footing may need to extend below the frost line to reduce movement from freeze-thaw cycles.
11. Add Gravel for Drainage
Pour 4 to 6 inches of gravel or crushed stone into the bottom of the hole and tamp it firmly. This drainage layer helps water move away from the bottom of the wood post. Moisture is the villain in many fence-post failures, and gravel is one of the easiest defenses. It also helps create a stable base so the post does not sink after the concrete is added.
12. Prepare the Replacement Post
Use a post rated for ground contact. Pressure-treated lumber is common for wood fences because it resists decay and insects better than untreated lumber. If you cut the post to length, brush an appropriate wood preservative on the cut end before installation. Place the treated or uncut end down when possible. For gates or heavy fence sections, consider a stronger post size, metal post, or approved repair bracket system if it fits your fence design.
13. Set, Plumb, and Brace the New Post
Place the new post in the center of the hole on top of the gravel. Use a level on two adjacent sides to make sure it is perfectly plumb. Align it with the existing fence line using string or the detached panels as a guide. Brace the post with stakes and scrap boards so it cannot move while the concrete sets. This step is where patience pays off. A post that is “close enough” now may look like modern art once the rails go back on.
14. Add Concrete and Shape the Top
Follow the concrete manufacturer’s instructions. With some fast-setting mixes, you pour dry mix around the post and add water directly into the hole. With standard concrete, you may mix it first and pour it wet. Fill the hole to a few inches below grade or slightly above grade depending on your preferred finish and local practice. Recheck the post for plumb as you pour. Once the concrete begins to firm up, slope the top surface gently away from the post so rainwater drains outward instead of pooling against the wood.
15. Let It Cure, Then Reattach the Fence
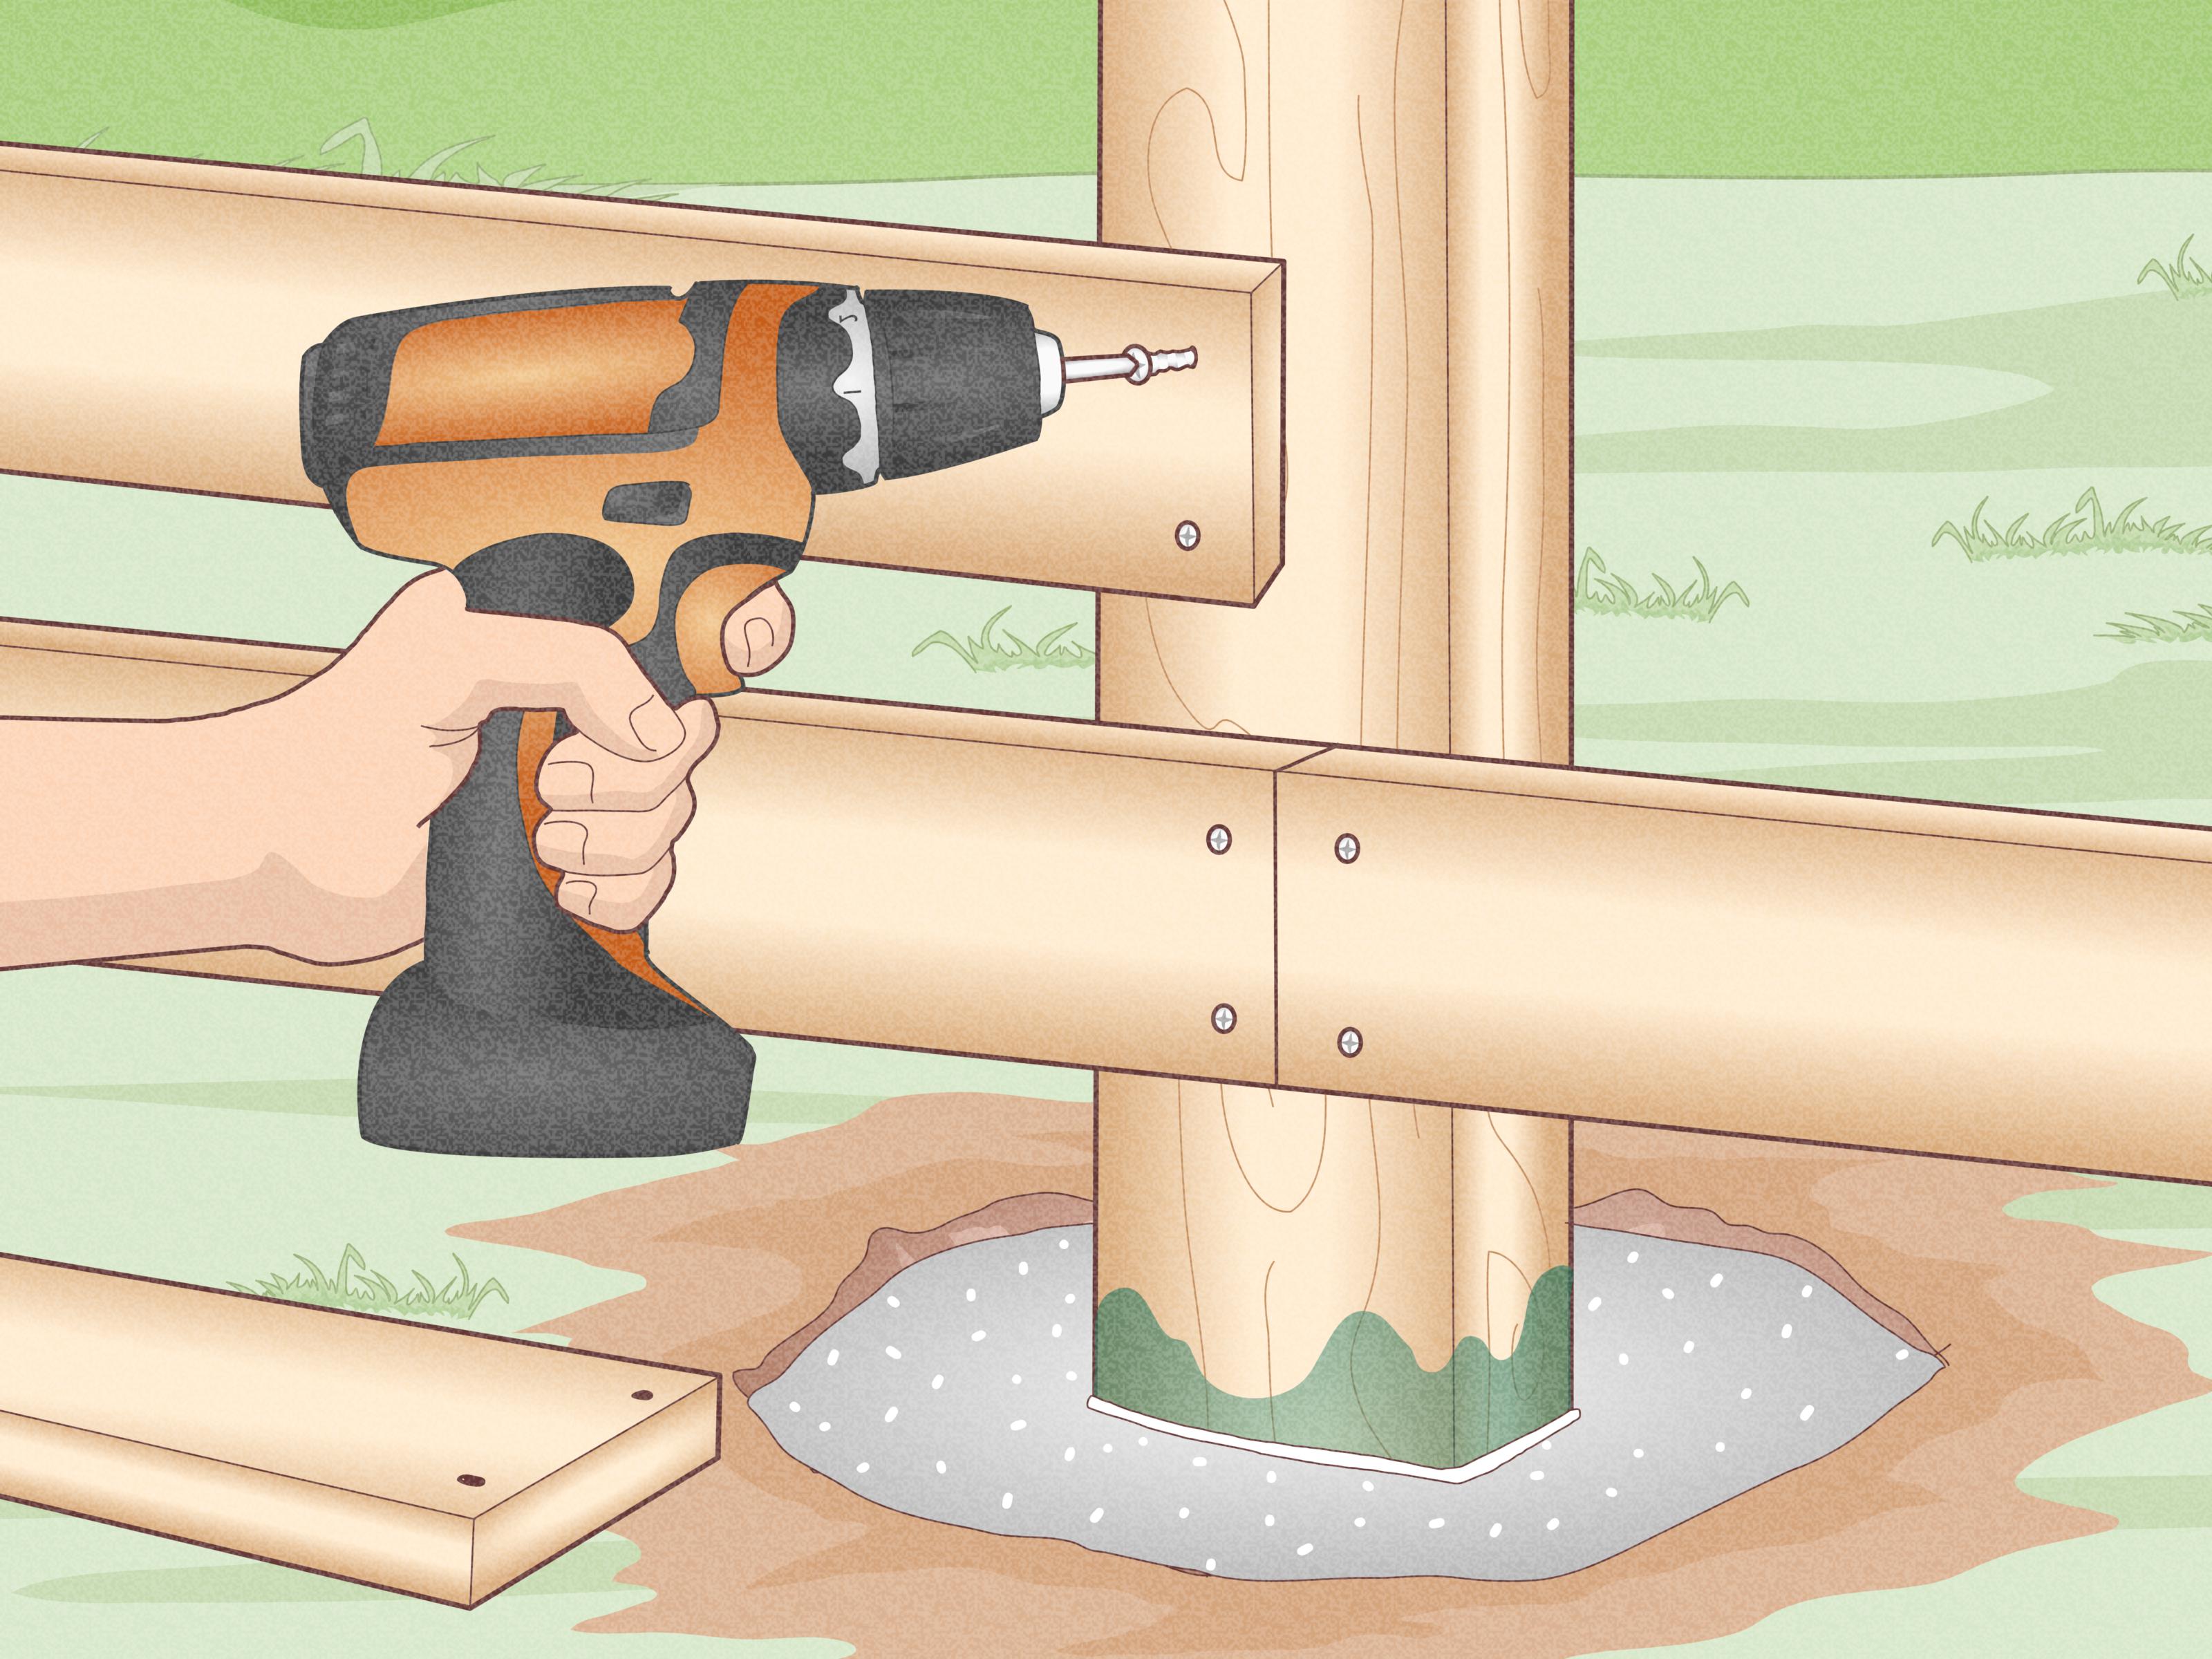
Do not rush the curing time. Fast-setting concrete may harden quickly, but the fence should not be loaded too soon. Wait according to the product directions before reattaching rails, panels, or gate hardware. When ready, fasten the fence back to the new post using exterior-rated screws or galvanized hardware. Check that the fence line is straight, the panels are level, and gates swing properly. Finally, backfill around the area, clean up broken concrete, and admire your newly disciplined fence.
Common Mistakes to Avoid
Skipping Utility Marking
Never assume a shallow hole is safe. Fence repairs often happen near property edges where utilities, irrigation, and low-voltage lines may be hiding. Contact 811 before you dig. It is faster than repairing a utility line and much less exciting in the bad way.
Using a Hole That Is Too Small
A narrow hole may save concrete, but it can leave the post unstable. A hole around three times the post width gives the concrete enough mass to support the post properly. For a 4×4 post, a 12-inch hole is a common target.
Forgetting Drainage
Wood posts often fail where moisture collects near the soil line or at the bottom of the post. Gravel, proper concrete shaping, and ground-contact-rated lumber all help reduce moisture damage.
Reattaching Panels Too Soon
Concrete needs time to gain strength. If you hang heavy panels or a gate before the post is ready, the post may shift. Once it shifts in wet concrete, it tends to stay shifted, like a bad haircut in a school photo.
Concrete, Gravel, or Foam: Which Should You Use?
Concrete is the standard choice for many fence post replacements because it provides strong support, especially for privacy fences, corner posts, end posts, and gate posts. Fast-setting concrete is convenient because it can often be poured dry into the hole and soaked with water, reducing mixing time. Standard concrete may offer more working time, which is helpful if you are setting multiple posts and want more control.
Gravel-only installation can work in some regions and soil conditions, especially when drainage is the priority and the fence is not carrying heavy loads. However, concrete is often preferred where extra stability is needed. Expanding post foam is another option for certain projects, but it is not always the best choice for heavy-duty fence sections. When in doubt, match the method to your fence type, soil, climate, and local building requirements.
How Deep Should a Replacement Fence Post Be?
For many residential fences, the post hole should be deep enough to bury about one-third to one-half of the above-ground post height. A 6-foot fence often needs a hole at least 2 feet deep, plus extra space for gravel. In windy areas, sandy soil, or colder climates, deeper holes may be required. Gate posts also need extra strength because they carry moving weight. Always check local code and frost-depth recommendations before finalizing your depth.
How Much Concrete Do You Need?
The amount of concrete depends on the hole diameter, hole depth, and post size. A 12-inch-wide hole that is 30 inches deep will need more concrete than a narrow shallow hole. Many concrete brands provide calculators, and bag labels often list approximate yield. Buy a little extra. Running out of concrete halfway through a post repair is like running out of frosting halfway through a birthday cake: technically survivable, emotionally unnecessary.
Extra Field Experience: What Replacing a Fence Post Actually Feels Like
On paper, replacing a fence post in concrete sounds tidy: detach panel, remove concrete, set new post, pour concrete, done. In real life, the old footing may be twice as large as expected, shaped like a lopsided bowling ball, and guarded by roots with the personality of steel cables. That is normal. The best fence repairs are less about brute strength and more about sequencing. Expose the footing first. Loosen it from all sides. Try leverage before demolition. Break only what you need to break. Keep the hole clean as you go. The project gets much easier when you stop treating it like one giant problem and start treating it like fifteen smaller ones.
One practical trick is to protect the surrounding fence before you touch the bad post. Many DIYers remove the rotten post first, then realize the adjacent panel has started sagging. Bracing early prevents the fence from shifting and keeps the new post aligned with the old run. Another helpful habit is to take photos before disassembly. Pictures of brackets, rail positions, screw locations, and panel spacing can save time during reassembly. A fence looks simple until you are holding three brackets and wondering which one used to face the neighbor’s yard.
Concrete removal is often the hardest part. If the footing is small, rocking and prying may pull it out. If it is large, breaking the top half into chunks may reduce enough weight to lift the rest. A digging bar is worth its weight in weekend sanity. So is a tarp. Piling soil and concrete on a tarp keeps the lawn cleaner and makes backfilling easier. It also prevents that classic DIY ending where the repair looks great but the yard looks like a raccoon hosted a construction seminar.
When setting the new post, check plumb more often than feels necessary. Check before concrete, during concrete, after concrete, and once more because the post has a sneaky sense of humor. Brace it firmly from two directions. Do not rely on your hands to hold it straight while the mix sets. Even fast-setting concrete gives you a short working window, and a properly braced post lets you step back, adjust, and breathe.
The finishing detail that many people skip is shaping the top of the concrete. Flat concrete around a wood post can trap water. A small slope away from the post helps shed rain and reduces moisture exposure at the base. Also avoid burying untreated cut wood directly in soil. Use ground-contact-rated lumber and seal cut ends with a suitable preservative. These small steps are not glamorous, but they are the reason one repair lasts years instead of becoming next spring’s “why is the fence leaning again?” episode.
Finally, give the repair time. A new post may feel solid quickly, but concrete continues curing. Reattaching panels too early can twist the post, especially on heavy privacy fences or gates. Follow the concrete directions and let the post gain strength before loading it. Your reward is a straight fence, a cleaner yard, and the quiet satisfaction of defeating a concrete blob with planning, leverage, and only a moderate amount of muttering.
Conclusion
Replacing a fence post in concrete is a hands-on DIY job, but it is not mysterious. The keys are safety, utility marking, careful disassembly, complete removal of the old footing, correct hole depth, drainage gravel, a properly rated replacement post, plumb bracing, and concrete that is allowed to cure before the fence is loaded. Take your time with alignment and drainage, because those two details determine whether the new post stands proudly or starts leaning like it has weekend plans elsewhere.
If your fence post is rotted, broken, or loose in old concrete, replacing it now can prevent larger fence damage later. Done correctly, the repair restores strength, improves appearance, and keeps your yard secure. Plus, you get the underrated joy of looking at a straight fence and knowing you personally convinced it to behave.