Note: This beginner guide is designed for small decorative stone carving projects, not structural stone work, countertop fabrication, or professional quarrying. Always prioritize dust control, eye protection, respiratory protection, and safe hand-tool technique.
Introduction: Yes, You Can Carve Stone Without Being Michelangelo
Stone carving sounds like the sort of ancient skill that requires a windswept mountain, a dramatic beard, and a lifetime supply of marble. Good news: beginners do not need any of those things. You can start stone carving with a small block of soft stone, a few basic hand tools, patience, and a healthy respect for dust. Lots of dust. Stone may look stubborn, but with the right method, it responds to careful planning and steady work.
This step-by-step guide explains how to carve stone for beginners, from choosing the best beginner stone to roughing out the shape, refining details, sanding, polishing, and avoiding common mistakes. The process is part sculpture, part problem-solving, and part learning not to hit your thumb with a hammer. Elegant? Sometimes. Humbling? Absolutely.
For your first project, the goal is not to create a museum masterpiece. The goal is to understand how stone behaves. A simple pendant, small animal, leaf shape, abstract curve, garden marker, or smooth hand-held sculpture is perfect. Start small, because stone does not have an “undo” button. Once you remove material, it is gone forever, waving goodbye like a tiny geological ghost.
What Is Stone Carving?
Stone carving is the process of removing material from a stone block to create a form, pattern, relief, or sculpture. Unlike clay modeling, where you build a shape by adding material, stone carving is subtractive. You reveal the final form by cutting away everything that does not belong.
That may sound intimidating, but it is also what makes stone carving satisfying. Every small chip brings the object closer to its final shape. The secret is to work gradually. Beginners often want to rush, swing hard, and “free the sculpture” in one heroic afternoon. The stone usually responds by cracking somewhere inconvenient. A calm carver wins more often than a dramatic one.
Best Stone for Beginner Stone Carving
The easiest way to make stone carving beginner-friendly is to choose the right stone. Not all stone is created equal. Some stones are soft and forgiving. Others are basically geological bodybuilders.
Soapstone
Soapstone is one of the best stones for beginners. It is usually soft, smooth, and easy to shape with rasps, files, and sandpaper. Soapstone contains a high percentage of talc, which gives it that silky, slightly soapy feel. It can hold detail, polish nicely, and does not require aggressive hammering for small projects.
Choose soapstone if you want to make small sculptures, pendants, animals, abstract forms, or decorative objects. It is beginner-friendly, but still real stone, so the finished piece feels substantial and satisfying.
Alabaster
Alabaster is another popular beginner stone. It is soft enough to carve more easily than marble or granite, and it often has beautiful veining and translucent areas. However, alabaster can hide cracks inside the block. That means a piece may suddenly split if you strike too hard or carve too thin.
Alabaster is great for simple indoor sculptures, rounded shapes, and polished decorative work. It is not ideal for outdoor pieces because moisture and weather can damage it over time.
Limestone
Limestone is a good next step after soapstone or alabaster. It is firmer, holds crisp details well, and is often used for architectural carving and relief work. Many beginners enjoy limestone because it feels more traditional than soapstone without being as difficult as granite.
However, limestone requires sharper tools, better hammer control, and more patience. It may also have bedding planes, which are natural layers in the stone. Carving with or against those layers affects how the stone breaks.
Marble
Marble is beautiful, classic, and famous for sculpture. It also demands more skill. It is harder than soapstone and alabaster, yet it can hold fine detail and polish beautifully. Beginners can carve marble, but it is usually better as a second or third stone after you understand tool control.
Granite
Granite is not the ideal beginner stone. It is hard, heavy, and requires carbide tools or power tools. It produces dust that must be controlled carefully. Unless you are working with an experienced instructor, save granite for later. Your first project does not need to be a battle with a countertop.
Essential Stone Carving Tools for Beginners
You do not need a giant workshop to begin stone carving. For a small soft-stone project, a basic kit is enough. Start simple, learn what each tool does, and upgrade only when your projects demand it.
Safety Gear
Before you buy chisels, buy safety equipment. Stone chips can fly. Dust can enter your lungs. Noise can bother your ears. Safety gear is not the glamorous part of stone carving, but neither is explaining to someone why you thought sunglasses counted as eye protection.
- Safety glasses or wraparound goggles
- Respirator or appropriate dust mask rated for fine dust
- Work gloves for handling rough stone
- Hearing protection if using power tools or pneumatic tools
- Apron or old clothes
- Stable work surface or sandbag
Basic Hand Tools
A beginner stone carving kit often includes a point chisel, tooth chisel, flat chisel, small hammer, rasp, riffler, and sandpaper. For soapstone, you may use rasps and files more than chisels. For limestone and marble, chisels become more important.
- Point chisel: Removes larger amounts of stone during rough shaping.
- Tooth chisel: Refines the surface after roughing out.
- Flat chisel: Smooths tool marks and sharpens planes.
- Rasp: Shapes soft stone with controlled scraping.
- Riffler: Reaches curves, grooves, and small details.
- Wet/dry sandpaper: Smooths and polishes the stone.
- Carving hammer: Drives chisels with controlled taps.
Optional Power Tools
Power tools can speed up carving, but beginners should not rely on them too soon. A rotary tool, angle grinder, or diamond burr can remove stone quicklysometimes too quickly. If hand tools are a bicycle, power tools are a motorcycle with a mischievous personality.
Use power tools only with proper eye, respiratory, and hearing protection. Use wet methods or dust extraction where appropriate. For small beginner projects, hand tools are safer, quieter, and better for learning the behavior of the stone.
How to Carve Stone Step by Step
Step 1: Choose a Simple Design
Start with a design that has a clear overall shape and few fragile parts. Good beginner stone carving ideas include a heart, fish, turtle, bird, leaf, mushroom, simple face, abstract wave, or smooth pebble-like form. Avoid long thin legs, tiny fingers, sharp wings, or dramatic undercuts on your first project. Stone loves snapping delicate parts at the worst possible moment.
Sketch your design from several angles: front, side, top, and back. Stone carving is three-dimensional, so a single front-view drawing is not enough. If you are carving a small bird, for example, draw the outline from above so you know where the wings and body will sit in the block.
Step 2: Inspect the Stone
Look closely at the stone before carving. Check for cracks, chips, color changes, veins, and bedding lines. Tap it lightly and listen for changes in sound. A dull sound may suggest a hidden crack. This is not a perfect test, but it helps you become familiar with the block.
Plan your design around the stone’s strengths. If one corner is cracked, do not place the most important detail there. If the stone has beautiful veining, decide whether you want that pattern to run through the center of the finished piece.
Step 3: Mark the Rough Shape
Use a pencil, chalk, or marker to draw the outline directly on the stone. Mark the top, sides, and bottom. Beginners often forget the side view, then end up with a sculpture that looks good from the front and confusing from every other direction.
Keep your first outline generous. Do not draw the final edge too tightly. Leave extra stone around the design, because the roughing stage is about approaching the form gradually. Think of it as sneaking up on the sculpture rather than tackling it like a linebacker.
Step 4: Secure the Stone
Place the stone on a sturdy workbench, carving stand, rubber mat, or sandbag. A sandbag is especially useful because it supports irregular shapes and absorbs vibration. The stone should not wobble while you work. If it moves every time you touch it, your carving session will become a wrestling match.
Keep your hands away from the path of the chisel. Always position the stone so your tool moves away from your body. Good posture also matters. Work at a comfortable height, take breaks, and avoid hunching over the project for hours.
Step 5: Rough Out the Main Form
Roughing out means removing the extra stone around the basic shape. For soapstone, use a rasp, coarse file, or small saw. For limestone, alabaster, or marble, use controlled taps with a point chisel or pitching tool. Do not try to remove huge chunks unless you know the stone can handle it.
Hold the chisel at an angle, not straight down. A low angle helps peel or chip the surface more gently. Strike with light, repeated taps rather than one mighty blow. Stone carving rewards rhythm. Tap, check, rotate, tap again. The sound should be controlled, not panicked.
At this stage, work on the largest planes first. If you are carving a fish, remove the stone around the body before worrying about the eye. If you are carving a leaf, establish the broad outline before adding veins. Details come later. Early details usually get damaged, erased, or mocked by physics.
Step 6: Refine the Shape
Once the rough form is visible, switch to finer tools. A tooth chisel can even out high spots left by the point chisel. A flat chisel can smooth planes and define edges. Rasps are excellent for soft stone because they give slow, controlled removal.
Rotate the stone often and check the silhouette from every angle. A beginner mistake is carving one side beautifully while ignoring the back. A good sculpture has a relationship between all sides. Even if the piece is meant to face forward, the back should look intentional, not abandoned.
Use light marks to guide details, but do not carve them deeply yet. Establish major curves, thickness, balance, and proportions first. If the piece feels awkward now, sanding will not magically fix it later. Sandpaper smooths surfaces; it does not solve design problems.
Step 7: Add Details Carefully
Details should support the form, not fight it. Use small chisels, rifflers, needle files, or a rotary tool with a gentle touch. For eyes, feathers, leaf veins, scales, or lettering, carve shallow lines first. Deep details in soft stone can look heavy and may create weak spots.
If you are carving letters, practice on a scrap piece before touching the final stone. Letter carving requires clean spacing and consistent depth. A simple garden marker with one word can be a great beginner project because it teaches control without requiring complex anatomy.
Step 8: Remove Tool Marks
After shaping, examine the surface. Decide which marks should remain and which should go. Some sculptures look great with visible chisel texture. Others need a smooth, polished finish. There is no rule that every stone carving must become shiny enough to frighten a mirror.
Use rasps, rifflers, and coarse sandpaper to remove unwanted scratches and bruises. Work through the entire surface evenly. If you sand one area too much, you may flatten the form or create a dip.
Step 9: Sand the Stone
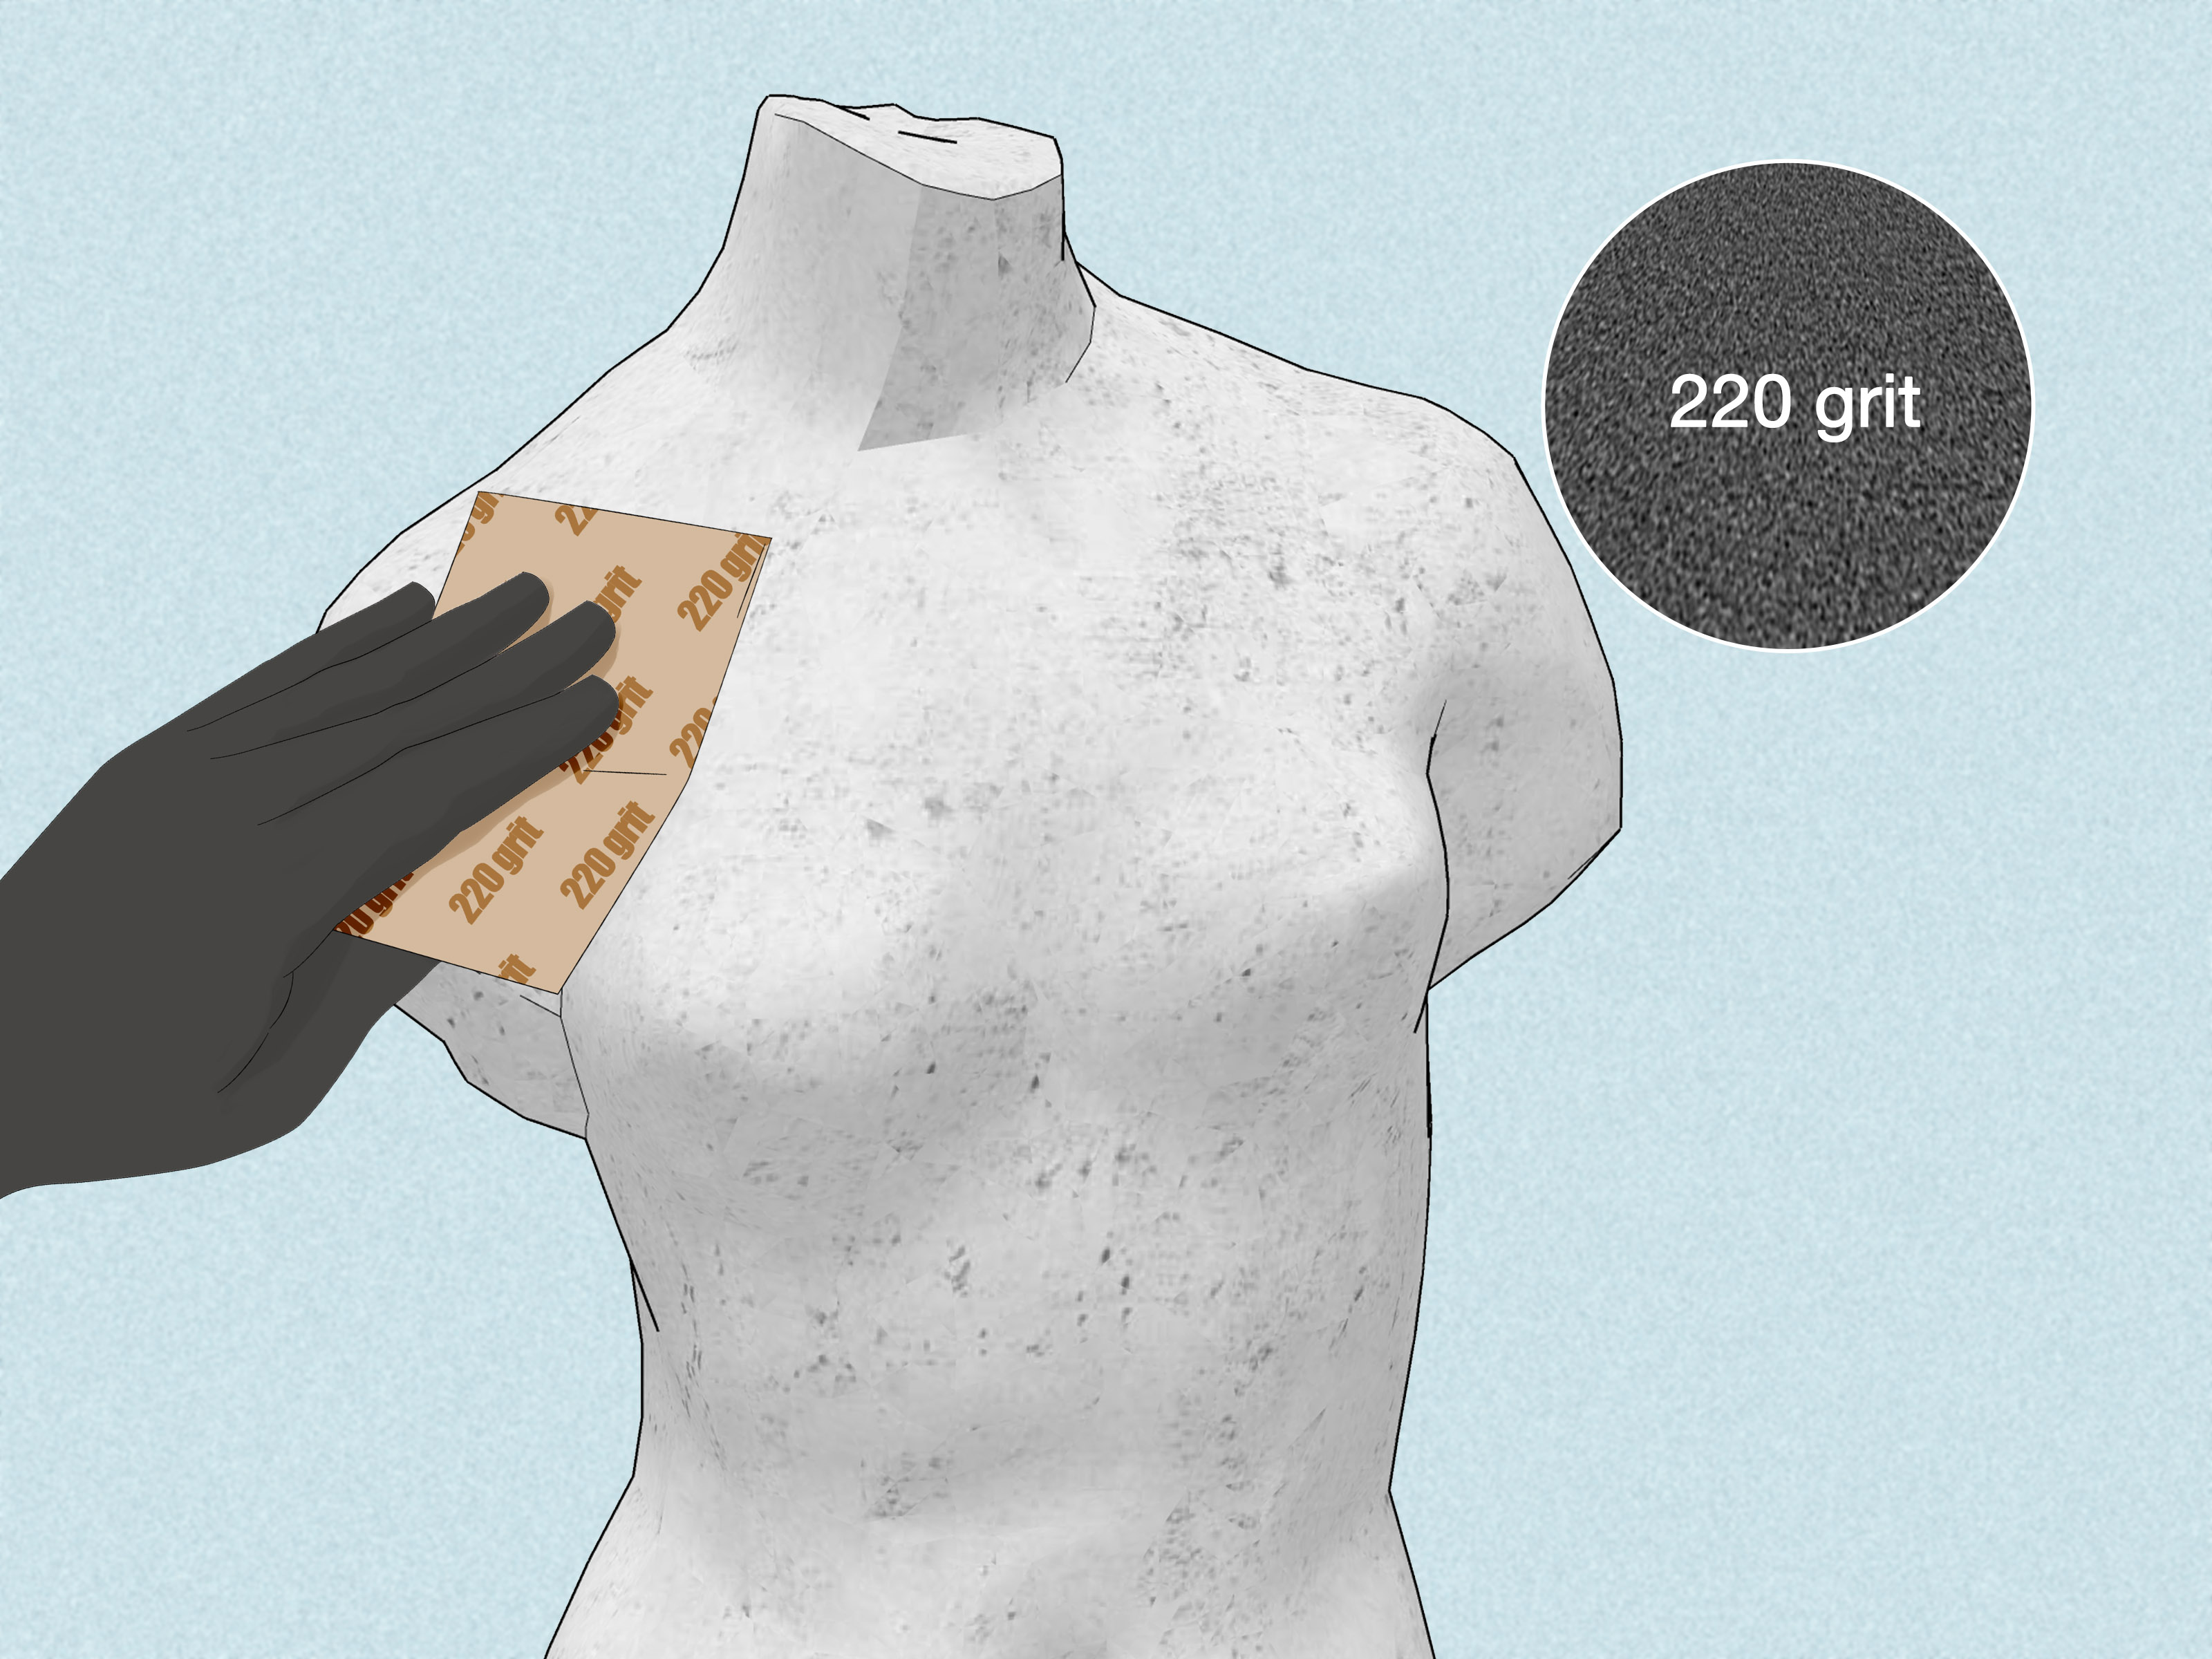
Sanding is where patience either becomes your best friend or leaves the room. Start with a coarse grit, such as 80 or 120, then move gradually to finer grits like 220, 320, 400, 600, 800, 1000, and beyond if the stone can polish well.
Use wet sanding whenever suitable. Water helps reduce dust and clears away loose particles. Rinse the stone between grits so coarse particles do not scratch the next stage. Do not skip too many grits. Jumping from coarse sandpaper to very fine sandpaper is like trying to graduate from kindergarten directly into law school.
Step 10: Polish and Seal if Needed
Some stones, such as soapstone and alabaster, can develop a lovely soft sheen. Soapstone is often darkened with mineral oil or wax, depending on the desired look. Alabaster may be finished with wax or polish designed for stone. Always test finishing products on a small hidden area or scrap piece first.
Not every carving needs a glossy finish. A matte surface can look natural, modern, and elegant. Choose the finish that supports the design. A rustic garden stone and a polished pendant should not have the same personality.
Stone Carving Safety: Dust Is the Sneaky Villain
Stone carving safety begins with dust control. Many stones contain minerals that can irritate your lungs, and silica-containing materials require particular care. Cutting, grinding, drilling, or sanding stone can create fine airborne particles. The smaller the particles, the easier they are to inhale.
Use wet methods when possible, especially during sanding or cutting. Work outdoors or in a well-ventilated area. Avoid dry sweeping; it sends dust back into the air. Use a damp cloth or a vacuum designed for fine dust instead. Wear a properly fitted respirator when producing dust. A paper mask hanging under your nose is not protection; it is decoration.
Also protect your eyes. Even soft stone can send chips flying. Wear goggles or safety glasses every time you use chisels, rasps, rotary tools, or grinders. Use hearing protection with noisy tools, and never use power tools when tired, rushed, or distracted.
Common Beginner Mistakes
Choosing Stone That Is Too Hard
A hard stone can discourage a beginner quickly. Start with soapstone or alabaster. Learn the motions, then move to limestone, marble, or harder materials later.
Starting With a Design That Is Too Detailed
Small delicate features are difficult in stone. Begin with simple, bold shapes. You can still make something beautiful without carving every feather on a bird or every wrinkle on a wizard.
Carving Too Deep Too Soon
Deep cuts reduce your options. Work gradually and check your design often. You can always remove more stone, but you cannot put it back with optimism.
Skipping Dust Protection
This is the biggest mistake. Stone dust may look harmless, but it should not be treated casually. Control dust from the beginning of the project.
Rushing the Sanding Stage
A polished finish depends on steady sanding through multiple grits. If scratches remain from earlier stages, fine sandpaper will not hide them. It will politely reveal them forever.
Beginner Project Ideas
If you are wondering what to carve first, choose a project that can be completed in a weekend. Small wins build confidence. Try one of these beginner-friendly stone carving ideas:
- A smooth worry stone with a thumb groove
- A simple heart or star shape
- A soapstone turtle or fish
- A leaf relief on a flat stone
- A garden marker with carved lettering
- An abstract wave or spiral
- A pendant or small charm
Relief carving is especially good for beginners. Instead of carving a freestanding sculpture, you carve a raised design on a flat surface. It teaches depth, line, texture, and tool control without requiring you to solve every angle at once.
How Long Does It Take to Learn Stone Carving?
You can learn the basics of stone carving in a single small project, but becoming confident takes practice. A simple soapstone shape may take a few hours. A polished small sculpture may take several days. A larger limestone or marble piece can take weeks or months.
Progress is not measured only by speed. In fact, faster is not always better. Good carving means making better decisions: where to remove stone, where to stop, how to support fragile areas, and when a surface is finished enough. The more stones you carve, the more you learn to read the material.
Experience Notes: What Beginners Usually Learn the Hard Way
Every beginner stone carver eventually learns that stone has opinions. You may arrive with a sketch, a plan, and heroic confidence. The stone may respond with a crack, a hidden vein, or a stubborn corner that refuses to become round. This is not failure. This is the conversation.
One of the most useful experiences is learning to slow down at the beginning. Many first-time carvers want to see results immediately, so they dig into details before the main form is ready. The better approach is to spend more time planning the silhouette. For example, if you are carving a soapstone turtle, do not start with the eyes. First establish the oval shell, then the head, then the legs, then the underside. The eye is dessert, not breakfast.
Another lesson is that the tool does not need to be forced. If a rasp is barely cutting, change the angle or use a coarser tool. If a chisel bounces, your angle may be too steep, your strike too weak, or the stone too hard for that tool. Beginners often blame their hands, but the problem is usually tool choice, tool angle, or impatience wearing a fake mustache.
Sanding also teaches humility. A piece may look finished after rough shaping, but once you begin sanding, scratches appear like they have been waiting for their big audition. The trick is to respect the grit sequence. Spend enough time at the coarse stage to remove tool marks, then move gradually upward. If you see deep scratches at 600 grit, do not keep polishing and hope they become “character.” Go back to a lower grit and fix them.
Dust management becomes a habit after the first messy project. A small soapstone carving can cover your bench, shirt, floor, and possibly your soul in pale powder. Work outside if possible. Keep a spray bottle nearby for wet sanding. Wipe surfaces with a damp cloth. Store tools separately from food, electronics, and anything you do not want to look like it survived a tiny moon landing.
Beginners also learn that mistakes can become design changes. A chipped ear on an animal can become a smaller ear. A cracked corner can become a curved edge. A lopsided abstract form can become “dynamic movement,” which is artist language for “I adapted bravely.” Stone carving rewards flexibility. The best carvers are not the people who never make mistakes; they are the people who notice early and adjust gracefully.
Finally, the most enjoyable part of stone carving is the moment when the object starts to feel alive in your hands. At first, it is just a block. Then it becomes a lump with ambition. Then, after many small choices, it becomes something with weight, texture, and presence. That transformation is why people keep carving stone even though it is dusty, slow, and occasionally rude. It feels ancient and personal at the same time.
Conclusion
Learning how to carve stone is less mysterious than it looks. Start with a soft stone like soapstone or alabaster, choose a simple design, use basic tools, control dust, and remove material slowly. The best beginner stone carving method is not about force; it is about observation, patience, and steady refinement.
Your first carving may not look like a Renaissance masterpiece, and that is perfectly fine. It may look like a turtle. It may look like a potato with ambition. Either way, you will learn how stone responds to pressure, texture, sanding, polishing, and design decisions. That knowledge is the real first sculpture.
Begin small, protect your lungs and eyes, keep your tools sharp, and let the stone teach you. With every project, your hands will become more confident, your designs will become clearer, and your pile of mysterious rock dust will become slightly more dignified.