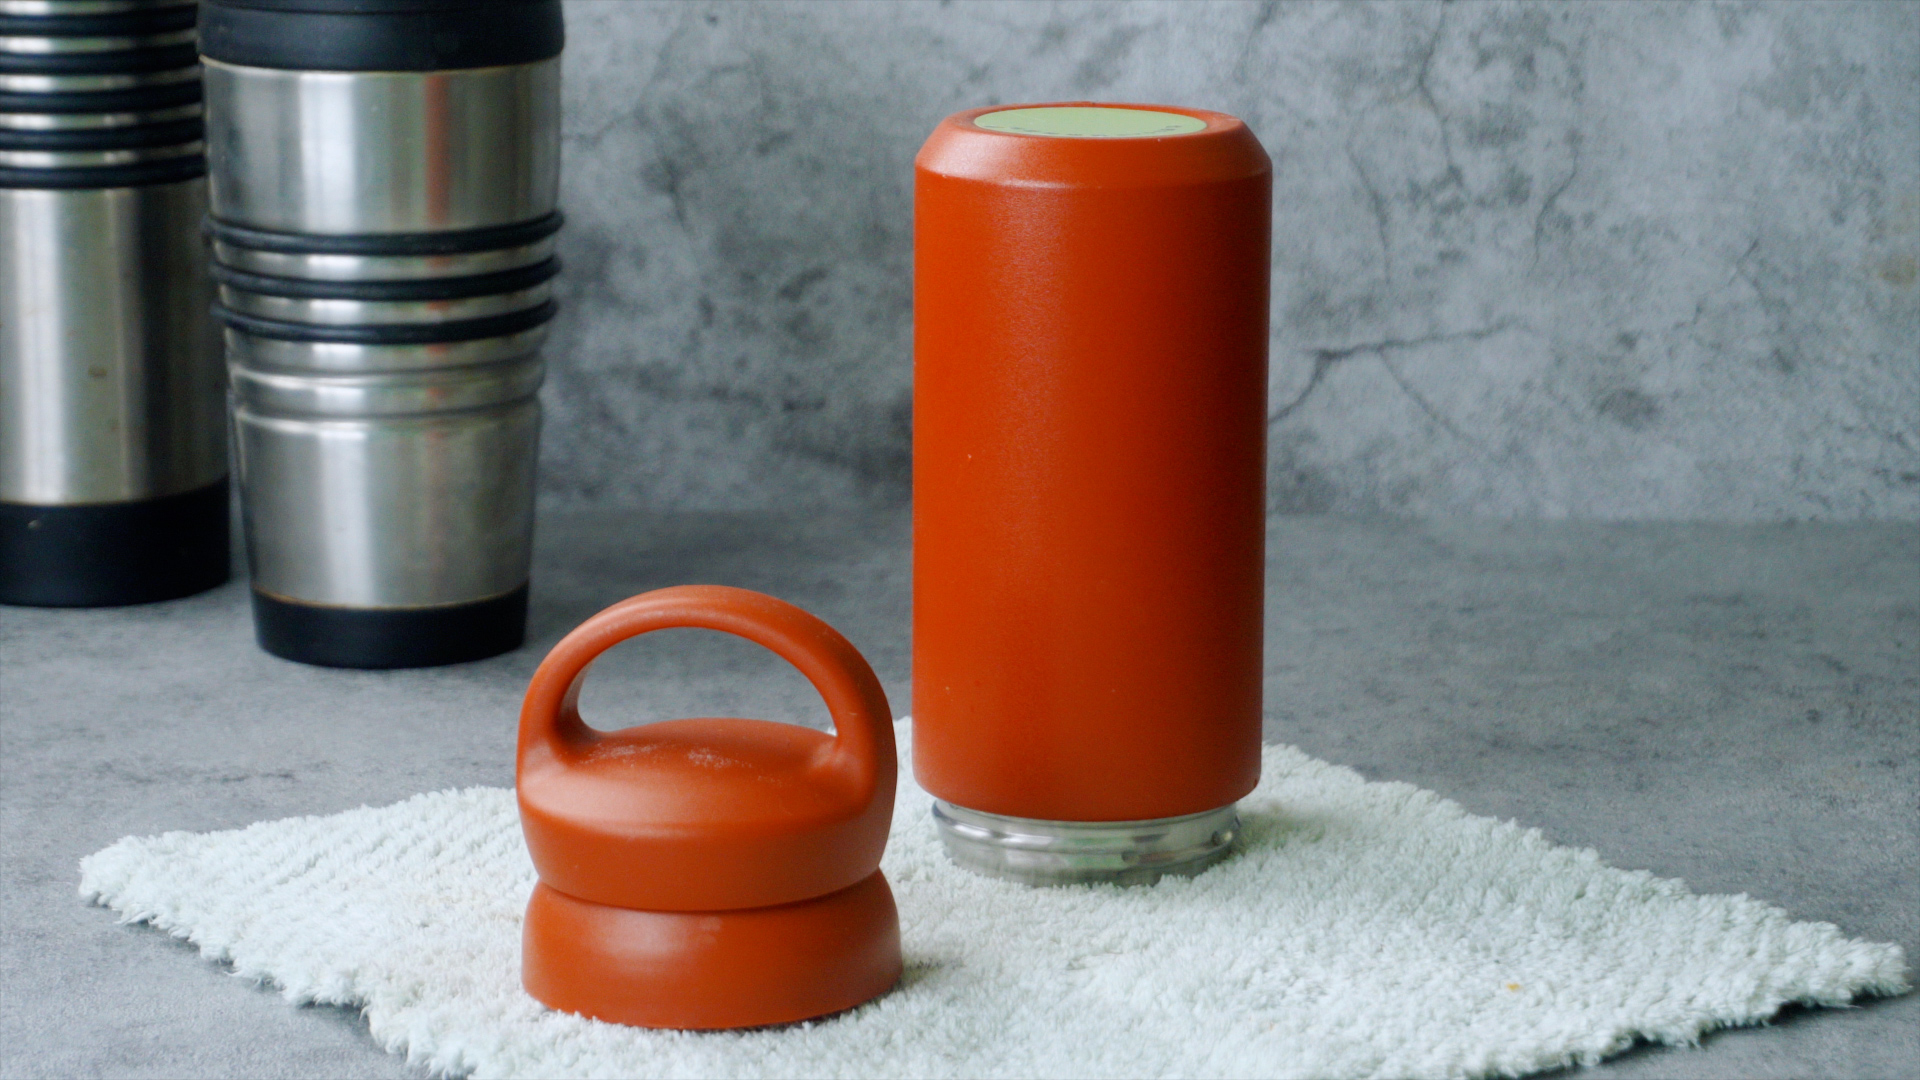
A good thermos is basically a tiny temperature fortress. It keeps coffee hot, soup cozy, iced tea chilly, and occasionally protects a forgotten smoothie long enough to become a science fair project. The problem is that the same tight seal and insulated design that make a thermos useful can also trap coffee oils, soup residue, tea tannins, odors, and moisture in all the little corners you pretend do not exist.
If your thermos smells like yesterday’s latte had a dramatic breakup with last week’s chicken noodle soup, do not panic. Most thermos cleaning problems can be solved with simple household items, a decent bottle brush, and a little patience. The trick is choosing the right method for the mess. A daily rinse is not enough, but you also do not need to attack your bottle like it owes you rent.
This guide covers three reliable ways to clean a thermos: a simple soap-and-brush wash for everyday use, a baking soda and vinegar method for odors and stains, and a deep-cleaning method for stubborn buildup using bottle tablets or a gentle mechanical scrub. You will also learn what not to do, because stainless steel may be tough, but it is not interested in being scoured with steel wool or sealed shut during a fizzy vinegar volcano.
Why Cleaning a Thermos Matters
A thermos is different from a regular cup. It has a deep, narrow body, a lid with gaskets or seals, threads around the mouth, and sometimes a stopper, straw, button, or folding spout. These parts create perfect hiding places for residue. Coffee leaves oils. Tea leaves tannins. Soup leaves fat and seasoning. Sports drinks and sweet beverages leave sugar. Even plain water can become stale when saliva, hand germs, and moisture sit inside a closed container.
That does not mean your thermos is a villain. It just means it needs a real cleaning routine. Washing removes visible soil, odors, and residue. Sanitizing is a separate step used when you need extra hygiene, such as after illness, mold, or long neglect. For most people, a daily wash and occasional deep clean are enough to keep a thermos fresh, safe, and ready for the next coffee mission.
Before You Start: What You Need
Gather a few basic supplies before you begin. You do not need an advanced laboratory, a hazmat suit, or a suspiciously expensive “premium cleaning wand.” A normal kitchen setup works beautifully.
- Mild dish soap
- Warm water
- A long bottle brush
- A small detail brush, straw brush, or clean toothbrush
- Baking soda
- Distilled white vinegar
- Optional denture-cleaning tablets or bottle-cleaning tablets
- A clean drying rack or clean towel for air-drying
Before using any method, check the manufacturer’s care instructions. Some insulated bottles and lids are dishwasher-safe, while others should be hand-washed to protect seals, finishes, or vacuum insulation. When in doubt, hand-washing is the safer choice. It takes a few minutes and gives you better control over the lid, gasket, and interior.
Way 1: Clean a Thermos with Dish Soap and a Bottle Brush
This is the best method for everyday thermos cleaning. If you used your bottle for coffee, tea, water, or soup today, this should be your default routine tonight. Yes, tonight. Not next Tuesday. Your future self deserves coffee that tastes like coffee, not like “mystery broth with notes of old gym bag.”
Step-by-Step Instructions
- Empty the thermos completely. Do not leave coffee, tea, soup, or water sitting inside overnight if you can help it.
- Disassemble the lid. Remove the gasket, stopper, straw, mouthpiece, or any detachable part according to the care instructions.
- Add warm water and a few drops of mild dish soap to the thermos.
- Scrub the inside with a long bottle brush, paying special attention to the bottom and shoulder area near the opening.
- Wash the outside, rim, lid, threads, gasket, and mouthpiece with soapy water.
- Use a small brush for tight lid grooves and silicone seals.
- Rinse everything thoroughly until no soap remains.
- Air-dry all parts separately with the lid off.
Why This Method Works
Dish soap is designed to break down oils, food residue, and everyday grime. The bottle brush adds the missing ingredient: friction. Many people make the mistake of swishing soapy water around and calling it a day. That is not cleaning; that is giving your thermos a bubble bath. Scrubbing physically removes residue stuck to the sides and bottom.
The lid deserves special attention. In many smelly thermos situations, the bottle body is not the real problem. The culprit is the silicone gasket, mouthpiece, or cap thread. These areas hold moisture and residue. If the lid smells funky even after washing, remove the gasket if possible and soak it separately in warm soapy water before scrubbing gently.
Best For
- Daily maintenance
- Fresh coffee or tea residue
- Soup containers after lunch
- Preventing odors before they start
- Keeping stainless steel interiors clean without harsh products
Way 2: Clean a Smelly Thermos with Baking Soda and Vinegar
When your thermos develops an odor, baking soda and vinegar are the classic kitchen cleaning duo. Baking soda helps neutralize smells and provides gentle scrubbing power. Vinegar helps loosen mineral deposits and acidic or alkaline residues that plain soap may leave behind. Together, they fizz like a tiny elementary-school volcano, which is entertaining, but the real cleaning comes from soaking, loosening, and scrubbing.
Important safety note: do not seal a thermos tightly while baking soda and vinegar are reacting. The fizz creates gas, and a sealed container can build pressure. Nobody wants to explain to guests why the kitchen ceiling smells like salad dressing and regret.
Step-by-Step Instructions
- Rinse the thermos with warm water.
- Add 1 to 2 tablespoons of baking soda to the bottle.
- Fill the thermos halfway with warm water and let it sit for at least 30 minutes. For strong odors, let it soak overnight.
- Scrub the inside with a bottle brush.
- Pour out the baking soda solution and rinse.
- Add equal parts distilled white vinegar and warm water, filling the bottle about halfway.
- Let it sit for 15 to 30 minutes.
- Scrub again, rinse several times, and air-dry completely with the lid off.
For Coffee and Tea Stains
Coffee and tea can leave brown stains inside stainless steel. These stains are usually cosmetic, but they can make a clean thermos look guilty. For light staining, make a paste with baking soda and a small amount of water. Apply it with a bottle brush or soft sponge, let it sit for 10 to 15 minutes, then scrub gently and rinse well.
For heavier stains, use the baking soda soak first, then follow with the vinegar rinse. Do not use steel wool, harsh scouring powder, or abrasive pads. Scratches can make the surface harder to clean later and may give residue more places to cling.
Best For
- Lingering coffee smell
- Tea stains
- Soup odor
- Stale water smell
- Thermos bottles that were closed while damp
Way 3: Deep Clean a Thermos with Cleaning Tablets, Rice, or Ice and Salt
Sometimes a thermos needs more than soap and a pep talk. If stains are stubborn, the bottom is hard to reach, or you inherited a travel mug that looks like it has lived several lives, a deeper cleaning method can help. The goal is to loosen stuck-on residue without damaging the stainless steel or insulation.
Option A: Denture Tablets or Bottle-Cleaning Tablets
Denture-cleaning tablets and bottle-cleaning tablets are popular because they are easy, fizzy, and surprisingly effective on coffee and tea stains. They work well for deep, narrow thermoses because the cleaning solution reaches places your brush may miss.
- Fill the thermos halfway to three-quarters full with warm water.
- Drop in one denture tablet or bottle-cleaning tablet.
- Let it fizz and soak according to the tablet directions, usually 15 to 30 minutes.
- Scrub with a bottle brush.
- Rinse thoroughly several times.
- Air-dry completely before reassembling.
This method is especially useful for coffee drinkers. If your thermos interior has a brown ring that looks like a tiny archaeological layer of Monday mornings, tablets can help lift it without aggressive scrubbing.
Option B: Rice and Vinegar for Hard-to-Reach Flasks
For narrow flasks and older thermos designs, uncooked rice can act as a gentle scrubber. Add a small amount of uncooked rice and distilled white vinegar, then shake carefully. The rice helps knock loose residue while vinegar helps break down buildup. This is best for sturdy stainless steel interiors and should be followed by a thorough rinse.
- Add about 1/4 cup uncooked rice to the thermos.
- Add a few ounces of distilled white vinegar.
- Close the lid and shake for about one minute.
- Let it sit briefly, then shake again.
- Empty the thermos, rinse very well, and wash with dish soap.
- Air-dry with the lid off.
Option C: Ice and Salt for Interior Stains
Ice and coarse salt can create a mild abrasive action that helps loosen stains from the bottom of a thermos. This method is simple, but use it gently. You are cleaning a bottle, not auditioning for a percussion band.
- Add crushed ice to the thermos.
- Add 1 to 2 tablespoons of coarse salt.
- Close the thermos and shake carefully.
- Dump the mixture out.
- Wash with dish soap and warm water.
- Rinse and air-dry completely.
Best For
- Deep coffee and tea stains
- Hard-to-reach bottoms
- Older stainless steel thermoses
- Occasional monthly deep cleaning
- Thermos bottles used for strong-smelling drinks
How to Clean the Thermos Lid, Gasket, and Stopper
The lid is where cleanliness goes to be tested. It has grooves, threads, rubber rings, silicone gaskets, sliding mechanisms, and tiny crevices that seem designed by someone with a personal vendetta against sponges. Cleaning only the bottle and ignoring the lid is like washing your car but leaving a raccoon in the trunk.
Disassemble every removable part. Soak the pieces in warm soapy water for 10 to 15 minutes. Use a toothbrush, straw brush, or detail brush to scrub around the threads and gasket channel. Rinse well. Let every piece air-dry completely before putting the lid back together. If a gasket remains stained, cracked, sticky, or permanently smelly, replace it if the manufacturer sells replacement parts.
Can You Put a Thermos in the Dishwasher?
Maybe. The honest answer depends on the brand and model. Some modern insulated bottles and tumblers are labeled dishwasher-safe. Others should be hand-washed to protect the vacuum seal, exterior coating, or lid components. Always check the care label, bottom stamp, or manufacturer instructions.
If the thermos is dishwasher-safe, disassemble the lid and place small parts securely on the top rack. Make sure the bottle is positioned so water can reach the interior. After the cycle, let all parts dry fully. If the thermos is not clearly labeled dishwasher-safe, wash it by hand. Guessing is not a cleaning strategy; it is how travel mugs become decorative pencil holders.
What Not to Use on a Thermos
A thermos is durable, but certain cleaning choices can damage it or create safety problems. Avoid steel wool, metal scouring pads, harsh abrasive powders, and strong chemical cleaners unless the manufacturer specifically allows them. Do not mix bleach with vinegar or ammonia. Do not seal a thermos during a fizzy baking soda and vinegar reaction. Do not use boiling water unless the care instructions say it is safe, especially with lids or plastic components.
Be careful with bleach. Public-health guidance for disinfecting emphasizes cleaning first, using proper dilution, and never mixing bleach with other cleaners. However, many drinkware manufacturers warn against bleach because it can damage seals or finishes. For most thermos cleaning, soap, baking soda, vinegar, and bottle tablets are safer choices. If you believe sanitizing is necessary after mold or illness, check the manufacturer’s instructions first.
How Often Should You Clean a Thermos?
Clean your thermos after every use if it held coffee, tea, soup, milk, juice, smoothies, or sweet drinks. For plain water, daily cleaning is still the best habit if you use the bottle every day. Deep clean weekly or monthly depending on what you drink. Coffee lovers, soup packers, and smoothie fans should deep clean more often than someone who only carries water.
Here is an easy schedule:
- After every use: Wash with dish soap and a bottle brush.
- Weekly: Remove and clean the gasket, stopper, and lid parts carefully.
- Monthly: Use a baking soda soak, vinegar rinse, or cleaning tablet.
- Immediately: Deep clean after odor, visible buildup, mold, illness, or forgotten leftovers.
Extra Experience: Real-Life Lessons from Cleaning a Thermos
The first lesson of thermos ownership is that “I’ll rinse it later” is a sentence full of danger. A thermos does not forget. It remembers the coffee. It remembers the tomato soup. It remembers the protein shake you abandoned in the car during one suspiciously warm afternoon. When you finally open it, the thermos releases its memoir, and the title is usually Why Did You Do This to Me?
In everyday use, the fastest habit that makes the biggest difference is rinsing immediately after finishing your drink or meal. Even if you cannot fully wash the thermos right away, empty it, rinse it with warm water, and leave the lid off until you can clean it properly. This one habit prevents many odors from becoming permanent residents.
Another practical lesson: buy the right brush. A sponge cannot reach the bottom of most thermoses, and pretending your hand will fit is how people get emotionally humbled by kitchenware. A long bottle brush with firm but non-scratching bristles is worth it. Keep a smaller brush nearby for the lid. The lid is not optional. If your thermos smells bad after the bottle looks clean, the gasket is probably hiding the problem like a tiny rubber criminal.
For coffee drinkers, a baking soda paste is the best “first serious move.” Coffee oils cling to stainless steel and build up slowly. You may not notice the change until your fresh coffee tastes slightly stale. A 10-minute baking soda paste treatment followed by a good scrub can make the inside look brighter and smell cleaner. For tea drinkers, especially black tea fans, tannin stains can be dramatic. They look worse than they are, but cleaning tablets can make a big visual difference.
Soup users need a slightly different mindset. Soup is delicious because it contains fat, salt, spices, and aroma. Those same qualities make it cling to lids and gaskets. After carrying soup, wash the thermos as soon as possible with dish soap, then remove the lid parts and clean them separately. If the soup contained garlic, curry, tomato, or chili, do not be surprised if the lid needs a baking soda soak. The bottle may forgive quickly; the lid may need therapy.
One underrated habit is drying. A clean thermos that is closed while damp can develop a stale smell. After washing, place the bottle upside down at an angle or upright with airflow, and let the lid pieces dry separately. Do not reassemble the lid until every gasket and groove is dry. Moisture trapped under silicone can lead to odors and visible mold.
Travel also changes the routine. If you use a thermos at work, school, on road trips, or while camping, pack a small cleaning kit: a travel bottle of dish soap, a collapsible brush, and a couple of bottle-cleaning tablets. A tablet can rescue a thermos in a hotel room, office kitchen, or campsite when you do not have your full cleaning setup. It is not glamorous, but neither is drinking tea from a container that smells like last week’s lentils.
The final lesson is simple: clean lightly and often, instead of aggressively and rarely. A thermos lasts longer when you avoid harsh abrasives and extreme cleaning methods. Treat it like useful gear, not a kitchen enemy. With a quick daily wash, a weekly lid check, and an occasional deep clean, your thermos can keep doing its job without becoming a portable mystery cave.
Conclusion
Cleaning a thermos does not have to be complicated. For everyday use, warm water, dish soap, and a bottle brush are the winning trio. For odors and stains, baking soda and vinegar can refresh the interior without harsh scrubbing. For deep stains or hard-to-reach buildup, cleaning tablets, rice and vinegar, or ice and salt can provide extra help.
The most important rule is consistency. Clean the thermos after use, disassemble the lid, scrub the hidden parts, rinse thoroughly, and let everything dry before reassembling. Avoid harsh abrasives, unsafe chemical mixtures, and sealed fizzy reactions. Do that, and your thermos will stay fresh, useful, and ready for coffee, soup, tea, or whatever beverage gets you through the day with slightly fewer dramatic sighs.
Note: Always follow the care instructions for your specific thermos brand and model. If a gasket is cracked, moldy, sticky, or permanently smelly after cleaning, replace it rather than trying to rescue it forever.