“`
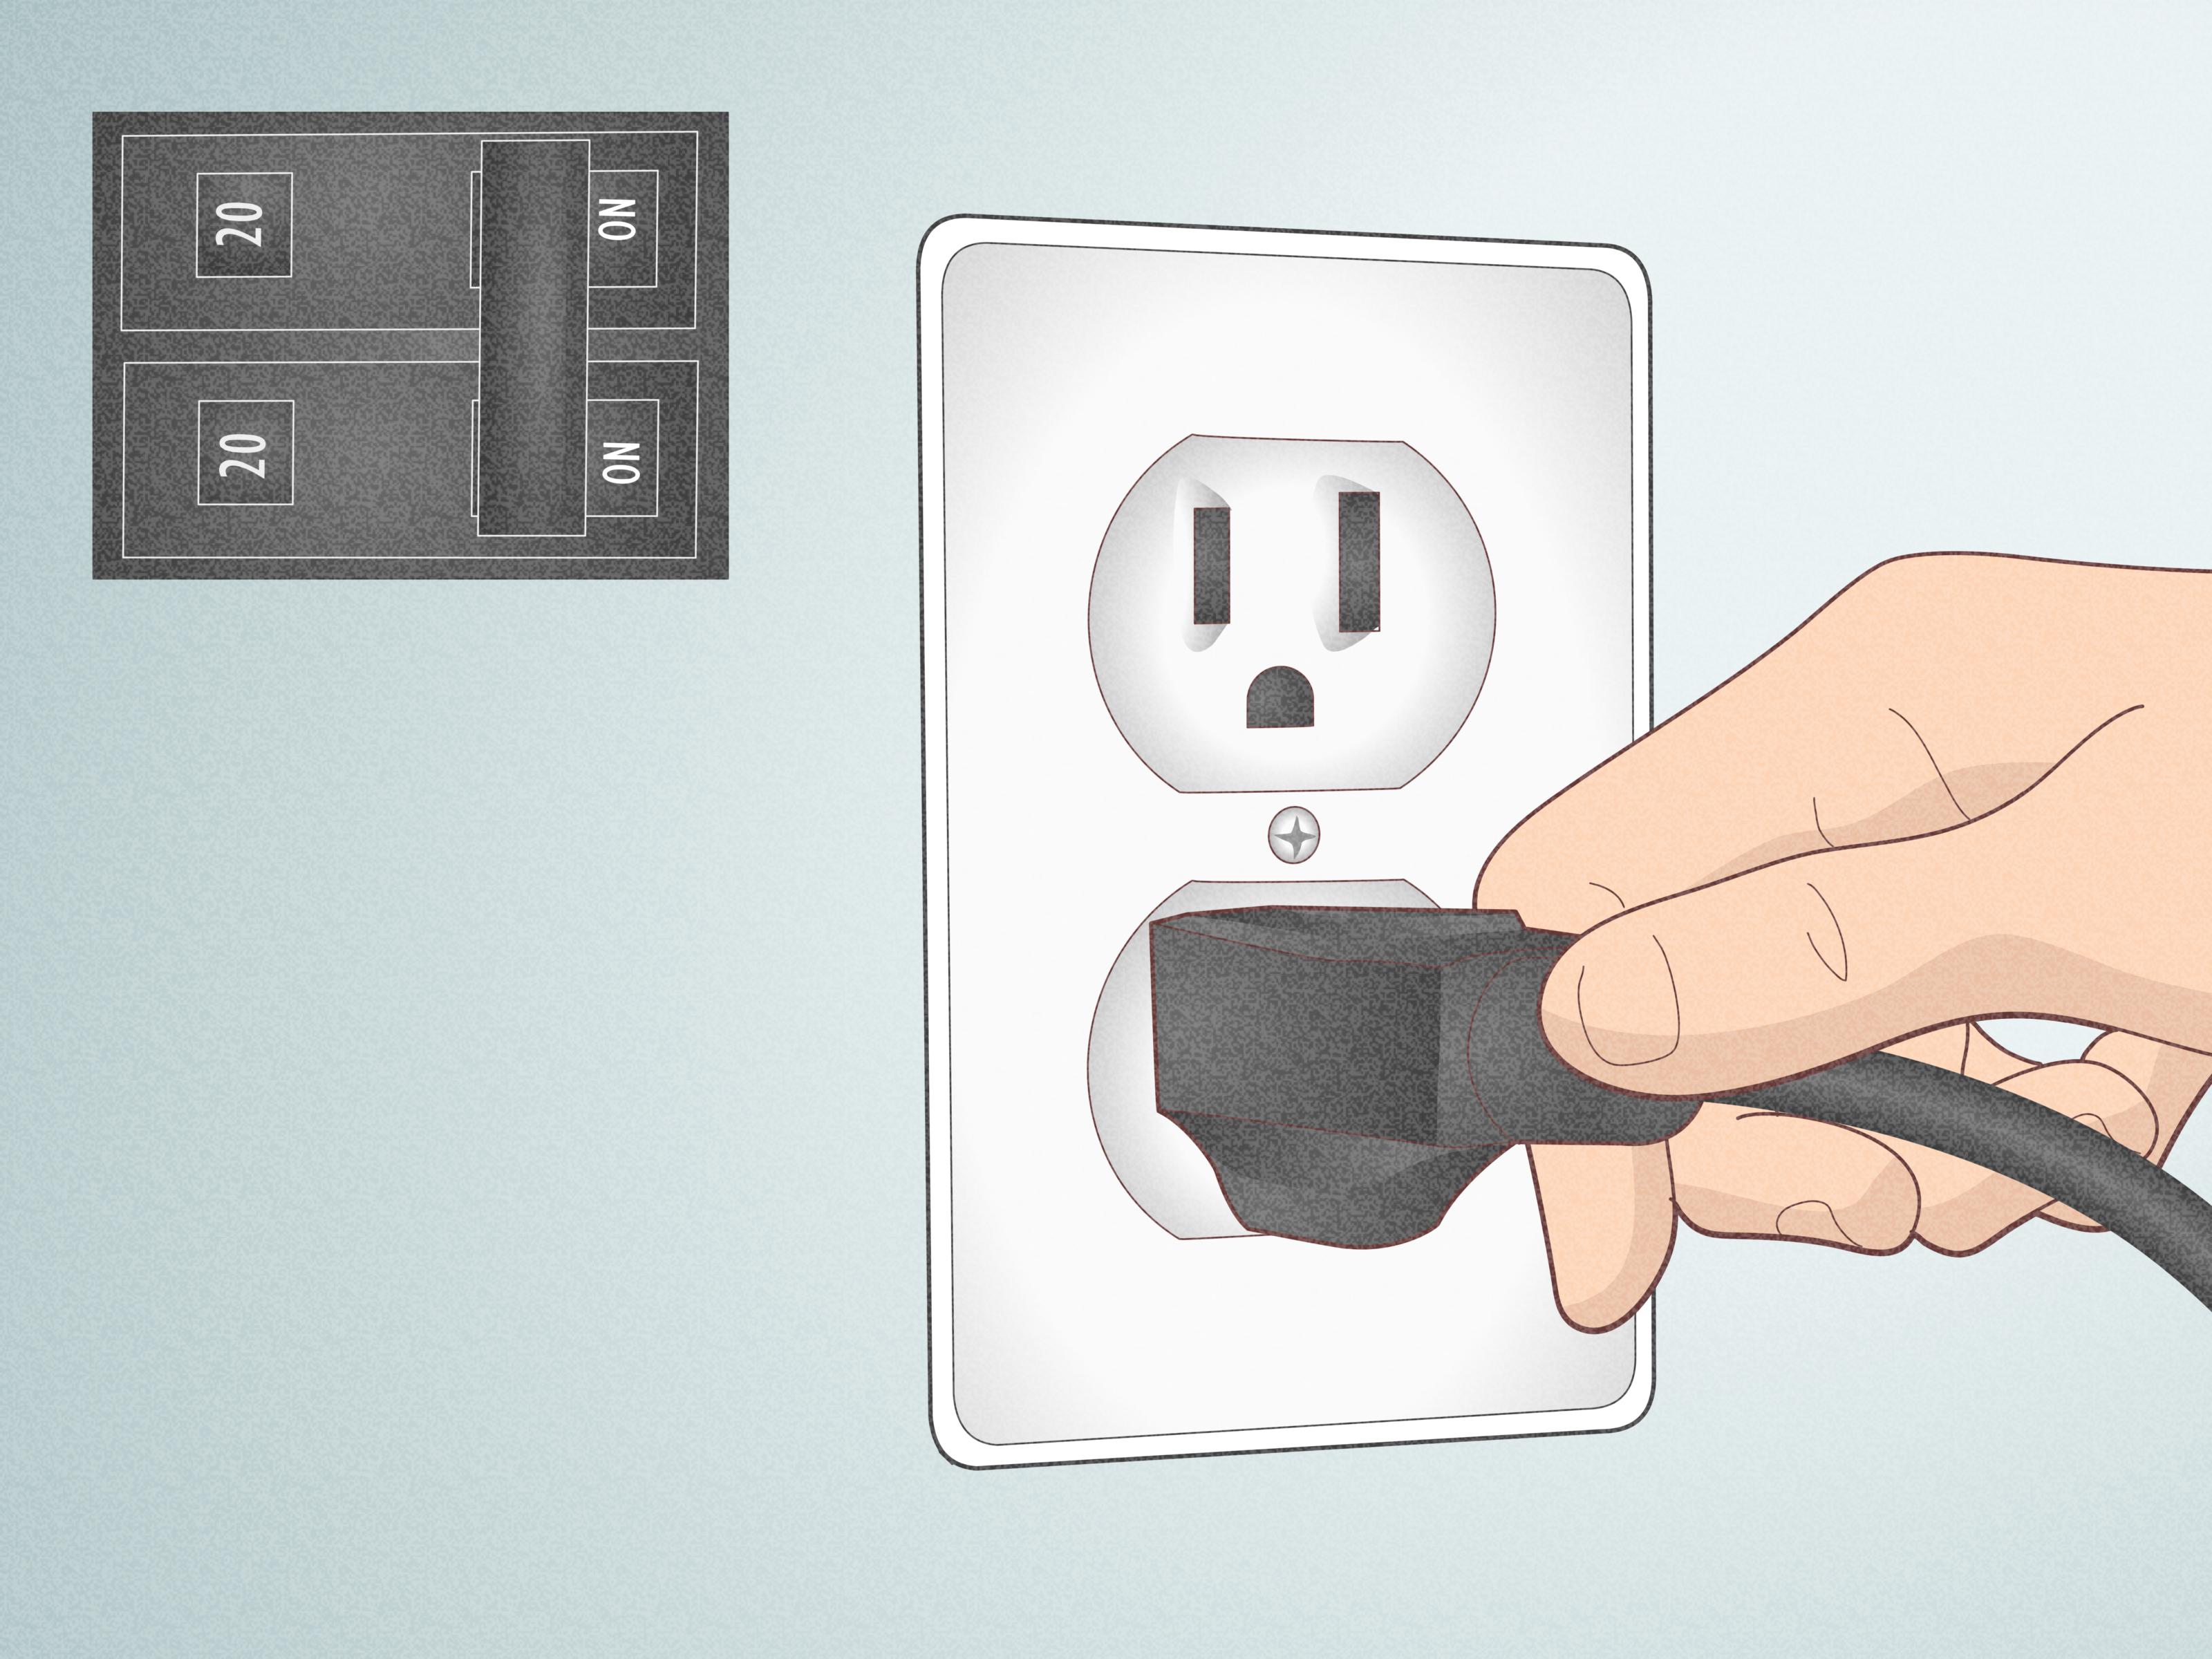
A loose electrical outlet is one of those tiny household problems that acts like it pays rent. You plug in a phone charger, it droops. You plug in a vacuum, it wiggles like a loose tooth. You press the plug in a little harder, and the whole receptacle shifts back into the wall as if it is trying to escape responsibility.
Funny? A little. Safe? Not always.
Loose outlets can happen for several reasons: worn internal contacts, missing spacers, a recessed electrical box, stripped mounting screws, a cracked outlet box, or poor wiring connections. Some fixes are simple, like tightening a cover plate or adding outlet spacers. Others require replacing the receptacle or calling a licensed electrician. The trick is knowing which problem you actually have before you start poking around like a curious raccoon with a screwdriver.
This complete repair guide explains how to diagnose a loose electrical outlet, what tools may be needed, which repairs are reasonable for a skilled adult DIYer, and when the safest move is to step away and hire a pro. Electrical work can cause shock, burns, fire, or code violations if done incorrectly, so never work on a live outlet, never guess, and always follow local electrical codes.
Why Loose Electrical Outlets Are a Big Deal
A loose outlet is not just an annoying “my charger keeps falling out” problem. A plug that does not fit snugly can create poor contact inside the receptacle. Poor contact can lead to heat buildup, arcing, melted plastic, scorch marks, or fire risk. If the outlet feels warm, smells burnt, sparks, buzzes, or has dark stains around the slots, stop using it immediately.
There are two common types of looseness:
1. The Plug Falls Out of the Outlet
If plugs slide out easily, the receptacle’s internal metal contacts may be worn out. This usually means the outlet itself should be replaced. Outlet tighteners or temporary inserts may look convenient, but they are not a proper repair for a worn receptacle. A worn outlet has already told you its retirement speech. Let it retire.
2. The Outlet Moves in the Wall
If the entire outlet shifts, rocks, sinks backward, or sits crooked under the cover plate, the problem may be mechanical. The device may be loose on its mounting screws, the box may be recessed too far behind drywall or tile, the screw holes may be stripped, or the electrical box may be damaged.
Safety First: Before You Touch Anything
Before any inspection or repair, turn off power at the breaker panel. Do not rely on the wall switch. Do not rely on “it looks off.” Electricity does not care about vibes.
After switching off the breaker, test the outlet with a non-contact voltage tester or plug-in outlet tester. Test the tester on a known live outlet first so you know it is working. Then test the outlet you plan to repair. If there is any sign of power, stop.
Use insulated tools, wear safety glasses, and keep the area dry. If the outlet is in a bathroom, kitchen, laundry room, garage, basement, outdoors, or any damp location, it may require GFCI protection. If you are unsure what that means or how your circuit is protected, call a licensed electrician.
Tools and Materials You May Need
For a basic loose outlet repair, the common tools and materials include:
- Non-contact voltage tester
- Plug-in outlet tester
- Flathead and Phillips screwdrivers
- Needle-nose pliers
- Electrical outlet spacers
- Electrical box extender
- Replacement receptacle of the correct rating
- New wall plate
- Longer 6-32 device screws if needed
- Flashlight
Most standard household receptacles are either 15-amp or 20-amp devices. Do not install a receptacle with a different rating unless you understand the circuit requirements. Also, never replace a two-prong outlet with a three-prong outlet unless a proper equipment ground exists or the installation is made code-compliant through approved methods.
Step 1: Identify the Type of Loose Outlet Problem
Start by checking the outlet without removing anything. Plug in a small lamp or phone charger. Does the plug fall out? Does the outlet itself move? Does the cover plate shift? Does the outlet sit too far behind the wall?
If only the cover plate is loose, tighten the small center screw carefully. Do not overtighten it, or the plate may crack. A cracked wall plate is not dangerous by itself, but it is ugly enough to make your hallway look like it lost a wrestling match.
If the outlet moves with the cover plate removed, the receptacle may not be secured to the electrical box. If the outlet is sunken behind tile, drywall, paneling, or a backsplash, it may need spacers or a box extender. If plugs fall out even though the receptacle is firmly mounted, the receptacle is likely worn out and should be replaced.
Step 2: Tighten the Receptacle Mounting Screws
After turning off and testing power, remove the wall plate. You should see two mounting screws, one at the top and one at the bottom of the receptacle. These screws attach the receptacle’s metal yoke to the electrical box.
If the screws are simply loose, tighten them until the outlet sits firmly. Keep the receptacle straight, centered, and flush with the wall plate opening. Do not crush the drywall, bend the yoke, or force the outlet backward. If the screws tighten properly and the outlet no longer moves, congratulations: you have fixed the household equivalent of a wobbly chair leg.
Turn the breaker back on, test the outlet, and make sure plugs fit snugly. If the outlet still moves, continue diagnosing.
Step 3: Fix a Recessed Outlet With Spacers
A recessed outlet sits too far back from the finished wall surface. This often happens after new tile, paneling, shiplap, wainscoting, or thick drywall is installed. The outlet may look sunken, and when you push in a plug, the receptacle may flex backward.
Outlet spacers are small plastic shims that slide over the mounting screws behind the receptacle yoke. They bring the outlet forward so it sits properly against the wall plate. Many spacers are stackable or break apart into small sections, making it easier to match the depth.
How to Use Outlet Spacers
- Turn off the breaker and confirm the outlet is not live.
- Remove the wall plate.
- Loosen the top and bottom receptacle screws.
- Slide spacers behind the receptacle yoke around each screw.
- Add enough spacer thickness to bring the outlet flush with the finished surface.
- Tighten the screws carefully.
- Reinstall the wall plate and test the fit.
The outlet should not float loosely between the box and the wall plate. It should feel solid when you plug in a cord. If you need a large amount of spacing, a box extender may be a better solution.
Step 4: Use an Electrical Box Extender for Deeper Gaps
An electrical box extender, also called an extension ring, helps bring the front of the electrical box closer to the finished wall surface. This matters because wiring connections should be protected inside an approved electrical enclosure. If the wall surface has been built out with tile or other material, the original box may sit too far back.
Box extenders are commonly used after kitchen backsplashes, bathroom tile, or remodeling projects. They can help reduce exposed gaps around the receptacle and provide a more secure, code-friendly installation.
Basic Box Extender Process
- Turn off power and verify the outlet is dead.
- Remove the wall plate.
- Unscrew the receptacle from the box without pulling hard on the wires.
- Slide the box extender over the receptacle and into the box opening.
- Align the receptacle, extender, and box screw holes.
- Use appropriate longer screws if needed.
- Tighten everything so the outlet is solid and flush.
- Reinstall the wall plate and test the outlet.
If the existing wires are too short, brittle, crowded, damaged, or difficult to position safely, do not force the device back into the box. Call an electrician. Electrical boxes are not meant to be tiny stress closets for wires.
Step 5: Replace a Worn-Out Receptacle
If plugs fall out of the outlet, the internal contacts are probably worn. This is common in older outlets, high-use locations, and places where heavy cords hang downward. Replacing the receptacle is usually the correct repair.
This work should be done only by someone who is legally allowed, experienced, and confident with residential wiring. When in doubt, hire a licensed electrician. A replacement receptacle is inexpensive; repairing fire damage is not.
Signs the Outlet Should Be Replaced
- Plugs fall out or sit loosely in the slots.
- The outlet is cracked, chipped, or discolored.
- The outlet feels warm during normal use.
- You see scorch marks or melted plastic.
- The outlet sparks, buzzes, or smells burnt.
- The outlet is old and no longer grips plugs securely.
Replacement Basics
Turn off power and verify the circuit is dead. Remove the cover plate and mounting screws. Carefully pull the outlet out far enough to see the wiring. Before disconnecting anything, note where each wire is connected. Hot wires typically connect to brass-colored terminals, neutral wires to silver-colored terminals, and ground wires to green terminals or grounding screws.
Use a replacement receptacle with the correct amperage and type. In many modern homes, tamper-resistant receptacles are required for new or replacement installations. Wet or damp areas may require GFCI protection. Bedrooms and other living areas may require AFCI protection depending on local code and circuit design.
Secure wires under approved terminal screws or clamps according to the device instructions. Avoid loose connections. Do not place multiple wires under a terminal unless the device is specifically listed for that use. Fold the wires gently back into the box, mount the receptacle, reinstall the cover plate, restore power, and test.
Step 6: Deal With Stripped Screw Holes or a Damaged Box
If the mounting screws spin without tightening, the electrical box screw holes may be stripped. If the box is plastic, the screw tabs may be cracked. If the box is metal, the threads may be worn or damaged.
Some listed repair clips or box repair products can restore screw support without replacing the entire box. However, not every situation is suitable for clips. If the box is loose in the wall, cracked, undersized, rusty, missing clamps, or not securely attached, it may need replacement. That is usually electrician territory because replacing a box can involve wiring, wall repair, and code requirements.
Do not improvise with wood screws, drywall anchors inside the box, glue, tape, or “it should hold until next Christmas” engineering. Electrical boxes need approved parts and secure mechanical support.
When You Should Call a Licensed Electrician
Call a licensed electrician if you notice any of the following:
- Burning smell, smoke, buzzing, or crackling sounds
- Warm or hot outlet covers
- Sparks when plugging in devices
- Discolored, melted, or scorched receptacles
- Aluminum wiring
- Two-prong outlets with no clear grounding path
- Repeatedly tripping breakers
- GFCI outlets that will not reset
- Loose wires, brittle insulation, or crowded boxes
- Any uncertainty about local code requirements
Electricians are not just for dramatic emergencies. They are also for those moments when your house is whispering, “Please do not learn electrical theory on me today.”
Common Mistakes to Avoid
Working Without Testing for Power
Turning off a breaker is step one. Testing is step two. Skipping step two is how people end up with a story they tell at parties while holding up a finger and saying, “This one still tingles sometimes.”
Using the Wall Plate to Hold the Outlet
The wall plate is decorative and protective. It is not supposed to be the main structural support for the receptacle. If the device moves when the plate is removed, fix the mounting problem.
Ignoring Loose Plugs
If cords fall out, replace the worn receptacle. Do not bend plug prongs outward as a repair. That can damage plugs and create unreliable contact.
Installing the Wrong Outlet Type
Match the receptacle to the circuit and location. A bathroom outlet, kitchen counter outlet, garage outlet, or outdoor outlet may need GFCI protection. Many modern replacements should be tamper-resistant. Local code always wins.
Overtightening Screws
Tight is good. Hulk mode is not. Overtightening can crack plastic boxes, strip threads, bend the receptacle yoke, or break cover plates.
How Much Does It Cost to Fix a Loose Outlet?
A simple DIY mechanical fix may cost only a few dollars for spacers or a new wall plate. A replacement receptacle is also inexpensive, though GFCI, AFCI, smart, or weather-resistant outlets cost more than standard ones. Hiring an electrician costs more, but it buys expertise, code compliance, and peace of mind.
If one outlet is loose because of age, check others in the same room. Homes often age in batches. If one receptacle is tired, its neighbors may be sipping the same retirement tea.
Preventing Loose Outlets in the Future
Use plugs gently instead of yanking cords from across the room. Avoid hanging heavy adapters, oversized chargers, or power bricks from outlets. Plug heavy appliances directly into properly rated wall receptacles. Do not use extension cords as permanent wiring. Test GFCI outlets monthly using the built-in test and reset buttons.
During remodeling, make sure outlets are extended properly when new tile, backsplash, drywall, or paneling changes wall depth. A beautiful backsplash with sunken outlets is like wearing a tuxedo with flip-flops: technically dressed, but something is clearly wrong.
Experience Notes: Real-World Lessons From Loose Outlet Repairs
One of the most common experiences with loose outlets happens after a kitchen backsplash installation. Everything looks gorgeous: new tile, clean grout lines, shiny counters, and then the outlet sits half an inch behind the wall plate like it missed the renovation memo. The homeowner tries to plug in a coffee maker, and the receptacle flexes backward. In that situation, the outlet itself may not be worn out at all. The wall surface simply moved forward, while the electrical box stayed where it was. Spacers or a box extender can solve the problem when installed correctly.
Another common scenario is the bedroom outlet that has held a phone charger every night for ten years. The plug no longer stays in, but the outlet does not move in the wall. That usually points to worn internal contacts. Tightening the cover plate will not fix it. Adding a decorative plate will not fix it. Giving the outlet a pep talk will not fix it, although no judgment if you try. The proper repair is replacing the receptacle with a new, correctly rated unit.
Living rooms often create a different problem: heavy adapters. Large chargers, plug-in air fresheners, Wi-Fi extenders, smart speakers, and power bricks can pull downward on the receptacle. Over time, the device may loosen mechanically, especially if it was already recessed or poorly supported. A right-angle adapter or a short extension cord rated for the device can reduce strain, but permanent heavy loads should be handled carefully. For large appliances or heat-producing devices, plug directly into a properly rated wall outlet.
Older homes add another layer of caution. You may remove a cover plate and find a two-prong outlet, brittle insulation, no grounding conductor, aluminum branch-circuit wiring, or a box that looks like it has been through three owners and one questionable basement band rehearsal. That is not the moment to improvise. Older wiring systems can require special repair methods, approved connectors, or upgrades. A licensed electrician can identify whether the outlet is grounded, whether GFCI protection is appropriate, and whether the circuit needs broader attention.
Bathrooms, garages, kitchens, basements, laundry rooms, and outdoor areas deserve extra respect because moisture raises shock risk. If a loose outlet in one of those areas is not GFCI protected, or if the GFCI will not reset, the issue may be more than mechanical. Sometimes a GFCI trips because it is doing its job. Other times the device has failed or the wiring downstream has a problem. Either way, guessing is not a strategy.
The best personal rule is simple: if the repair is only aligning and securing a dead, tested outlet with approved spacers or a listed extender, a careful and knowledgeable adult may be able to handle it. If the repair involves damaged wires, burned parts, unknown wiring, aluminum conductors, repeated breaker trips, or any doubt, call an electrician. A loose electrical outlet is a small problem only when you treat it seriously early.
Conclusion
Fixing a loose electrical outlet starts with the right diagnosis. If the plug falls out, the receptacle is likely worn and should be replaced. If the outlet moves in the wall, the solution may be tightening mounting screws, adding outlet spacers, installing a box extender, or repairing a damaged electrical box. The repair should always begin with turning off power, testing carefully, and respecting local electrical codes.
Loose outlets are easy to ignore because they seem small. But small electrical problems can become expensive, dangerous problems when heat, arcing, or poor connections enter the chat. Repair loose outlets promptly, use approved parts, and call a licensed electrician when the warning signs move beyond simple mechanical looseness.
“`